
Outfeed / Assembly Table
Power Tools
- Table Saw
- Router Table
- Jig Saw
- Impact Driver
- Track Saw
- Spindle Sander
Wood
- 4/4 Cherry
- 3/4" Birch Plywood
- 3/8" Birch Plywood
- 1/2" Birch Plywood
- 1/2" Pine Plywood
- Ikea Gerton Beech Butcher Block Table Top
- Iron On Birch Edge Banding
Bits & Blades
- Flush Trim Router Bit
- 3/4" Core Box Bit
- 3/4" Round Over Bit
- 1/4" Round Over Bit
- 1/8" Round Over Bit
- 3/4" Drill Bit
Hand Tools
- Flush Trim Saw
- 1/4" Chisel
Hardware
- 24" Over-Extension Drawer Slides (Qty: 15)
- Incra T-Track
- Screws
 Download Plans
For several years, I assembled all my projects either on the floor of the garage, or on top of my table saw. I would roll out a large sheet of craft paper on top of my saw and do my best not to get any glue or finish on the cast iron or fence rails. Unfortunately I wasn't always successful and there are now several splotches of finish on my fence that will forever remind me of the days before I made myself a proper assembly table. If the project was too large to fit on my table saw, I would have to rig up some precarious setup of saw horses and support stands to do my best to keep the workpiece assembly from crashing to the floor.
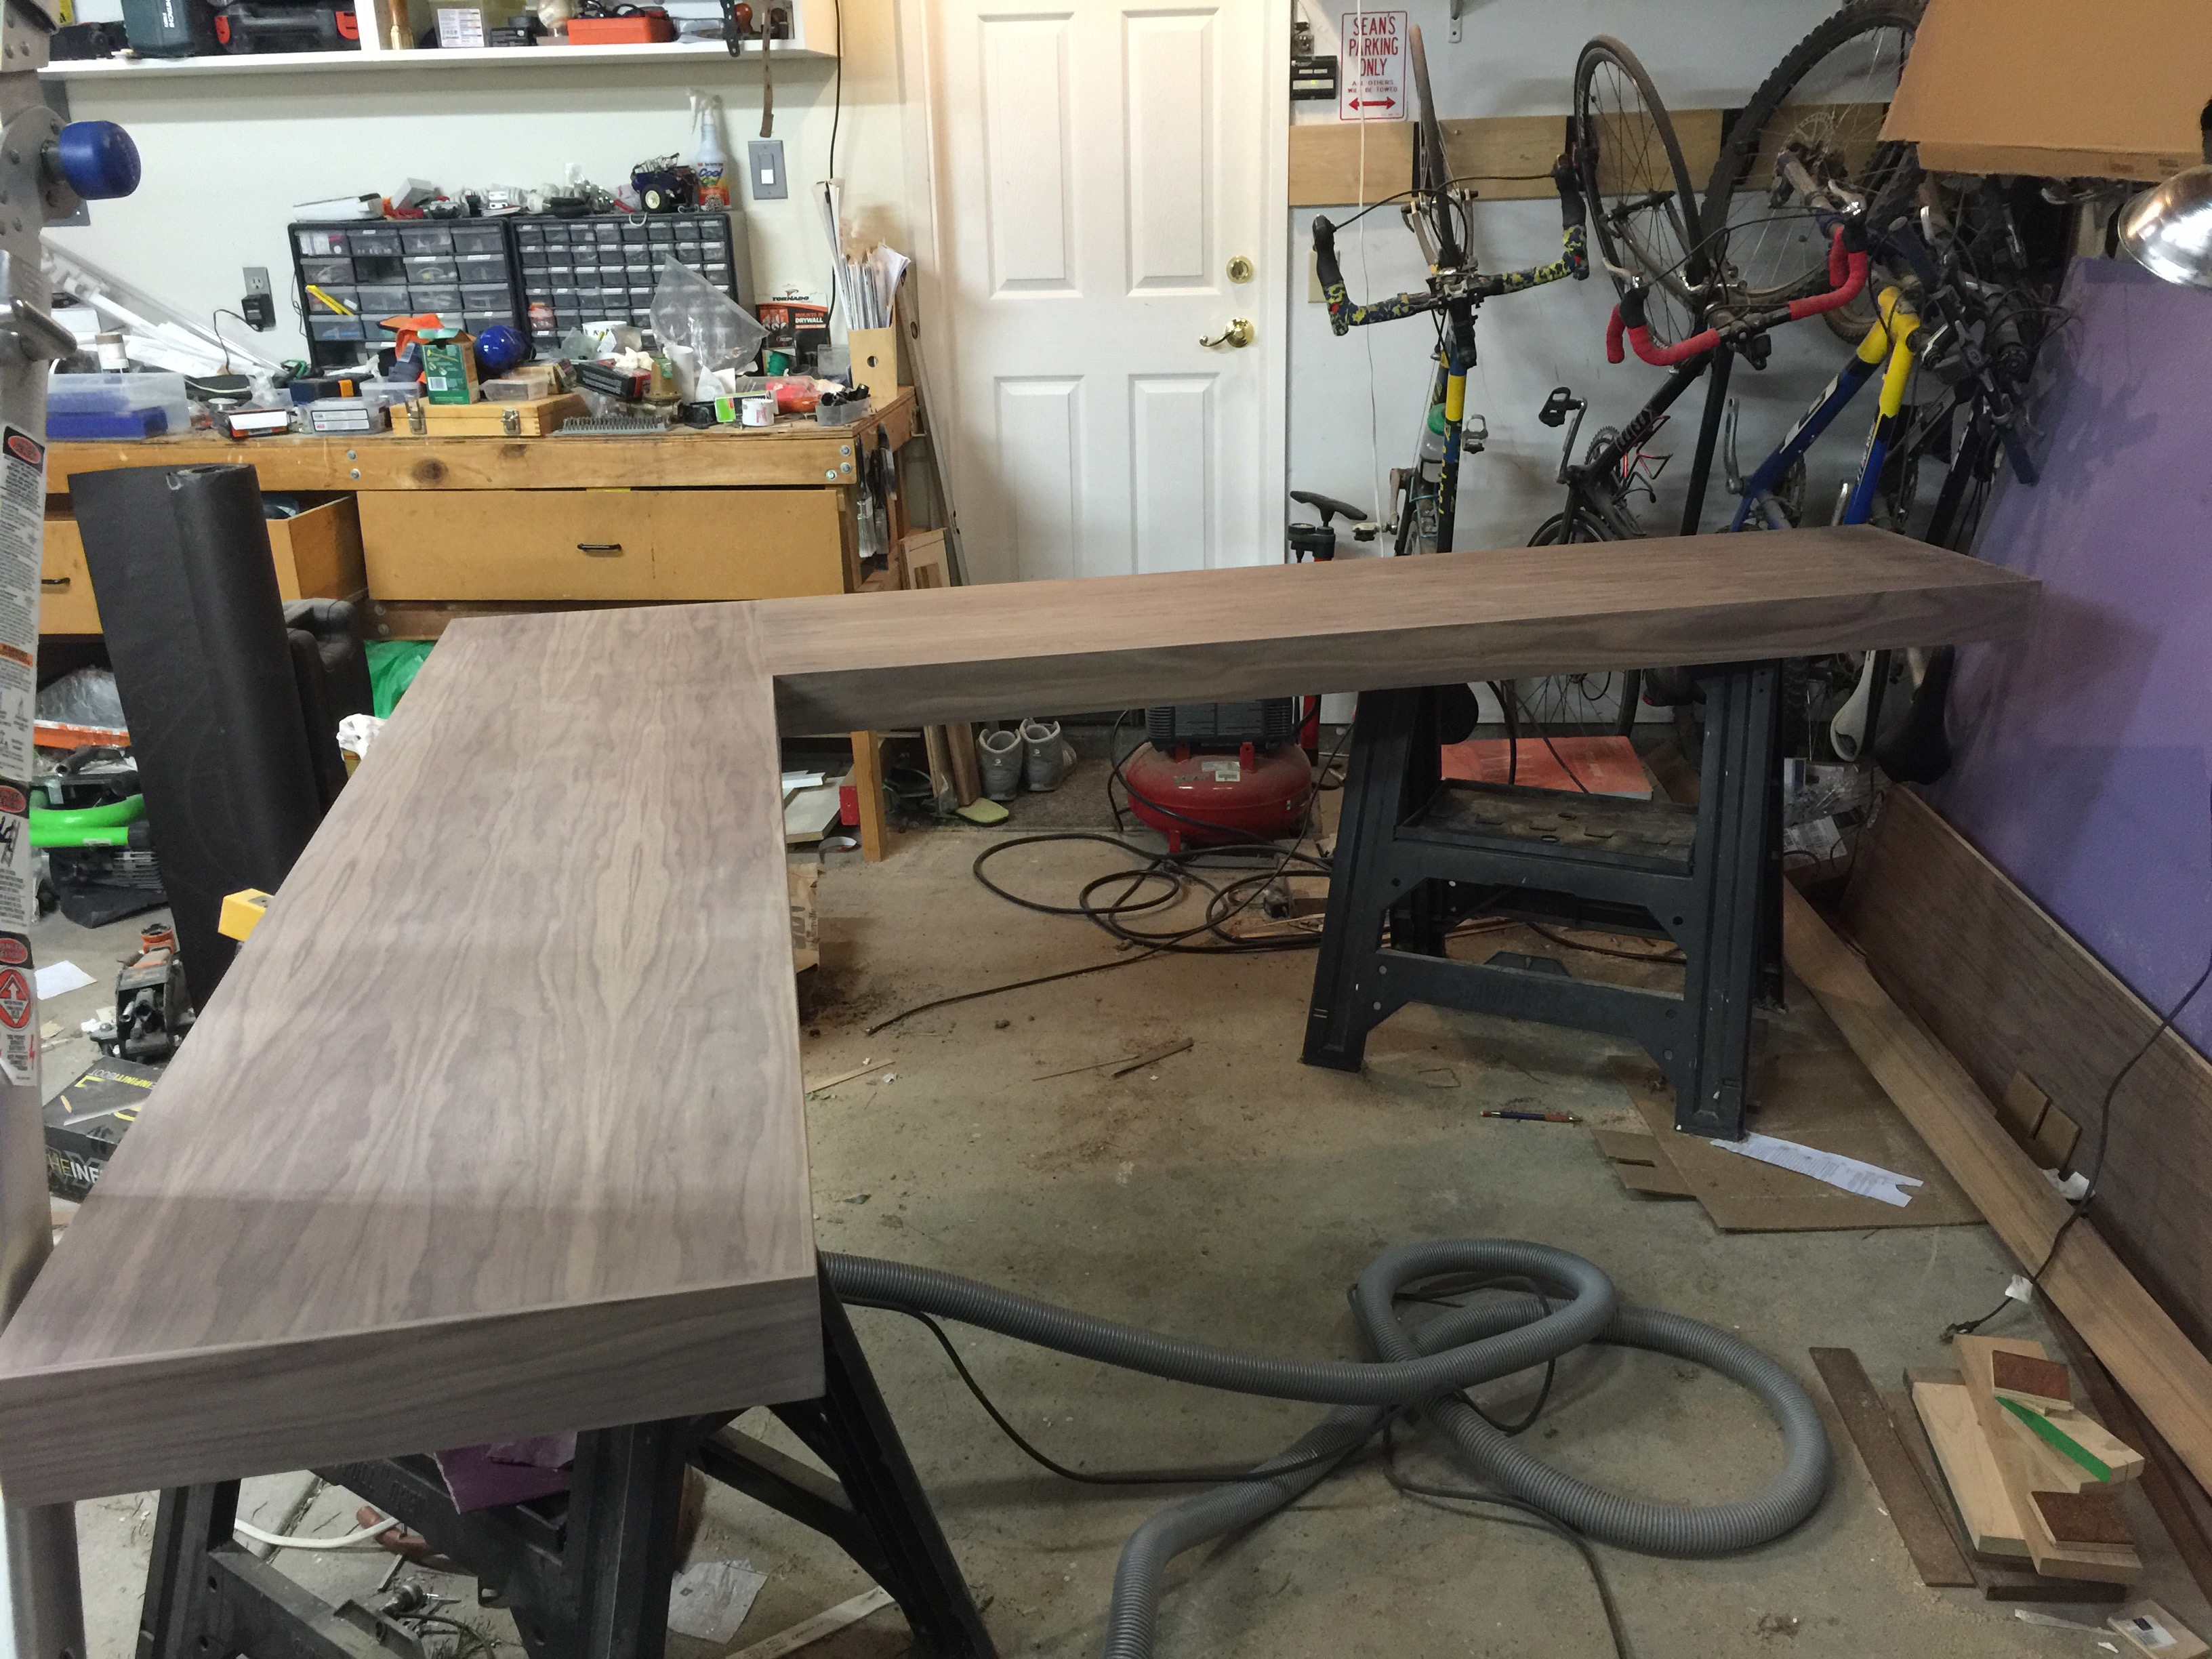 A large workpiece supported by a few sawhorses in the garage. There must be a better way!
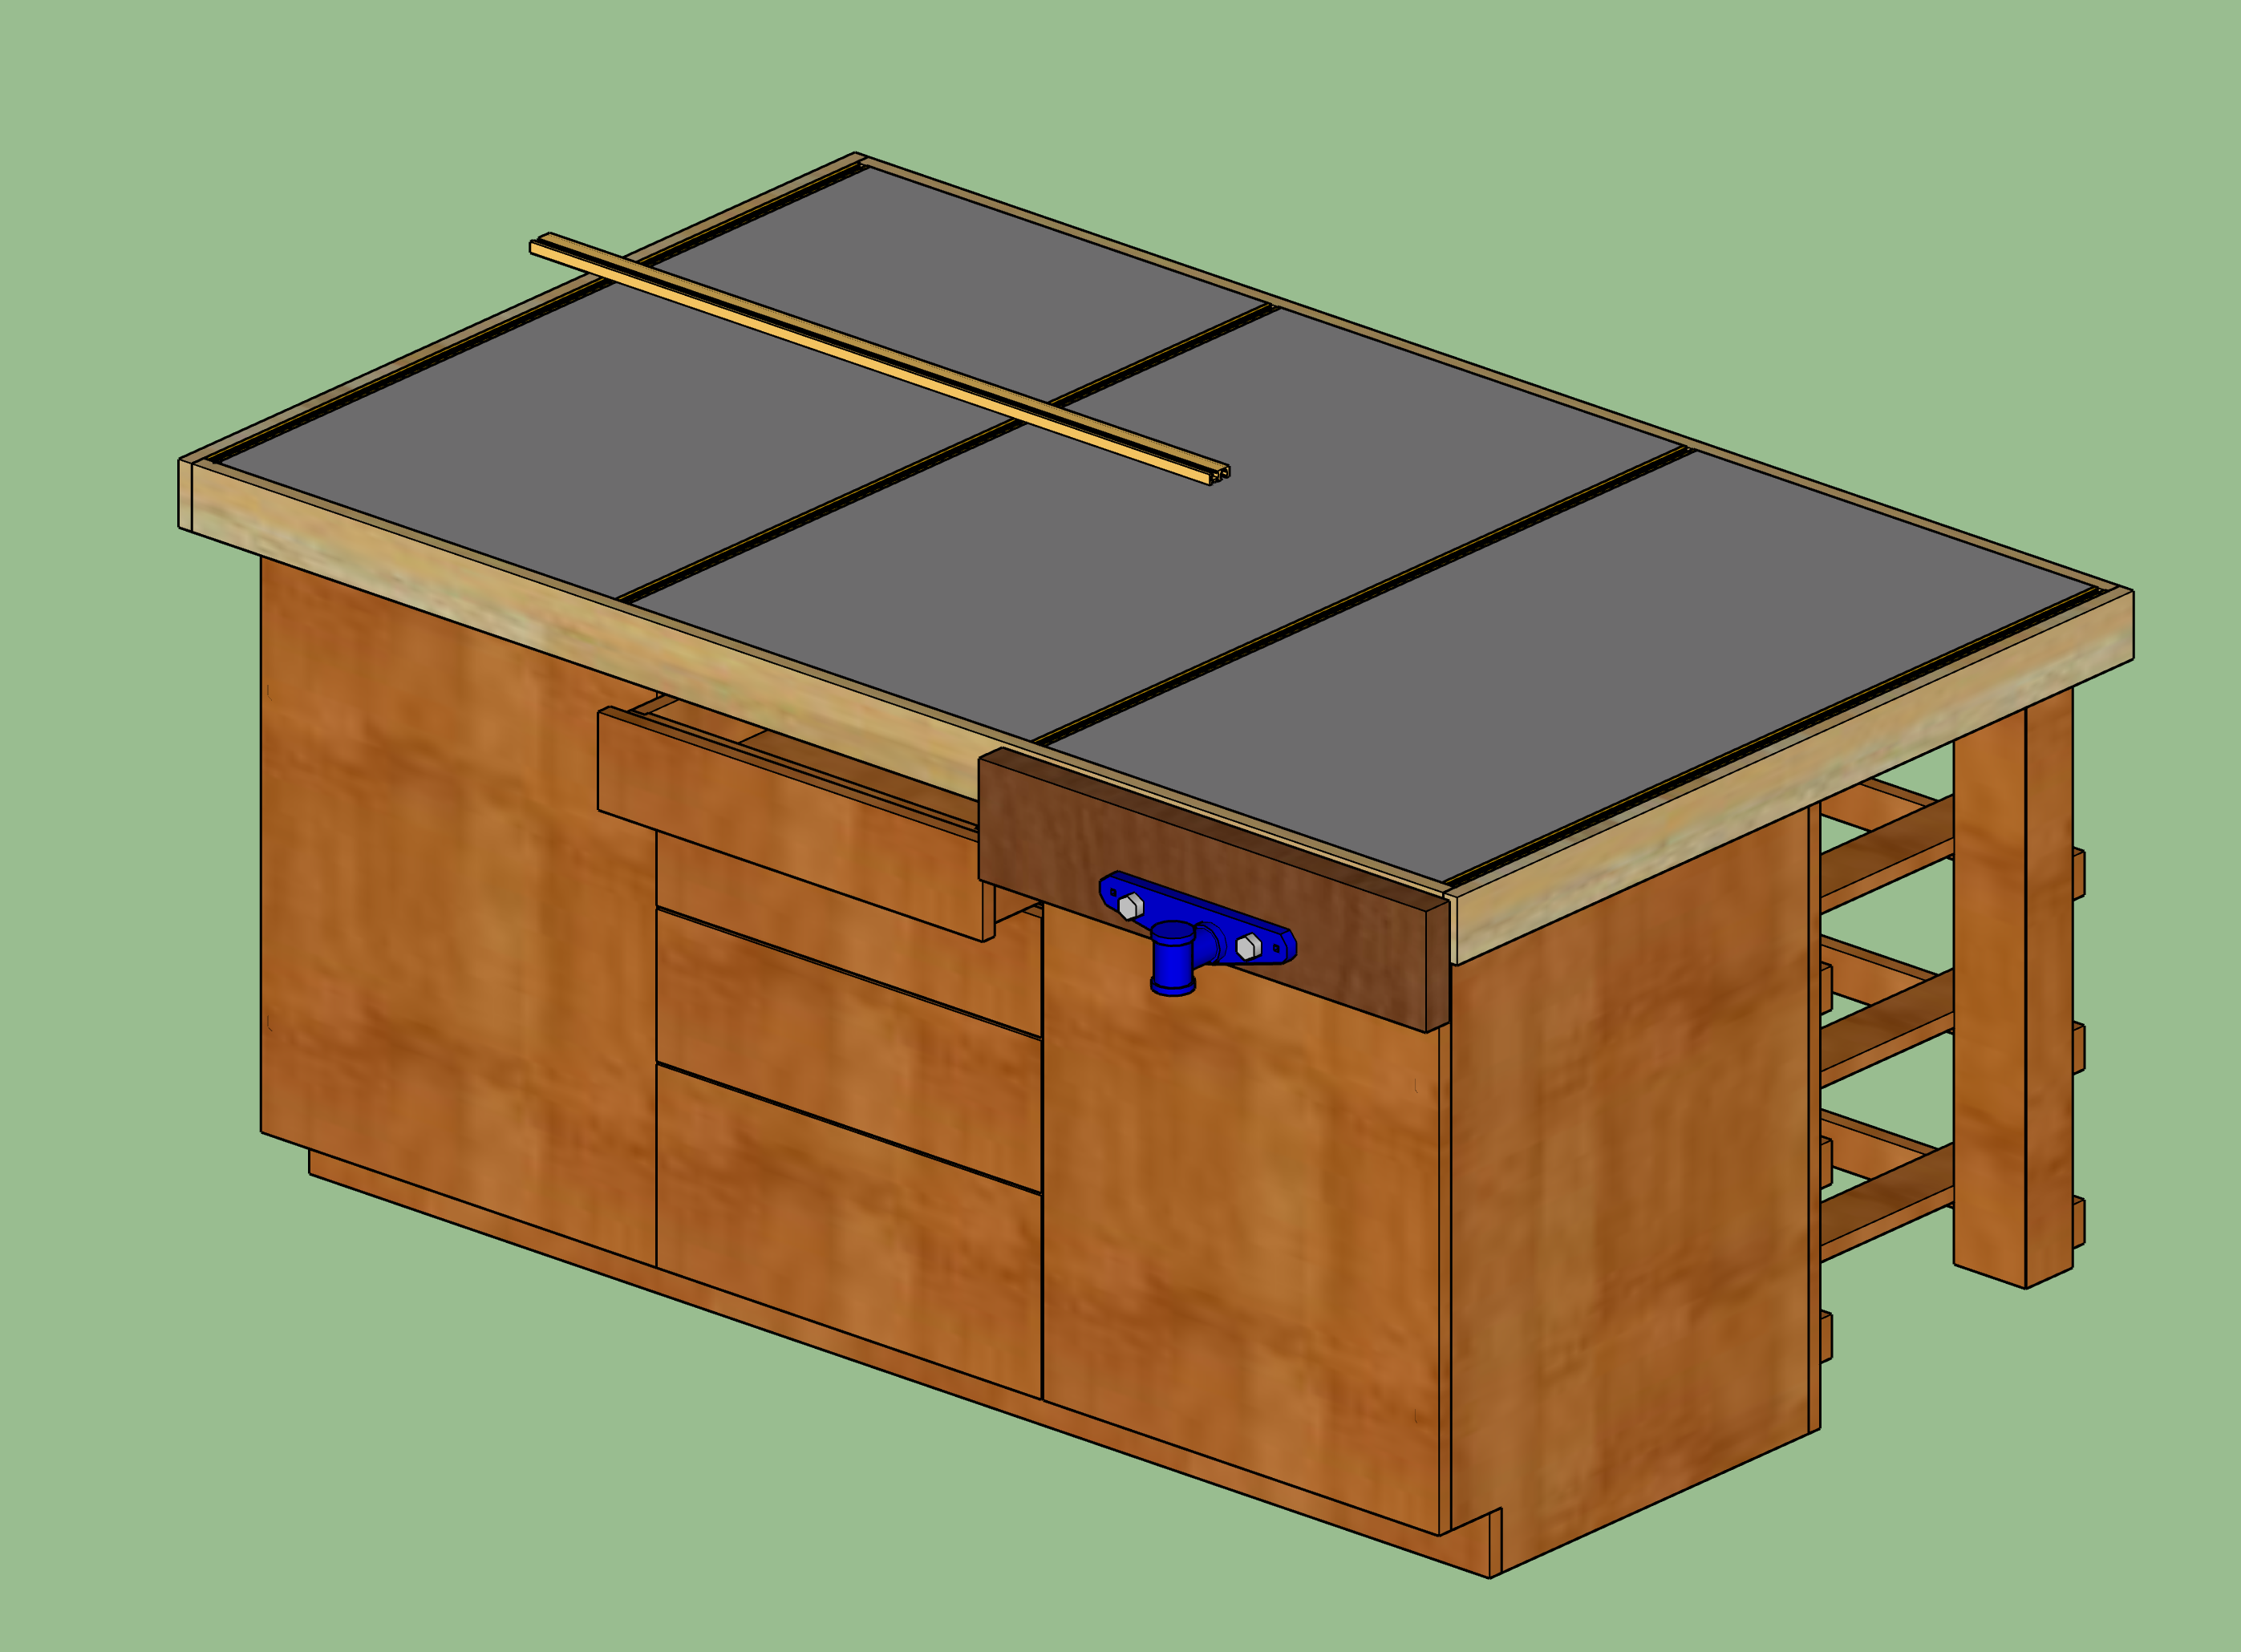 The plan. Large torsion box top, bank of drawers and two large cabinets.
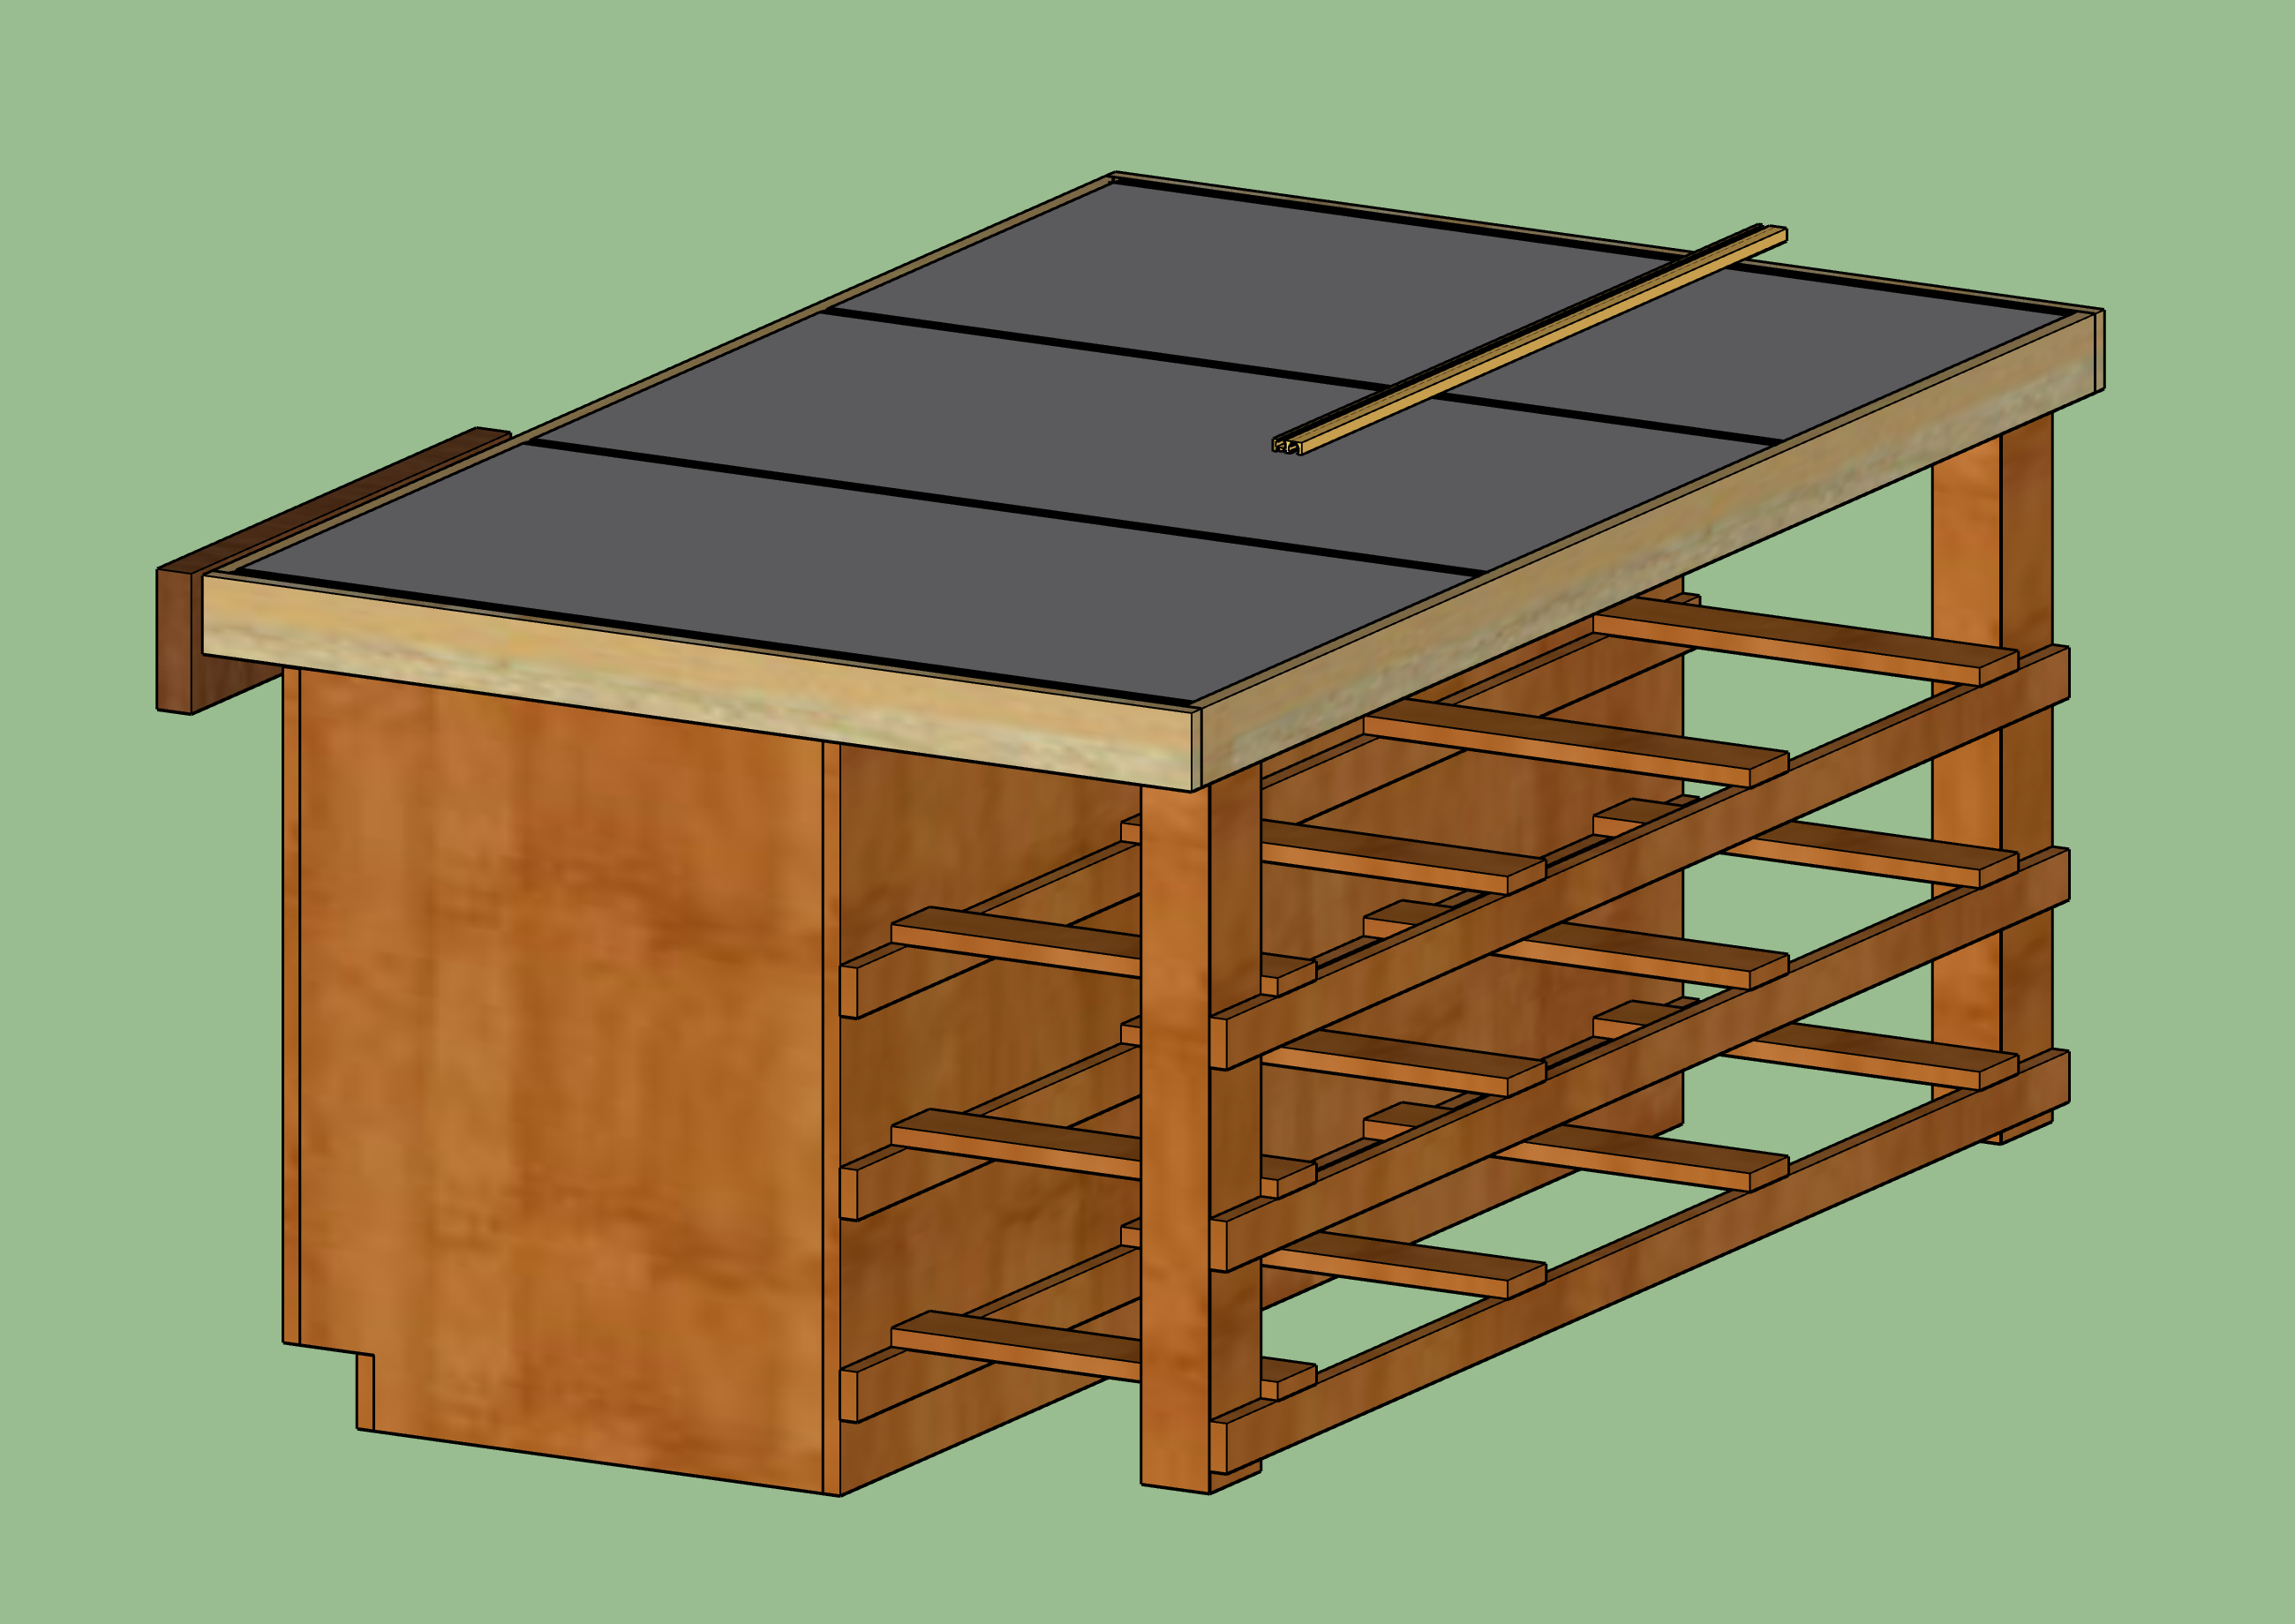 Along the back, some long shelves to hold large off-cuts of wood.
I wanted to make my bench as big as possible. Since I only have one half of a two car garage, I don't have a ton of space to spare. The only real requirement was the outfeed table needed to be large enough to fully support an 8-foot board through the table saw. Other than that, it's basically just defined by what will fit in my garage. The width it about the same as the width of my 36" table saw and the depth is about 43".
The design for my bench is a torsion box top, based on Marc Spagnuolo's assembly table plans. Since mine is a fair bit smaller and will be right next to my table saw, I motified the base design heavily to only have drawers and cabinets on one side of the workbench and use the other side for some wood offcut storage. I also needed this to work as a general purpose woodworking bench, so workholding needed to be addressed as well. My plan was to place 1 face vise and a t-track system for clamping work to the top. I never ended up installing the t-track, but it is still on my t-do list.
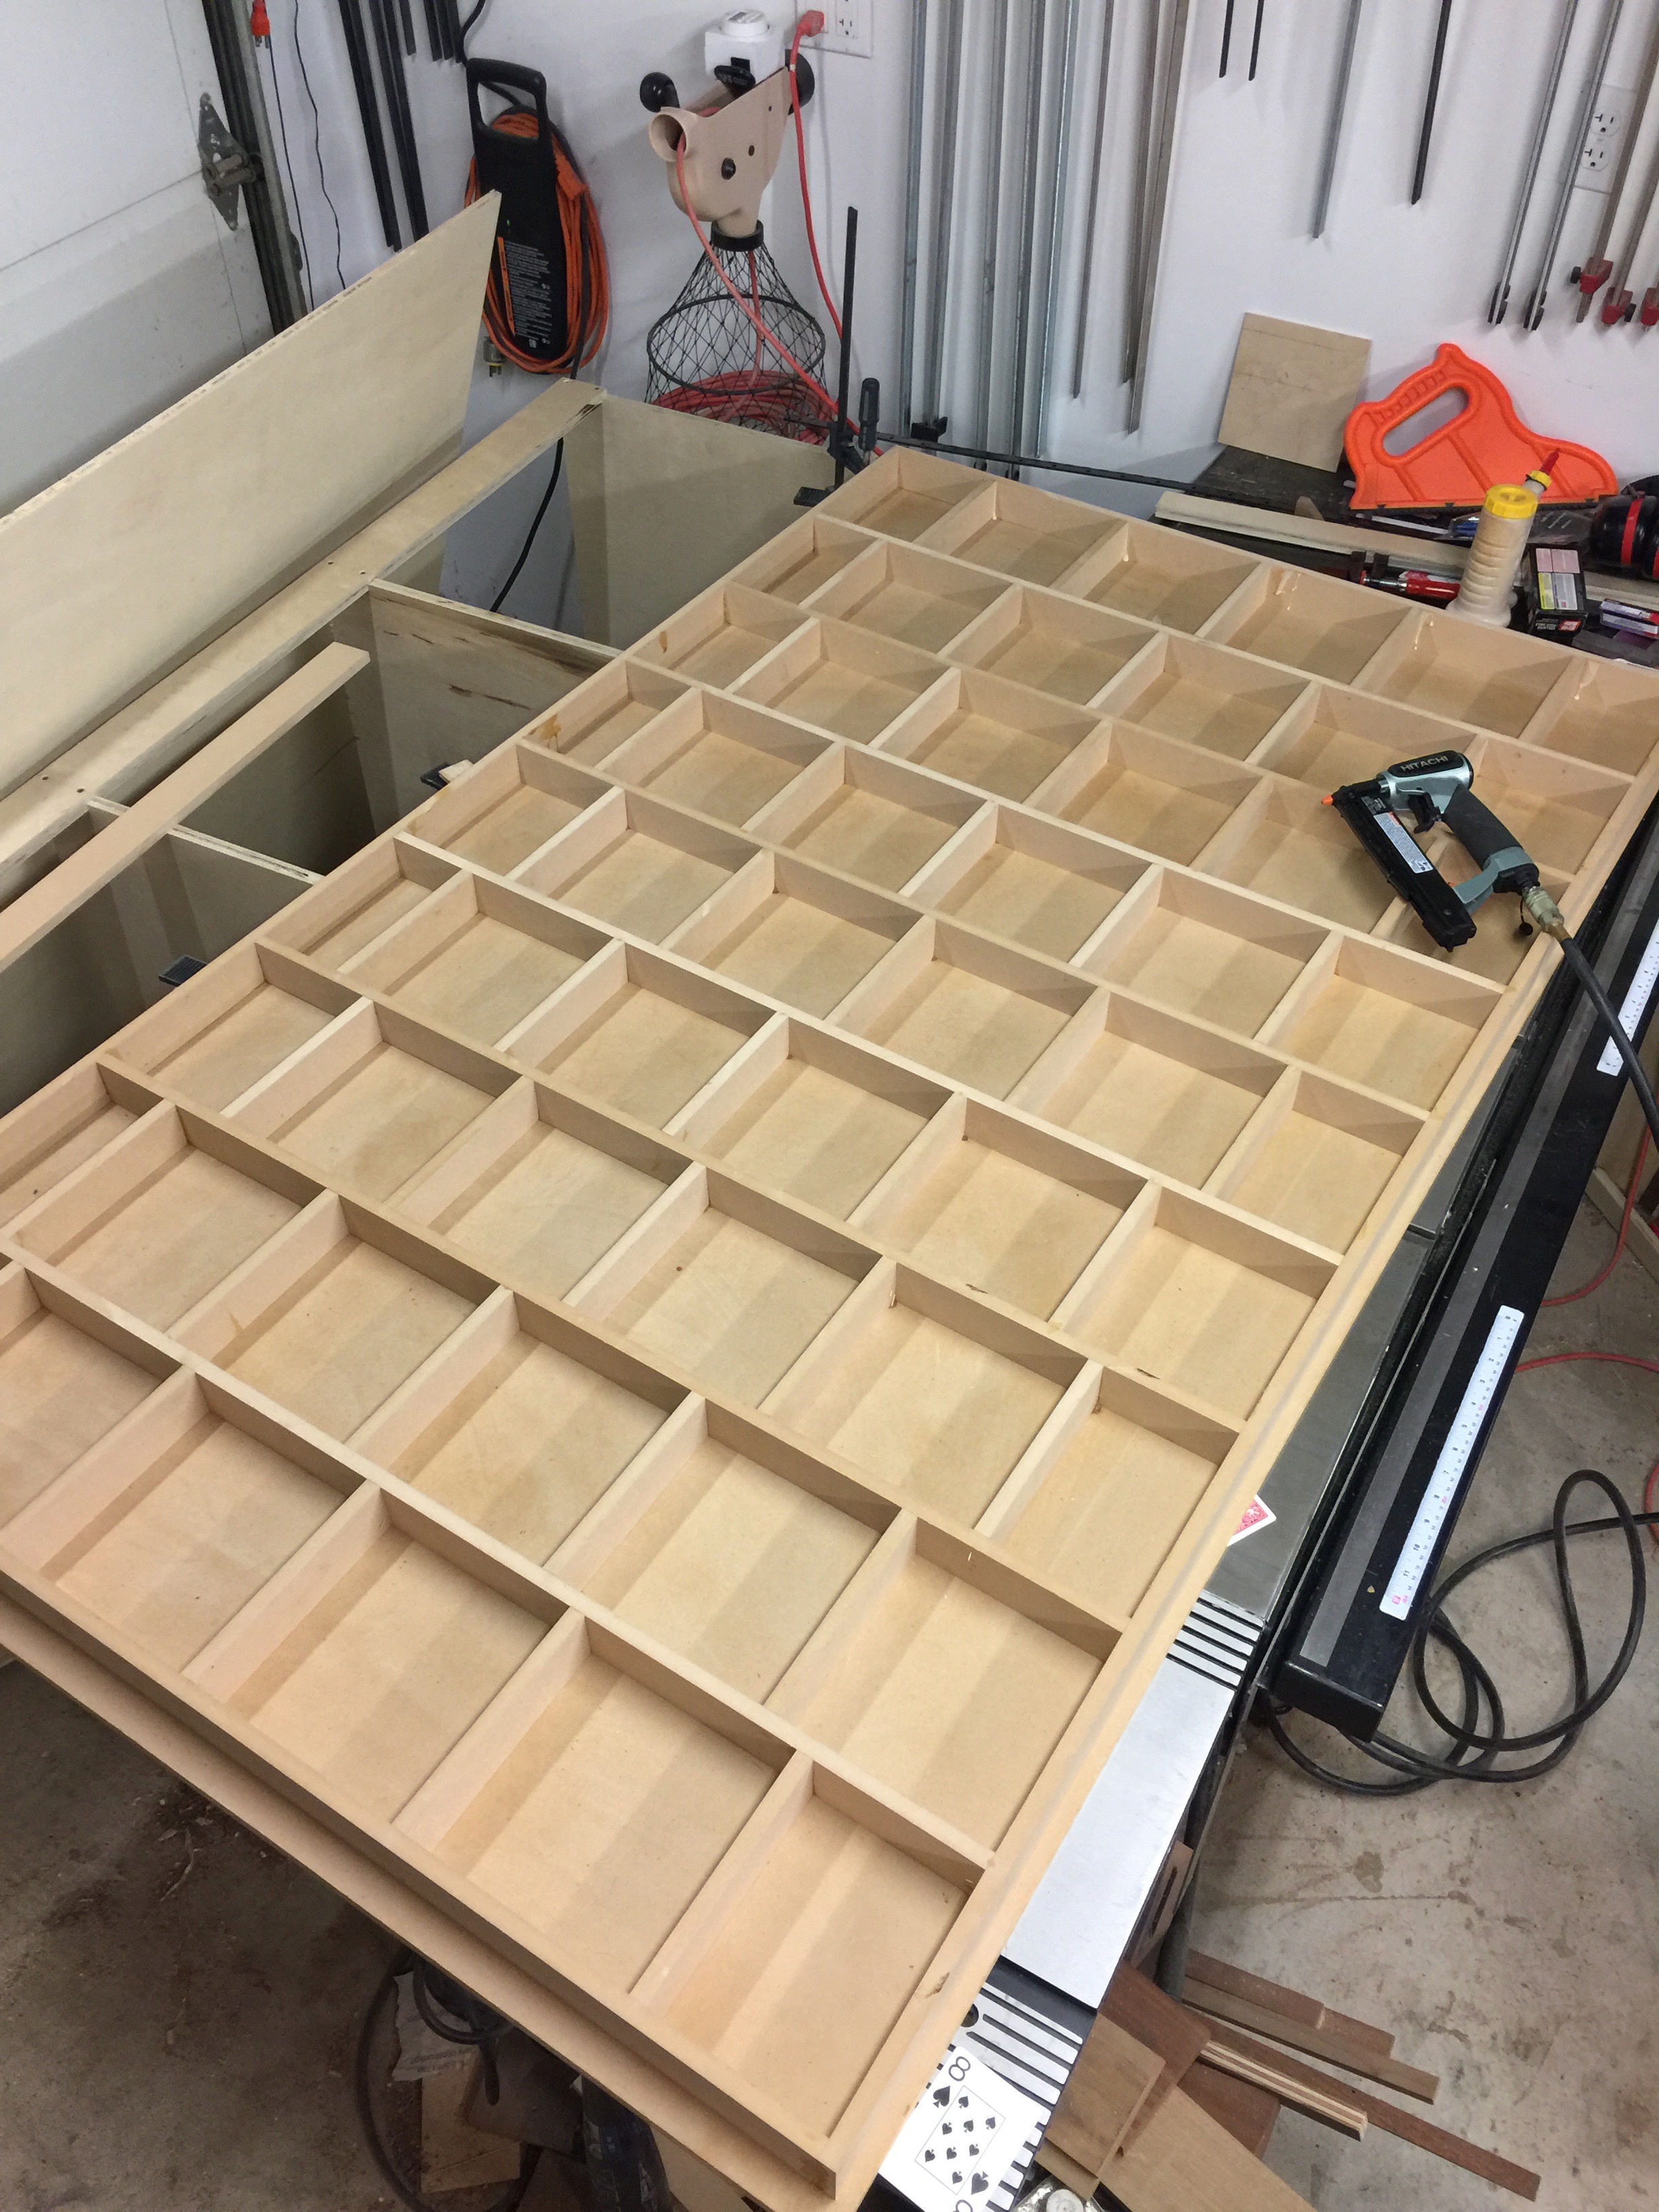 The torsion box gridwork. 1/2" MDF grid on between 3/4" sheets.
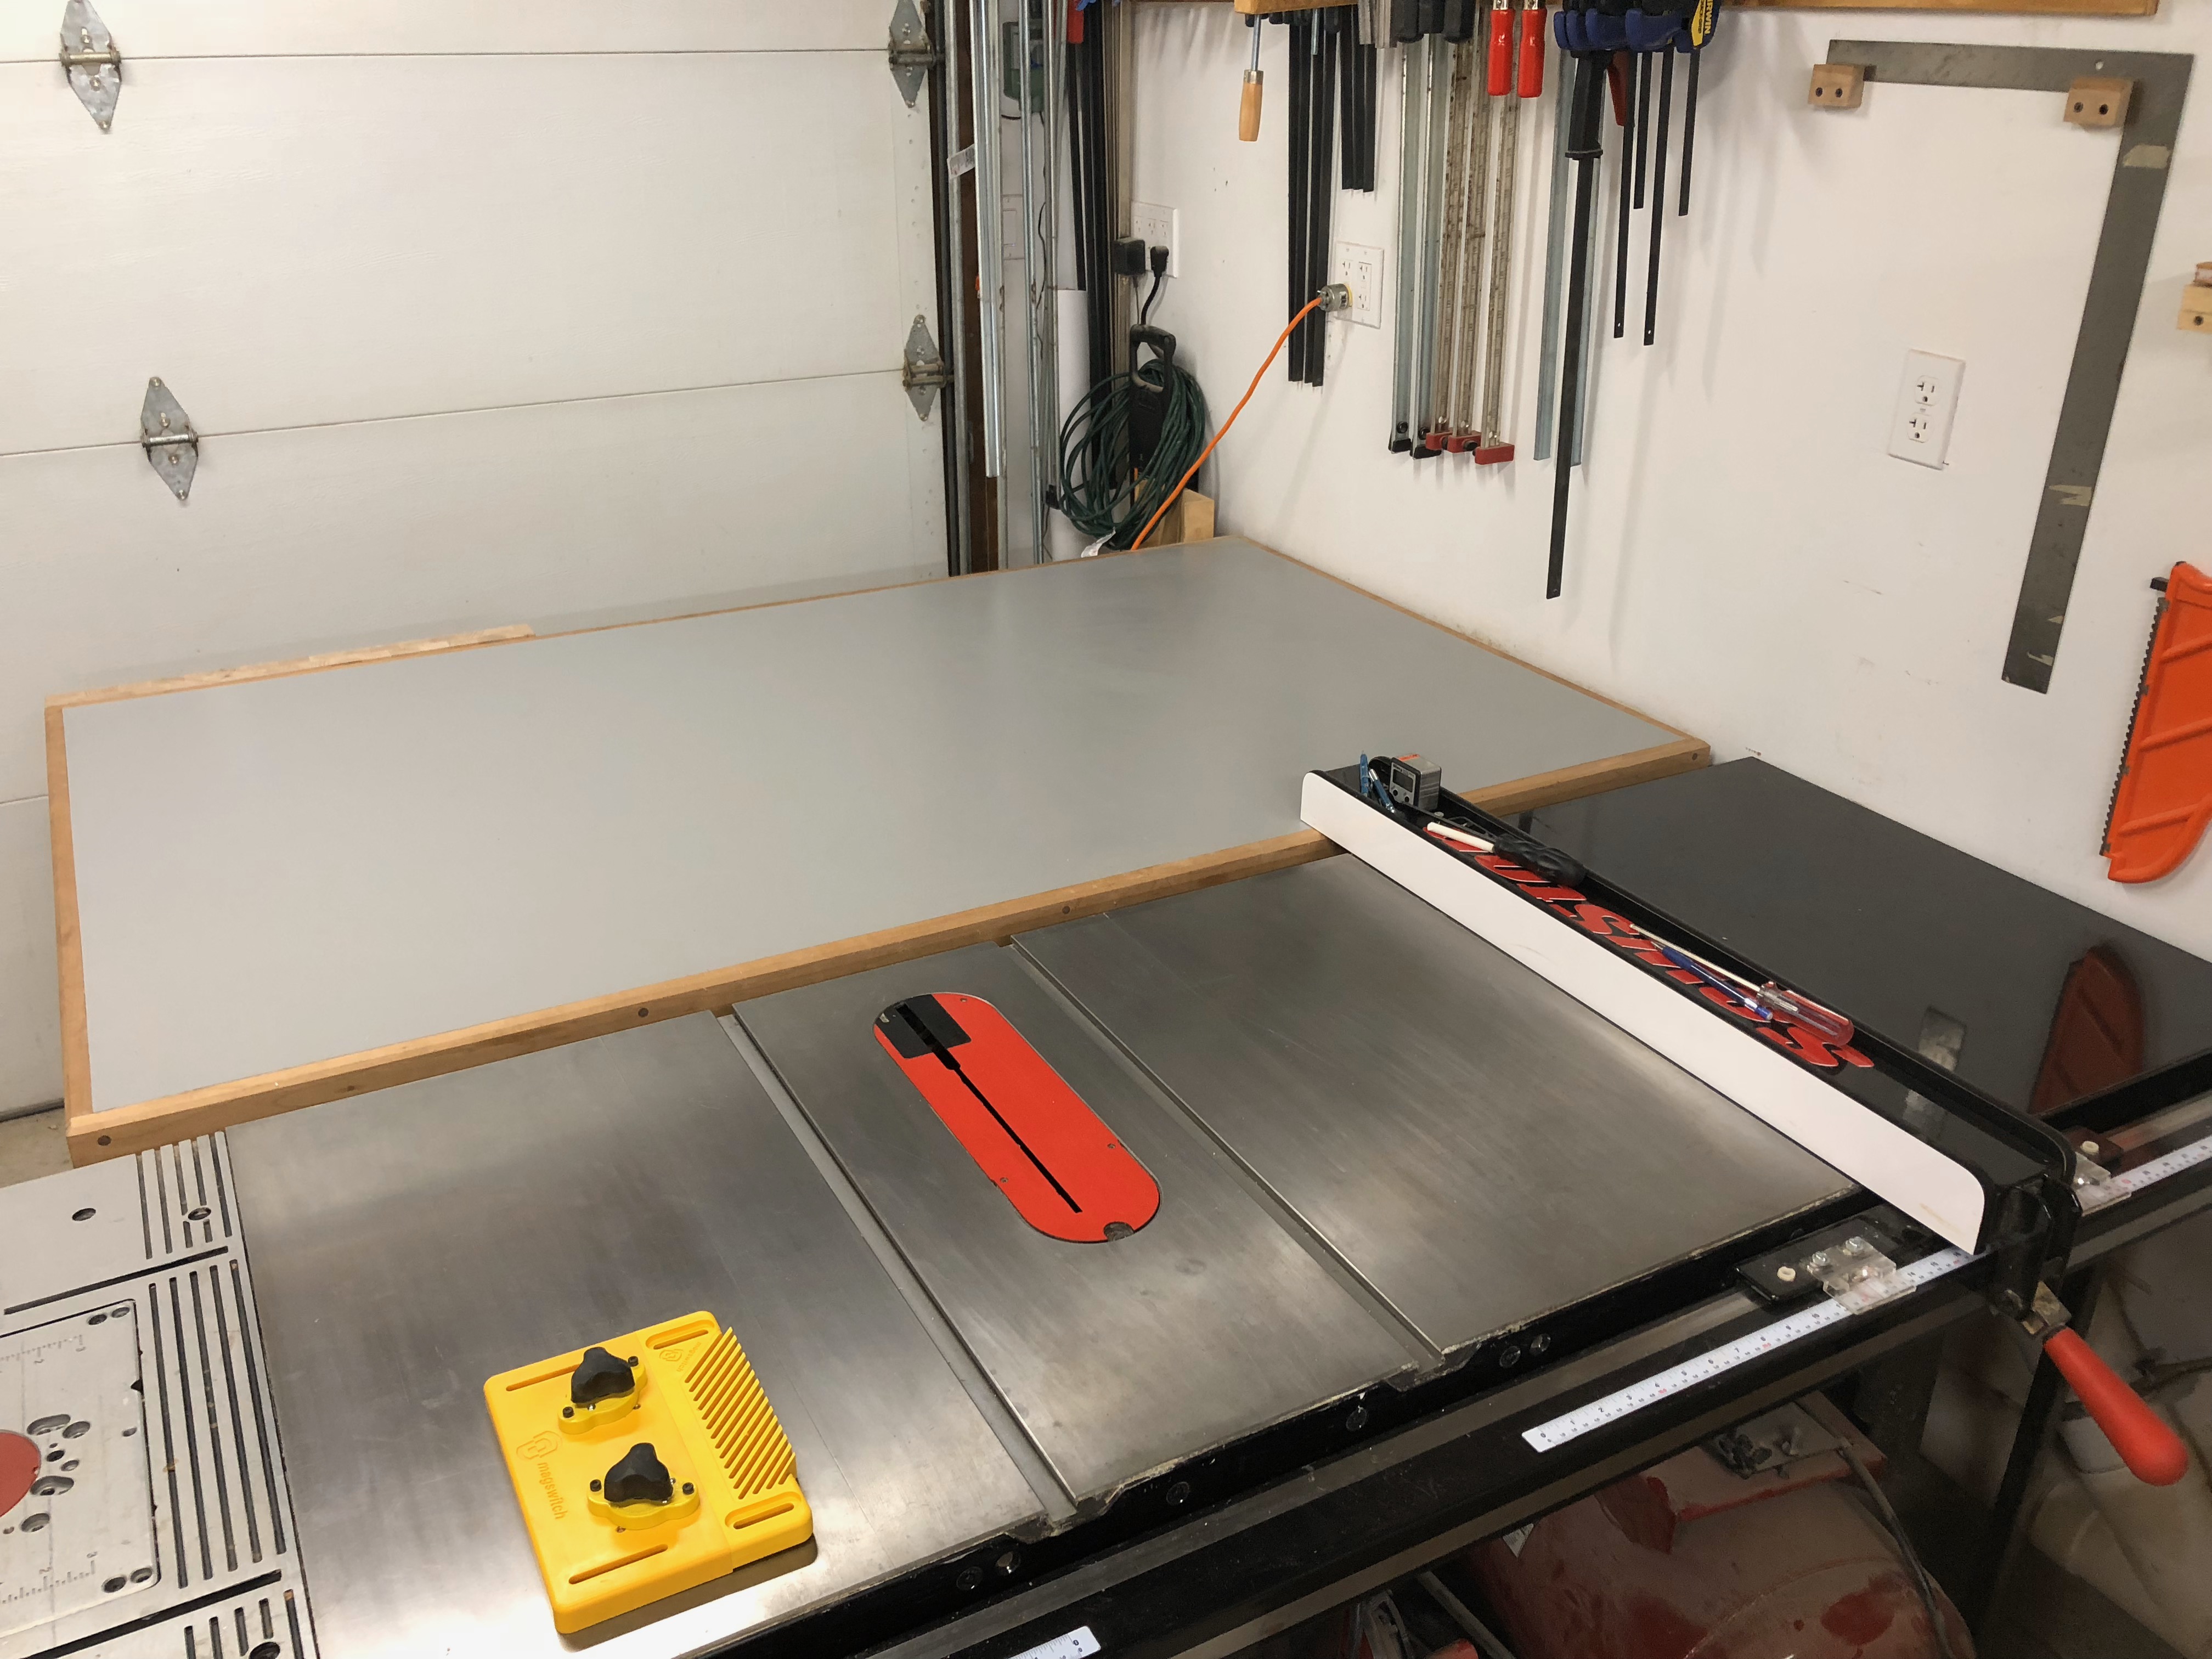
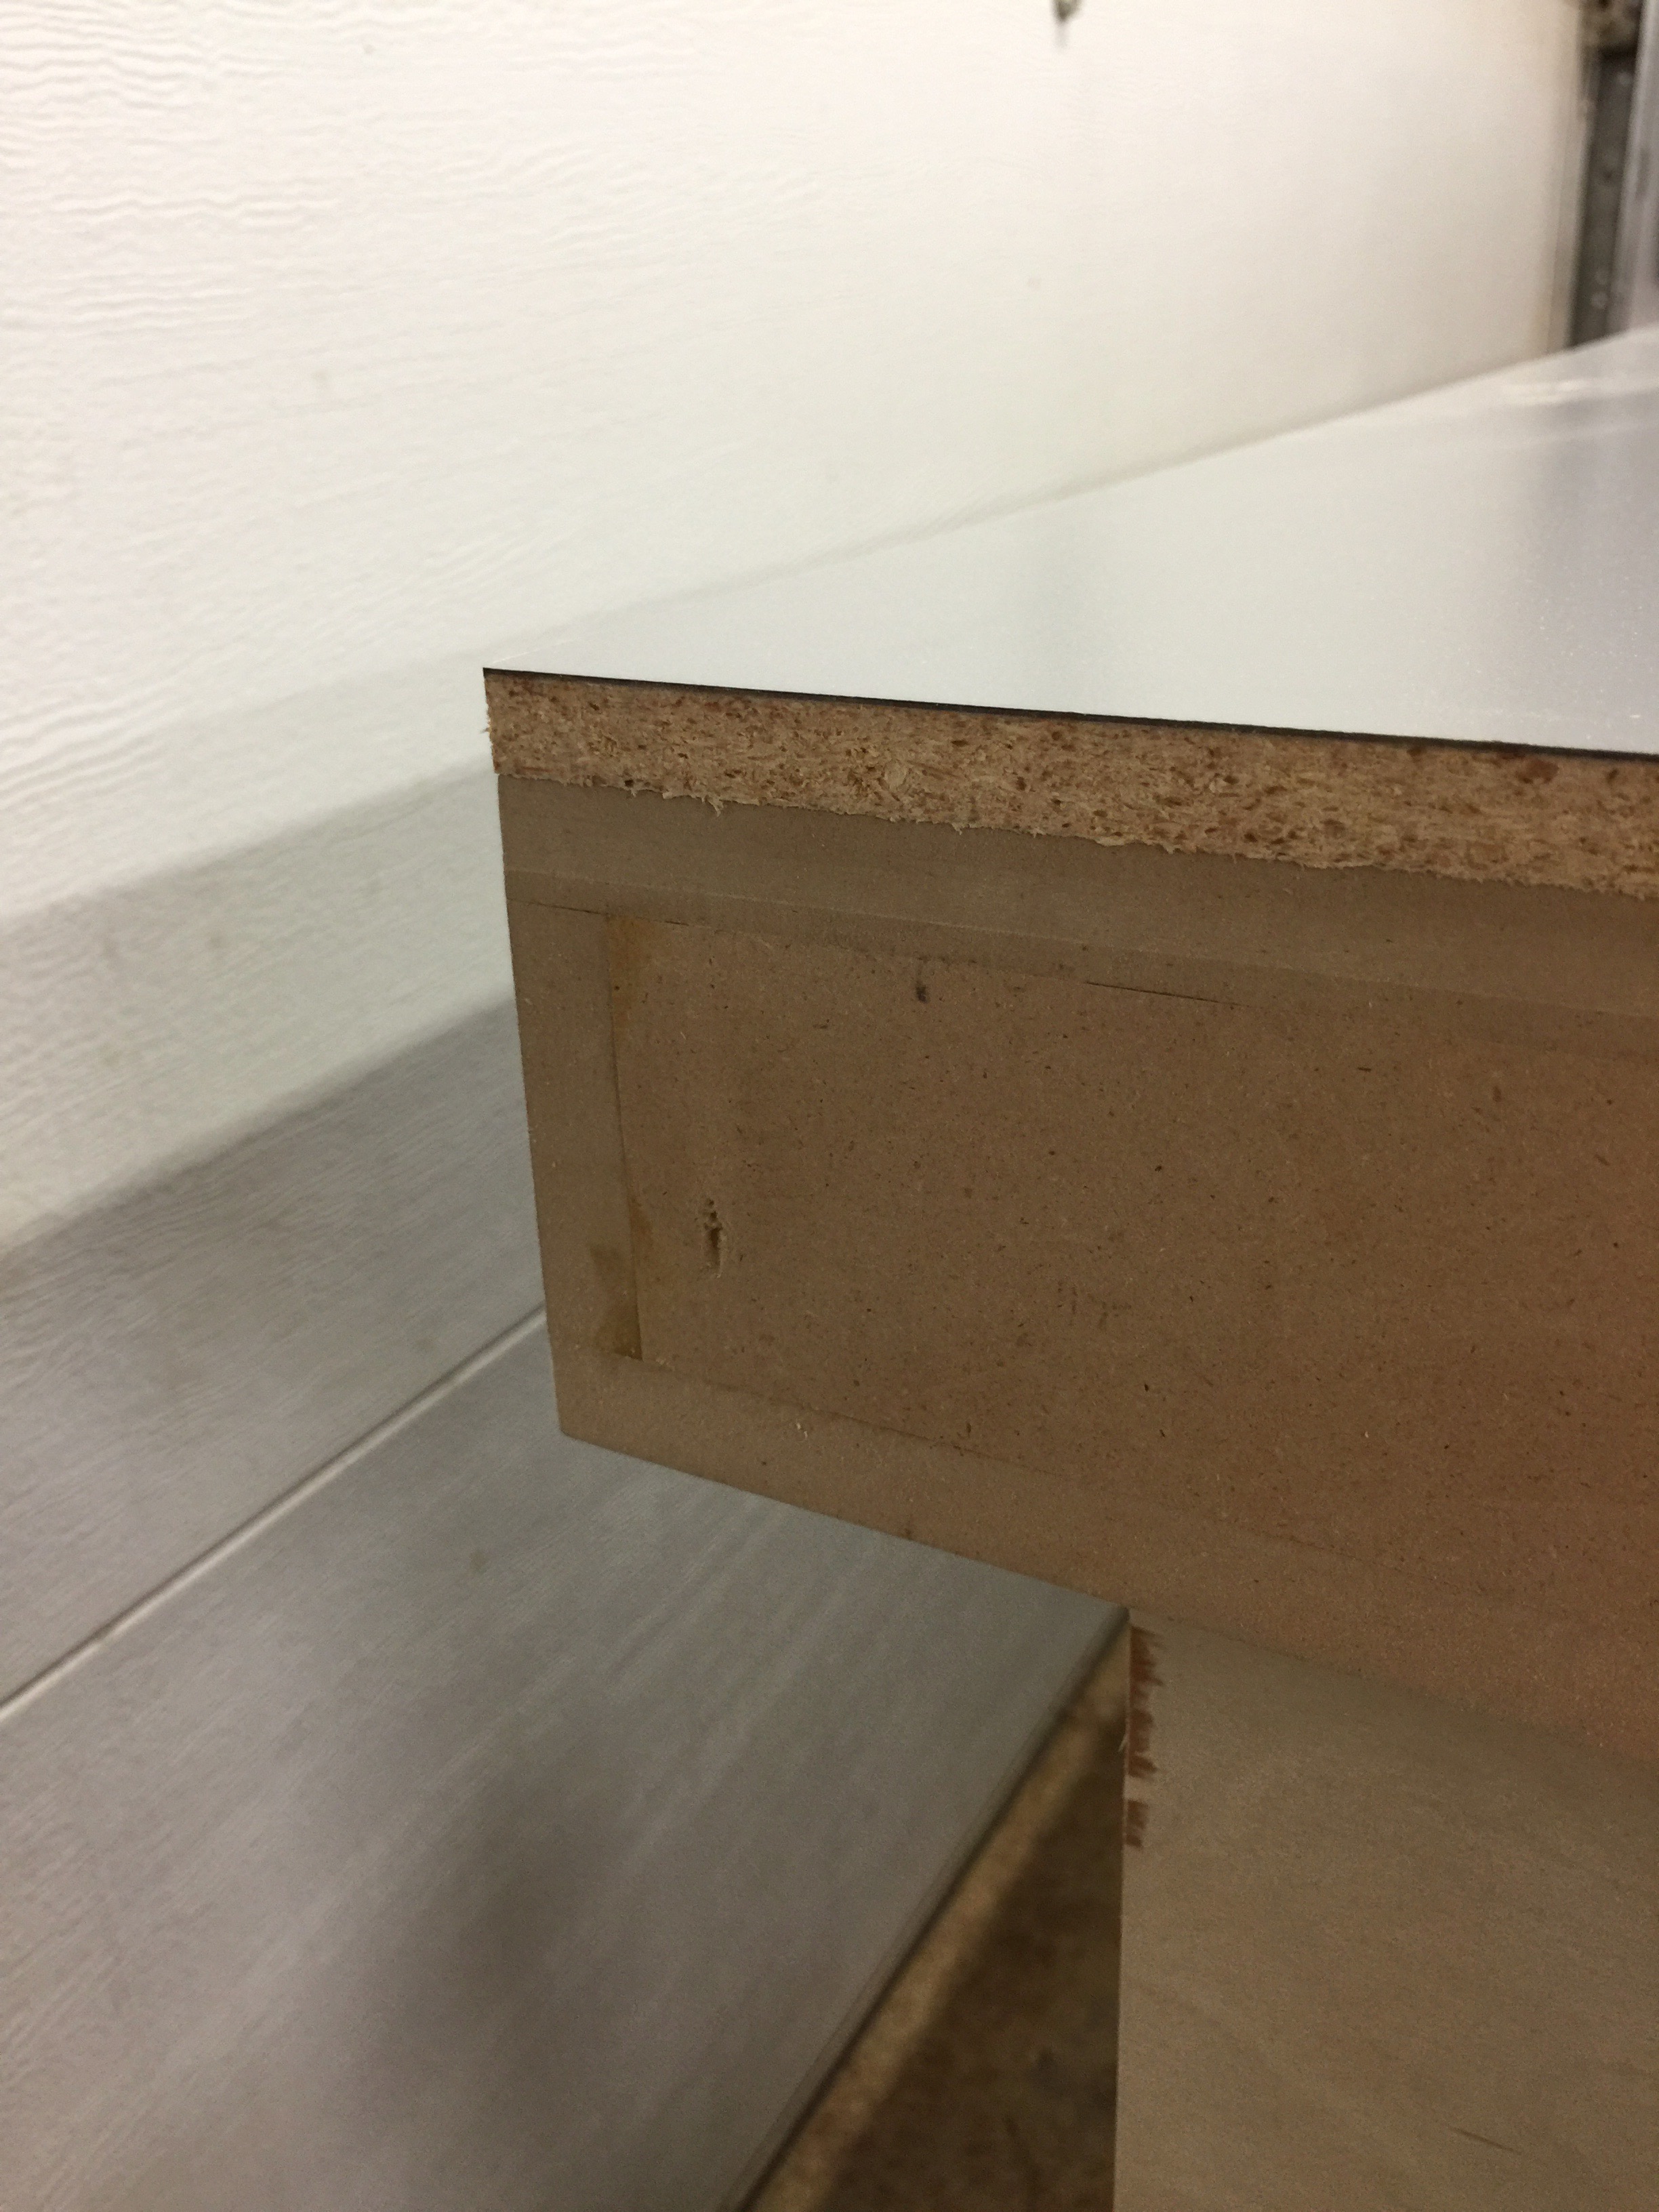 The laminate top flush trimmed to the top.
As durable as the top is, I still want to make sure it's replaceable in case it ever gets irreparably damaged. To do this I just screwed down a 3/4" piece of particle board and then glued the laminate to the particle board. If I ever need to replace the top, I can locate the screws with a magnet and simply unscrew the top and put a new one down. It'd be a bit of a pain in the butt to find all the screws, but hopefully that's only like a once-every-10-years operation.
The vise I installed is basically the cheapest one I could find at the time. It's a Yost cabinet vise off of Amazon. It's okay. It has a huge amount of racking, so getting a good hold on pieces can be a challenge, but it's workable. I recently purchased Andy Klein's Twin Turbo vise that's still sitting in a box waiting to be installed. Hopefully that vise will be more pleasant to use.
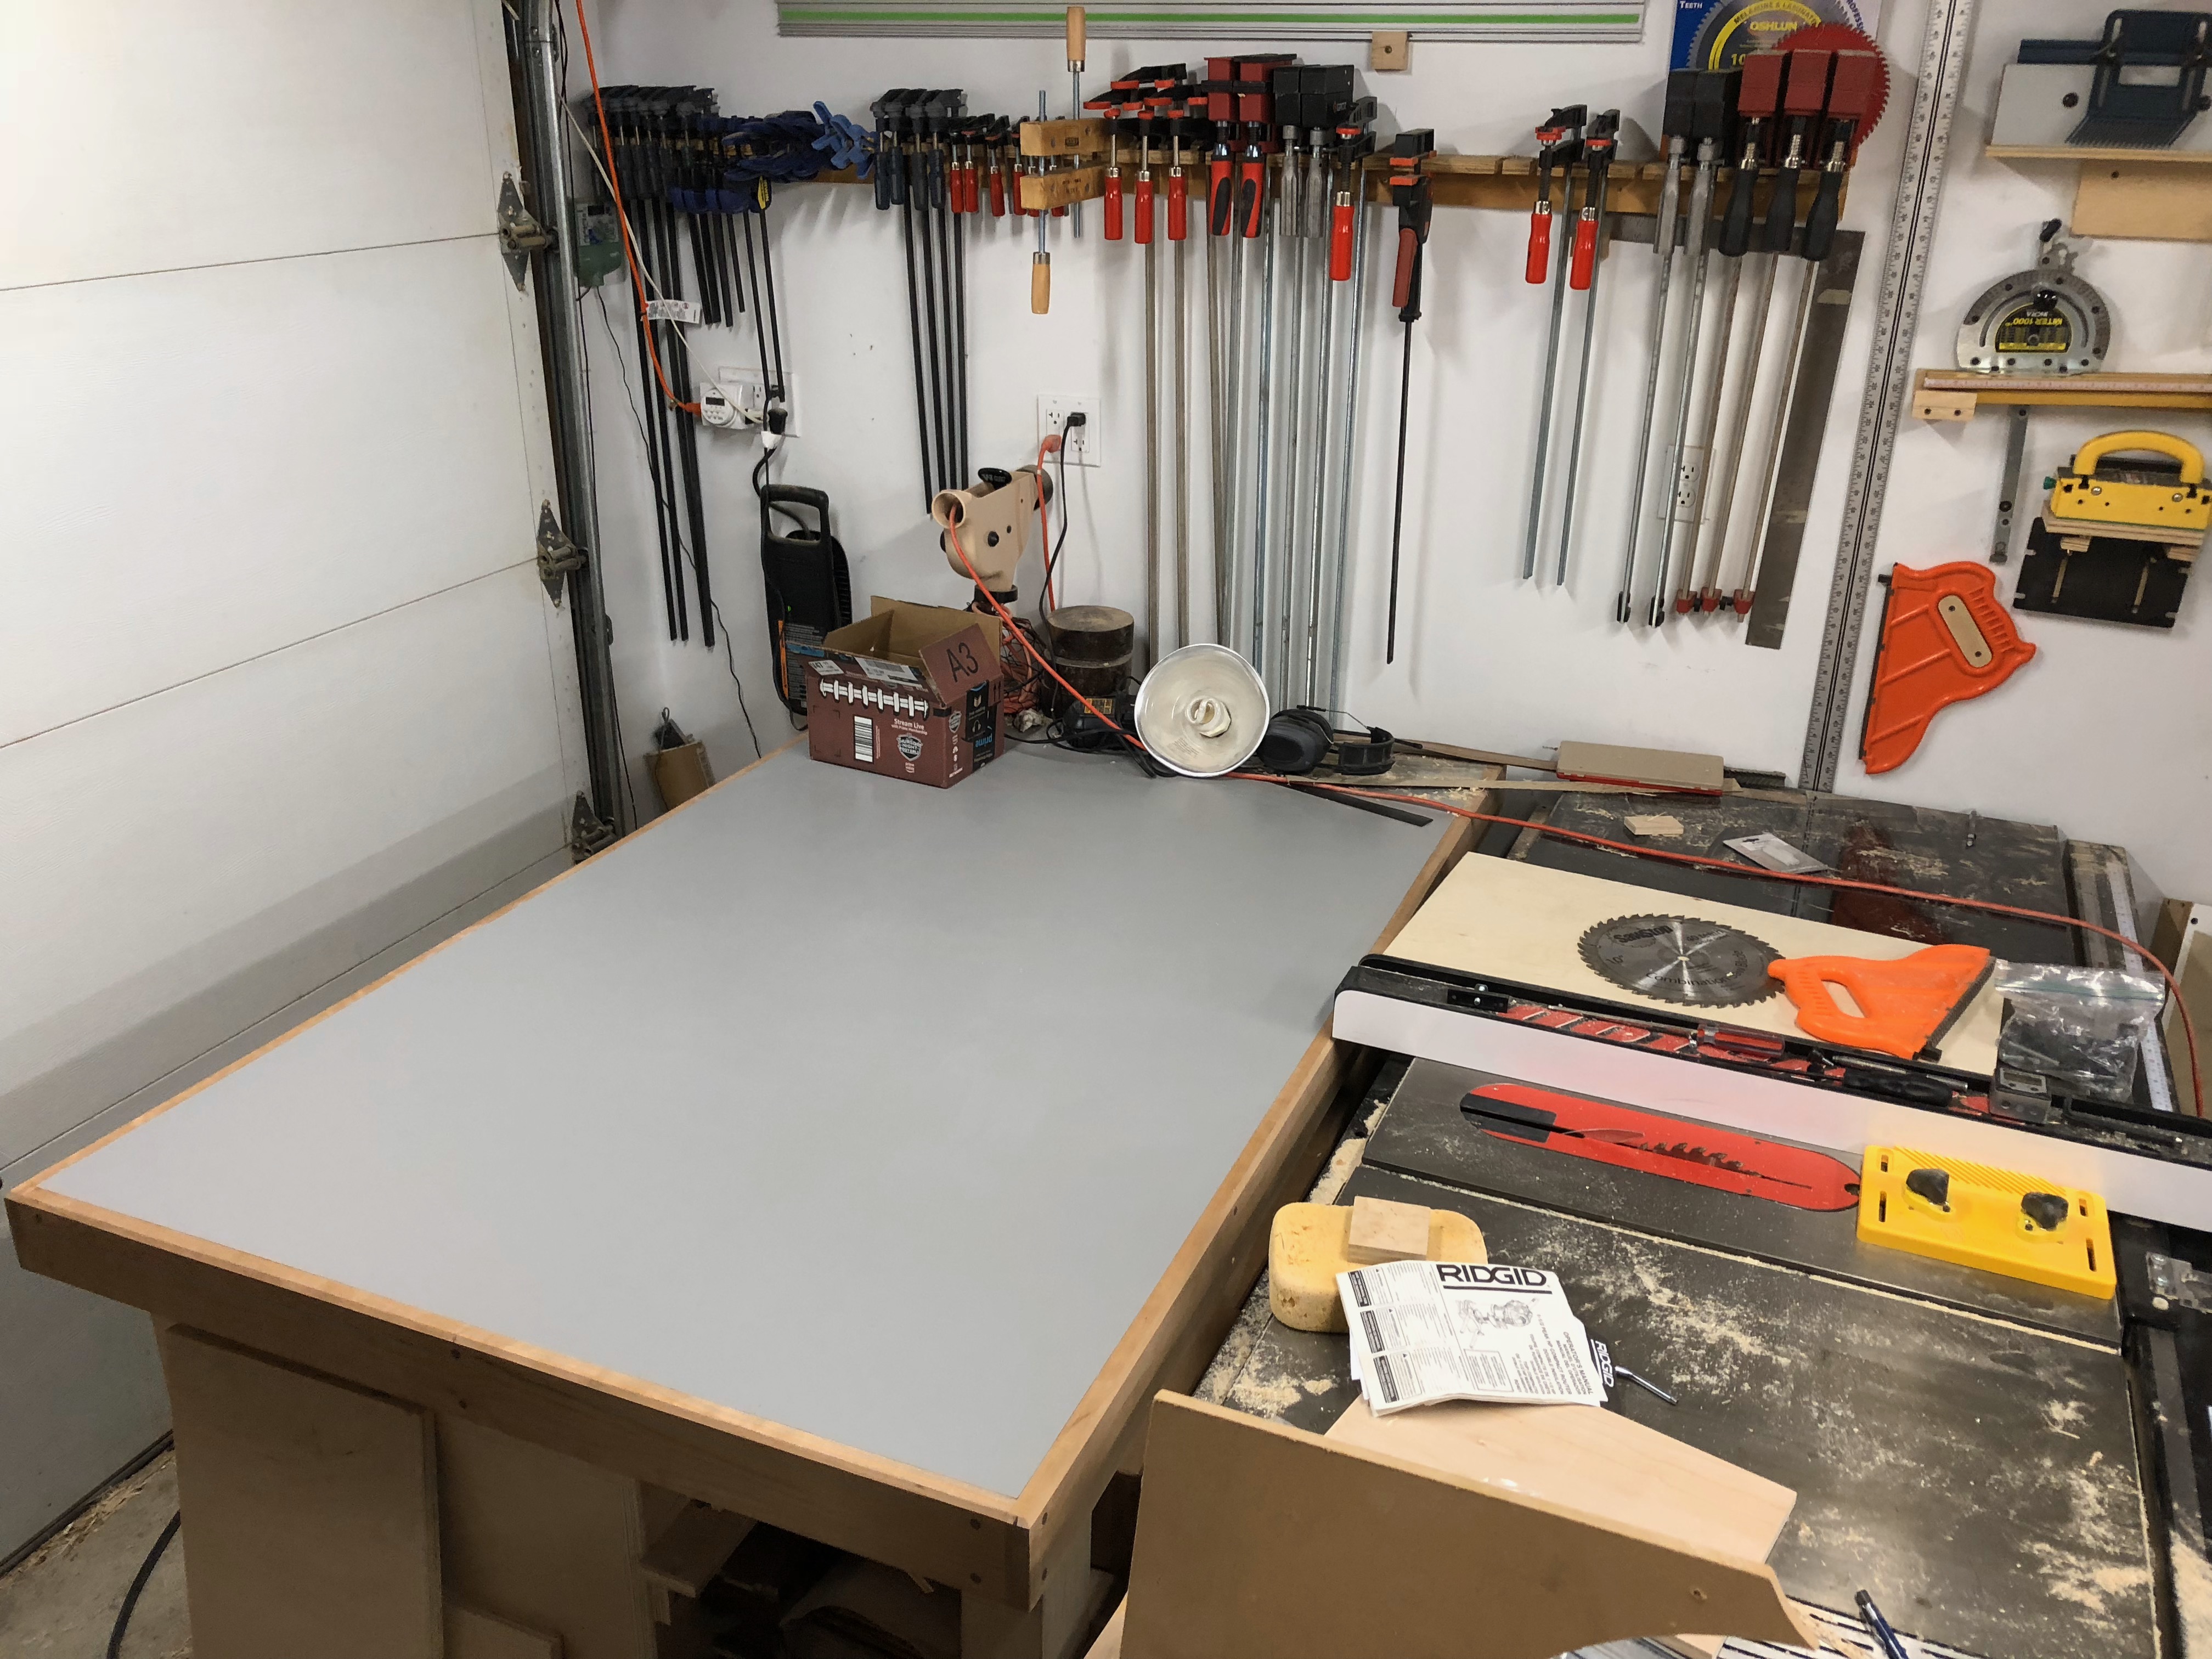
 The finished workbench.
 Cleaned up and ready to support some wood.