Miter Station Workbench
Power Tools
- Table Saw
- Router Table
- Jig Saw
- Impact Driver
- Track Saw
- Spindle Sander
Wood
- 4/4 Cherry
- 3/4" Birch Plywood
- 3/8" Birch Plywood
- 1/2" Birch Plywood
- 1/2" Pine Plywood
- Ikea Gerton Beech Butcher Block Table Top
- Iron On Birch Edge Banding
Bits & Blades
- Flush Trim Router Bit
- 3/4" Core Box Bit
- 3/4" Round Over Bit
- 1/4" Round Over Bit
- 1/8" Round Over Bit
- 3/4" Drill Bit
Hand Tools
- Flush Trim Saw
- 1/4" Chisel
Hardware
- 24" Over-Extension Drawer Slides (Qty: 15)
- Incra T-Track
- Screws
 Download Plans
When we purchased our home, the previous owners left their old workbench in the garage for us to use. It was a simply built 2x4 bench with a plywood sheet top and two large drawers that were barely hanging on for dear life. While it wasn't the highest quality bench by any means, we did our best to make use of it. It quickly became apparent that storage would be a problem. While the large drawers could hold a bunch of stuff, they were simply too large to sustain any sort of meaningful organization strategy. As I got more into woodworking, the storage issues only got worse and worse. For years, my miter saw simply migrated from spot to spot in the garage, usually somewhere right in the middle of the floor under a bunch of junk. Moving it around and clearing out space for cross-cutting lumber was an annoying chore. I desperately needed a better bench.
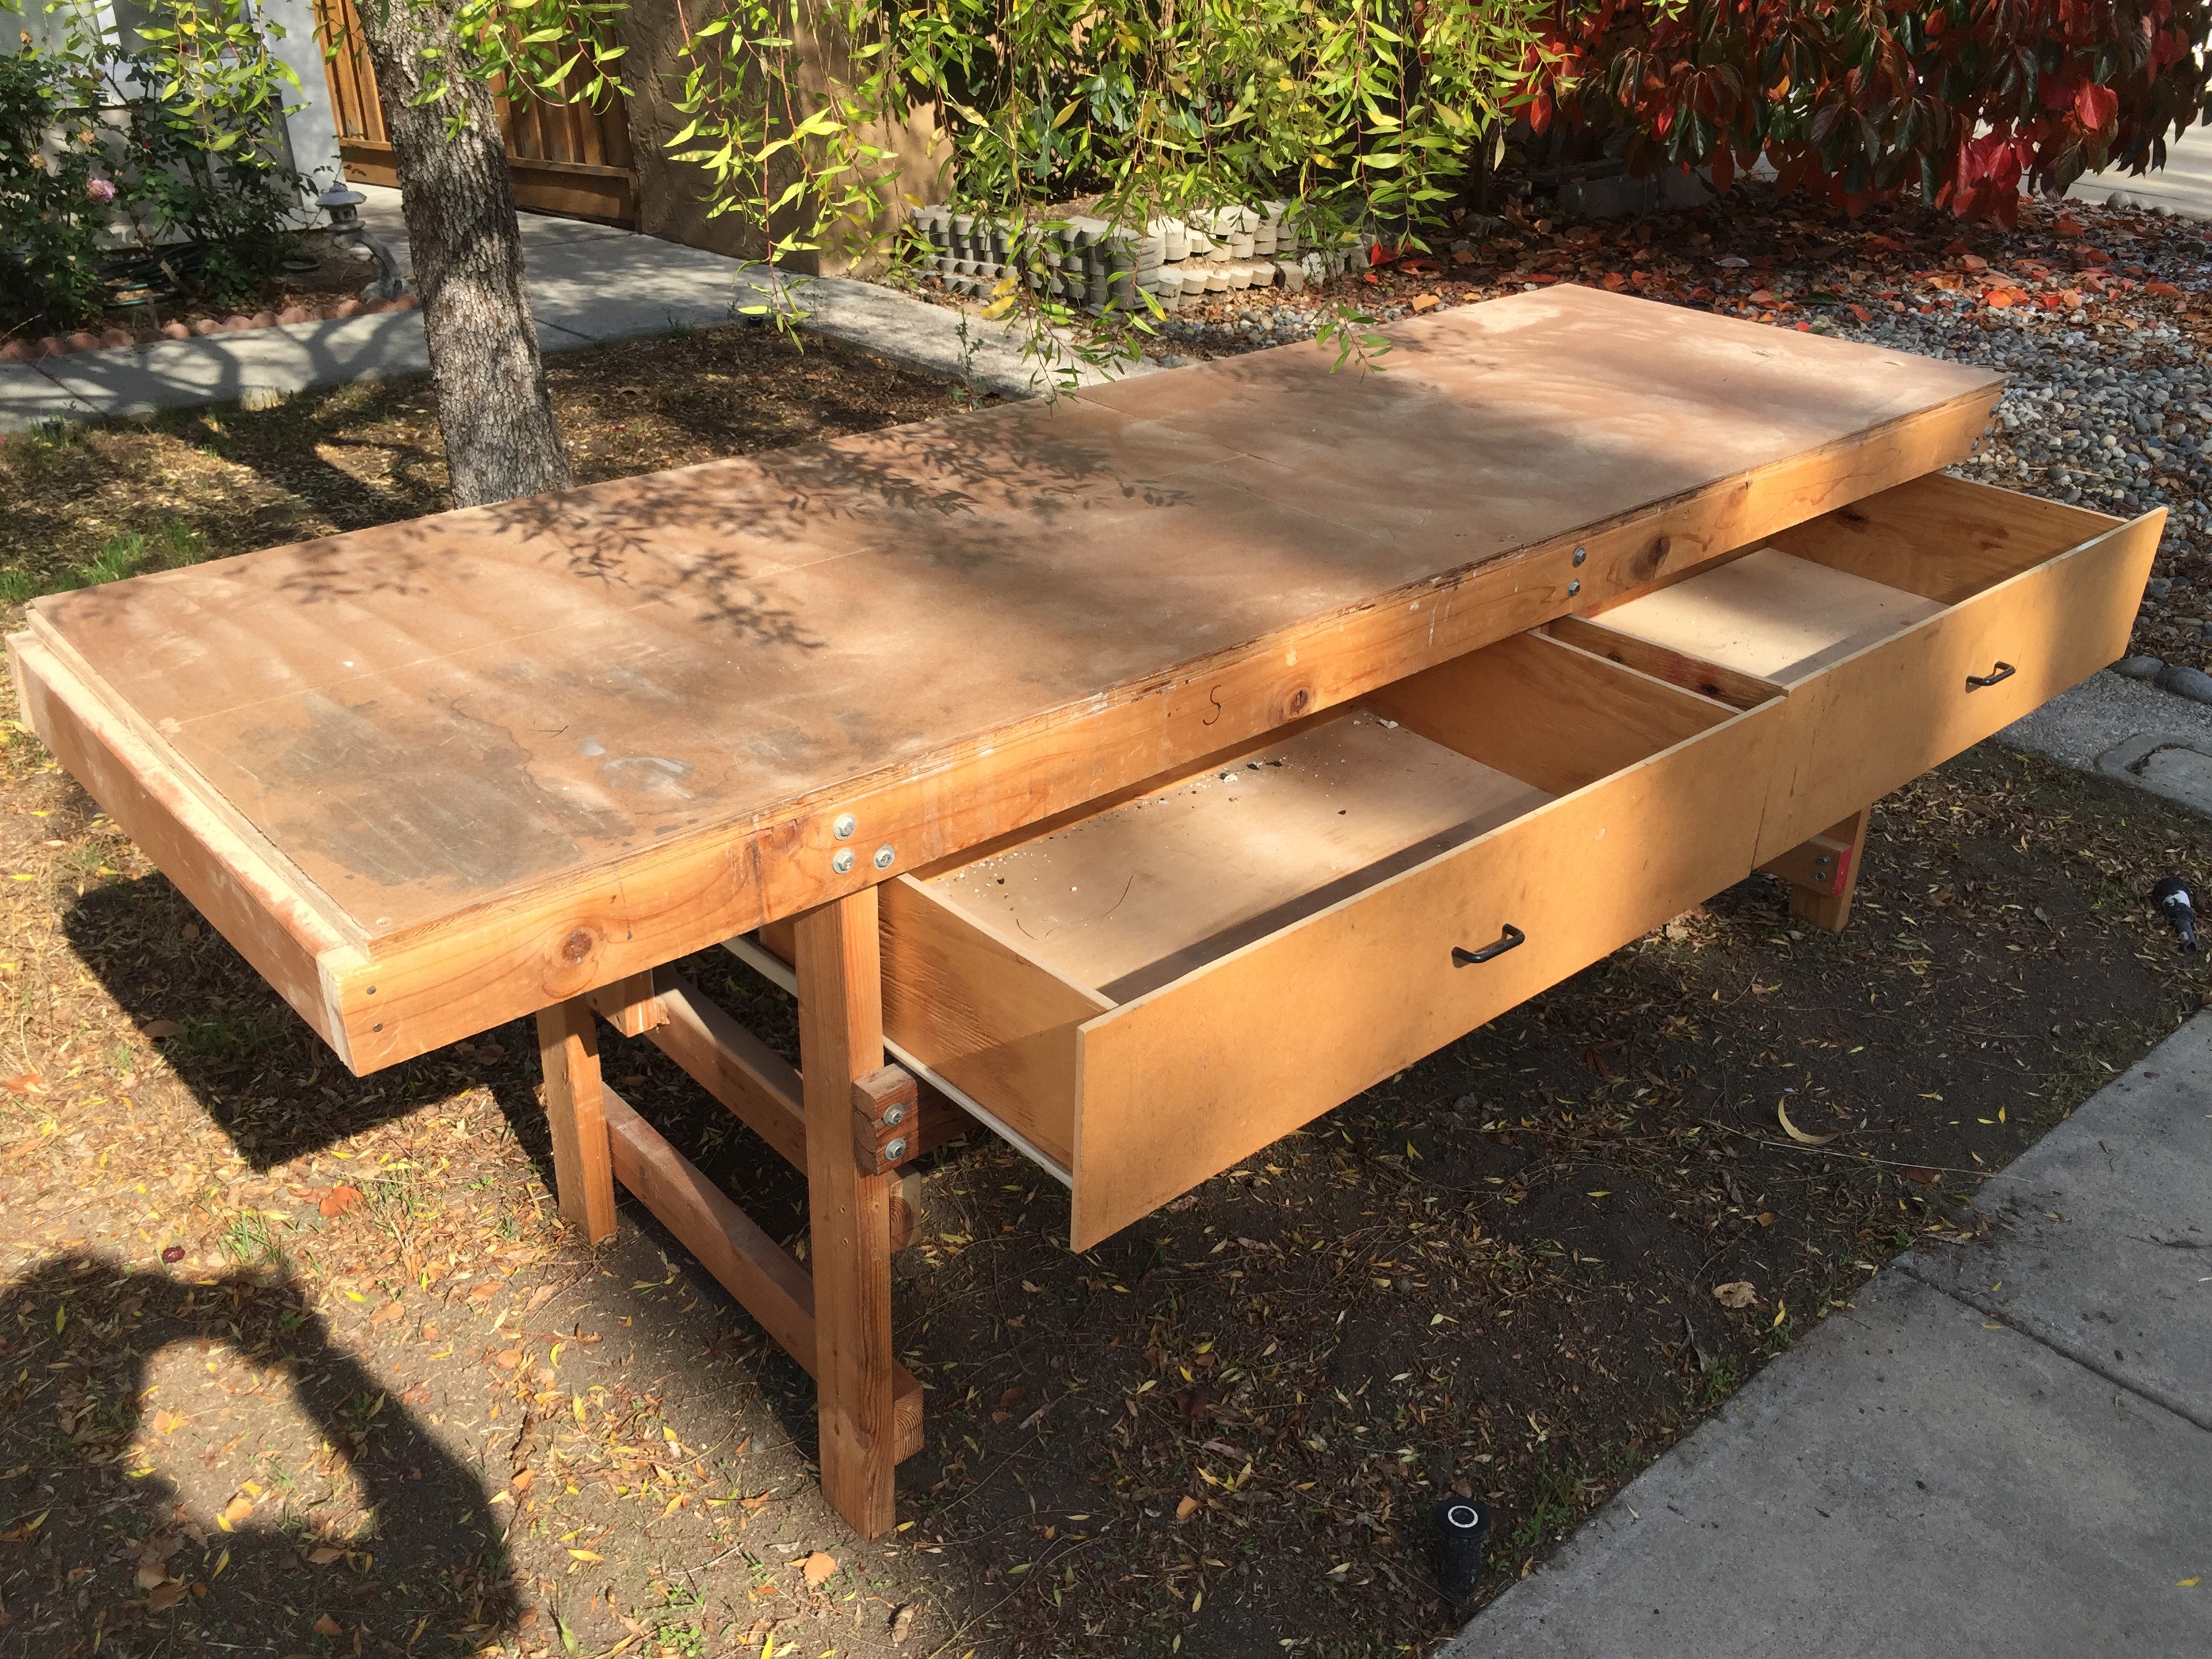 The old workbench.
 The inital model for my miter bench. Packing as much storage as possible into the bench.
 Mockup of the recessed miter saw table, the bank of cubbies built into the fence and storage for the planer below the miter saw.
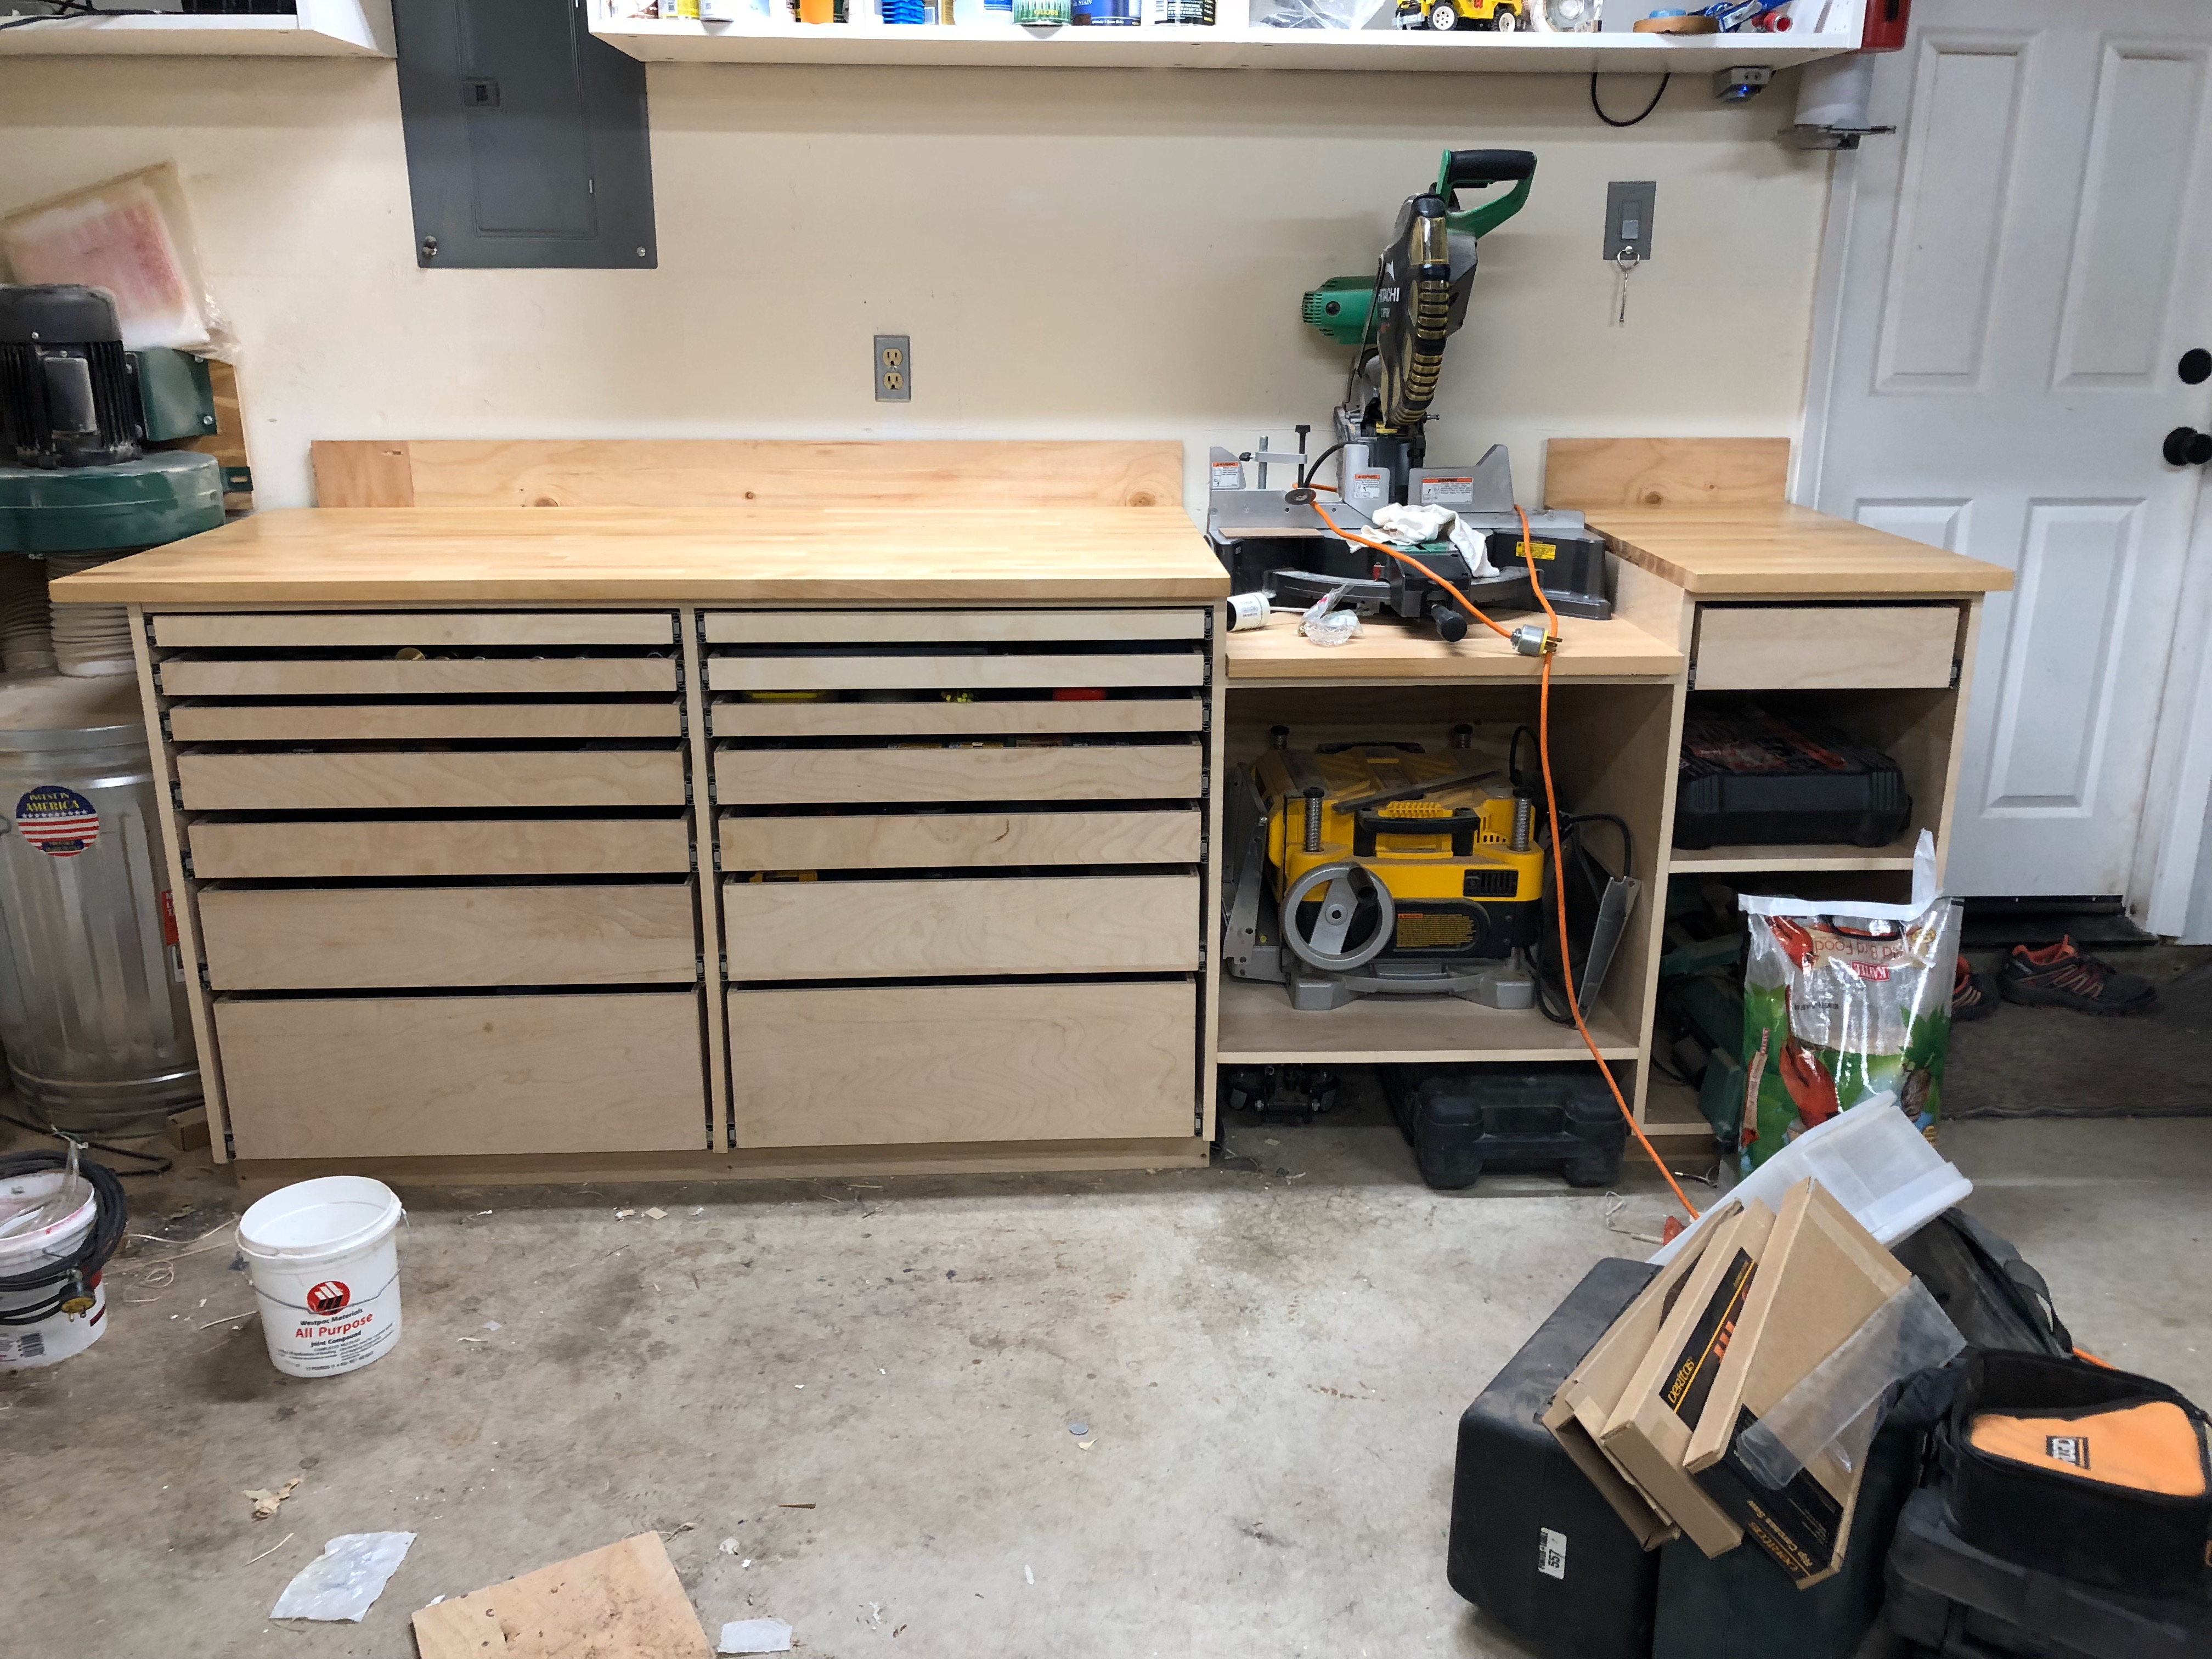 The new bench mostly assembled.
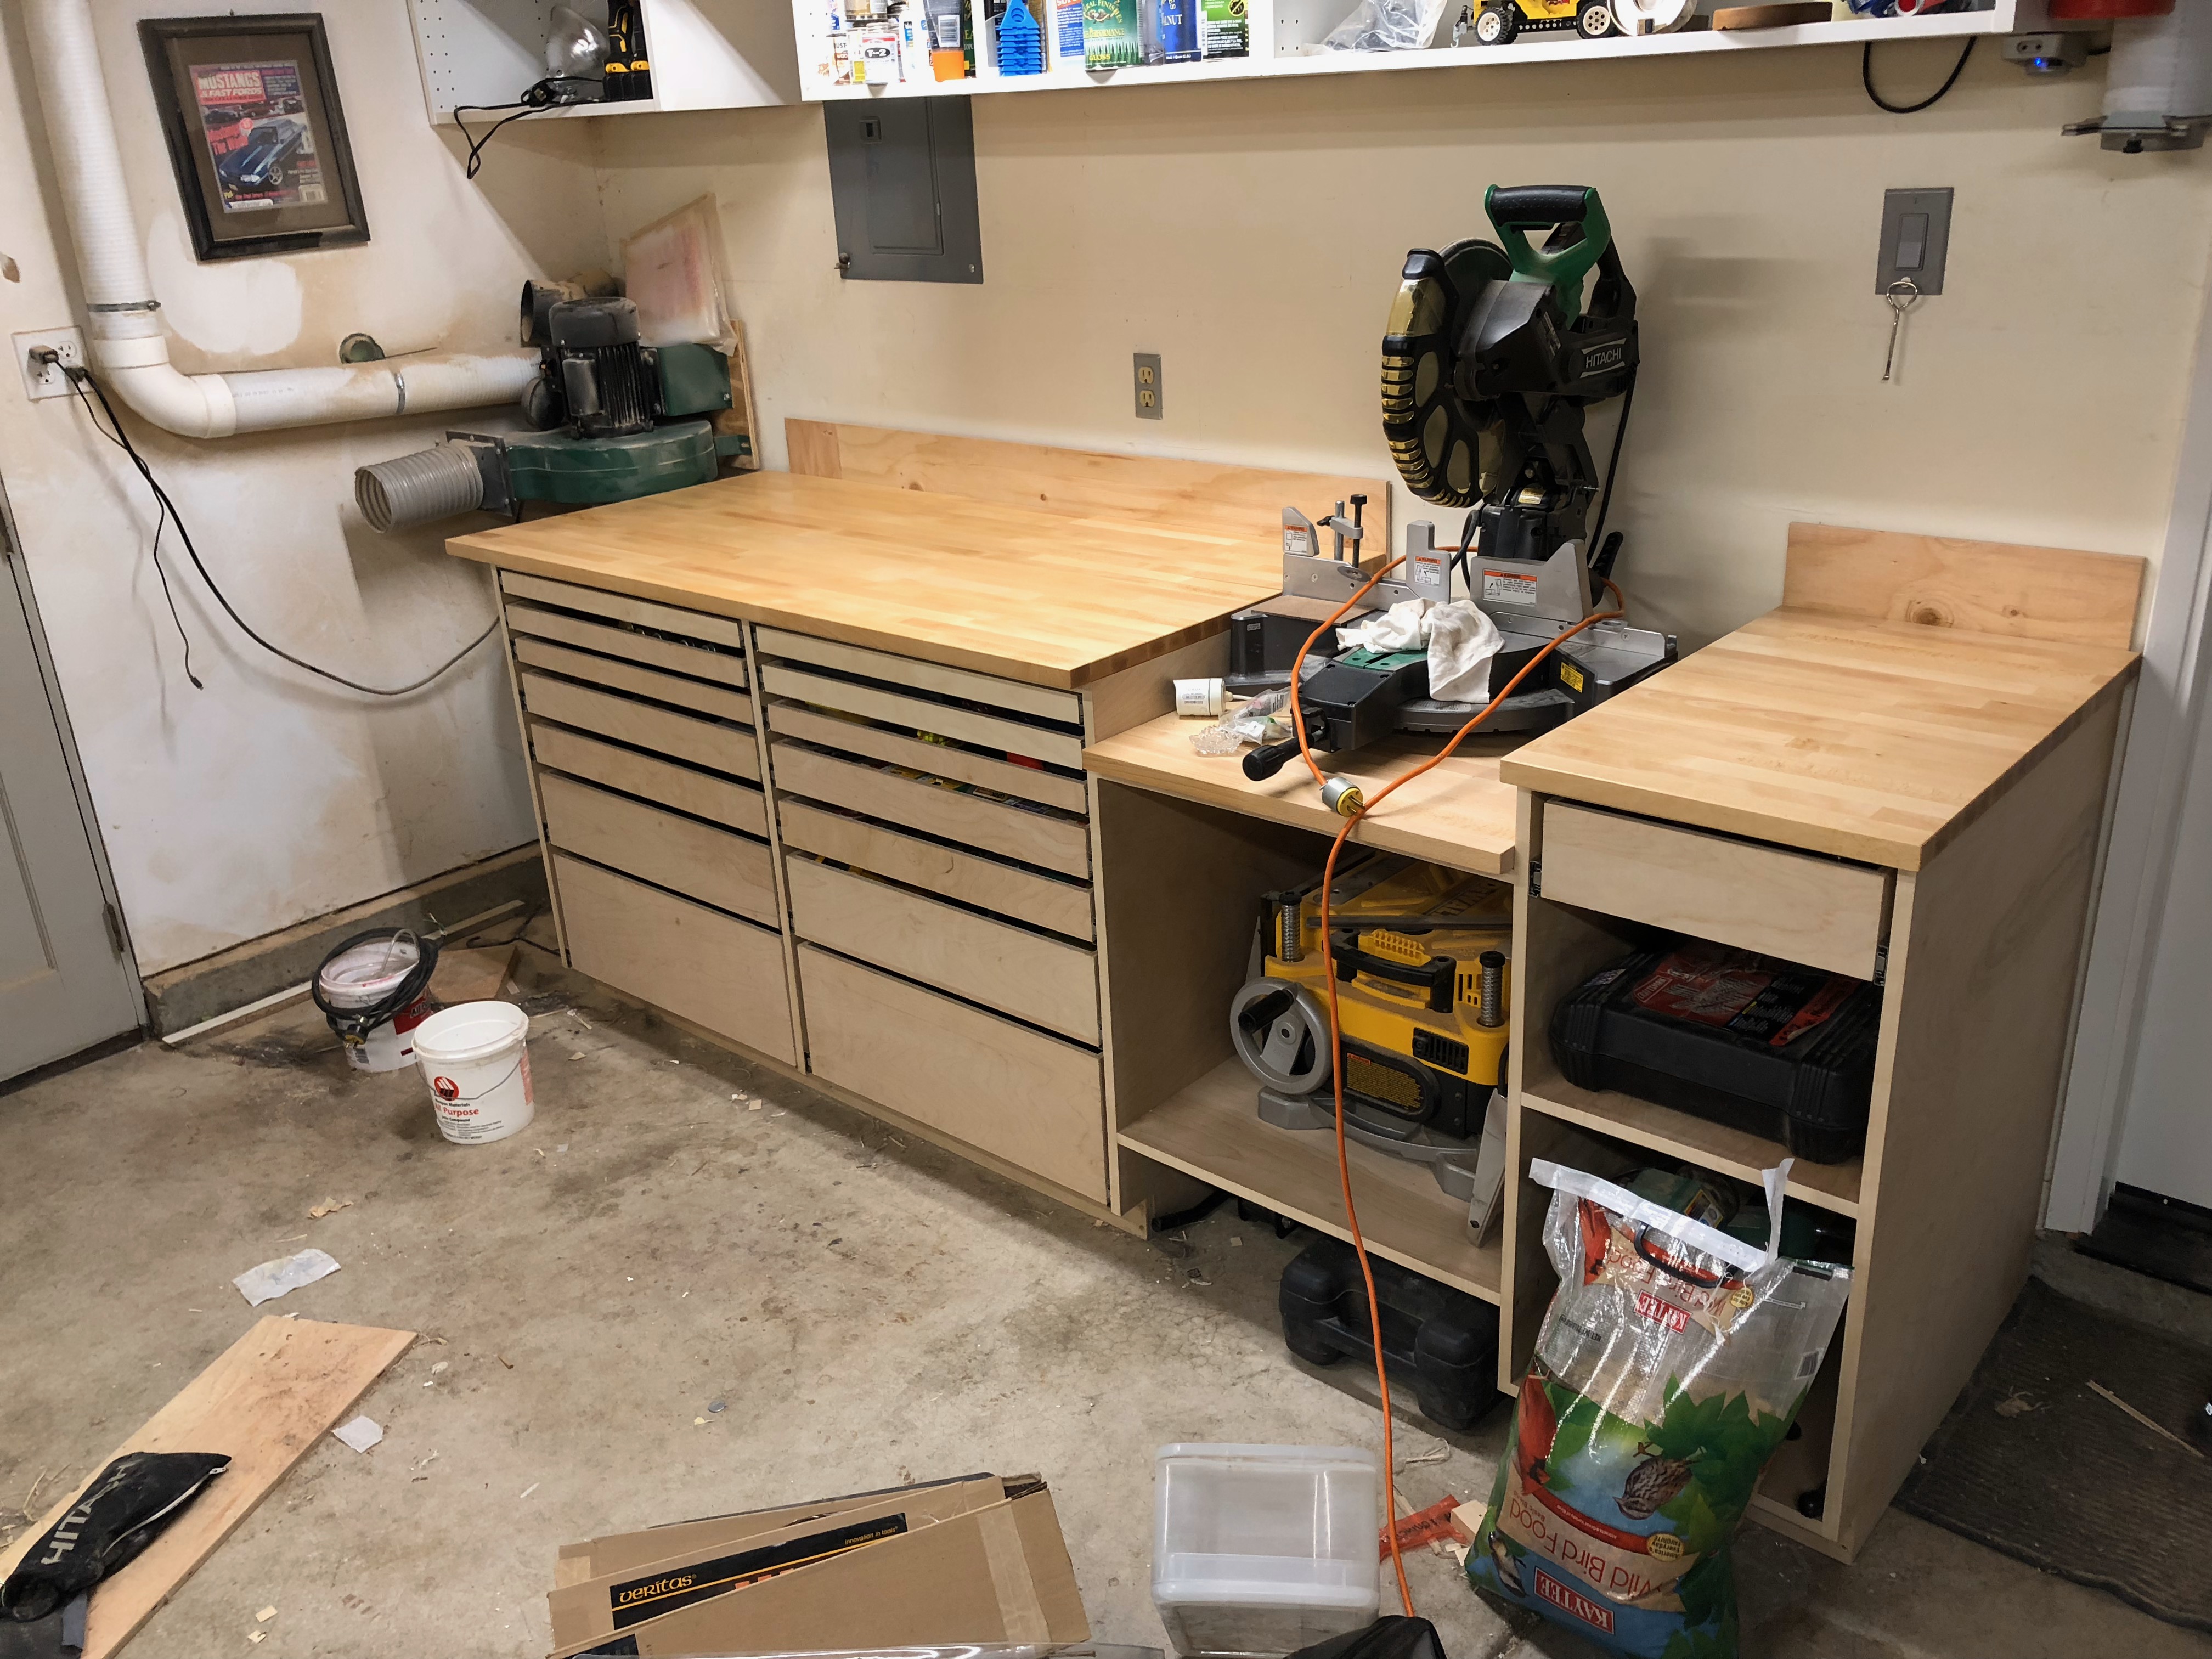 Still needs drawer fronts and the fence / cubbies.
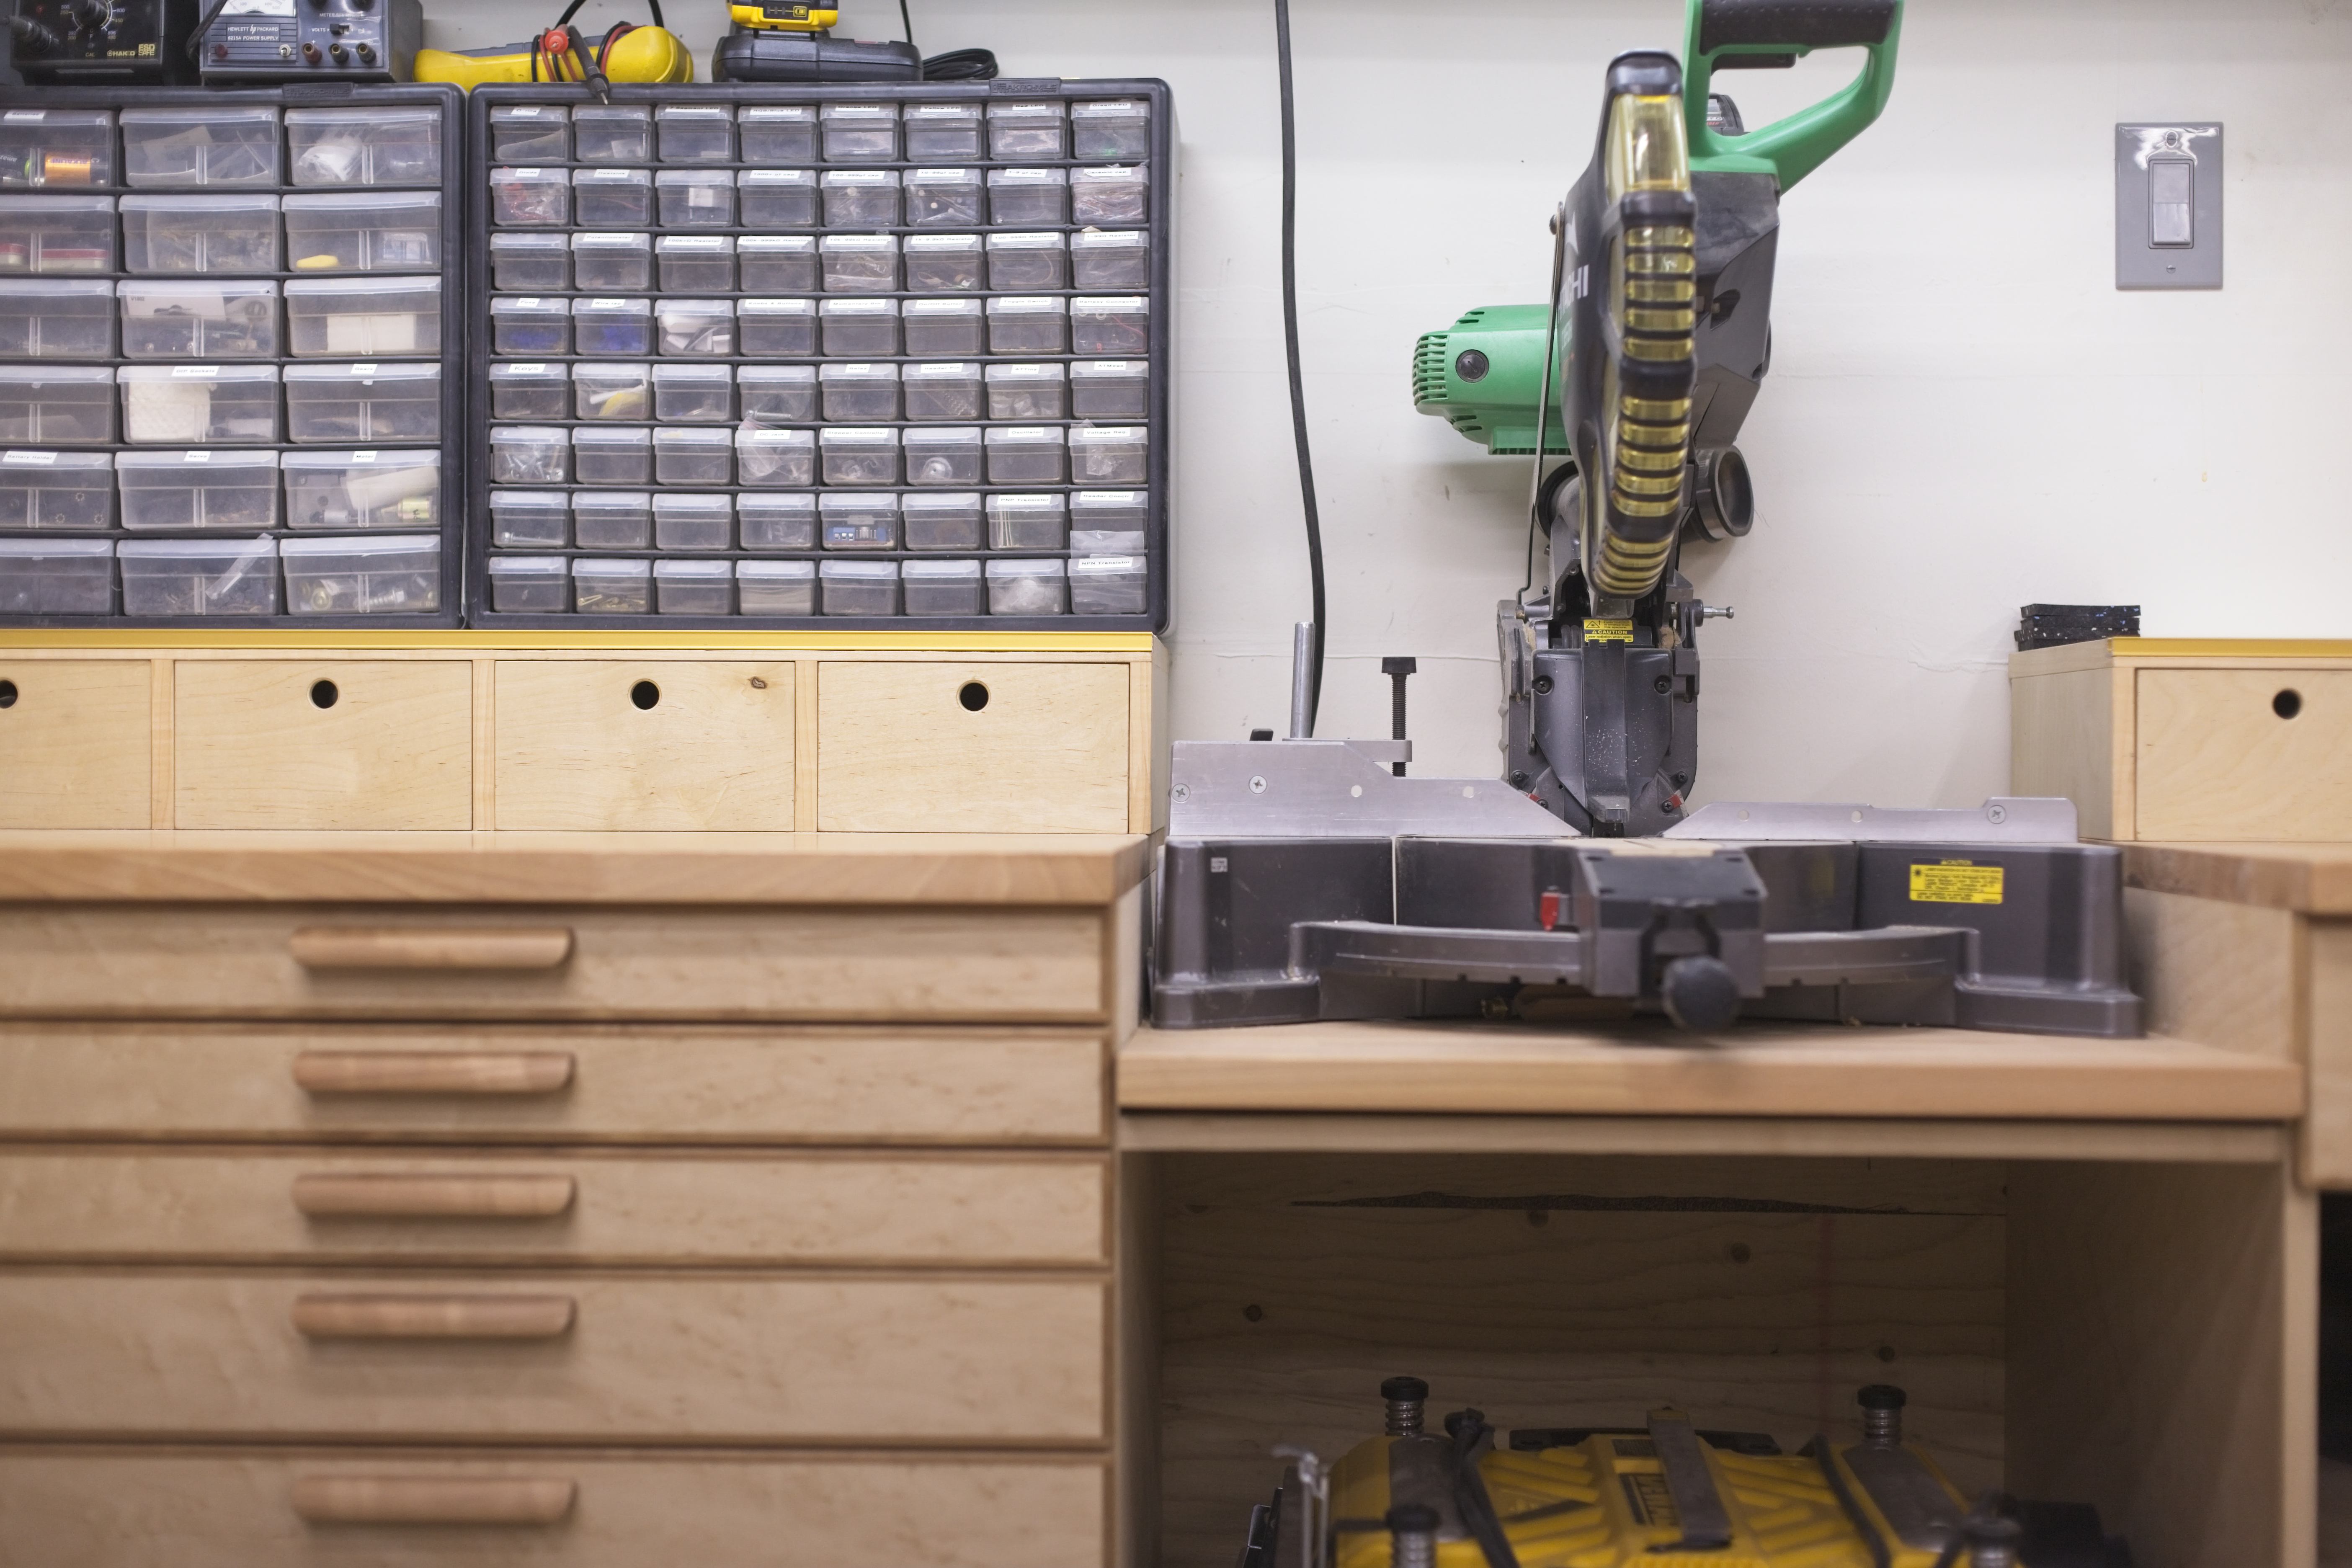
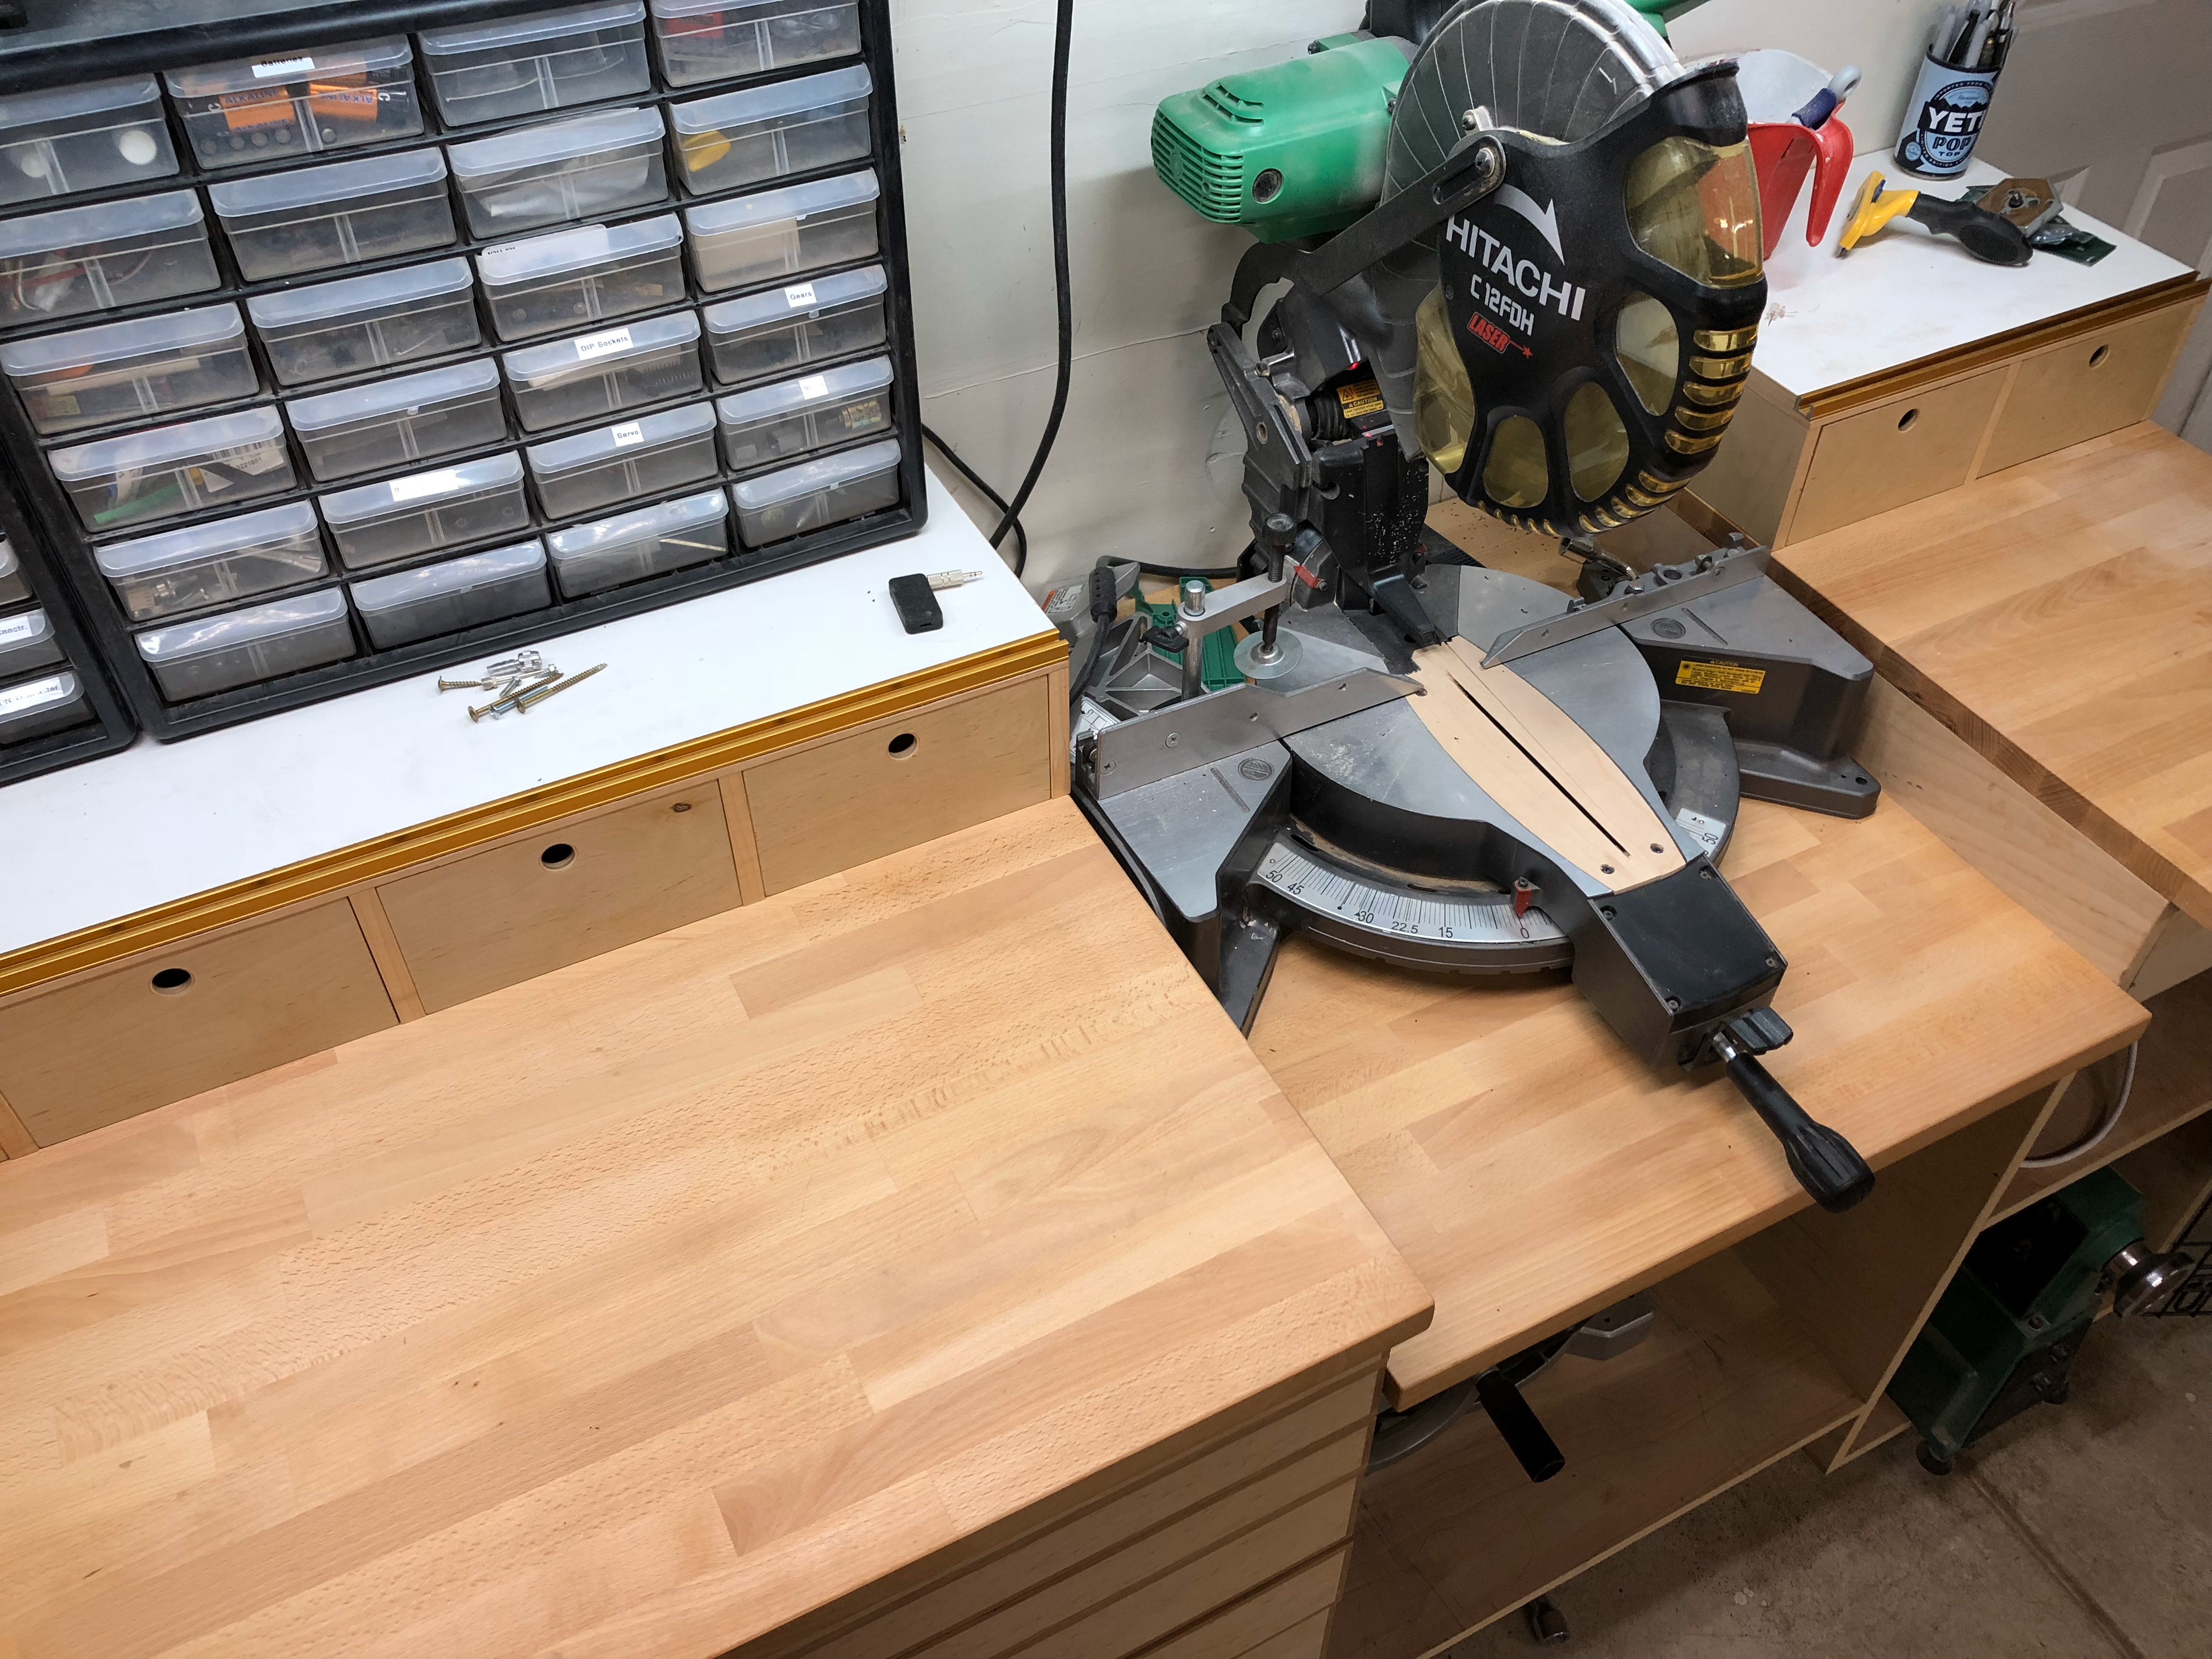 The fence. Melamine top with Incra T-track for a stop-block.
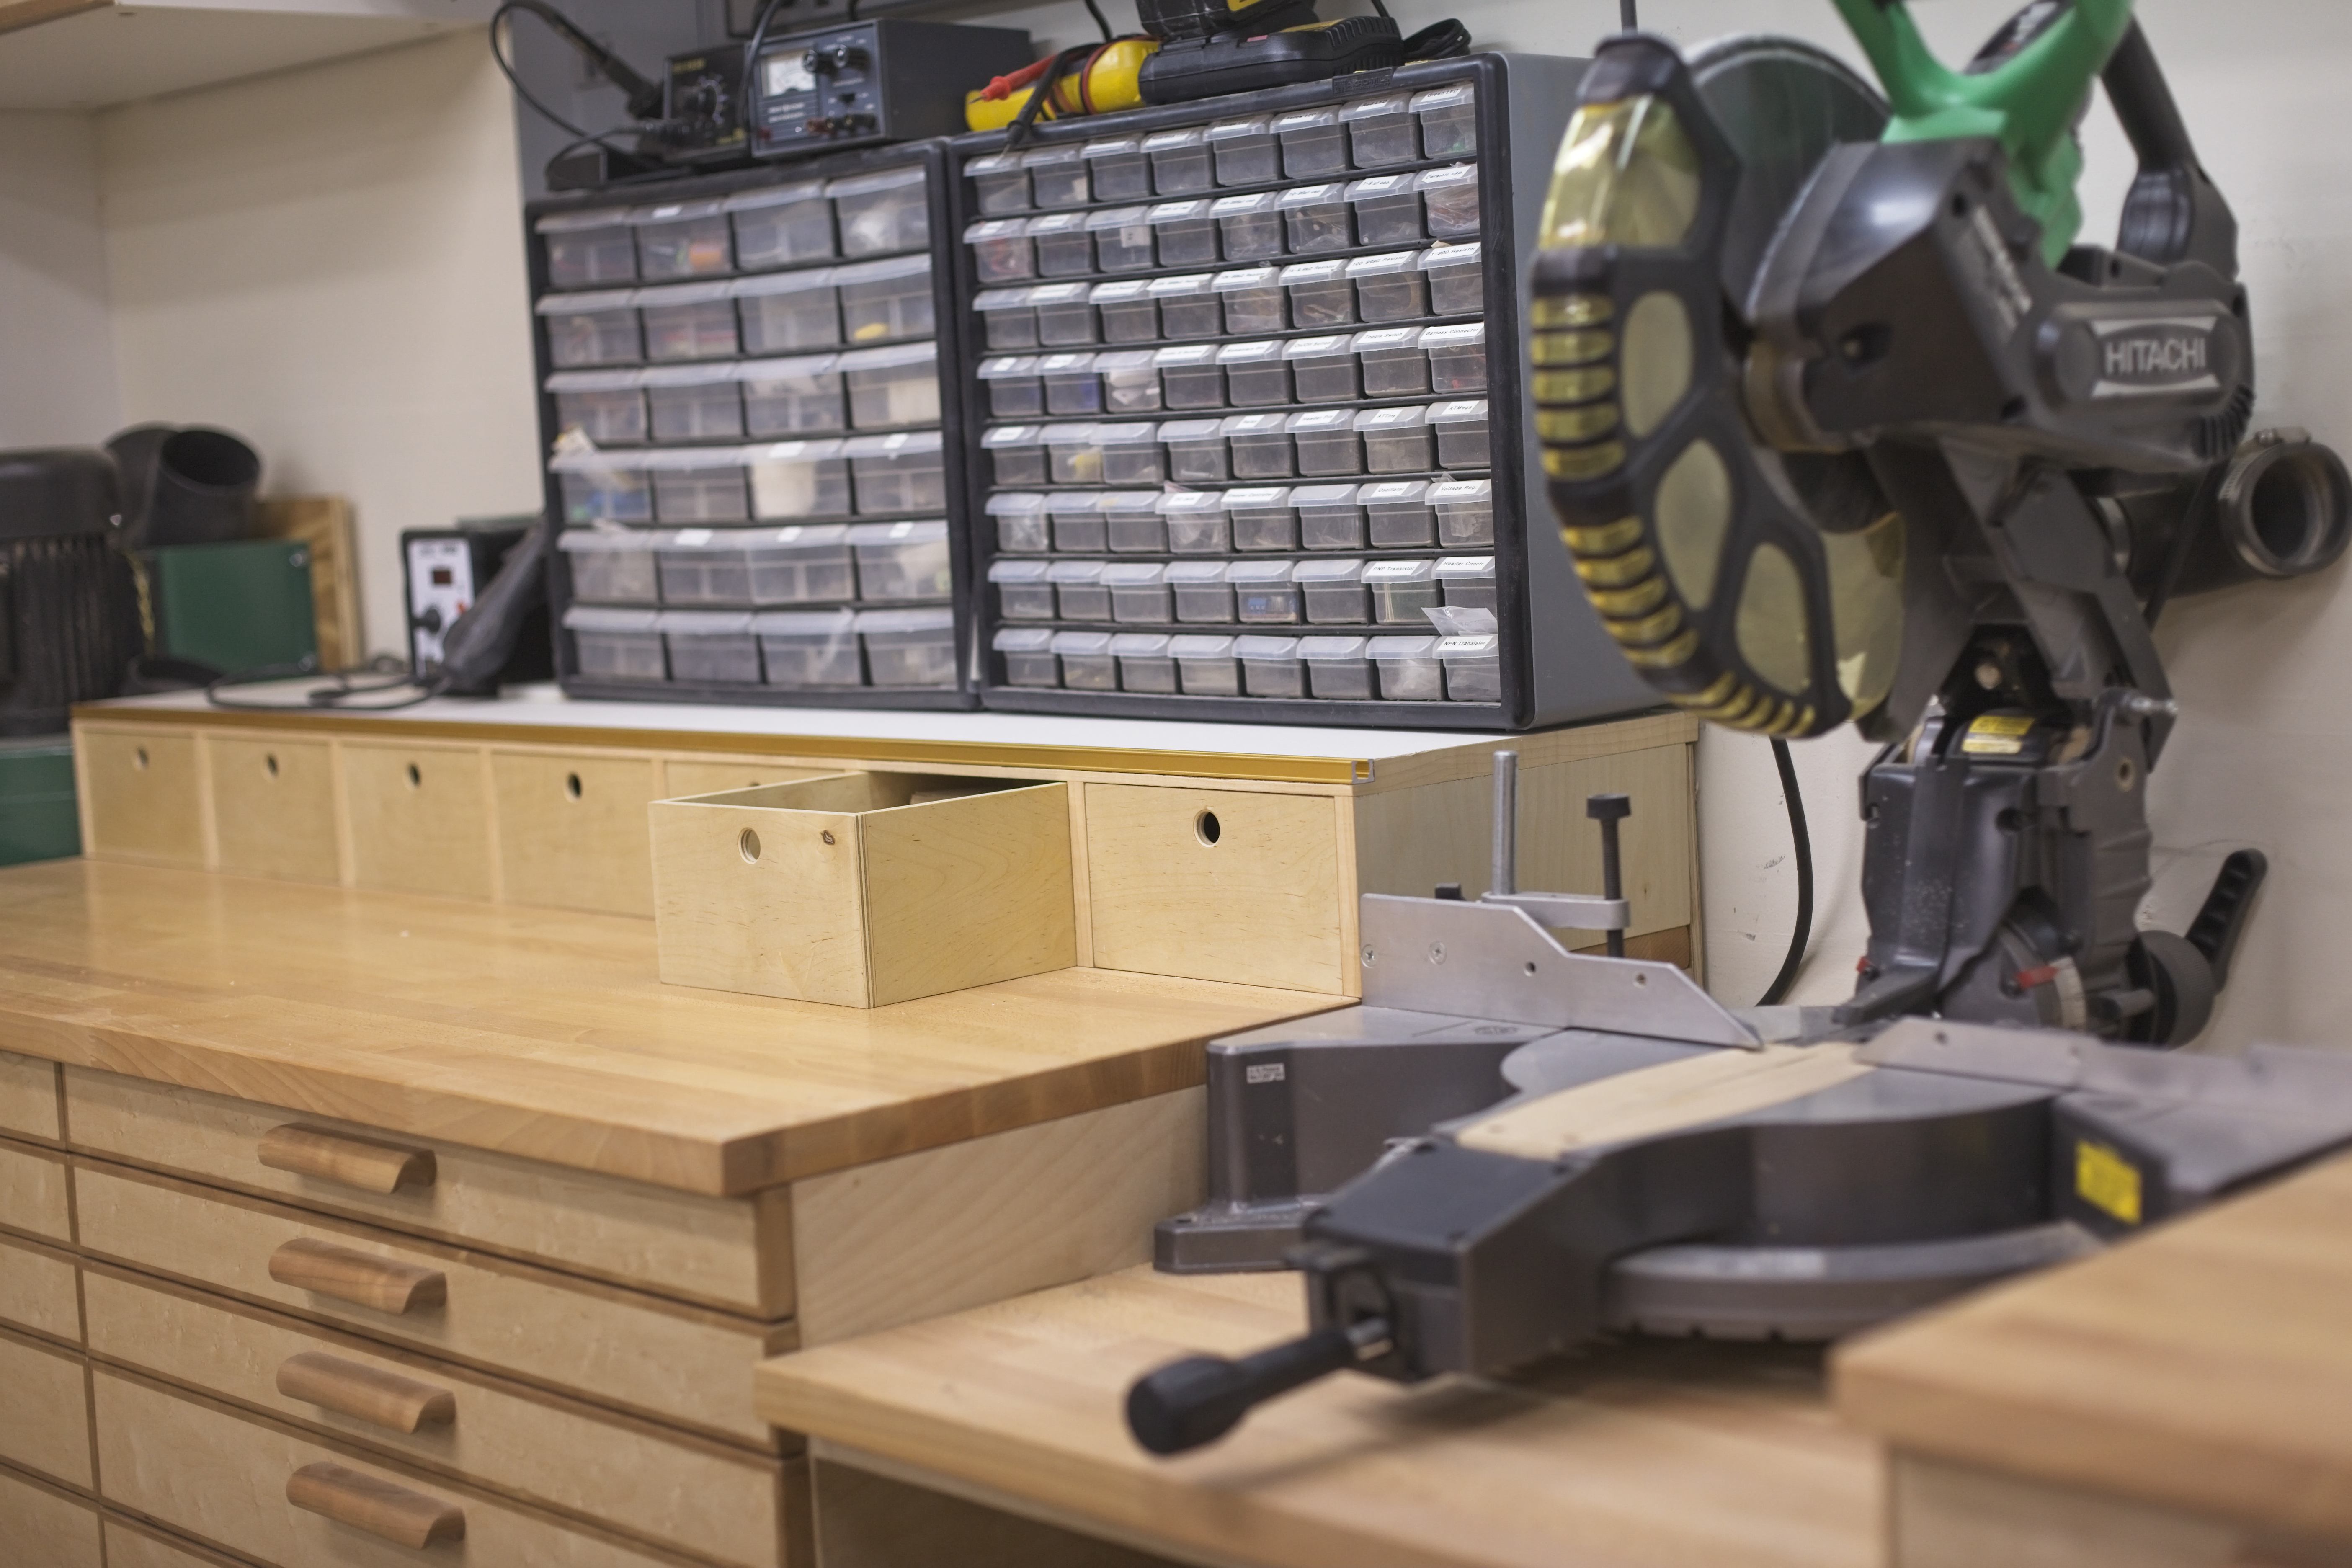
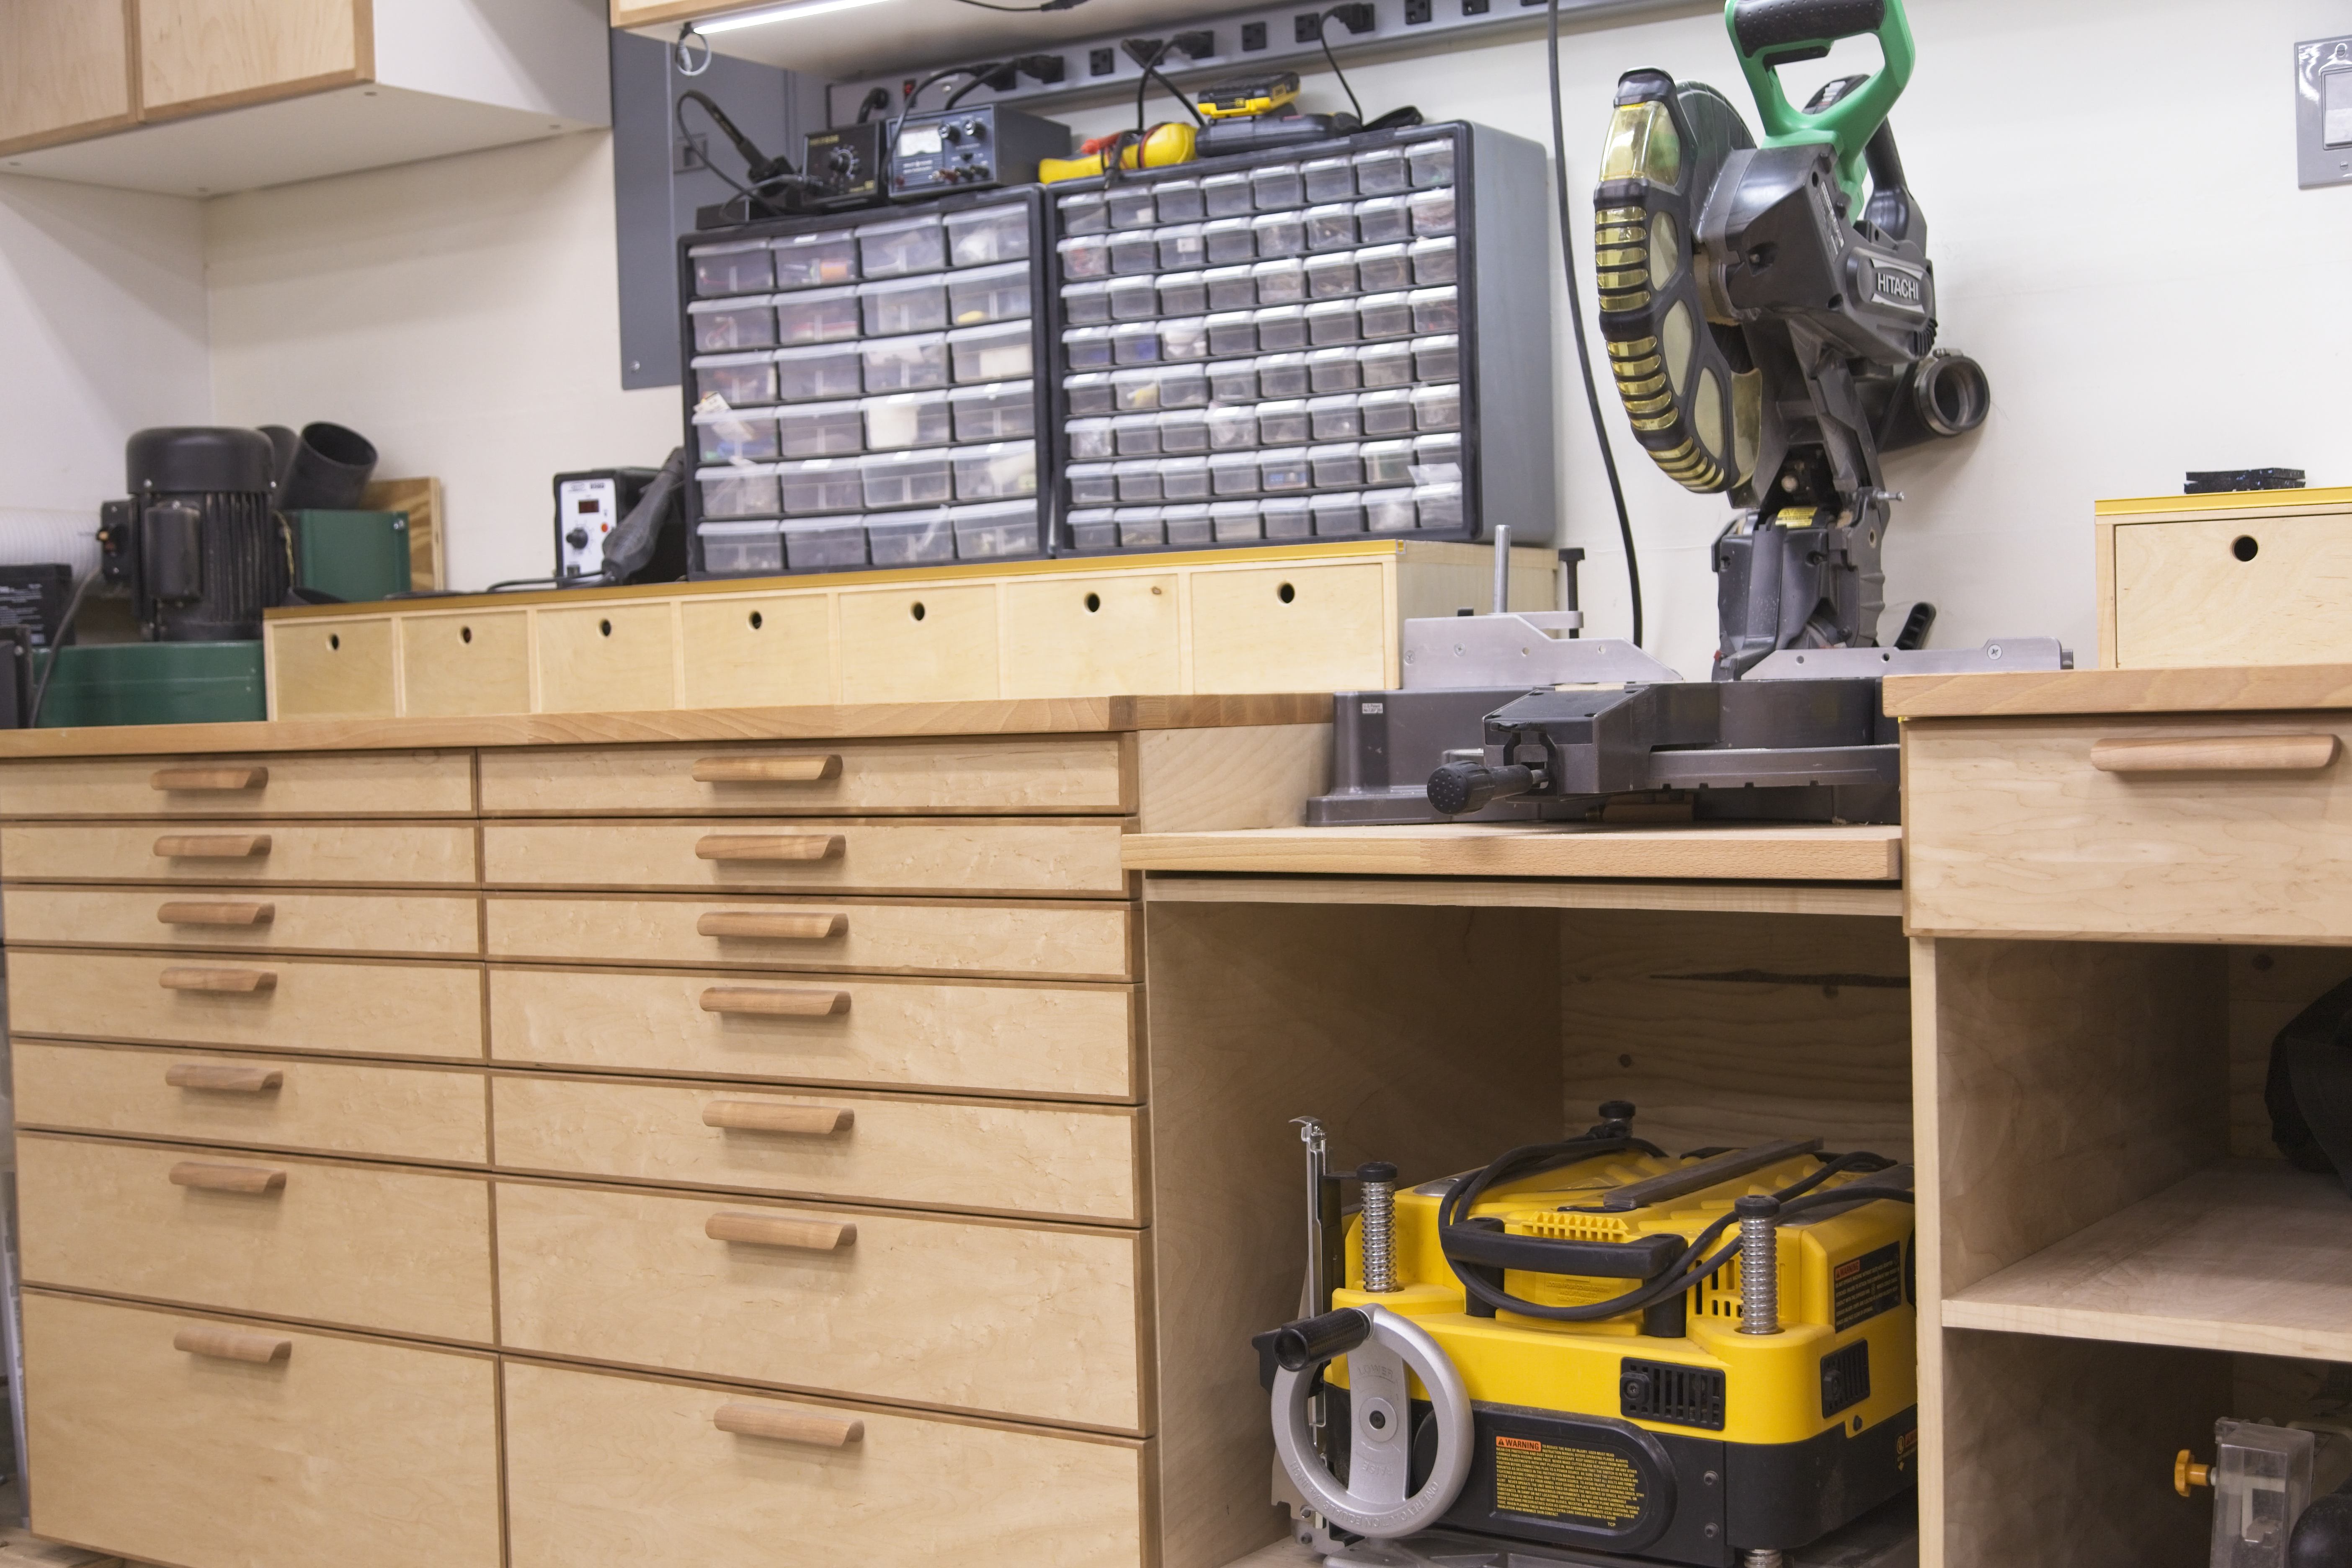
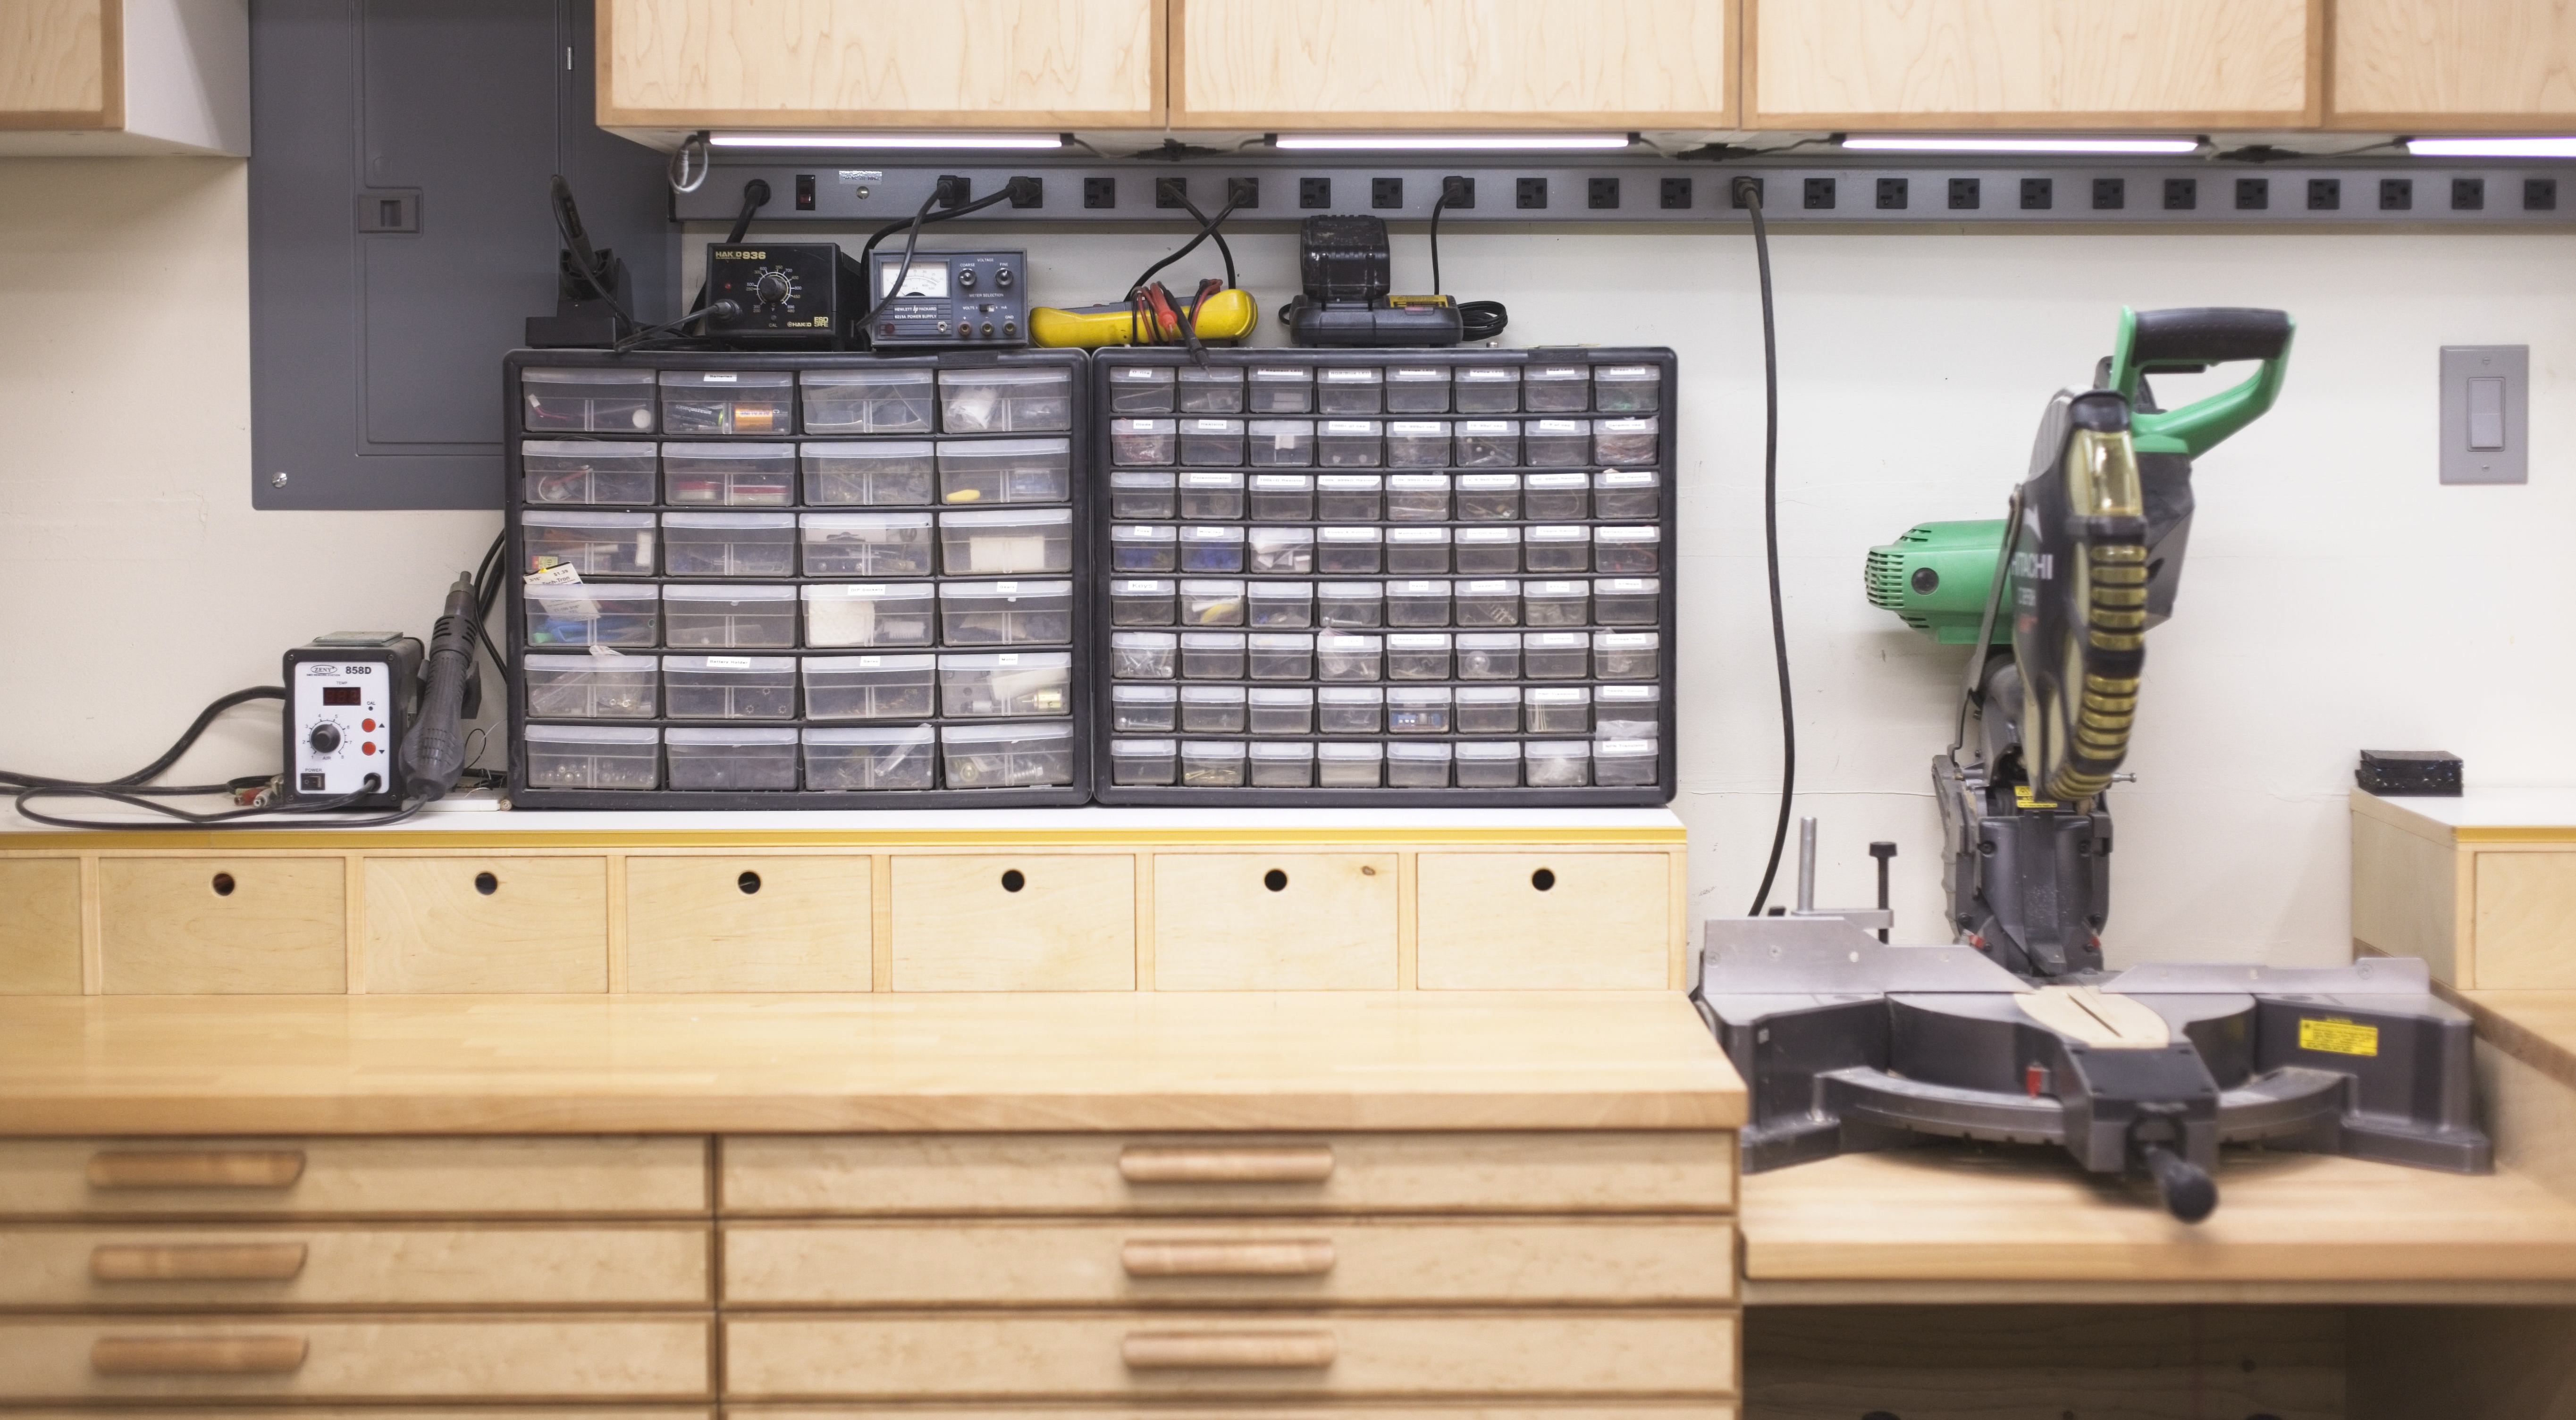
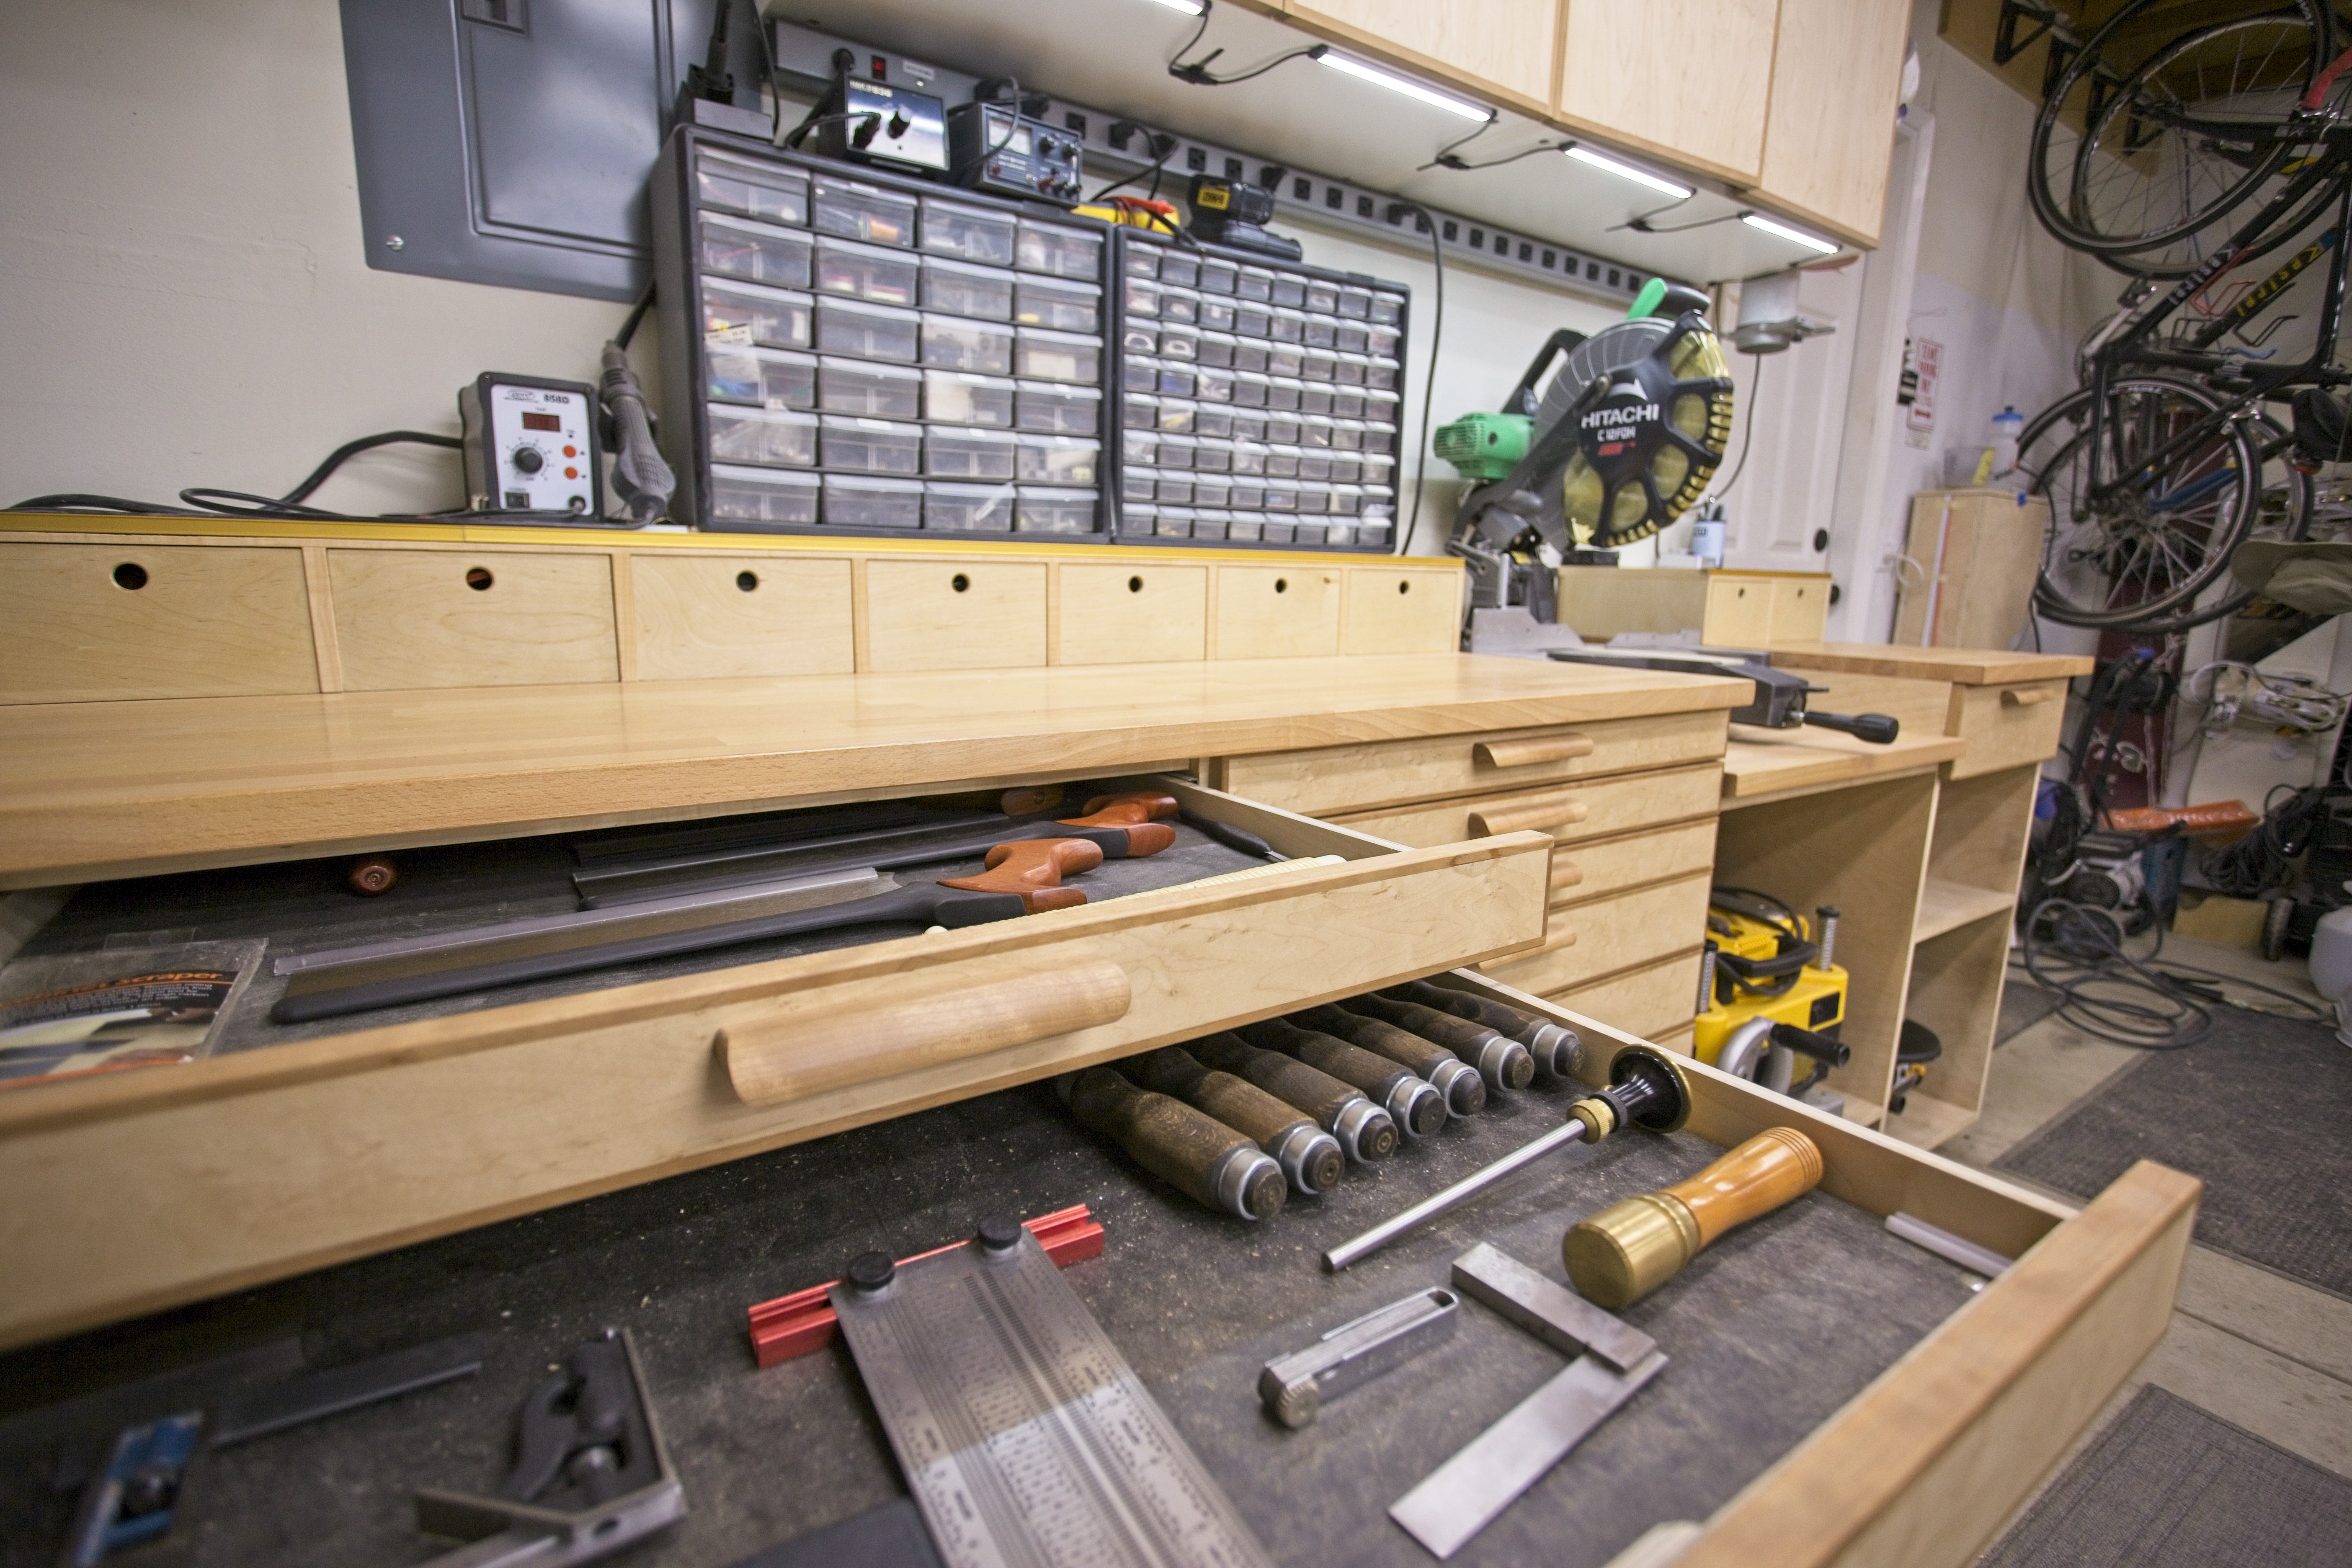
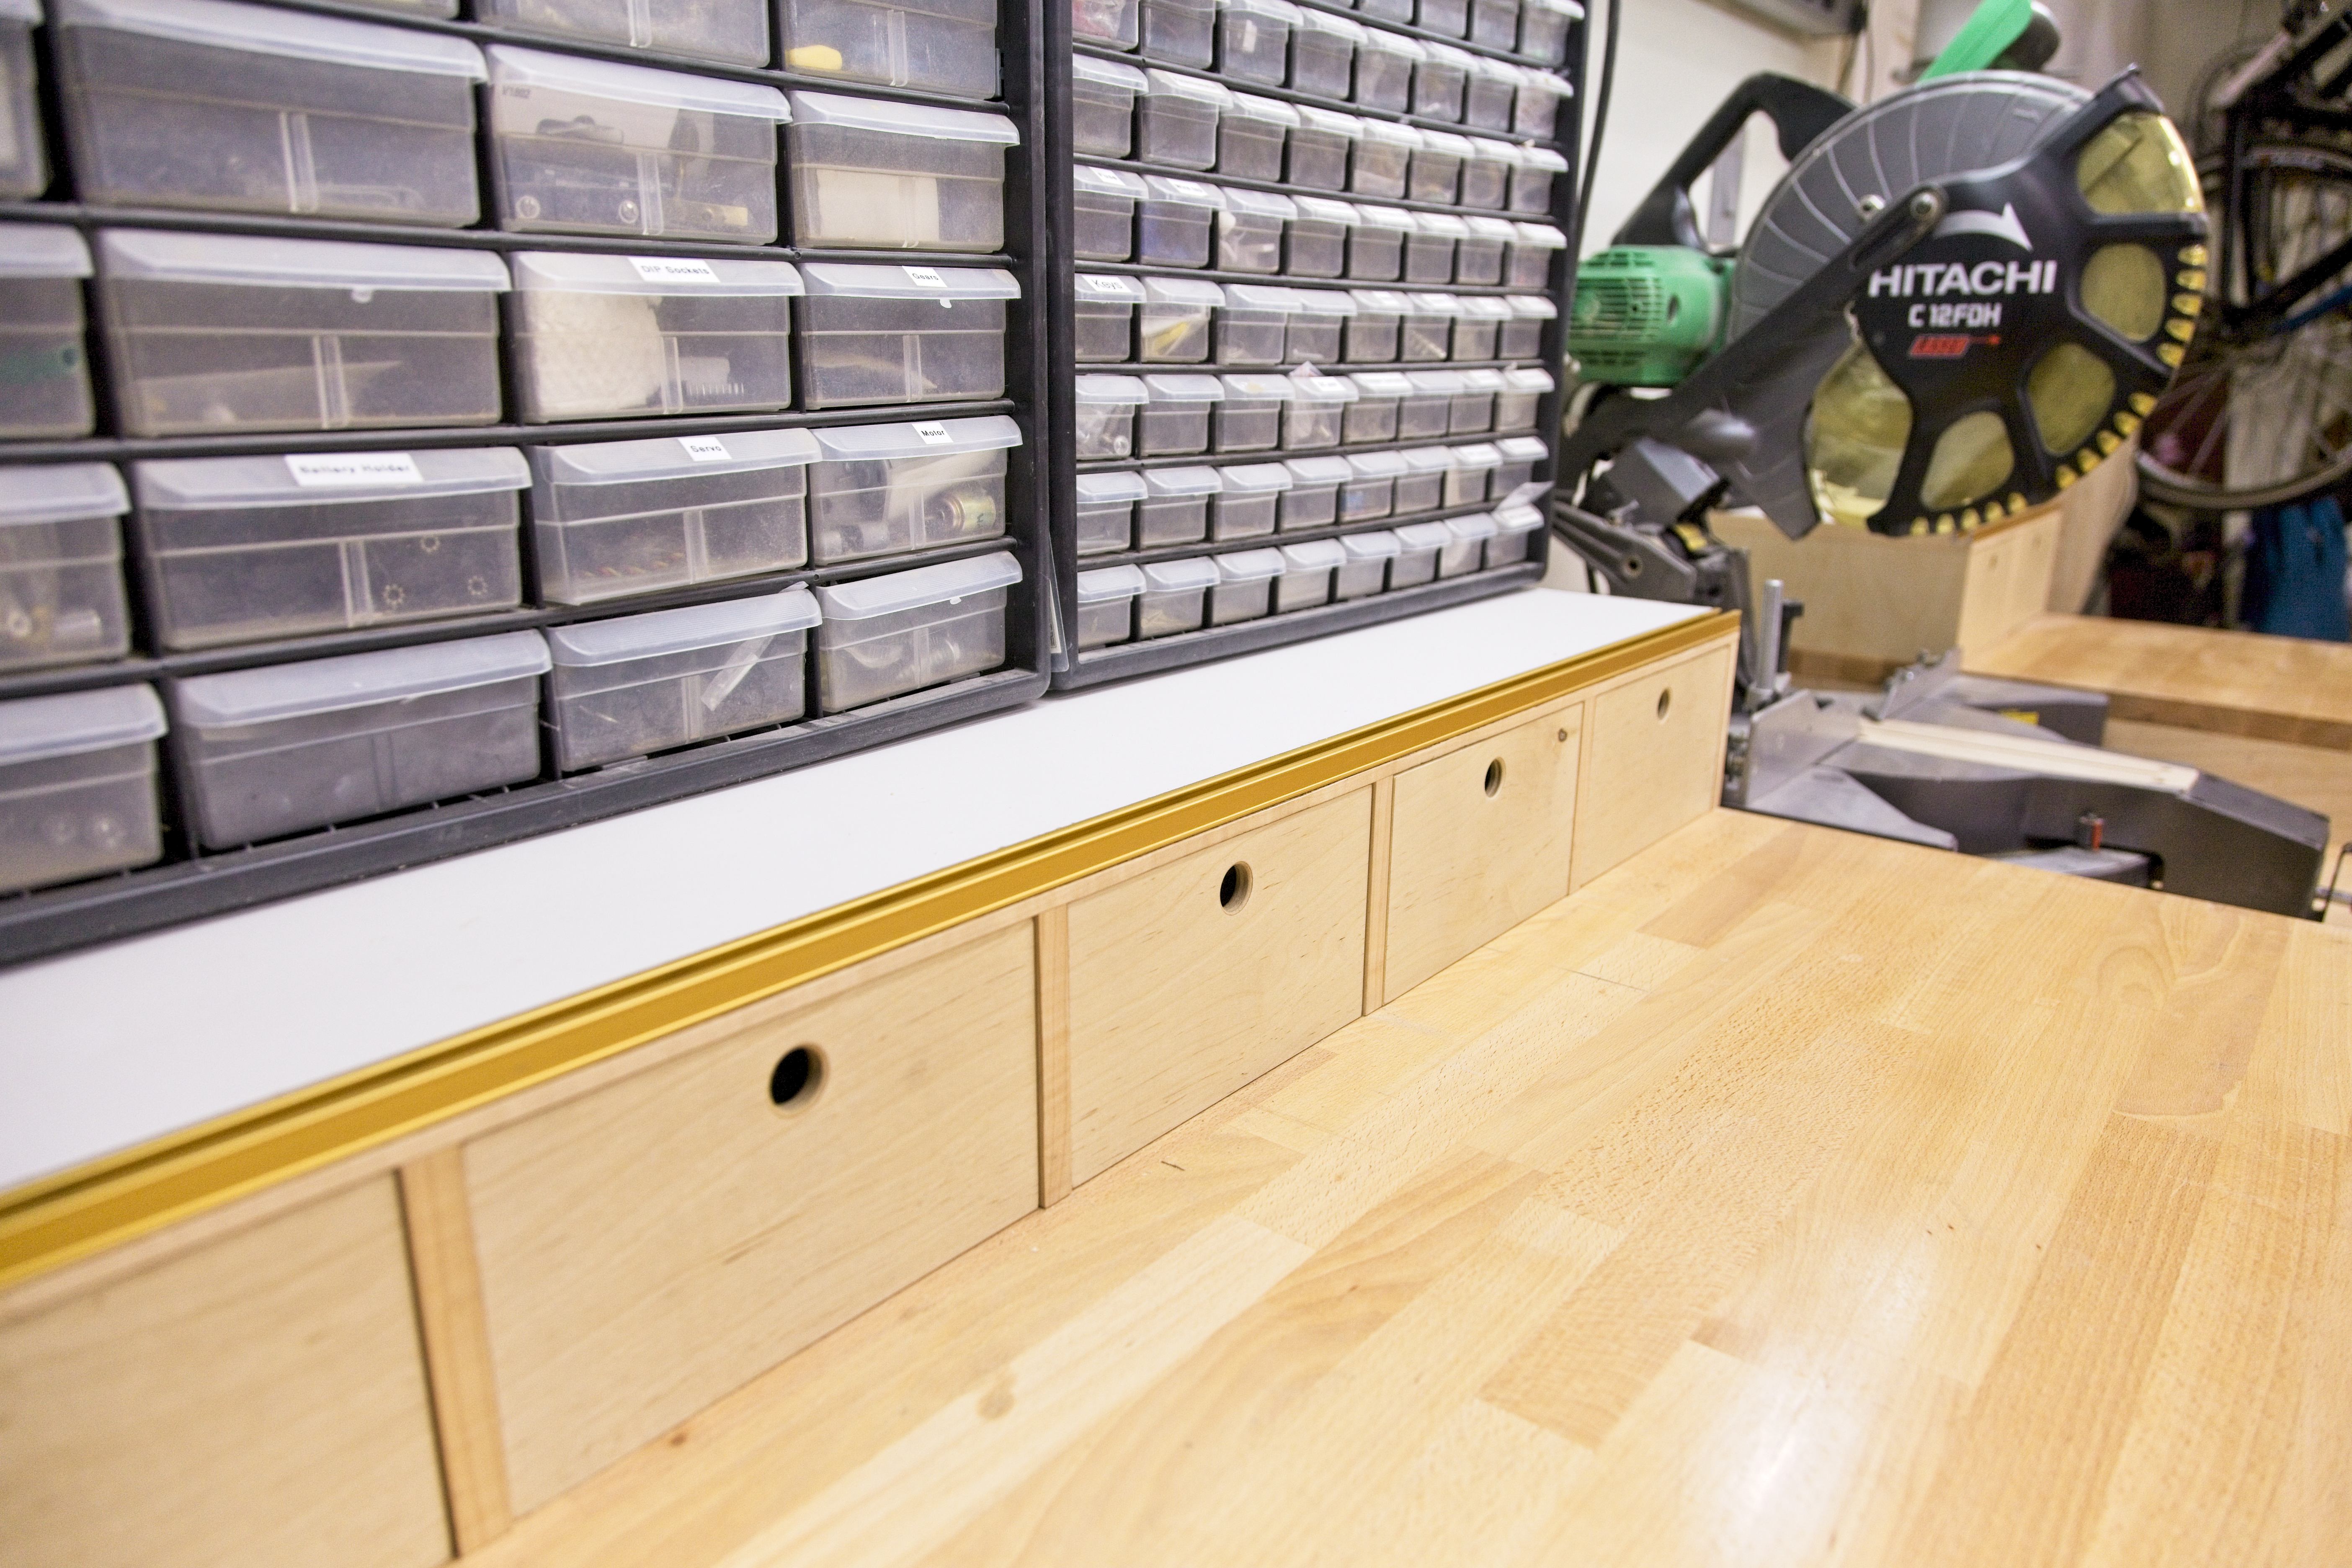
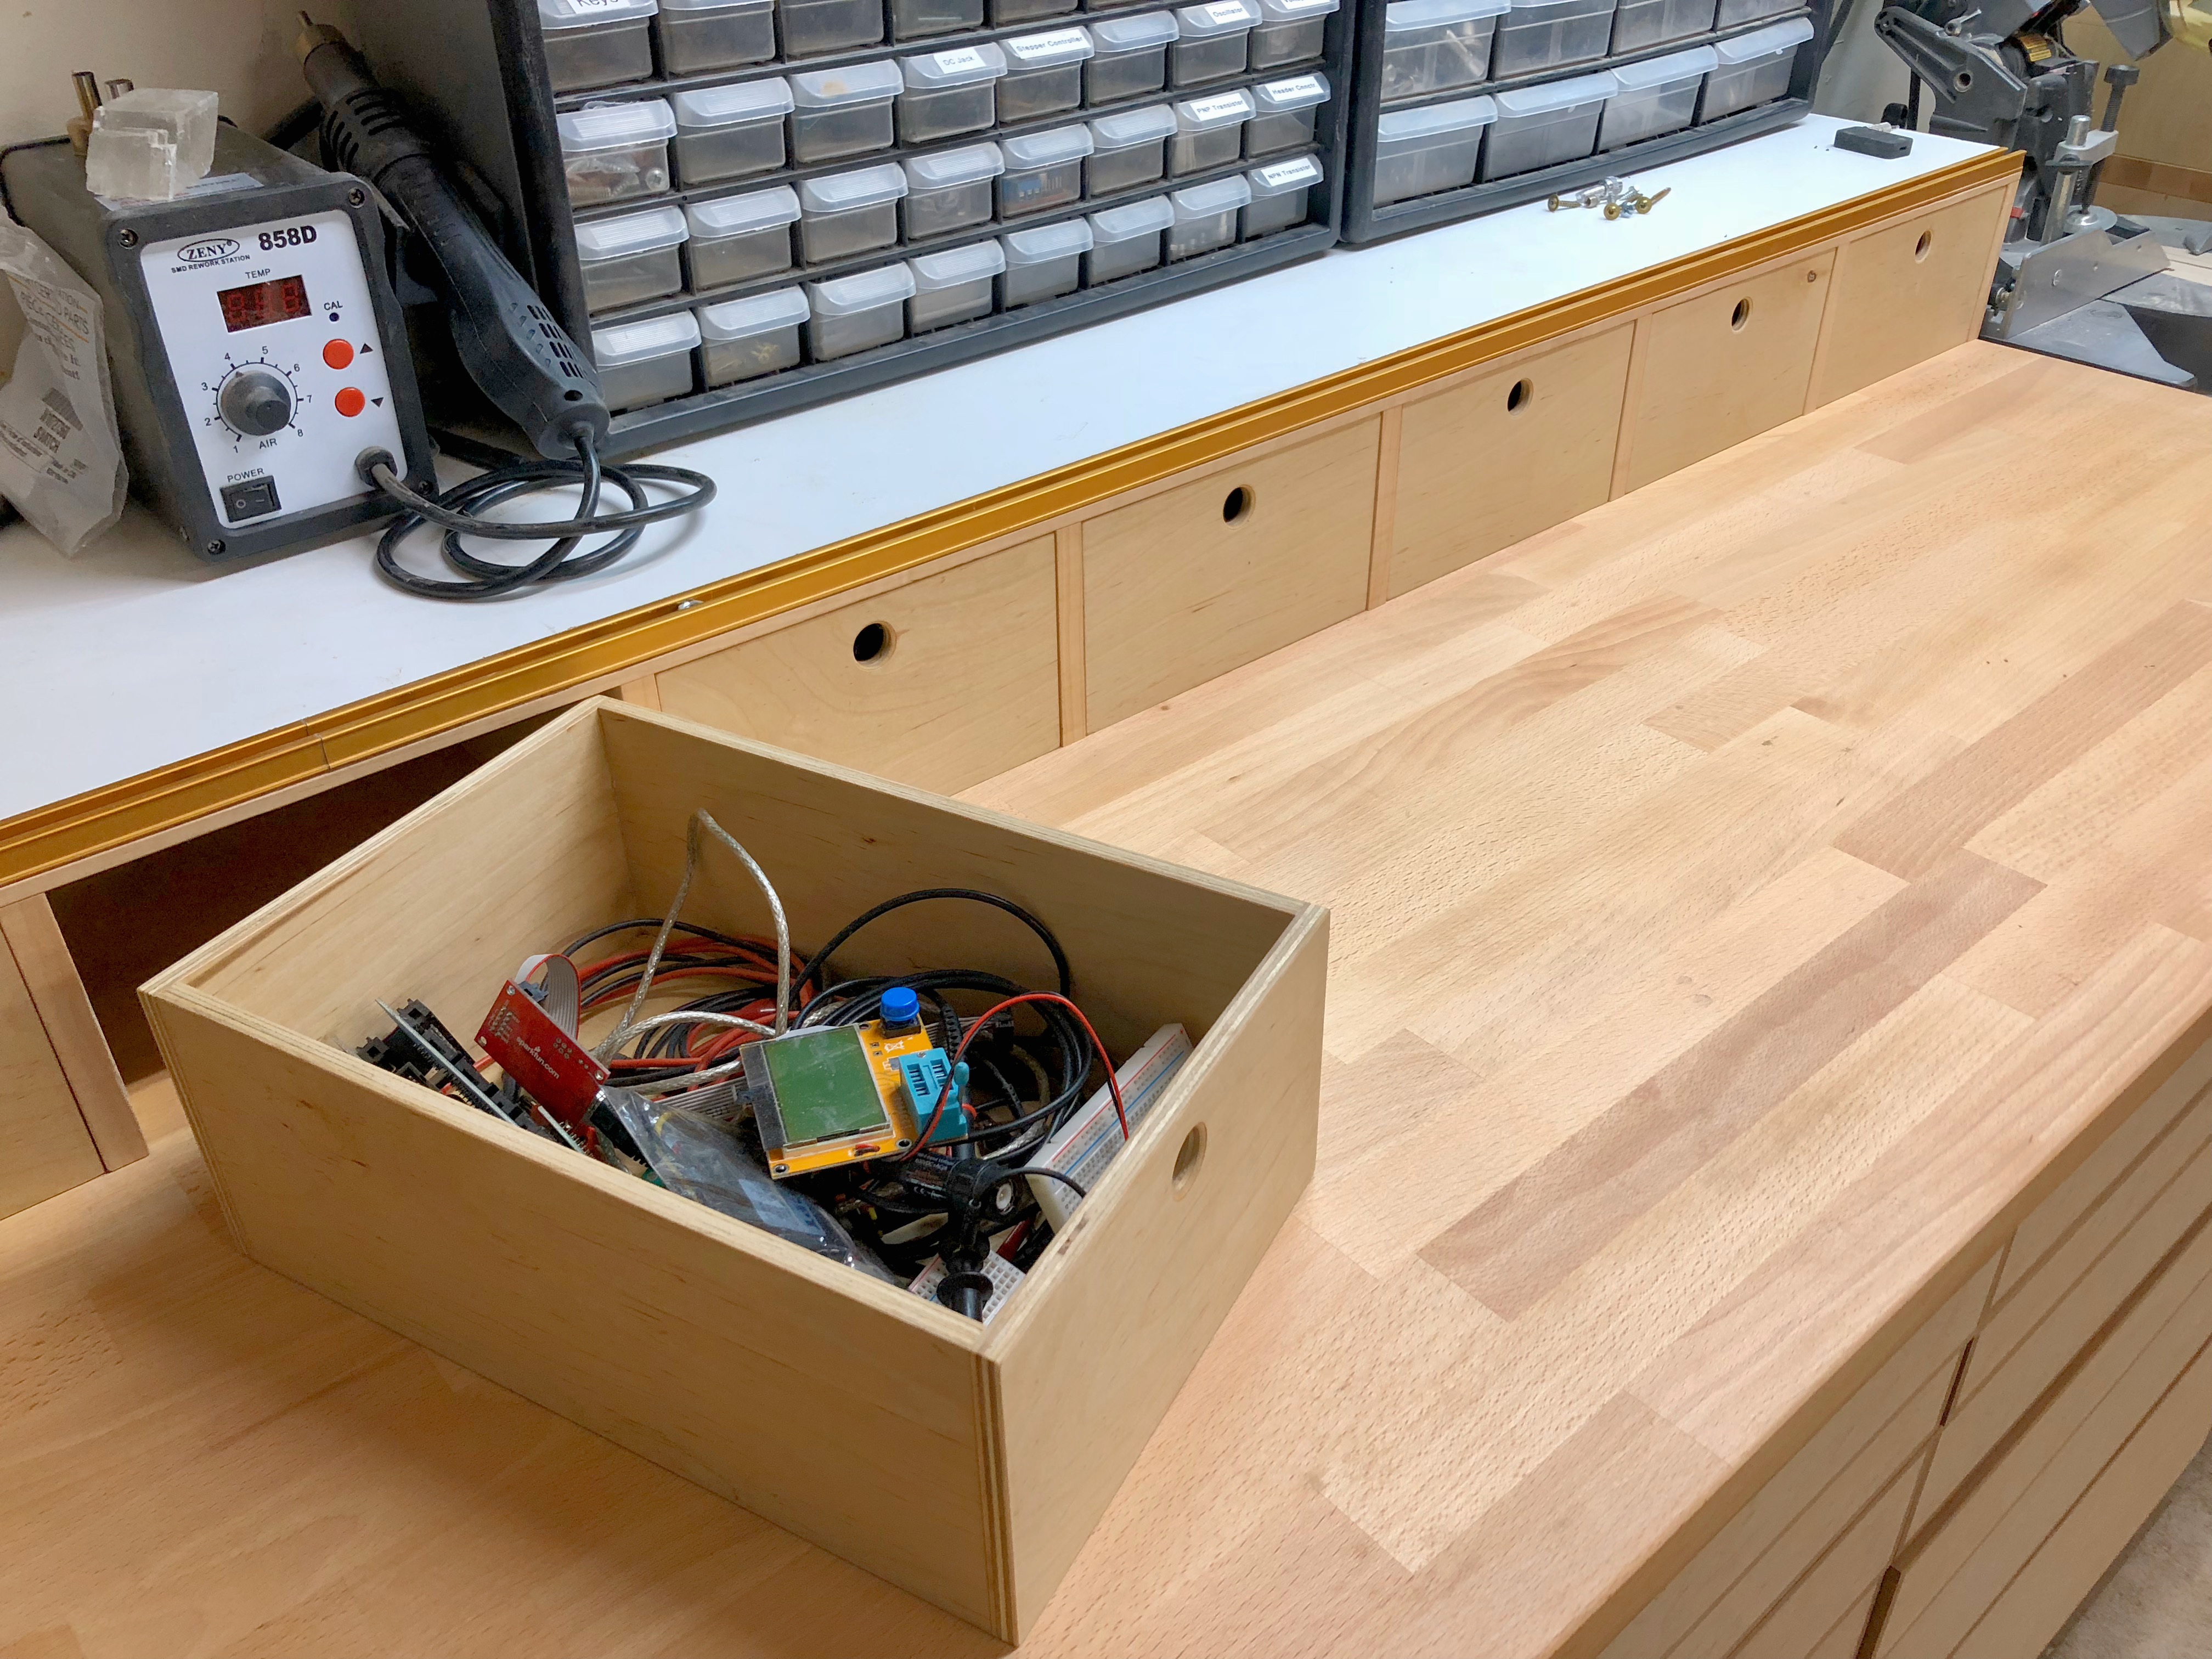 The cubbies are great for holding random odds & ends.
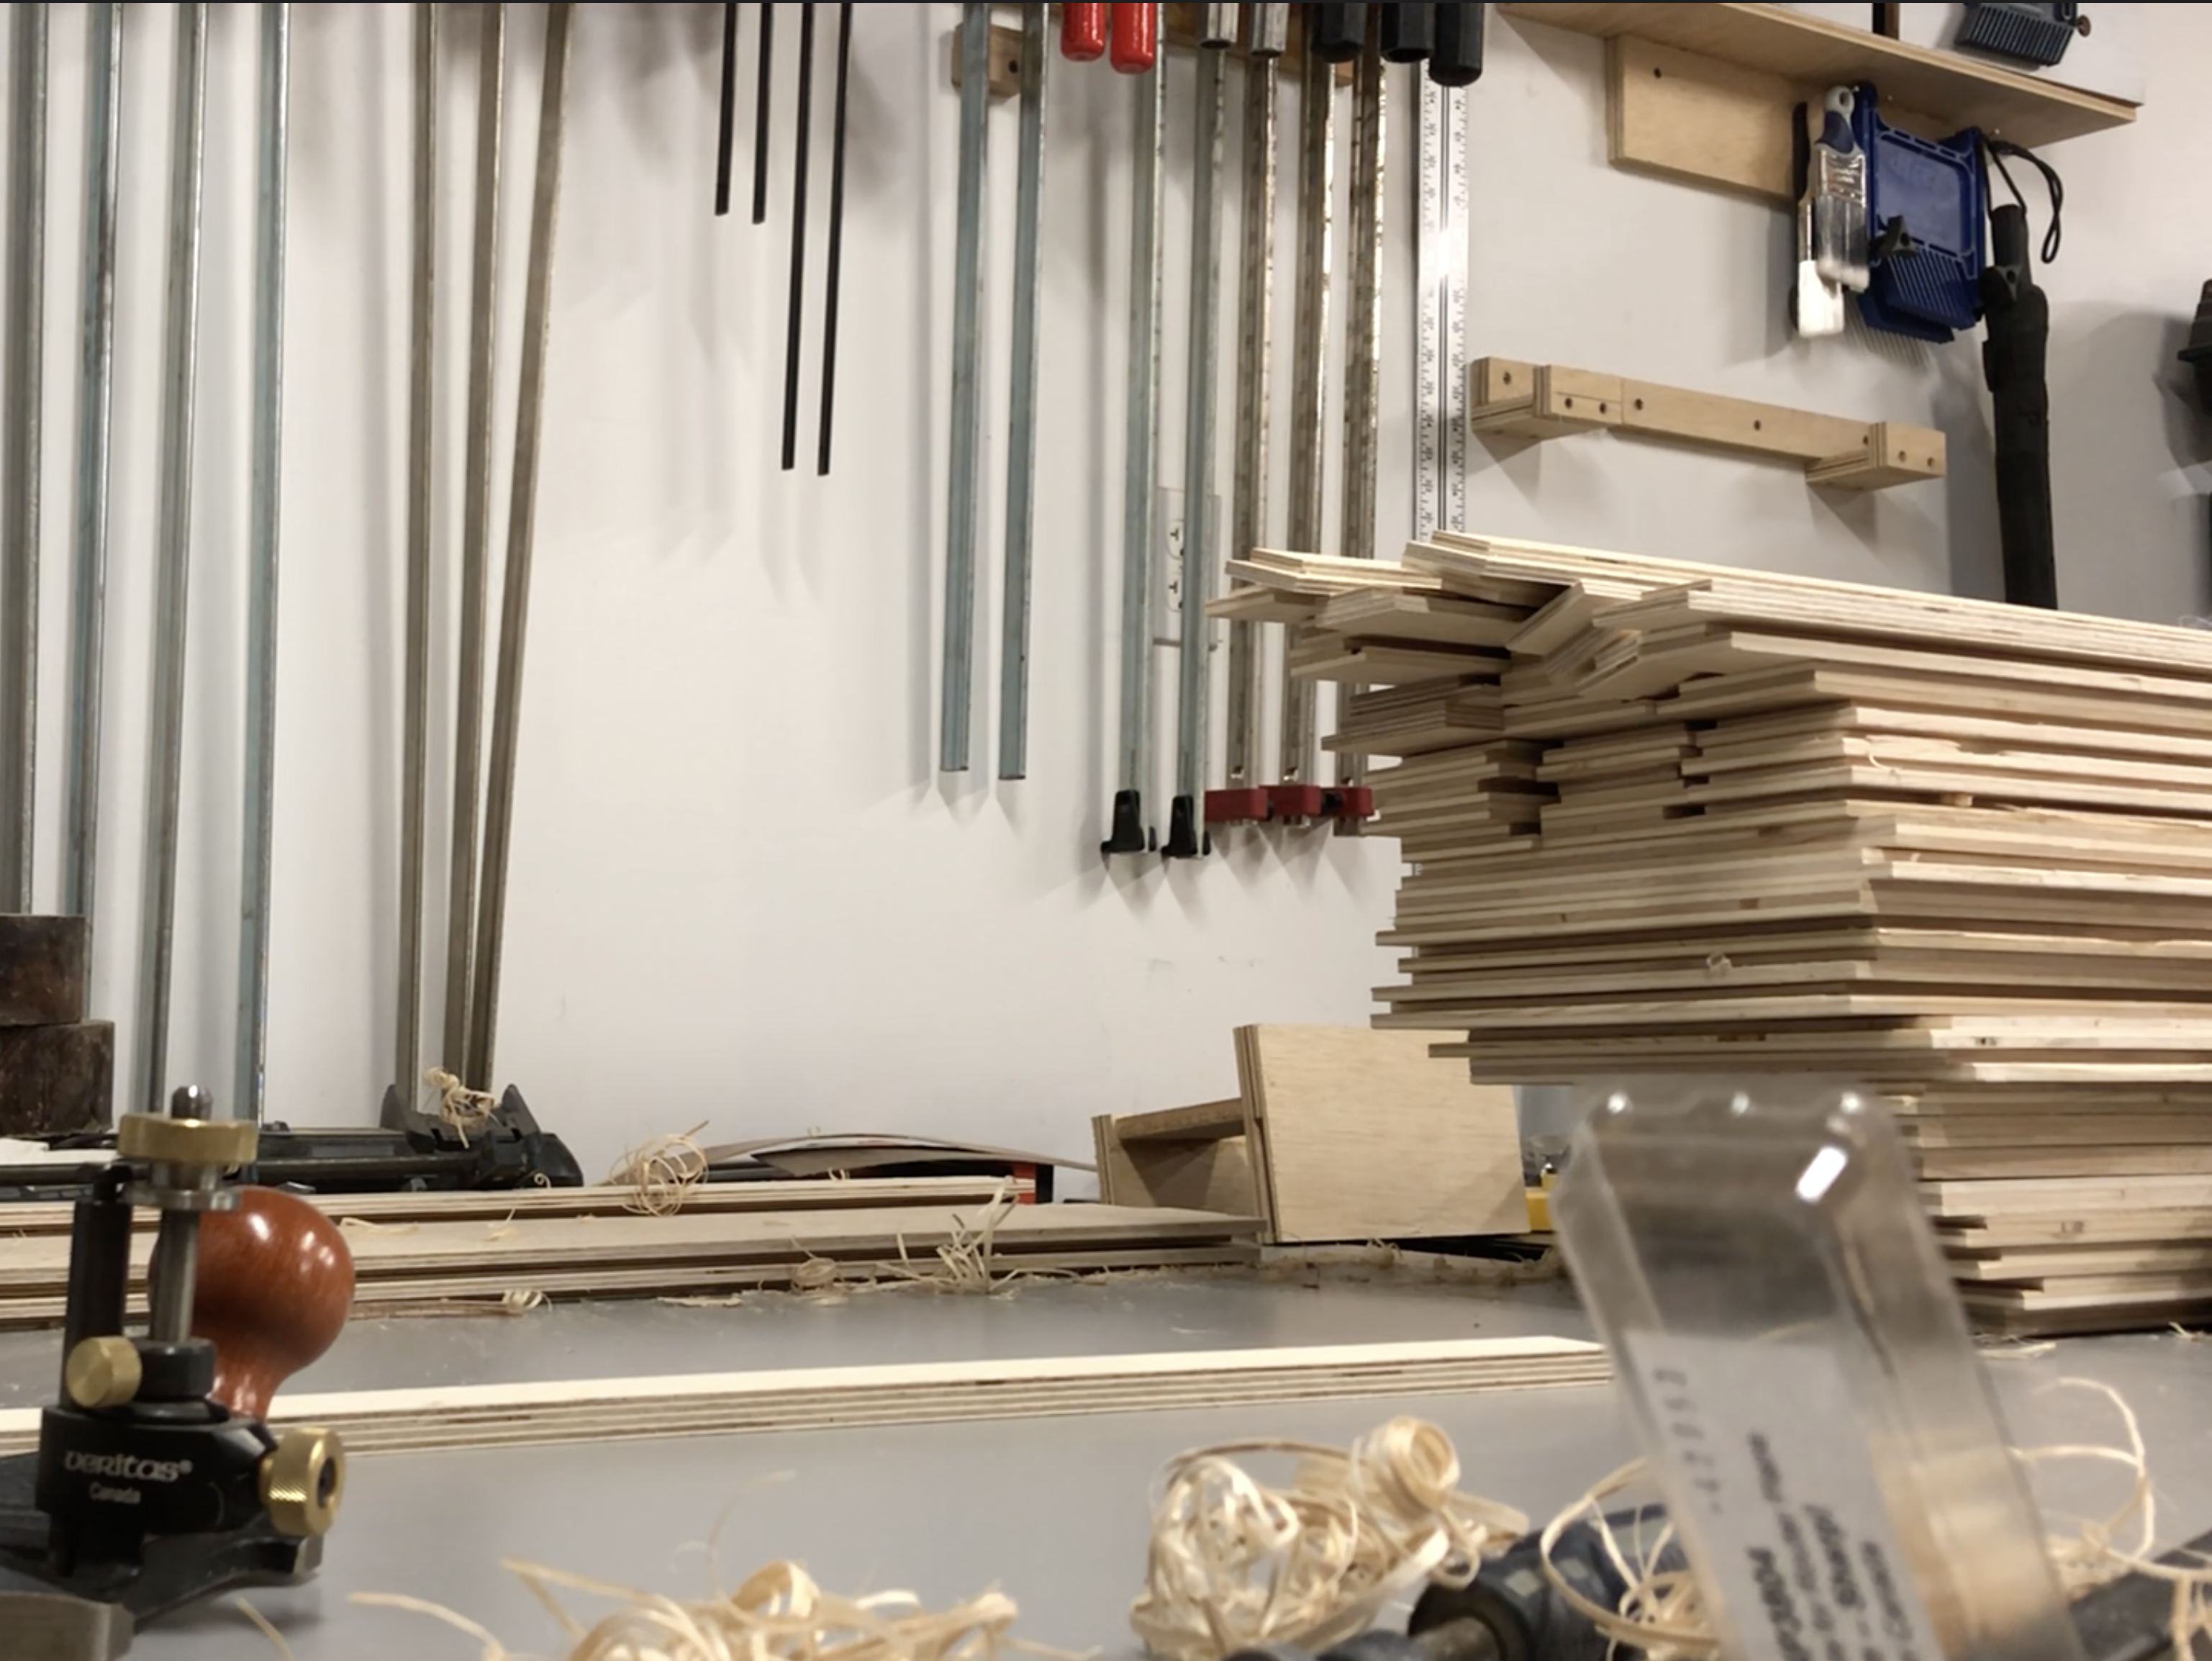 Lots of drawer parts
All the drawers mounted in the workbench
Lots of drawer parts
All the drawers mounted in the workbench
 The drawers will never been this clean again
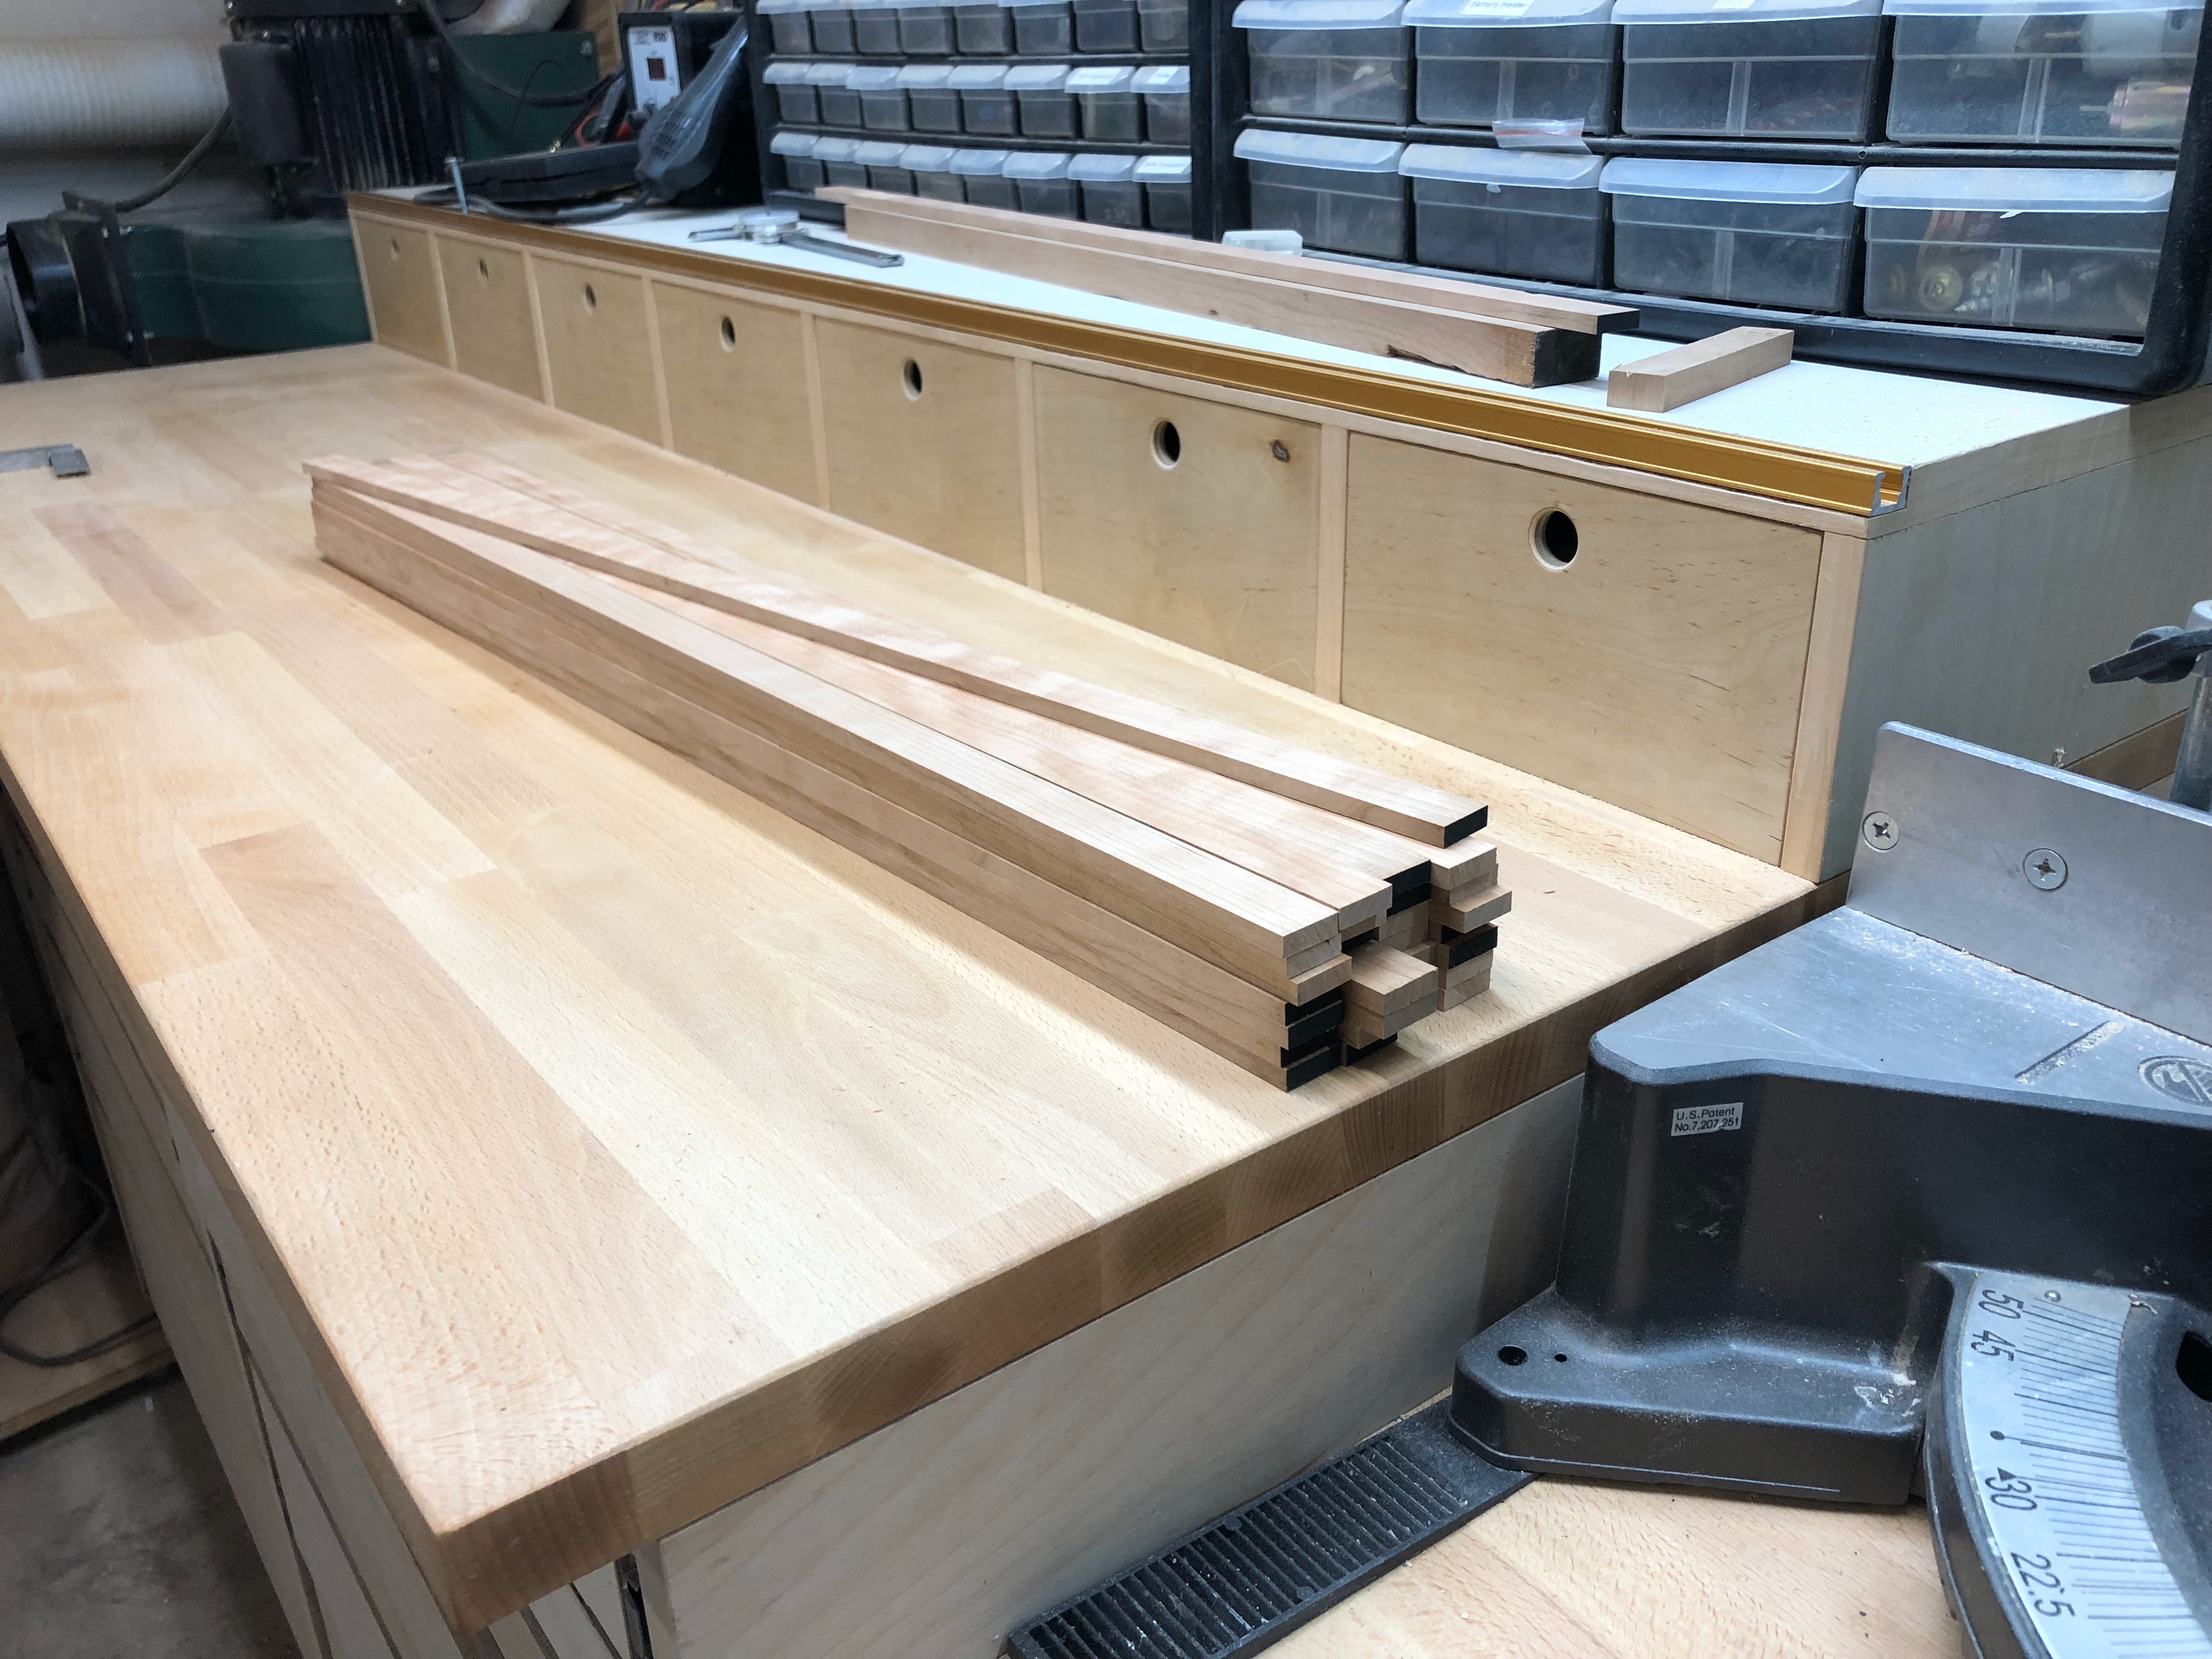 Milled up the edge banding for the drawer fronts to 1/4"x7/8" thick
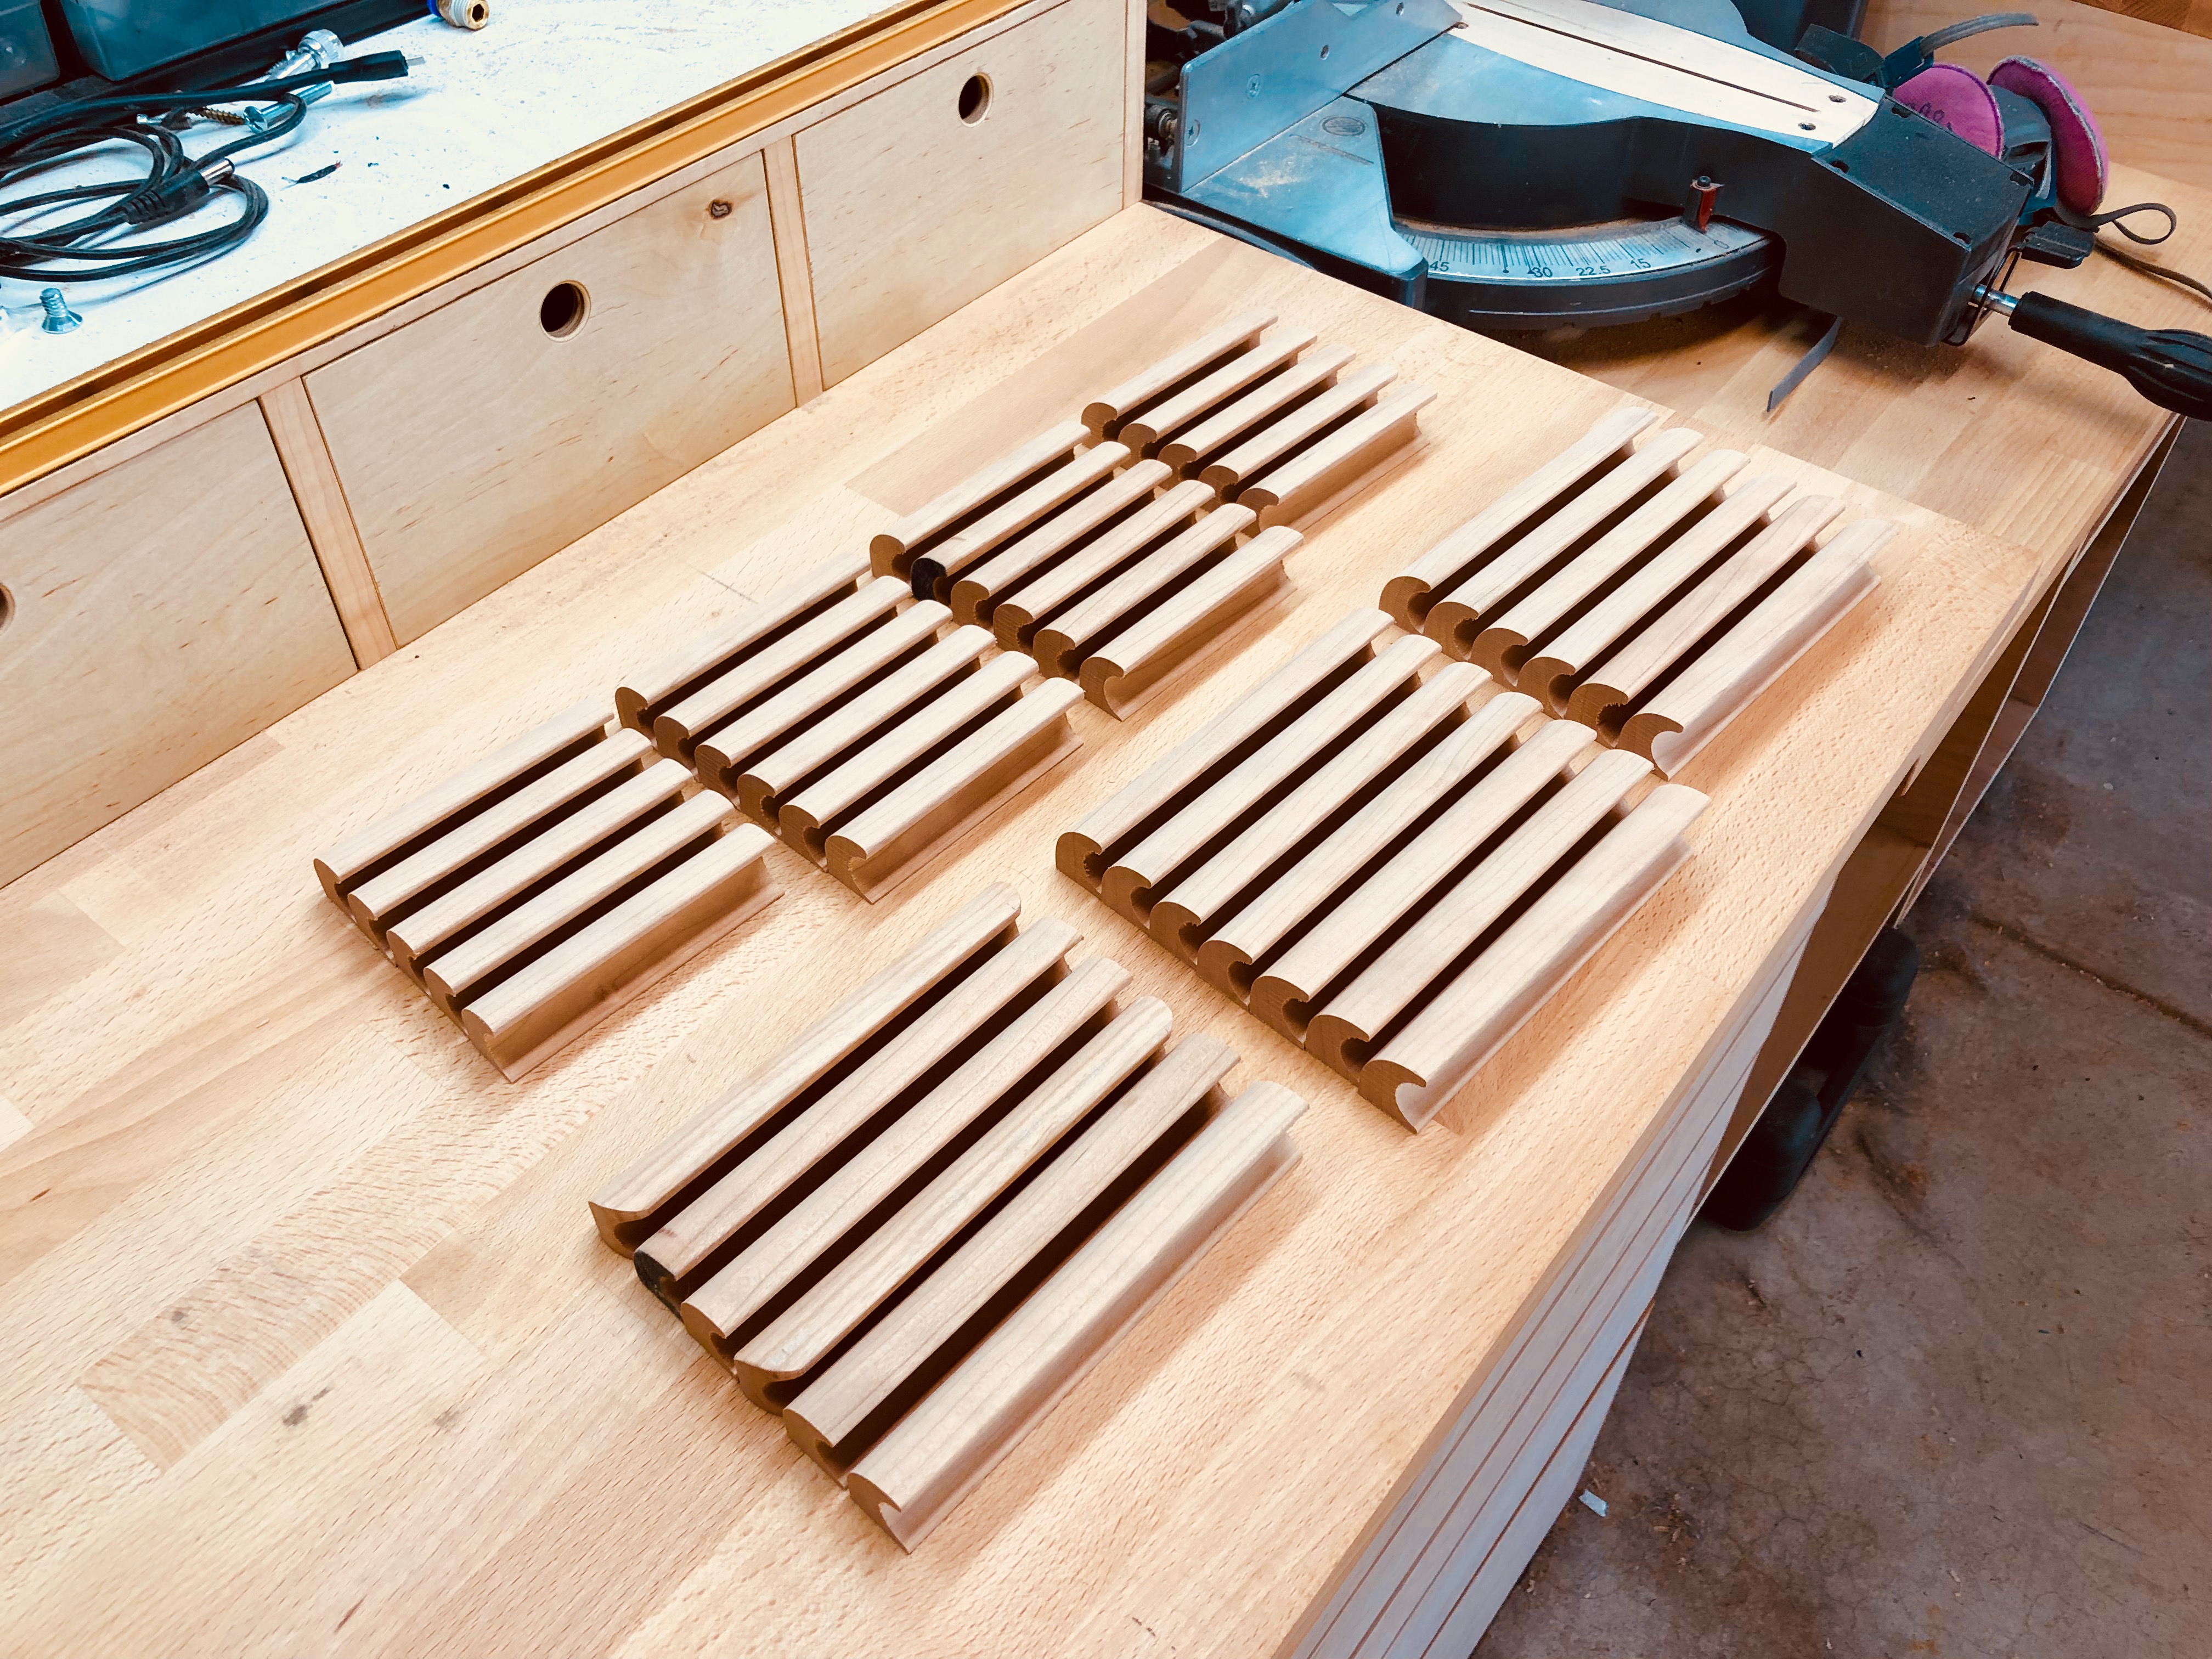 Drawer pull blanks ready for shaping
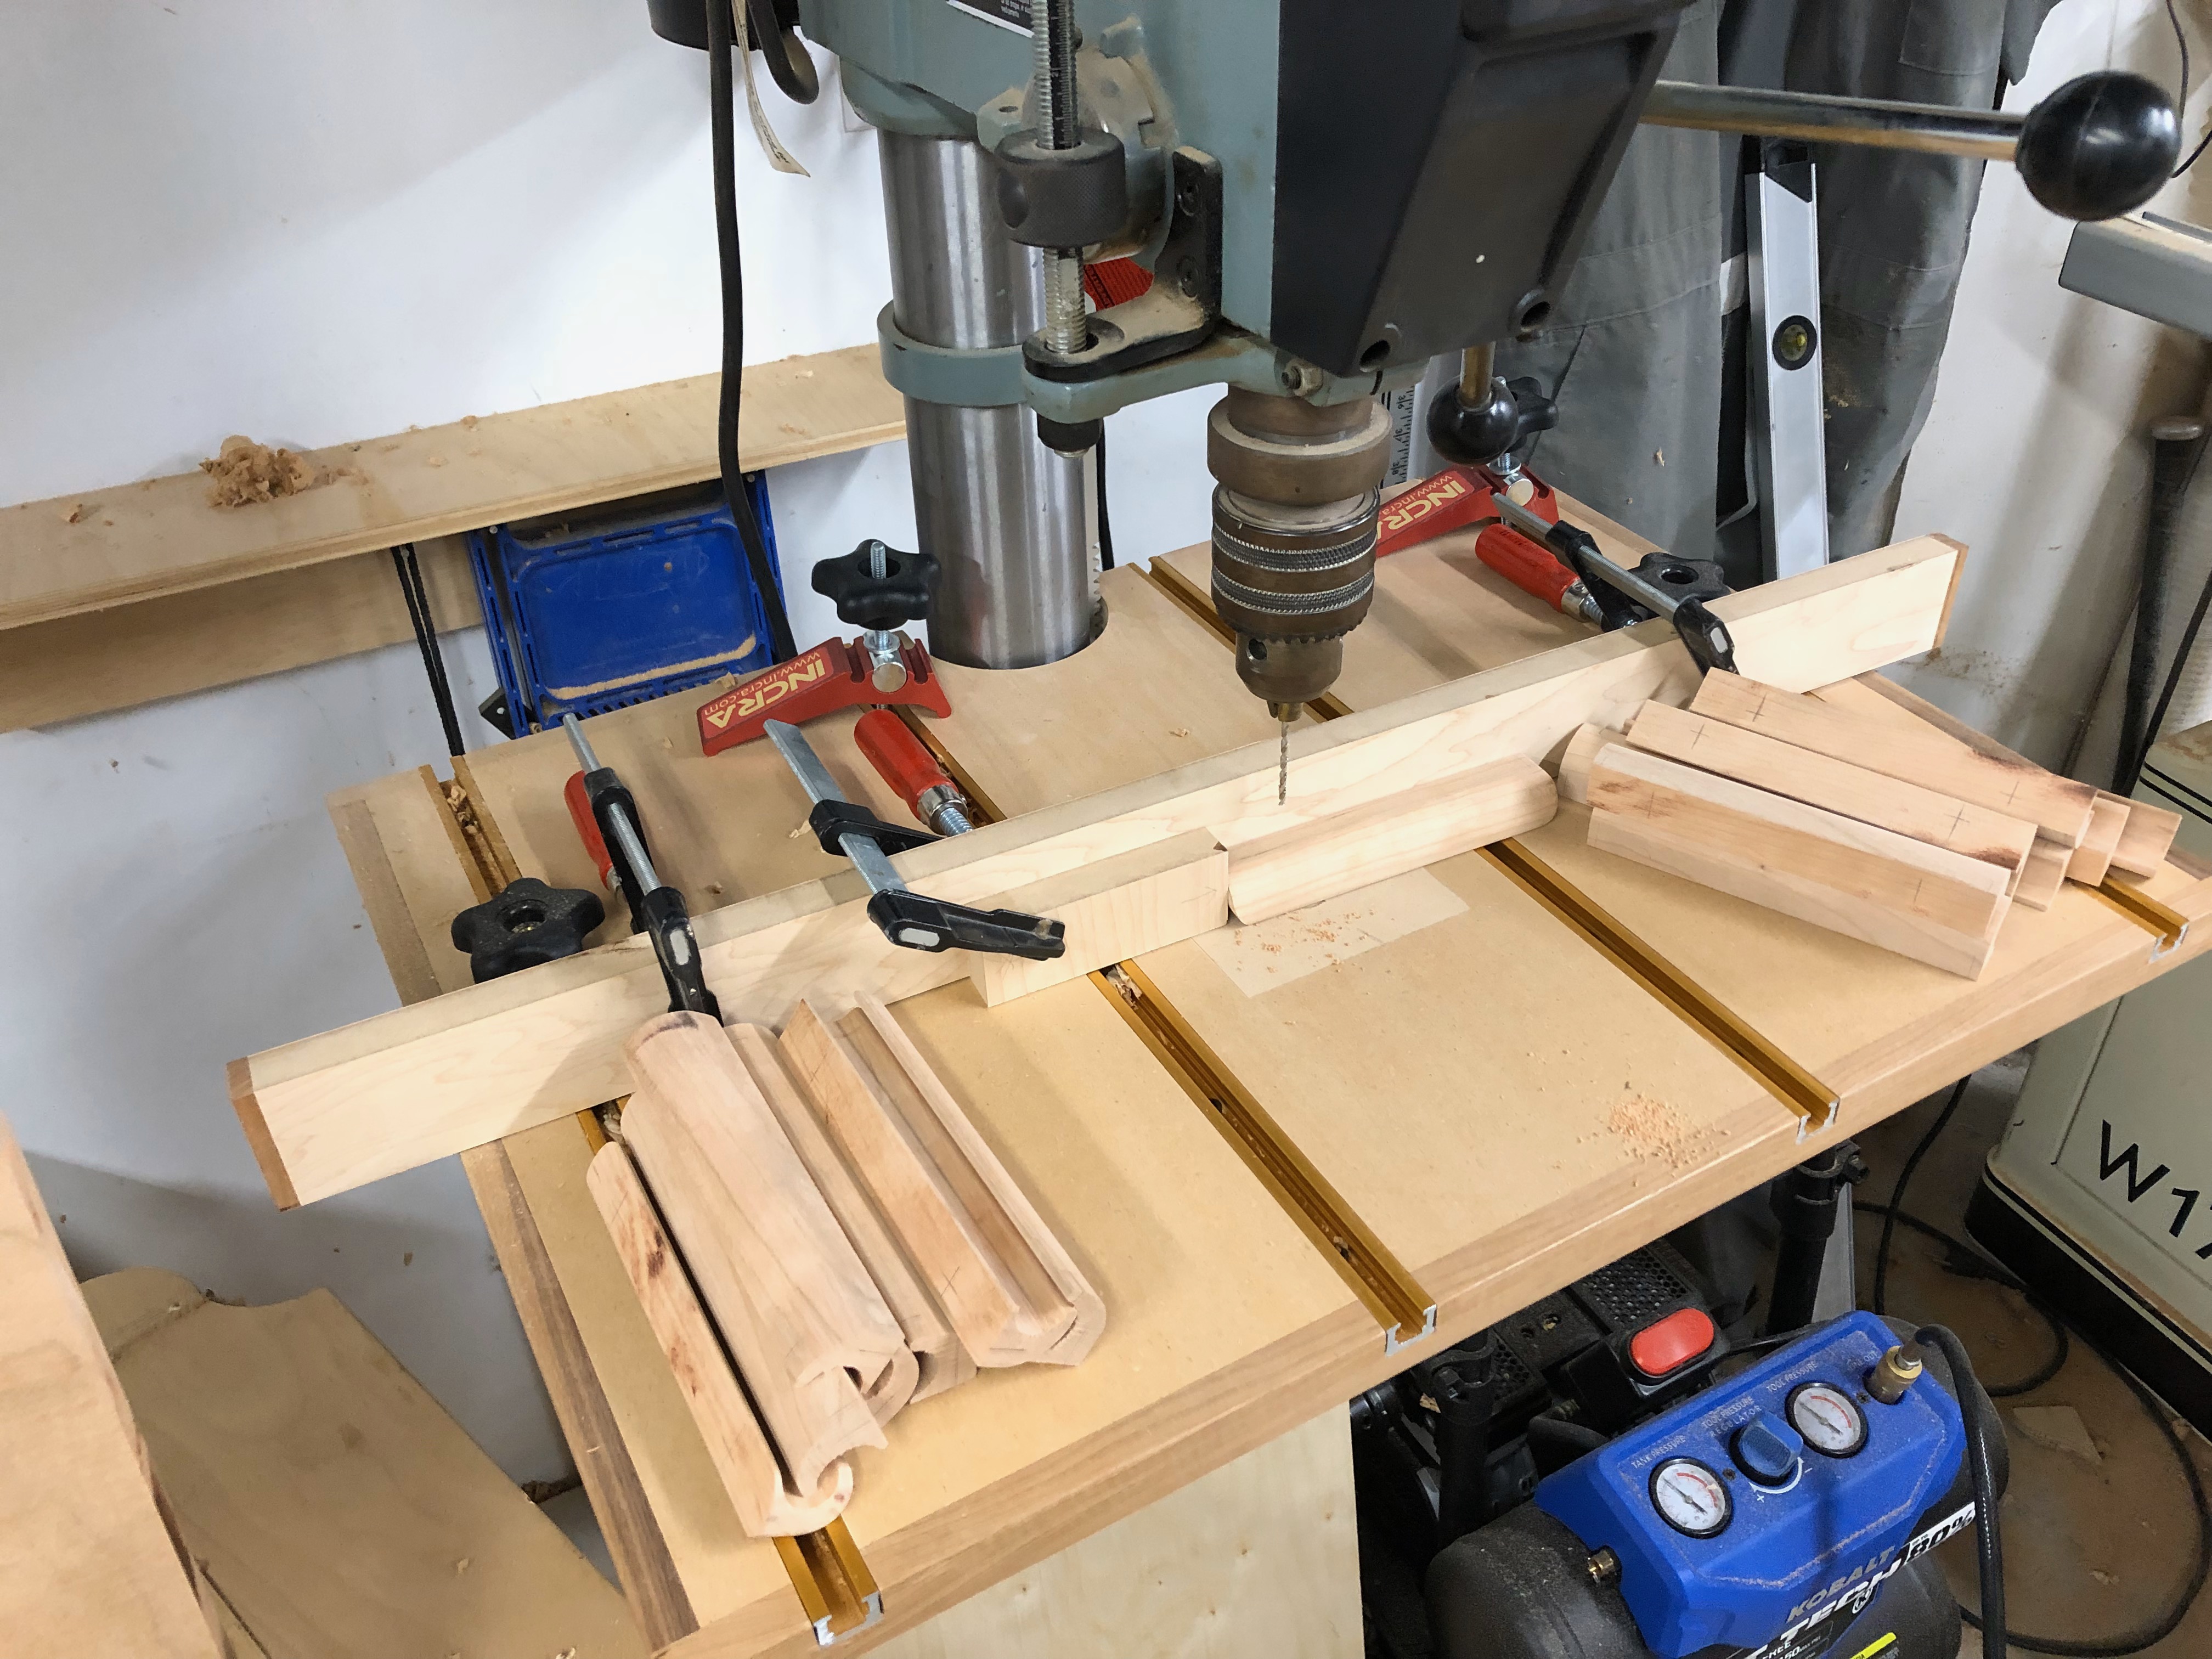 Using my new drill press table To predrill mounting holes for screws
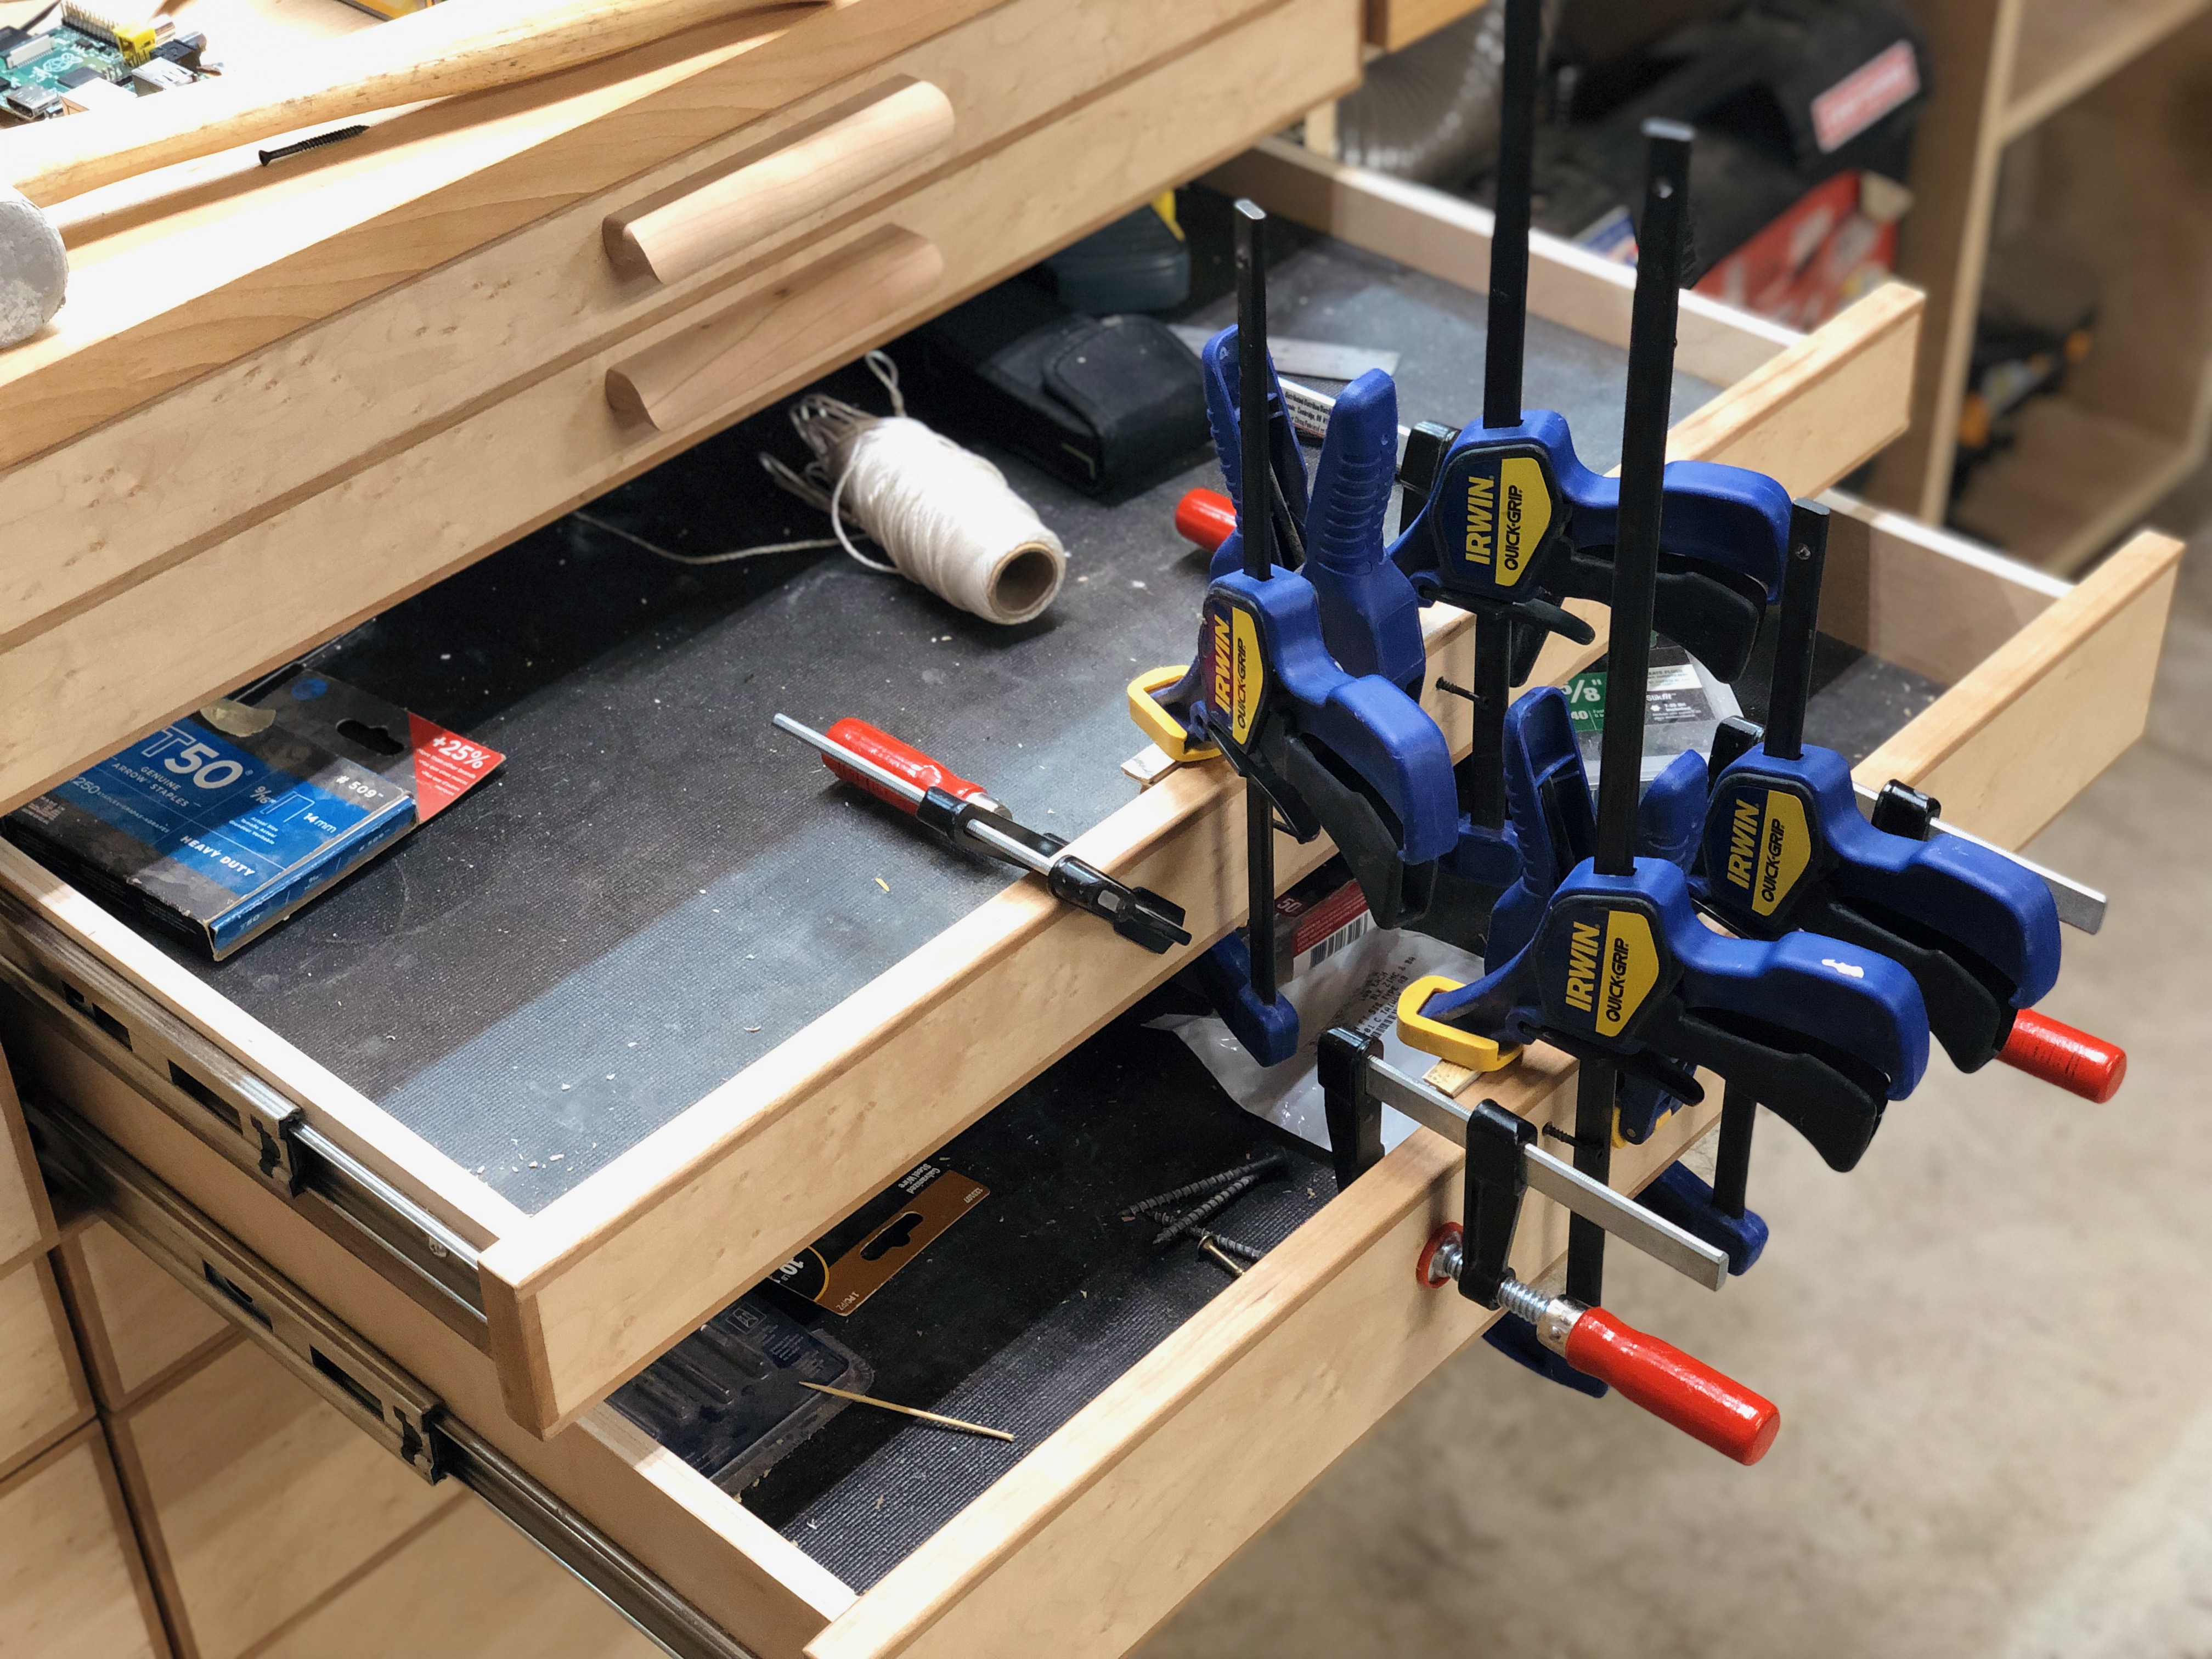 Had to attach some extra wood to securely mount the pulls.
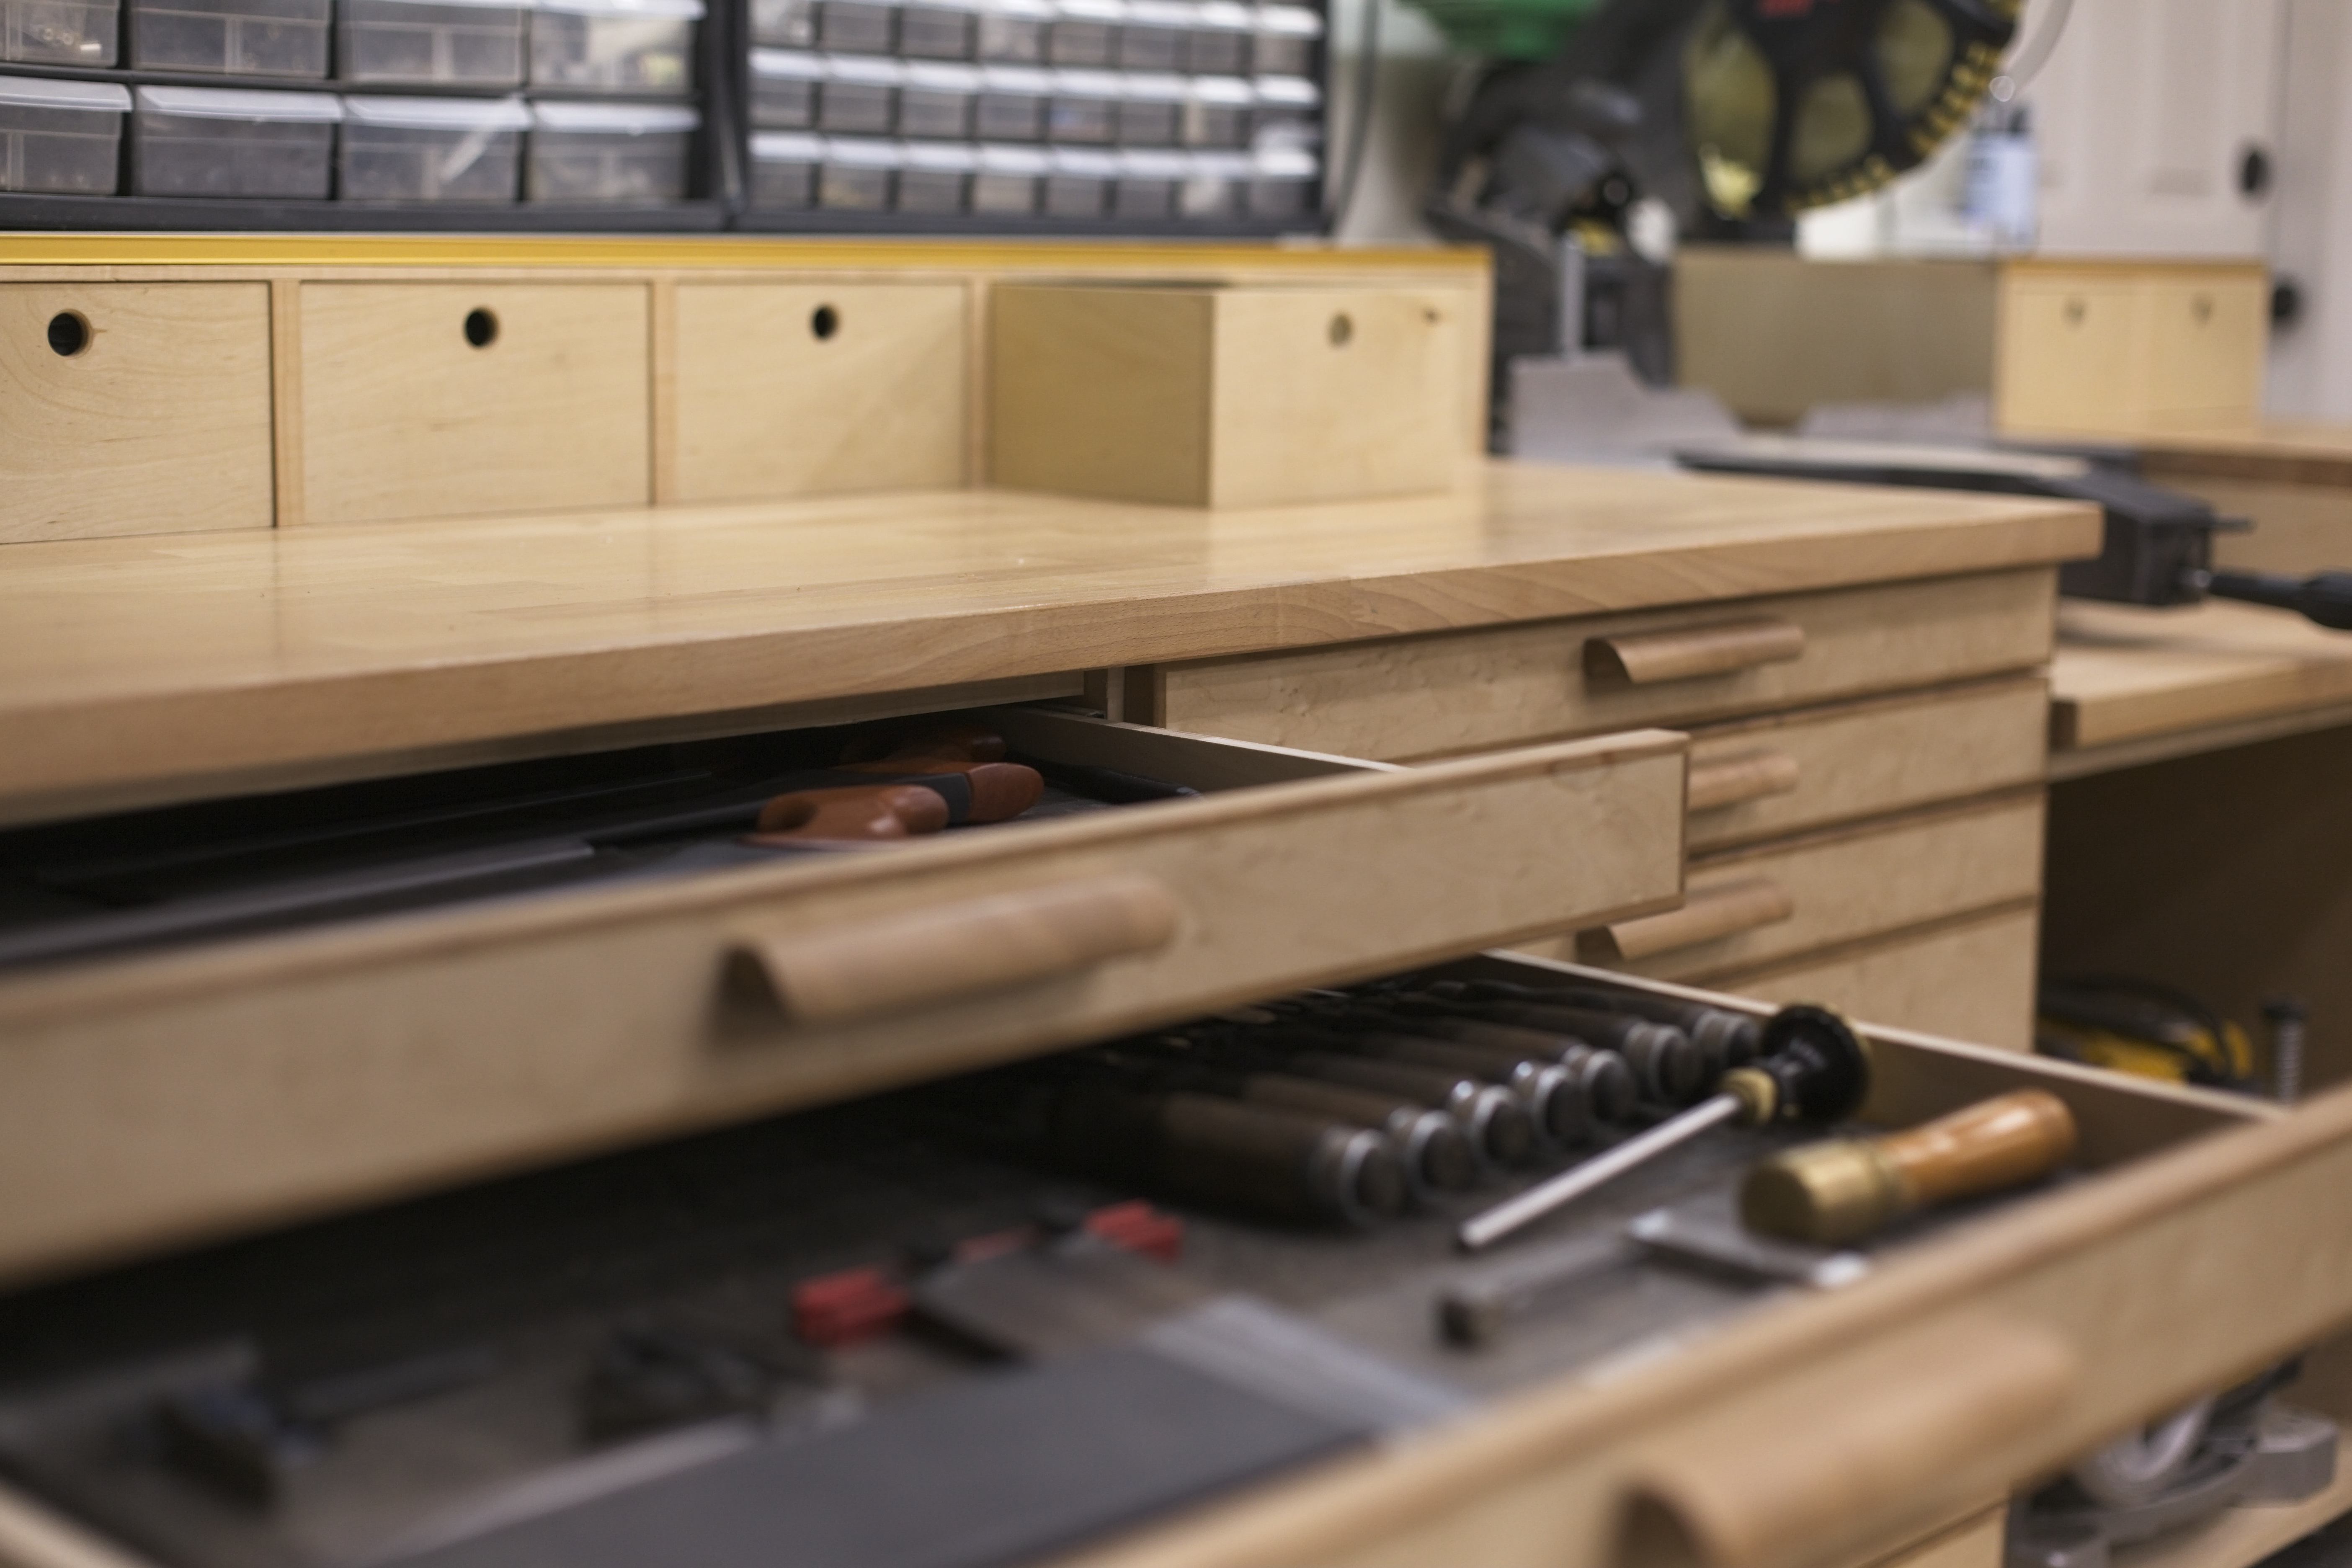
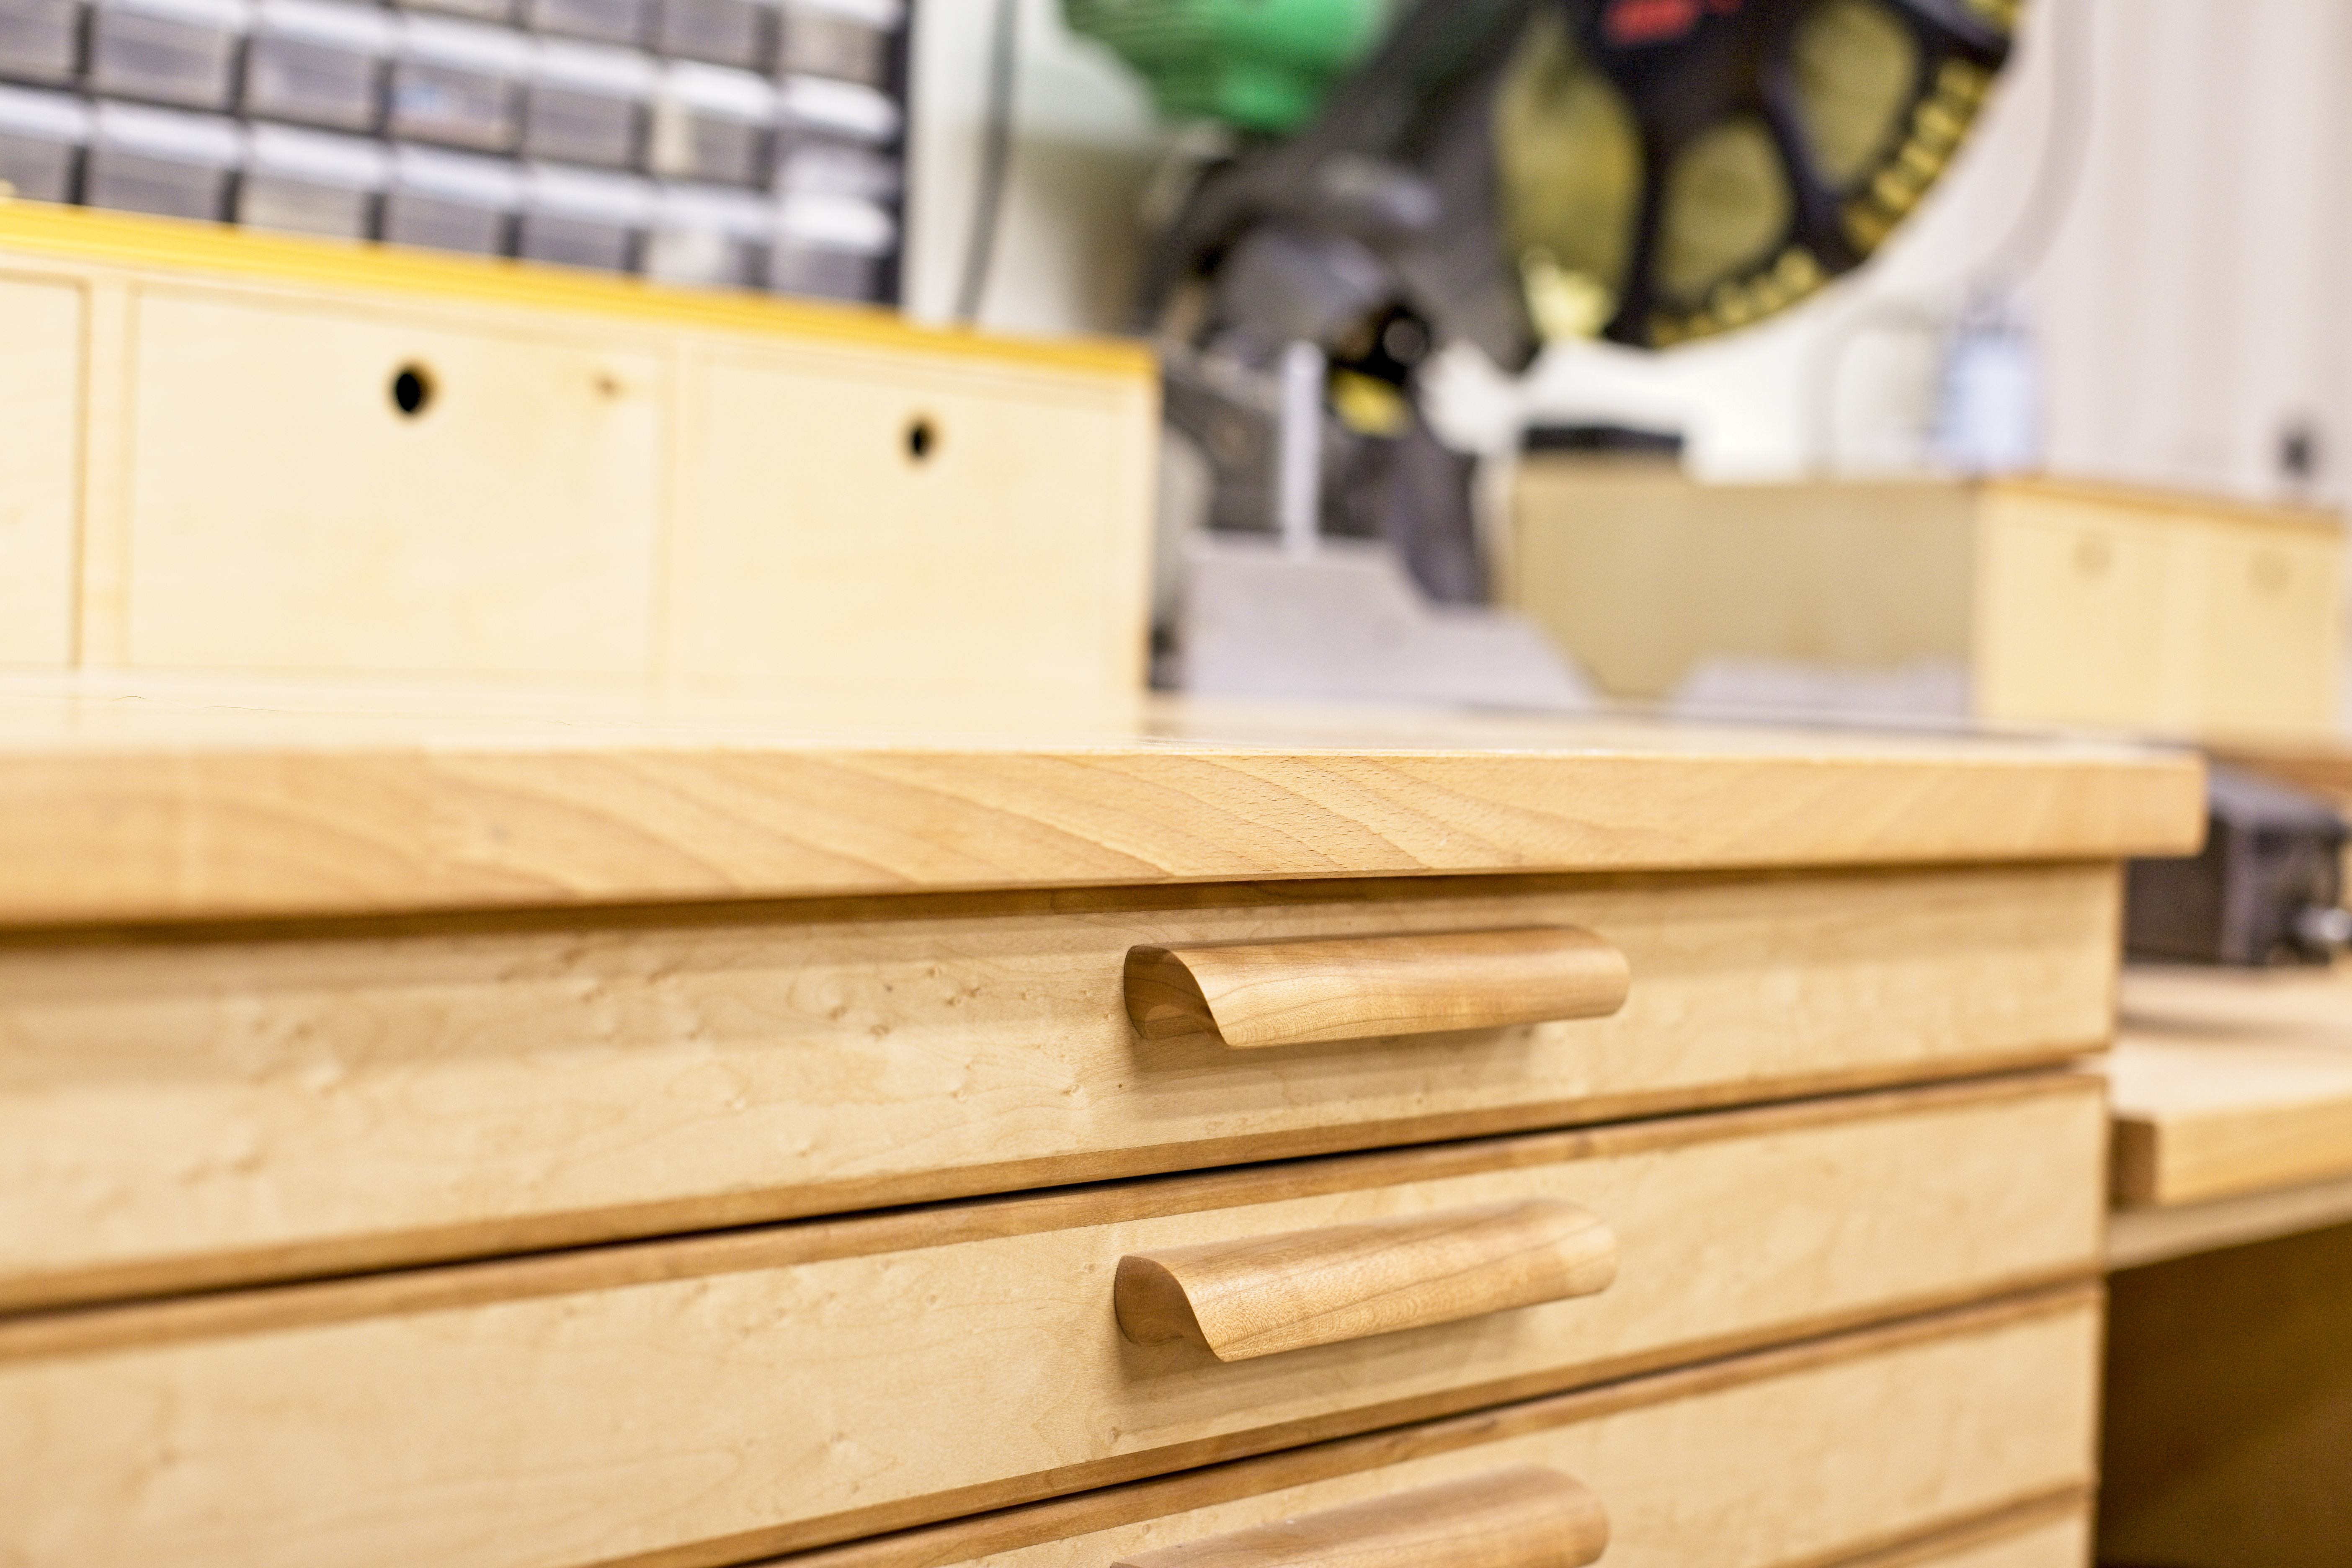
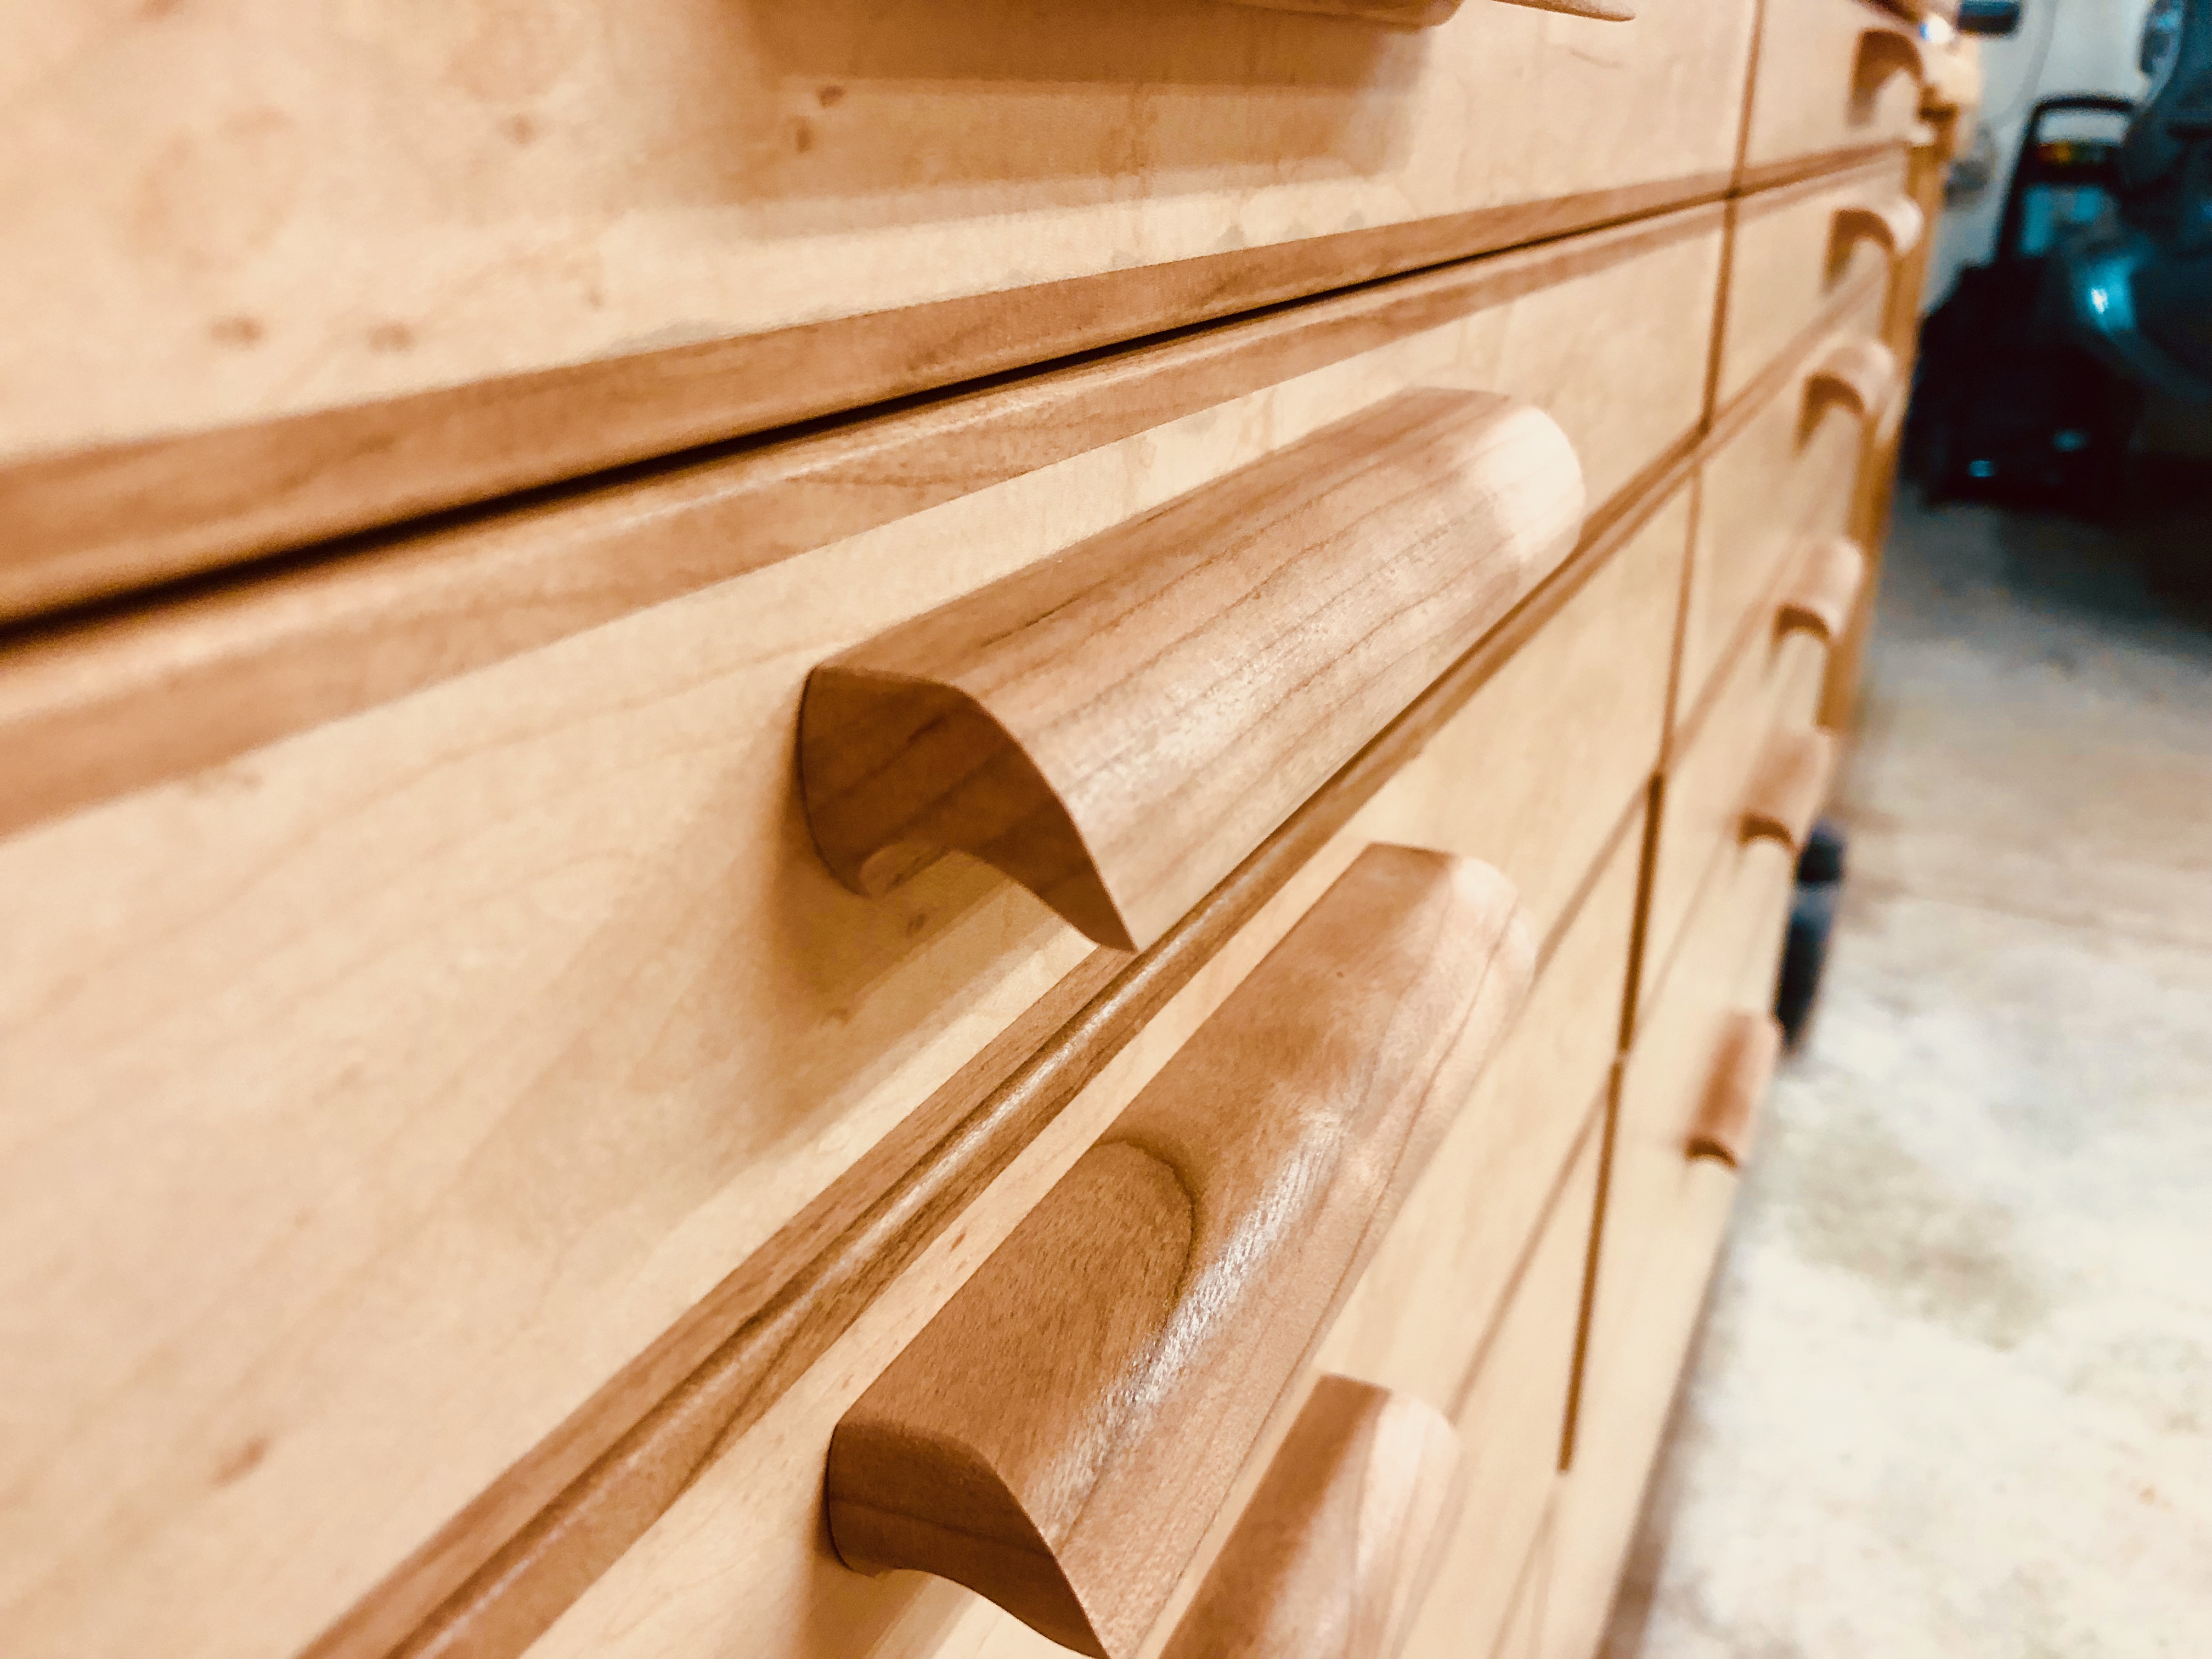 The finished pulls mounted to the drawers.