


Floating Walnut Bathroom Vanity
Power Tools
- Table Saw
- Router
- Vacuum Press
- Track Saw
- Drum Sander
- Drill Press
- Jig Saw
- Random Orbit Sander
Wood
- 3/4" Birch Plywood
- Walnut Veneer
- 3/4" MDF
- 4/4 Solid Walnut
- 1/2" Baltic Birch Plywood
- 1/4" Birch Plywood
Bits & Blades
- Flat Grind Table Saw Blade
- Drawer Pull Router Bit
- Straight or Spiral Router Bit
- Router Guide Bushings
Hand Tools
- Flush Trim Pull Saw
- Assorted Chisels
Hardware
- Blum Inset Euro Hinges
- Blum Hinge Restriction Clips
- Knape & Voght Undermount Drawer Slides
 Download Plans
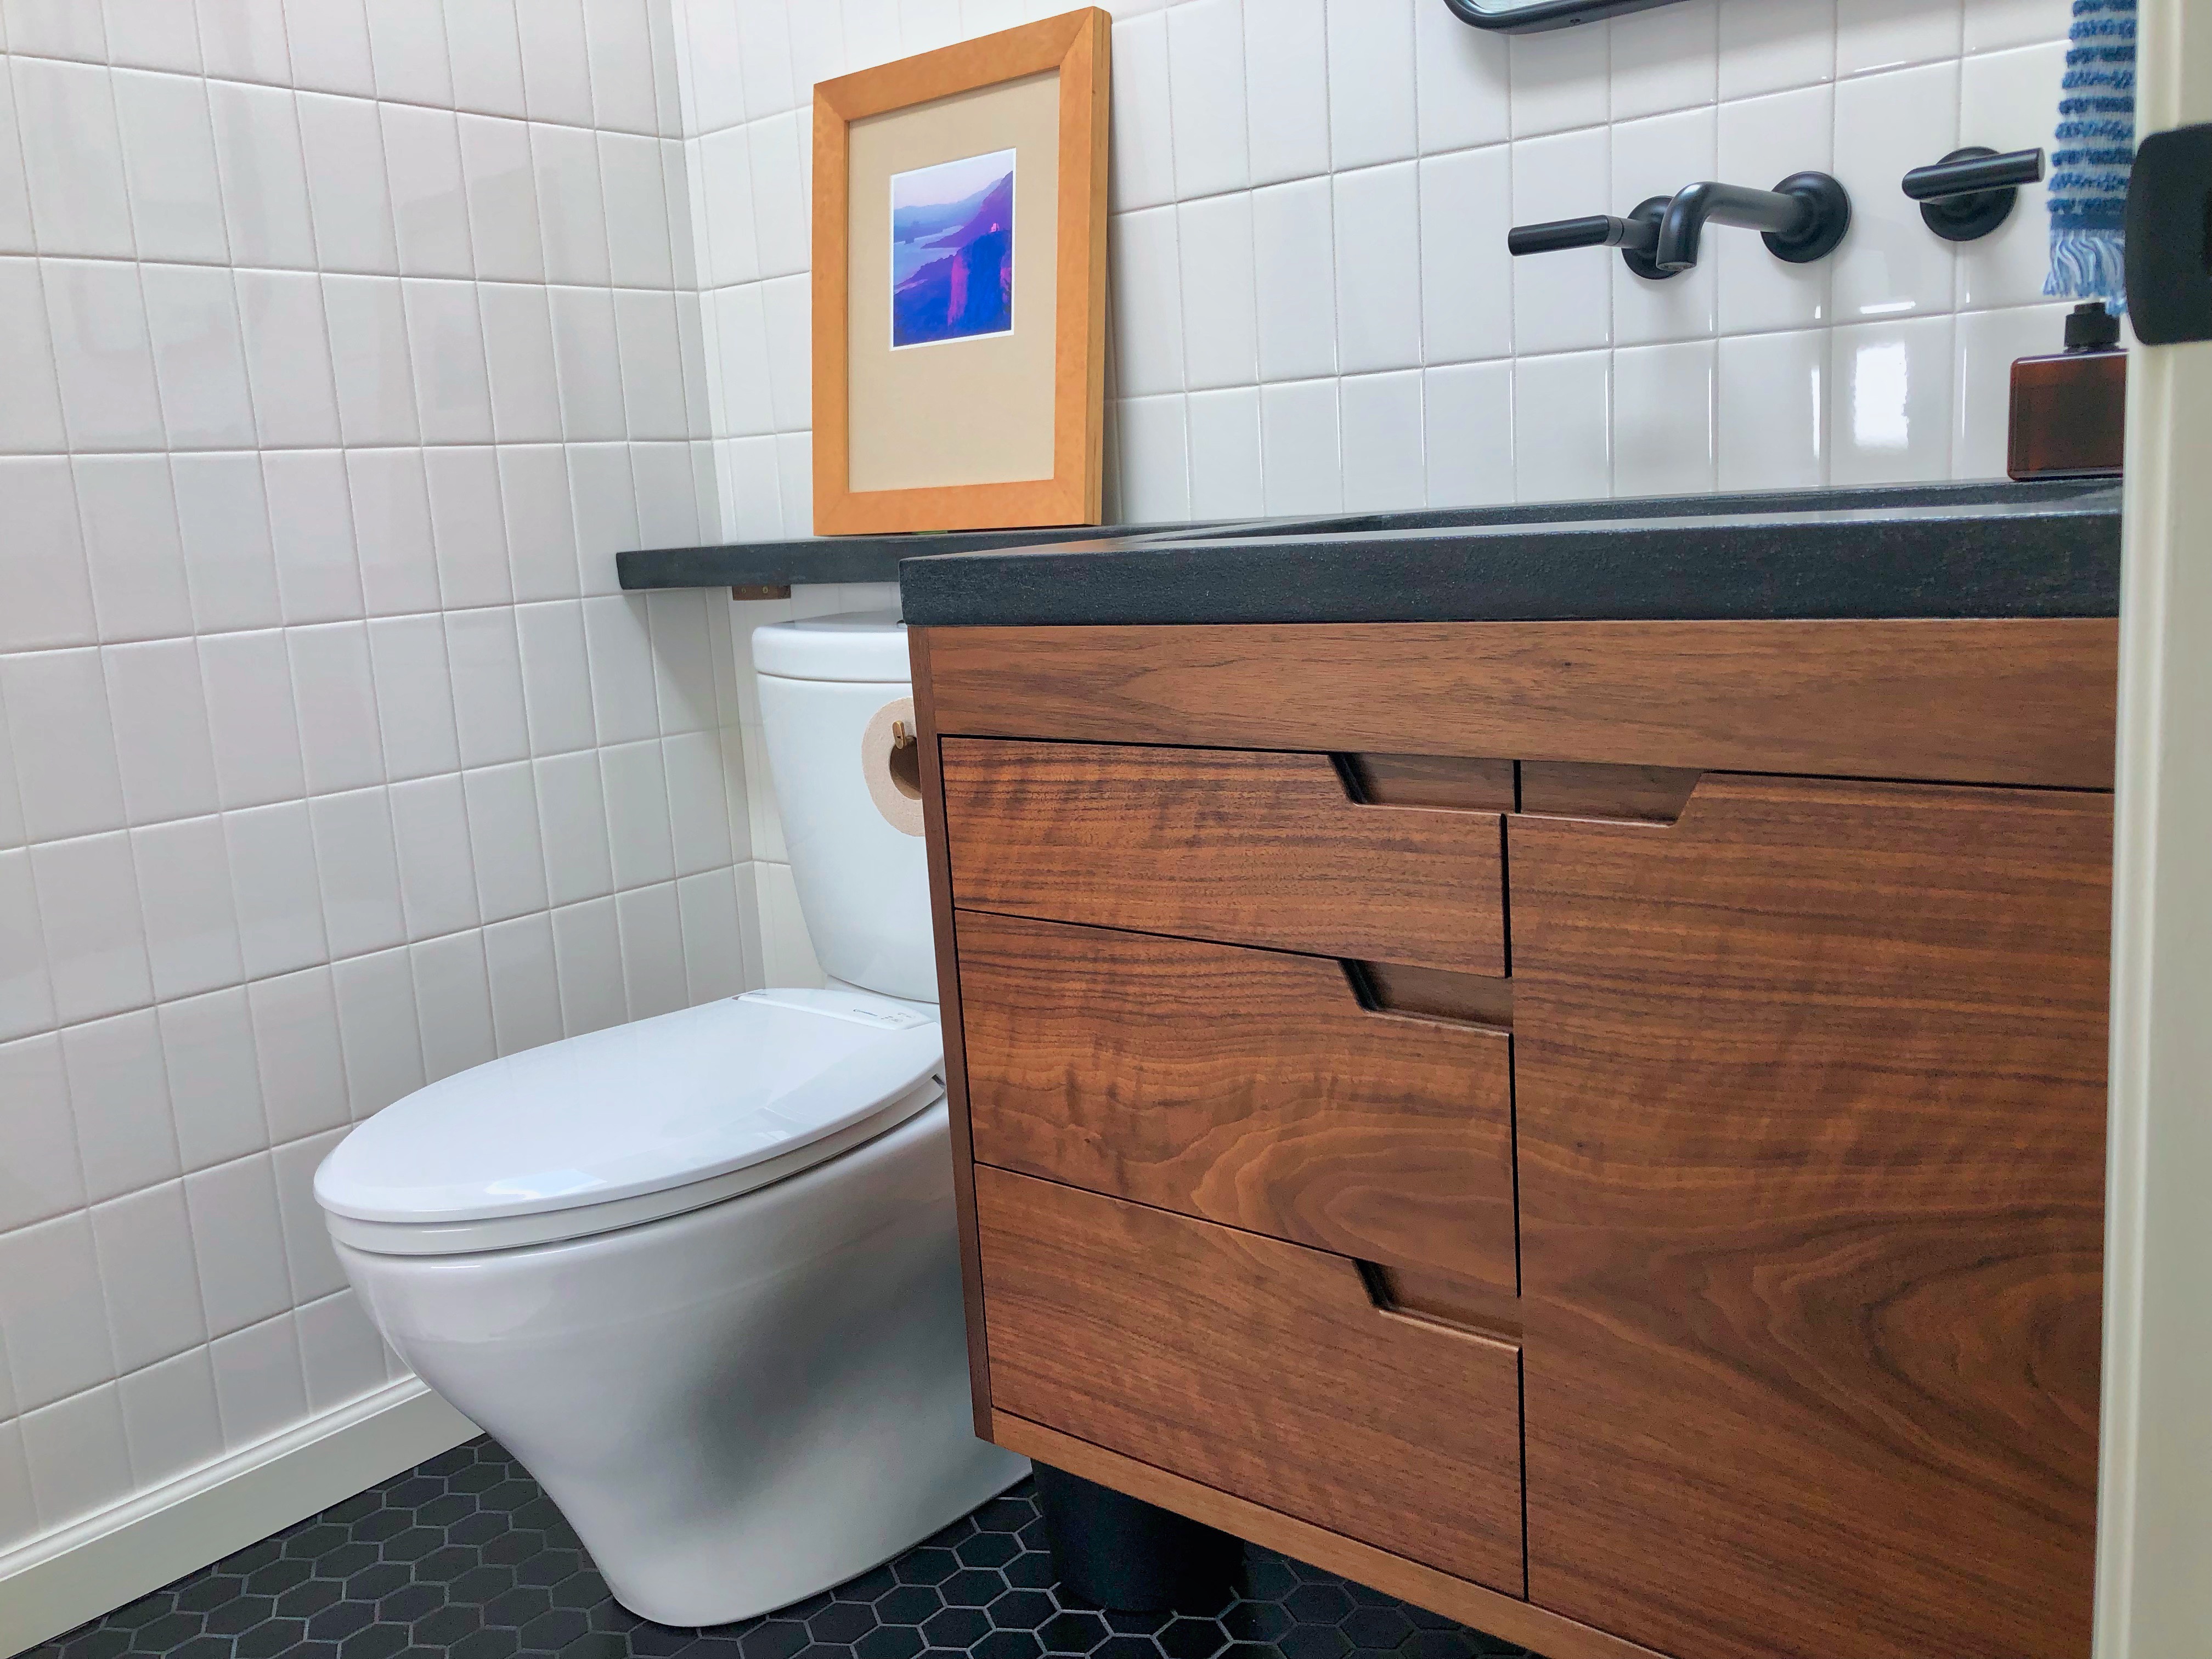
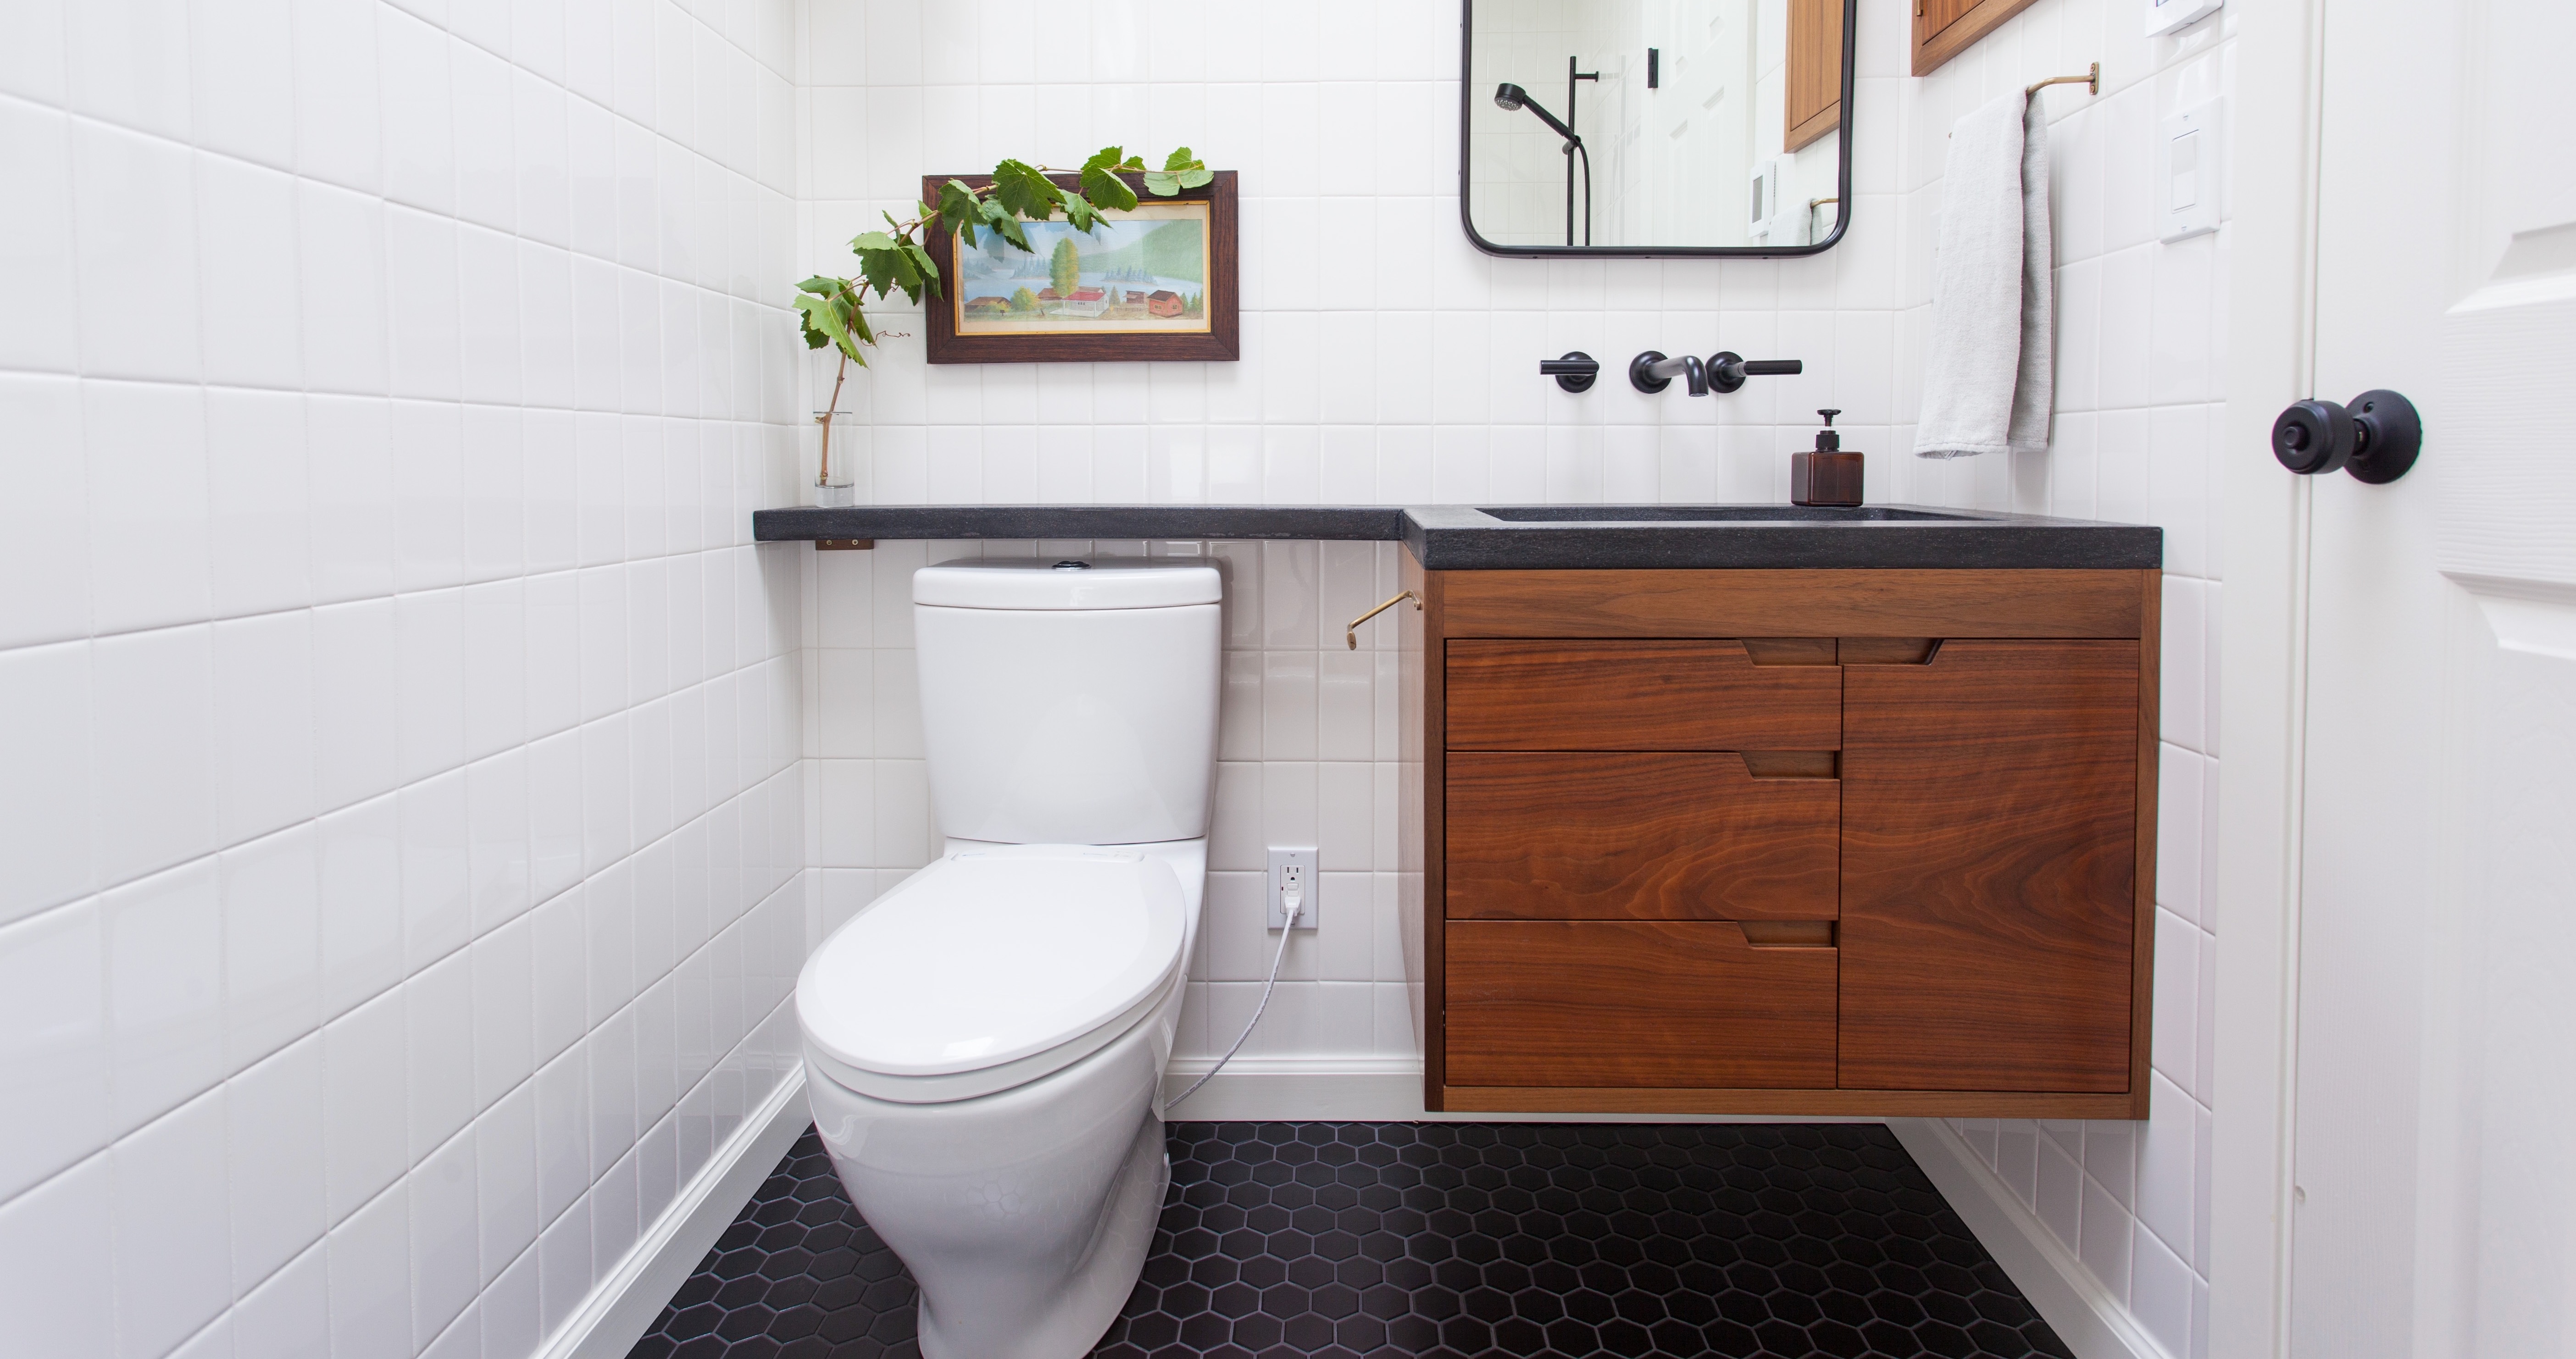
This is the second of two bathrooms in our small 1,100 square foot home. Both our bathrooms are quite small, so a large focus of the remodel was to make it appear larger than it really is. For the design of the vanity, that meant mouunting it on the wall, eliminating any protruding drawer pulls, and keeping it's overall size as compact as possible to free up the available open space in the rest of the bathroom.
As with most of my projects, I started in SketchUp to work out the overall dimensions of the casework and layout the drawer / door arrangement. With that done, I quickly threw together the carcass for the vanity using simple pocket screw and screw joinery. Nothing fancy here at all. The case went together so quickly that I didn't even stop to take any progress pictures, so best I can give you is this photo of the carcass installed on the wall:
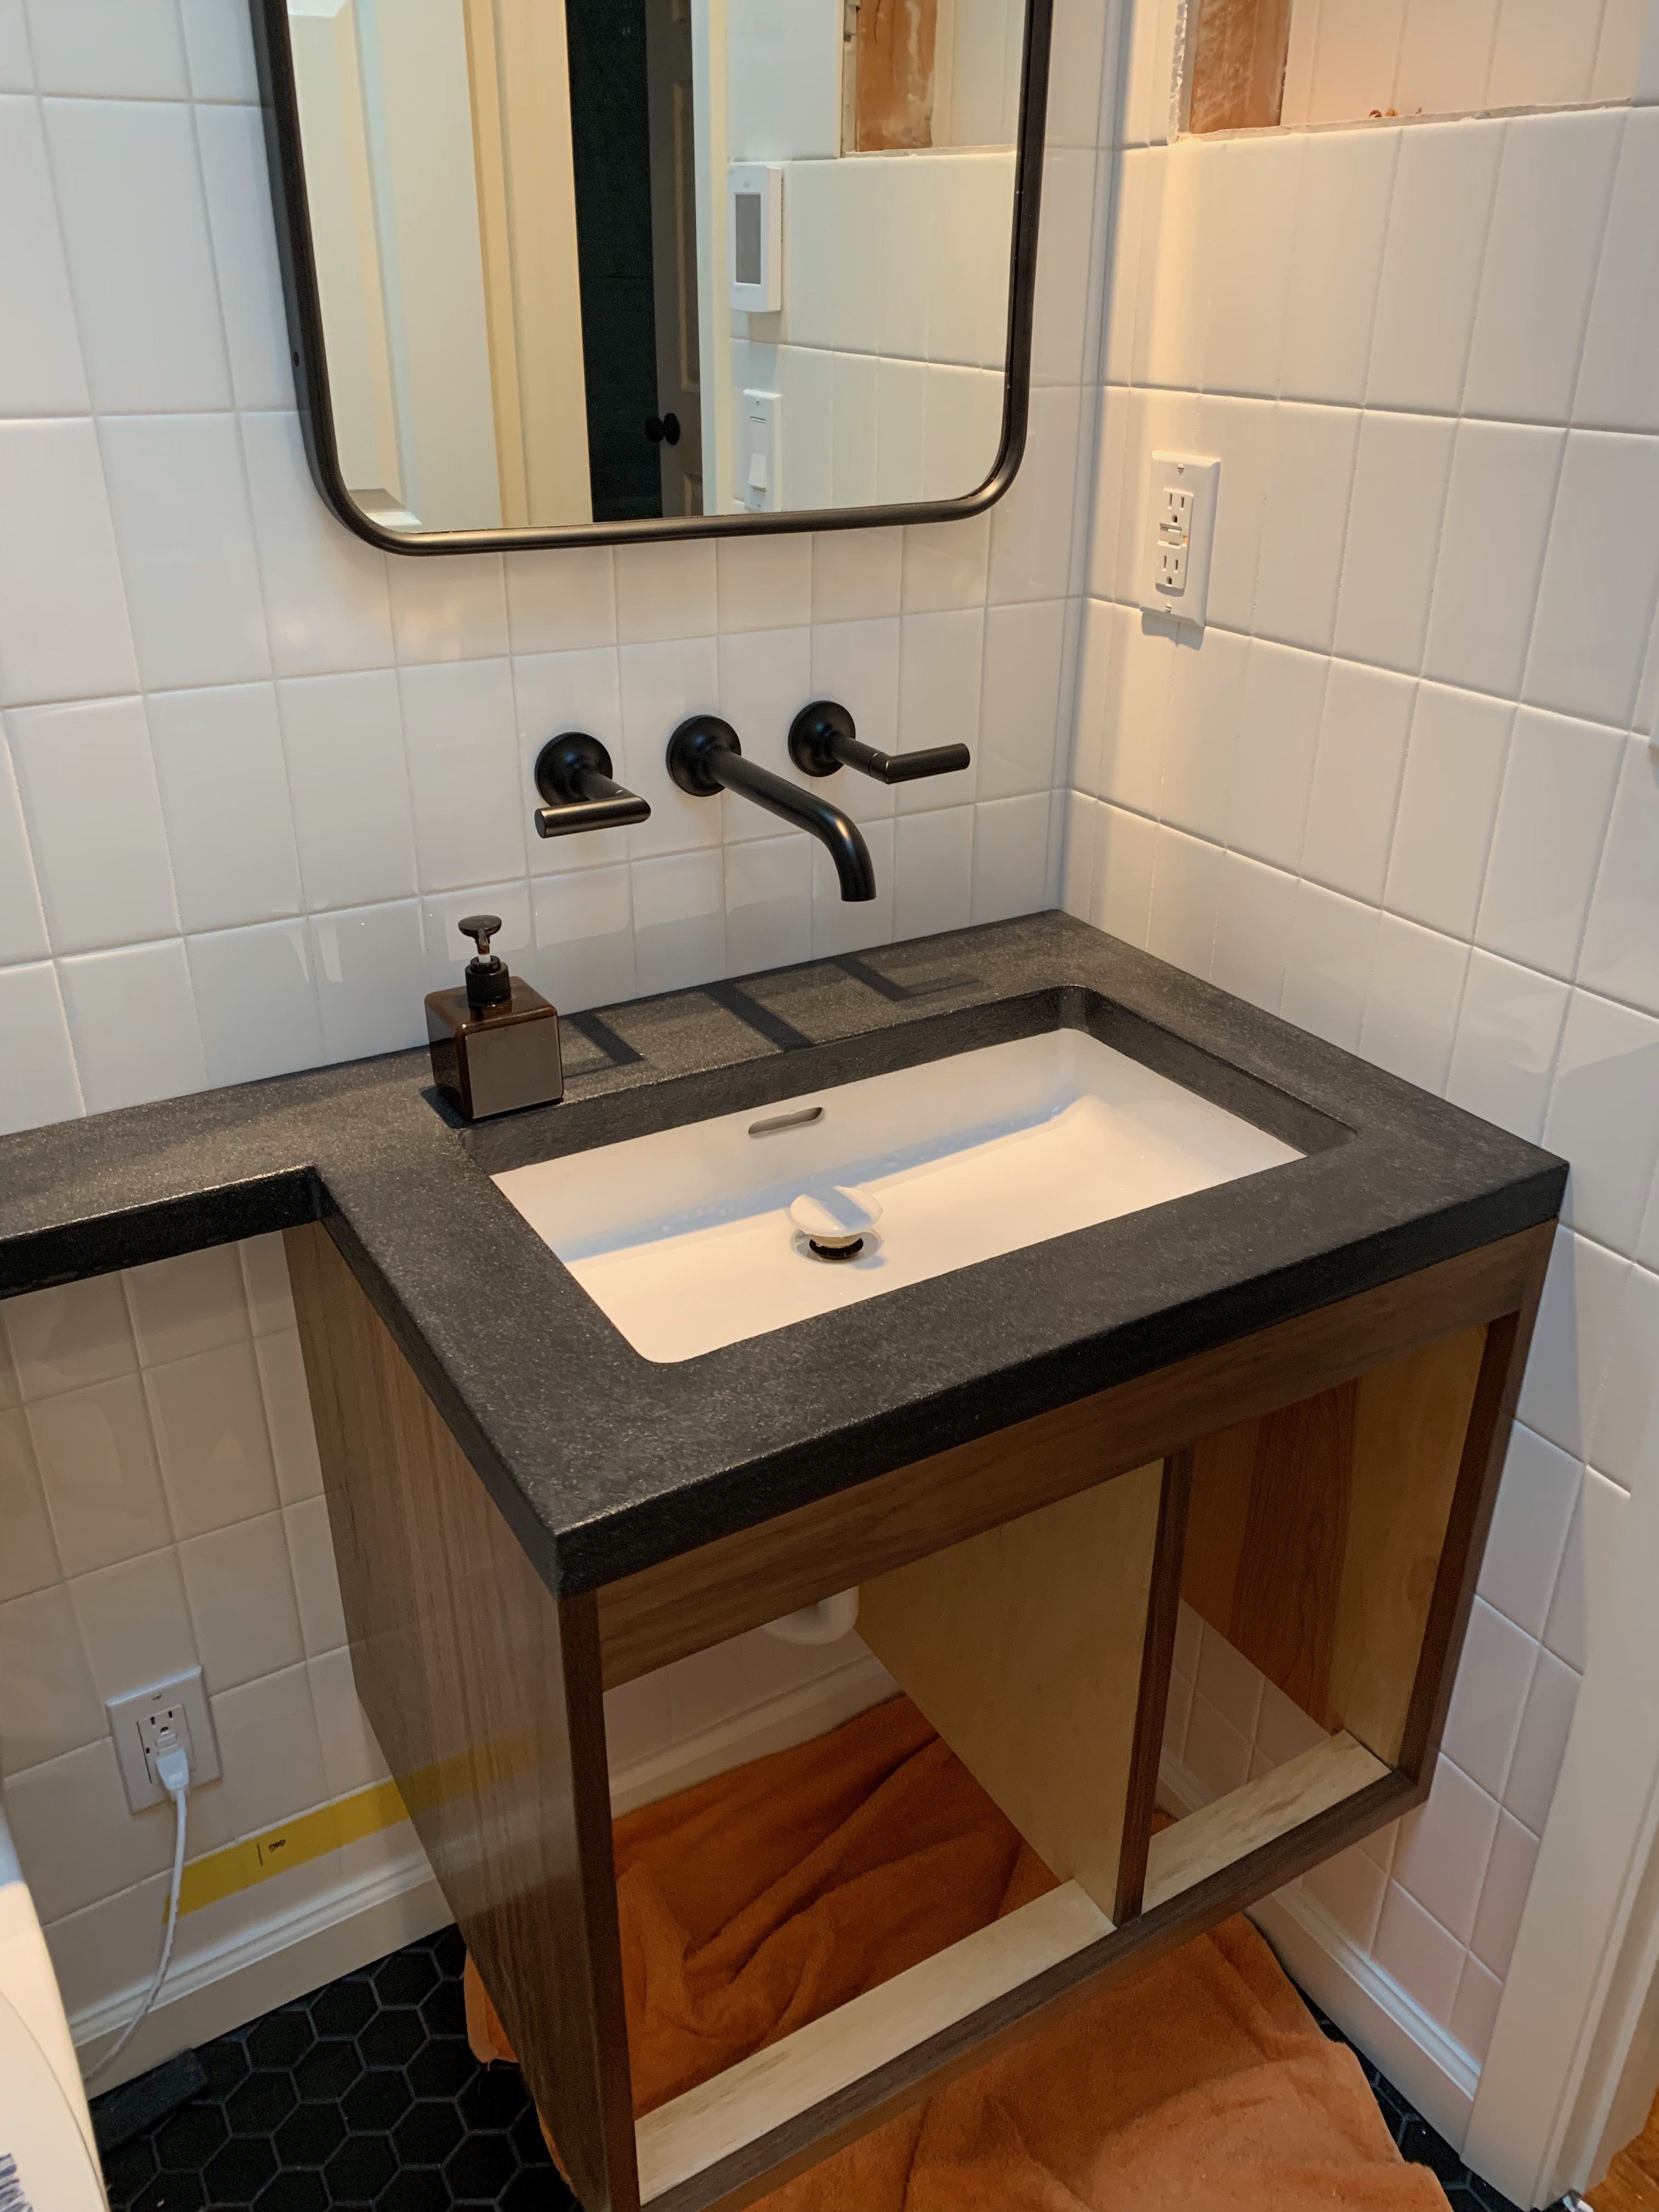 The vanity mounted on the wall
The vanity is mounted to the wall using a french cleat, with a few lag bolts across the cleat and on the side of the cabinet to firmly affix it to the wall. Because the walls were completely tiled, it was important for us to make sure we clearly marked the stud locations on the wall (you can see the yellow tape marking them in the image above) and we had to predrill through the tile before we could drive the lag bolts. Additionally, since the cabinet on the right side of the vanity is so small, I had to purchase a right angle drill to be able to properly get in and drill the pilot holes through the tiles.
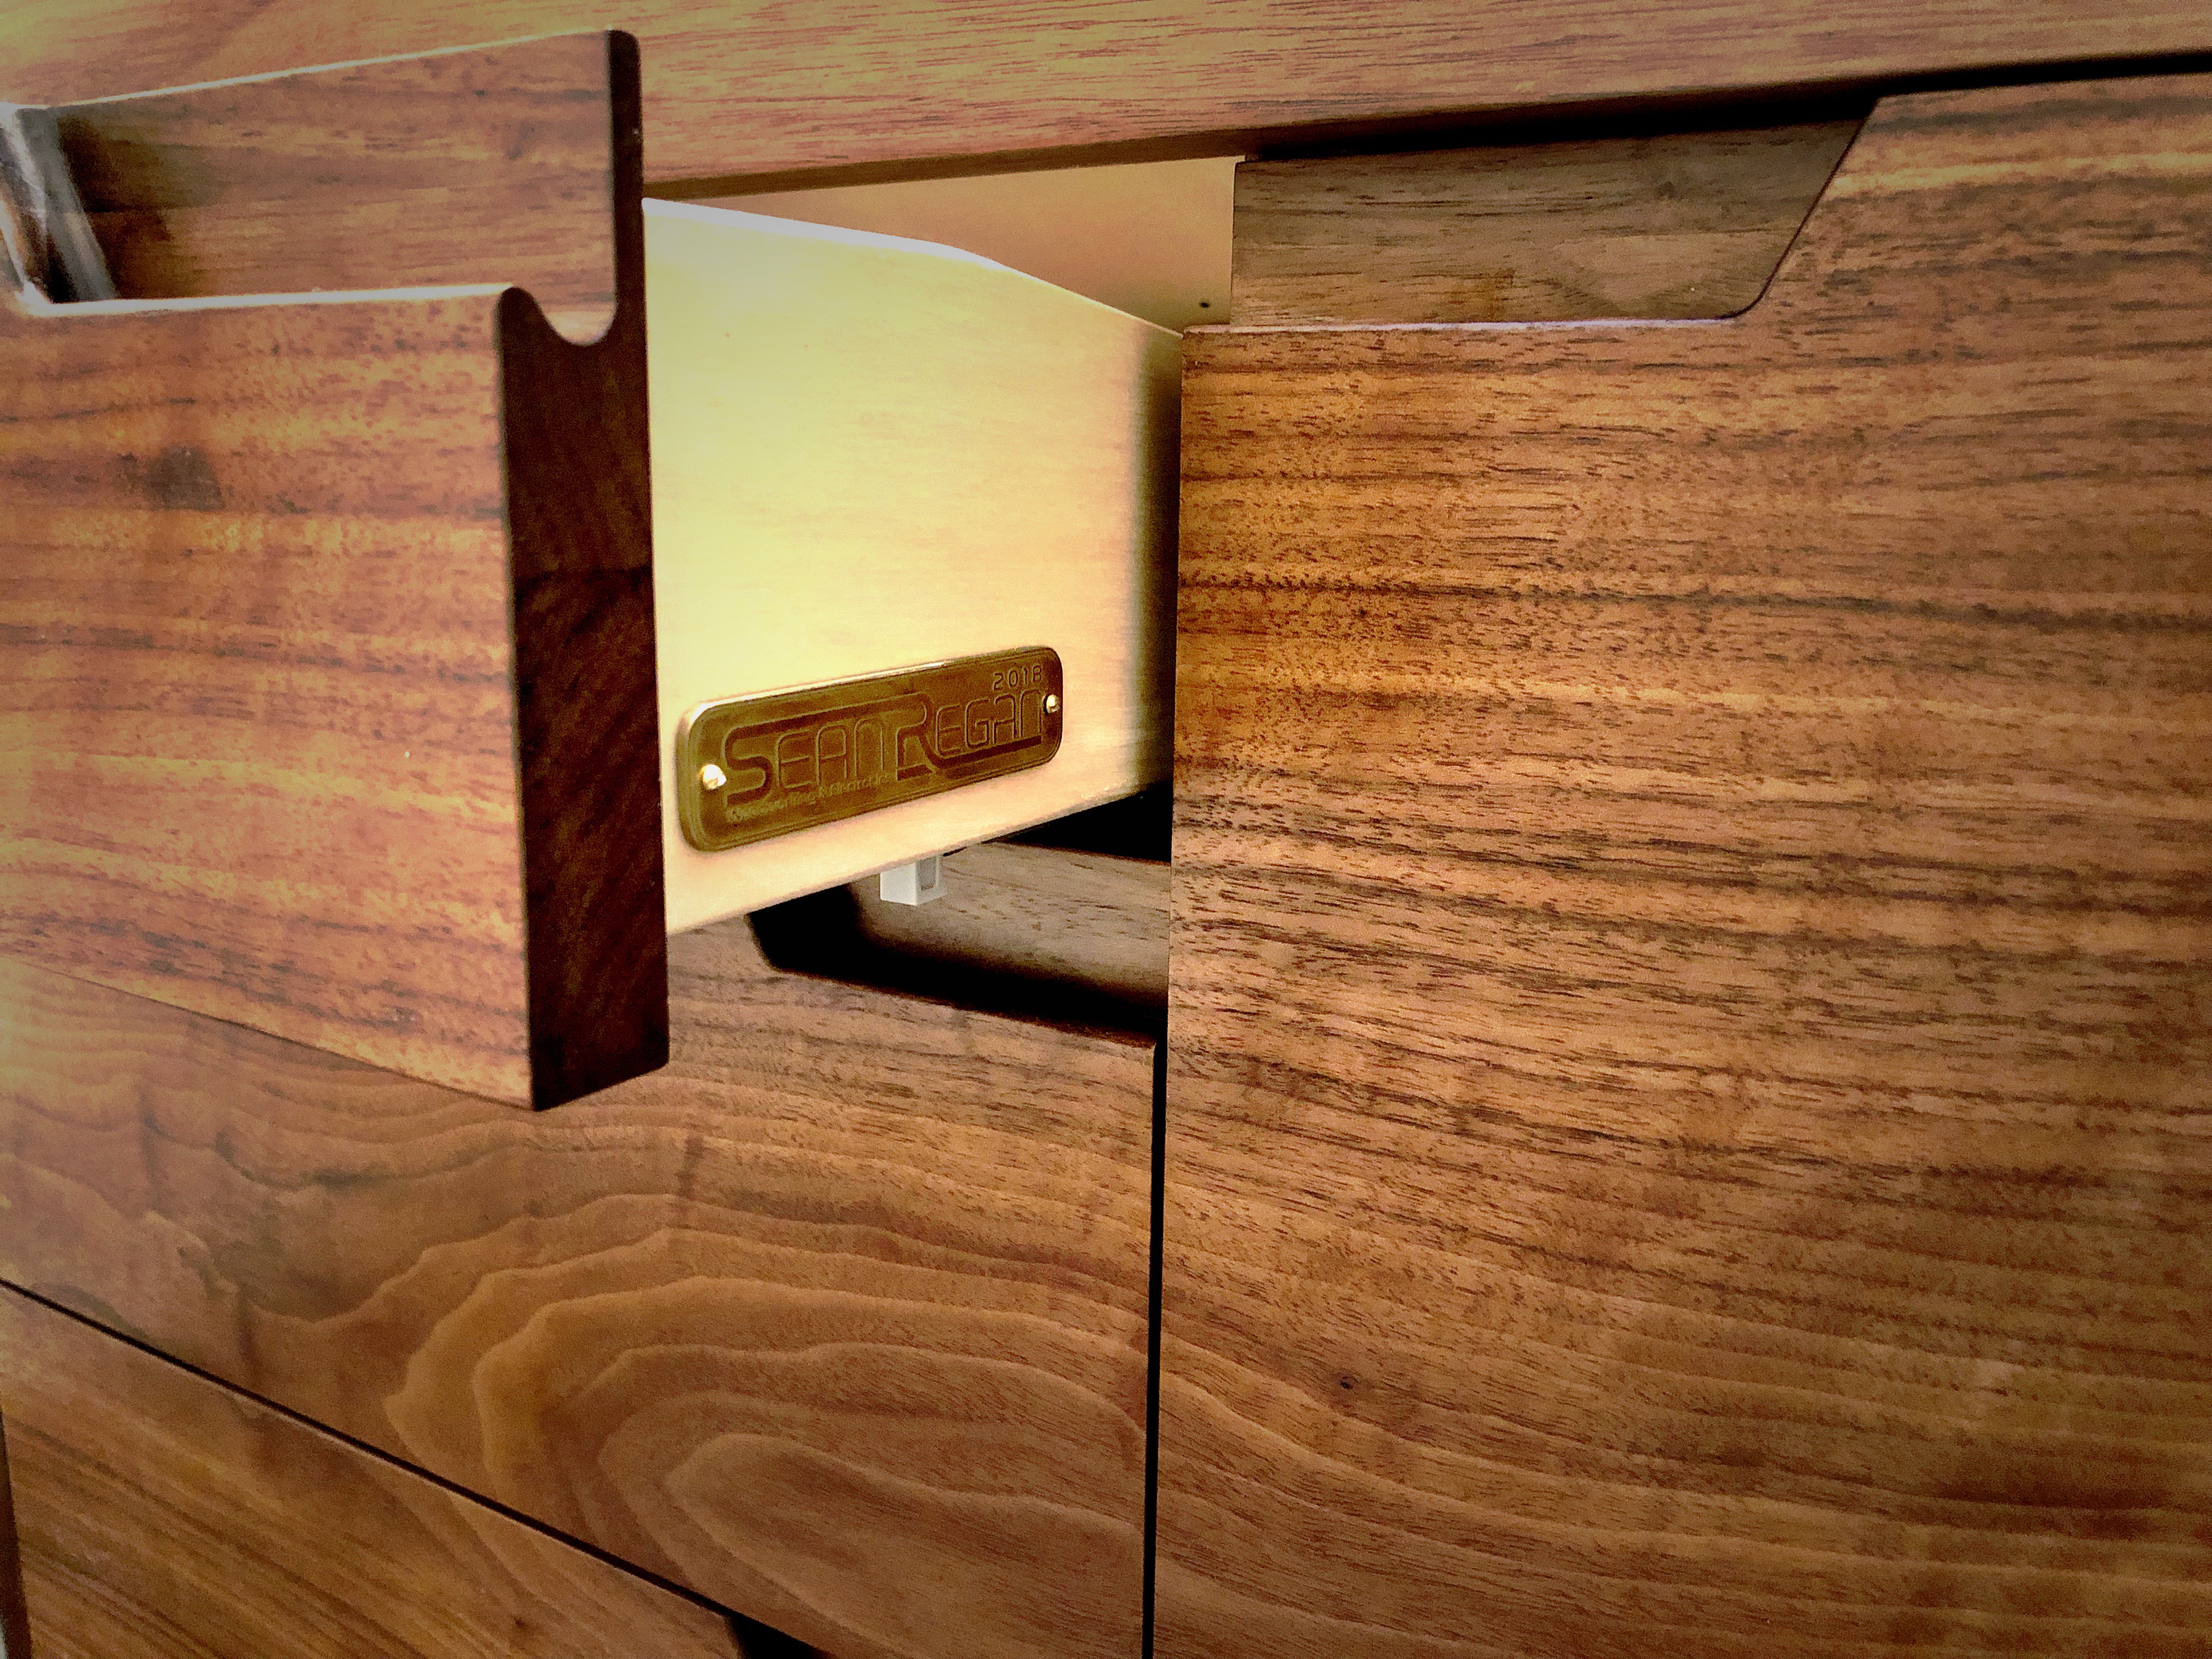
Next up were the drawers. Since the sink drain plumbing sits behind the drawers, I opted to simply make the drawers fit in front of the plumbing. That left me with about 10" of depth for the drawers. The drawer boxes are made from pre-finished 1/2" Baltic Birch plywood and mounted using 10" Knape & Vogt undermount slides.
The last portion of the build was the drawer fronts and doors. I opted to use veneer for the drawers and doors for a few of reasons:
- I wanted continuous grain across the entire front of the vanity, and it would be very difficult to find a solid board wide enough.
- To ensure the door never warps since it's a frameless design
- I wanted to use figured walnut to really make a visual statement, and veneer is much cheaper and easier to obtain.
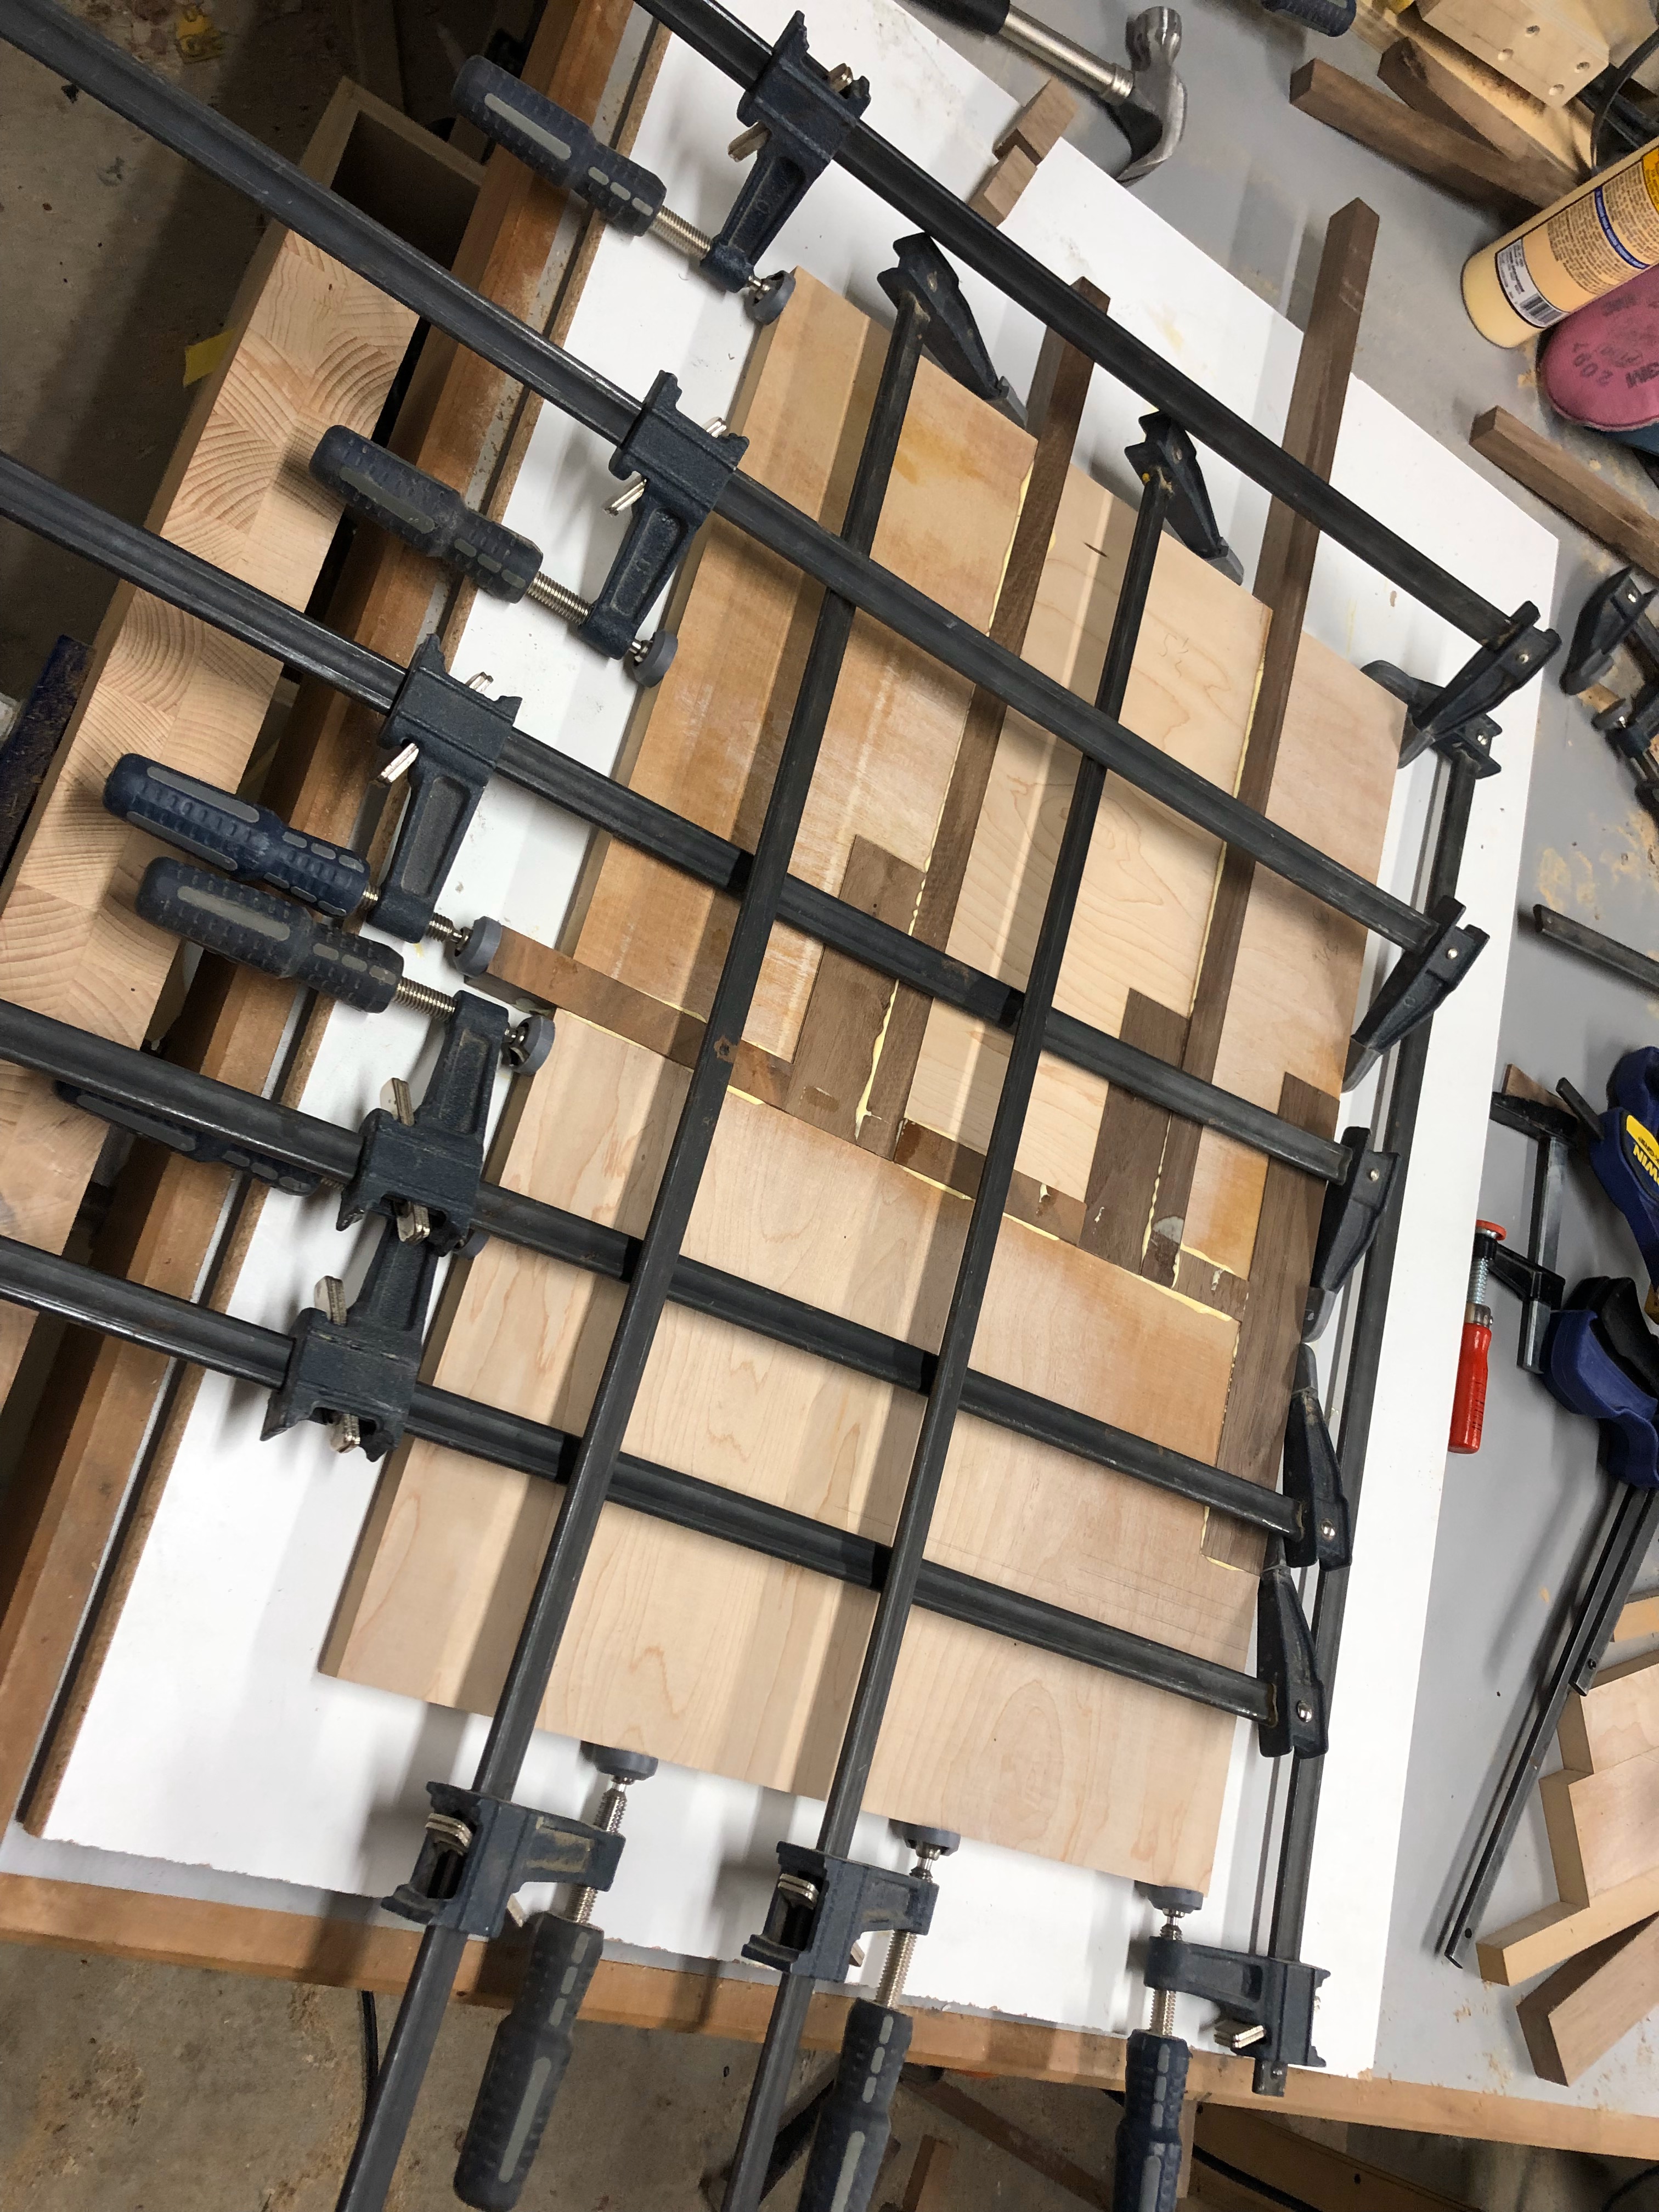 First glue up the substate with edge banding and drawer pull blocking in place
 Run it through the drum sander to level everything out
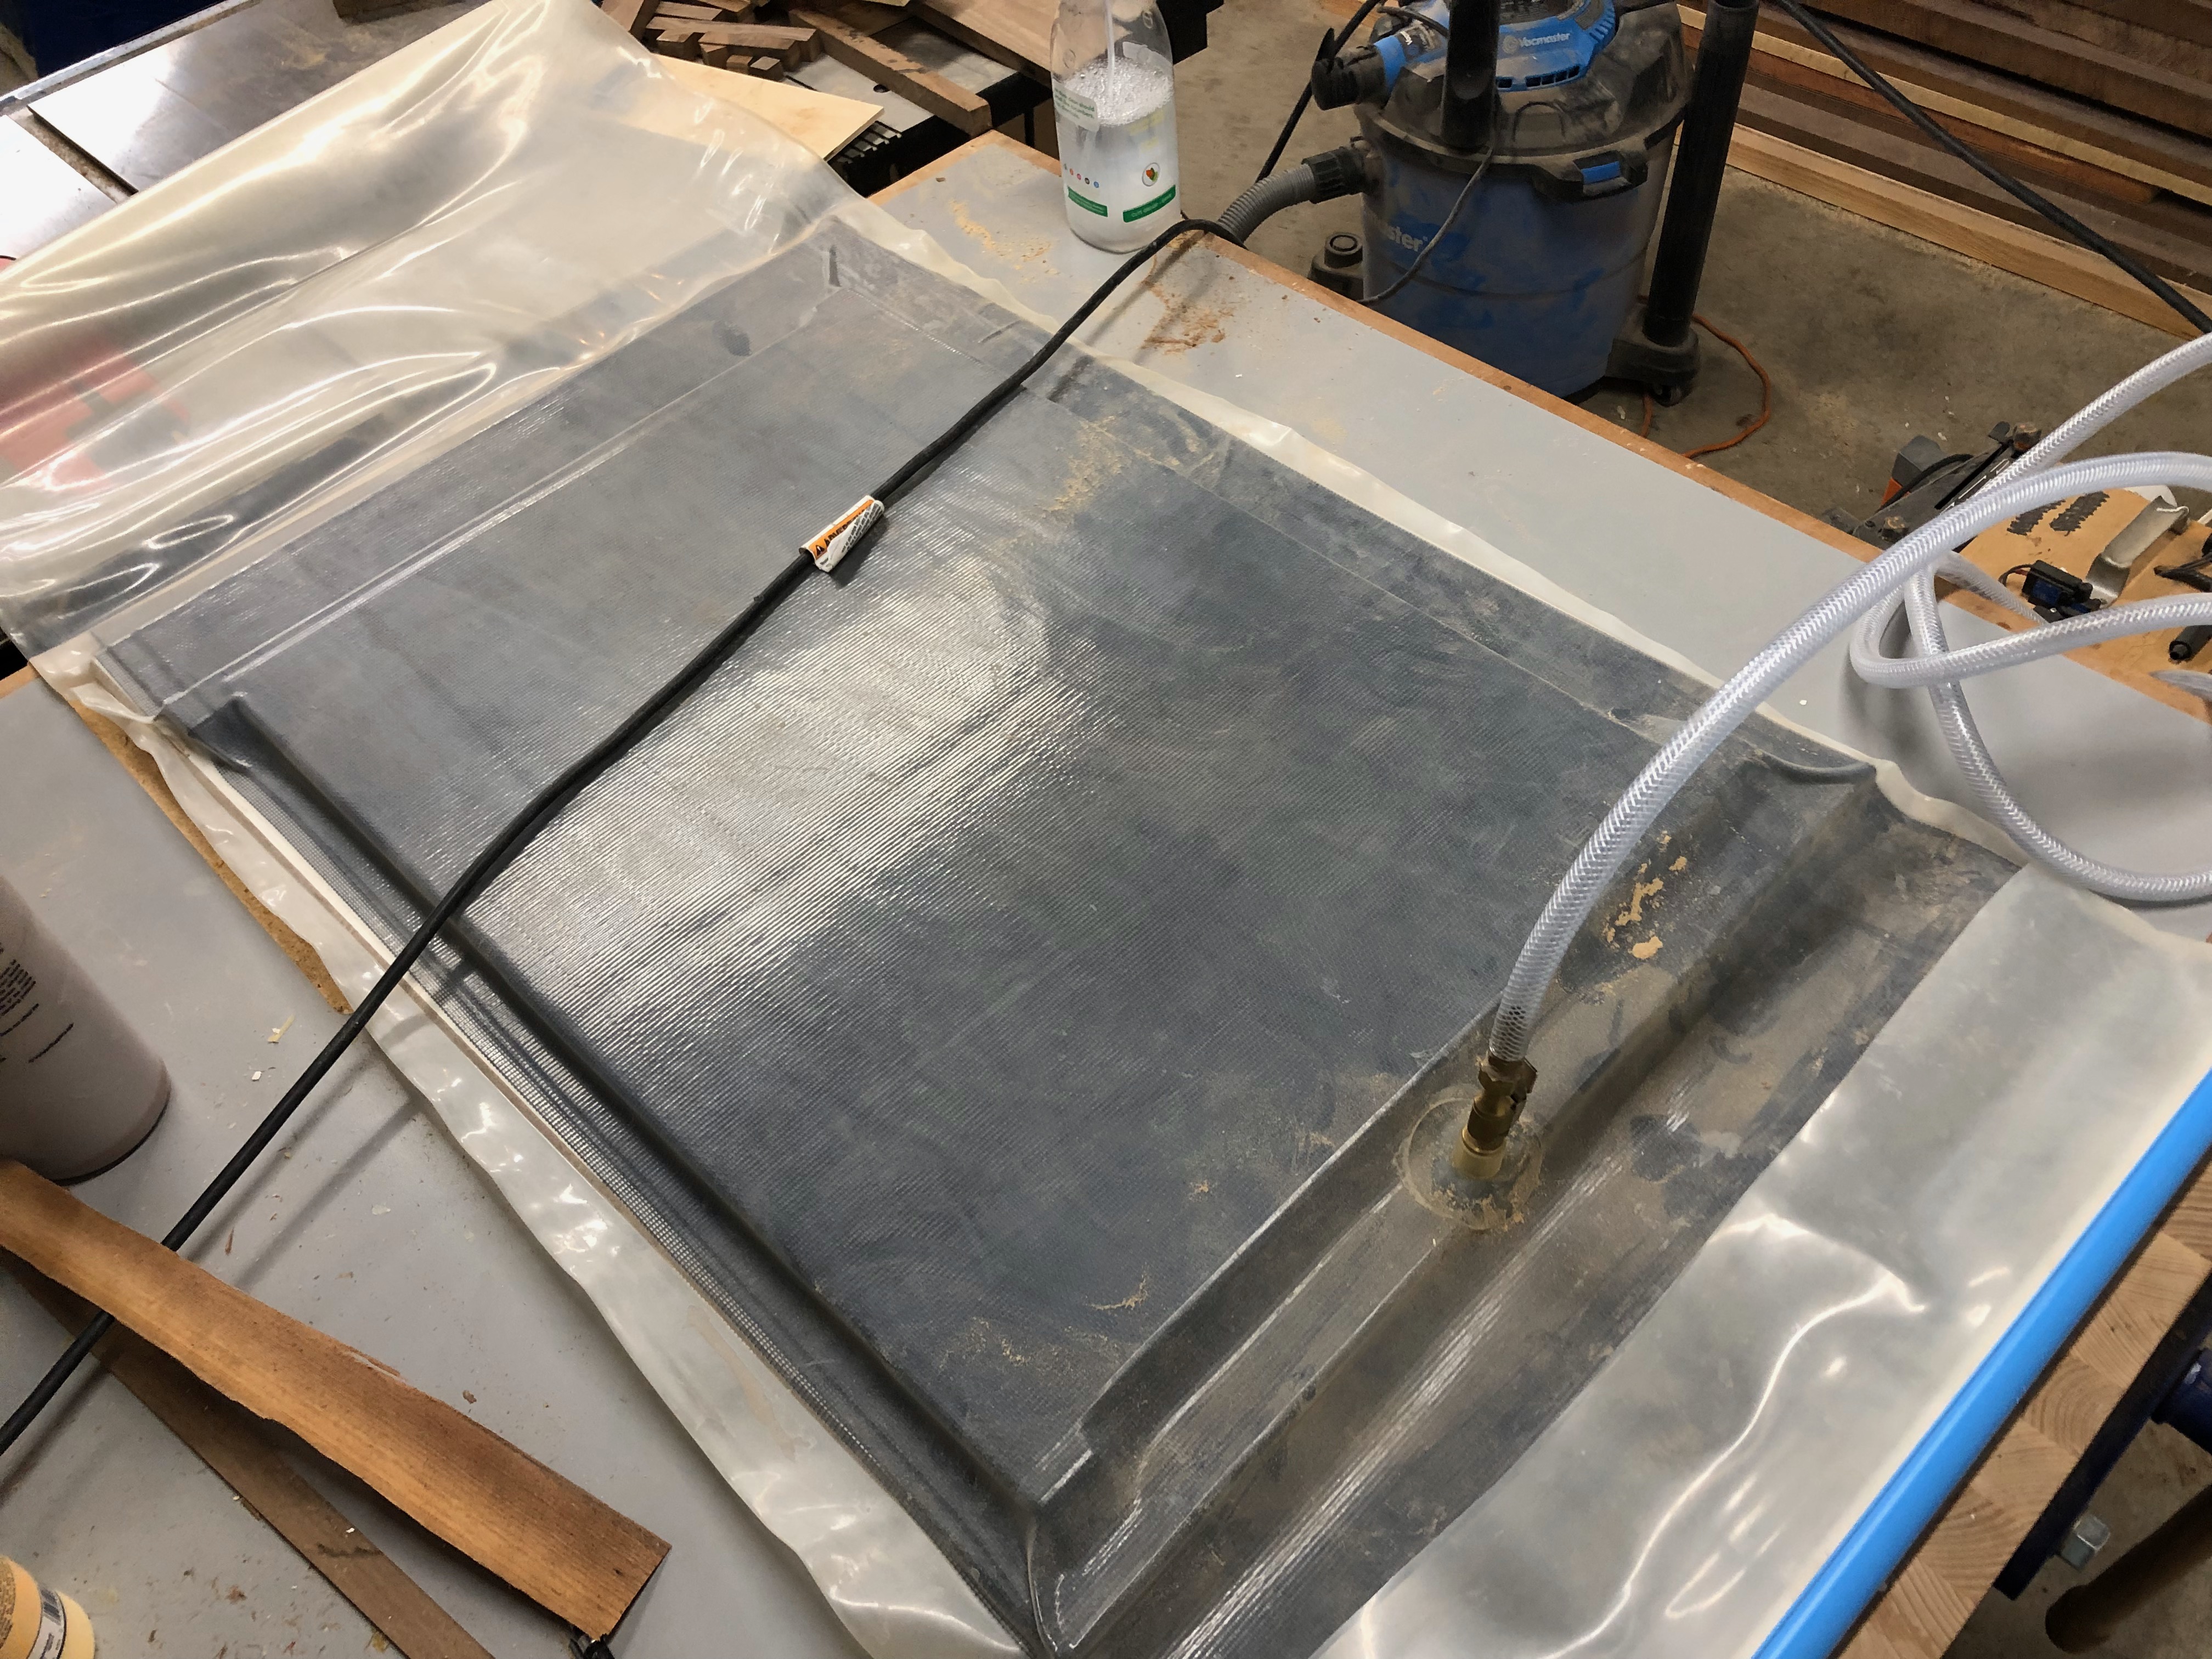 Glue it up and press the veneer on
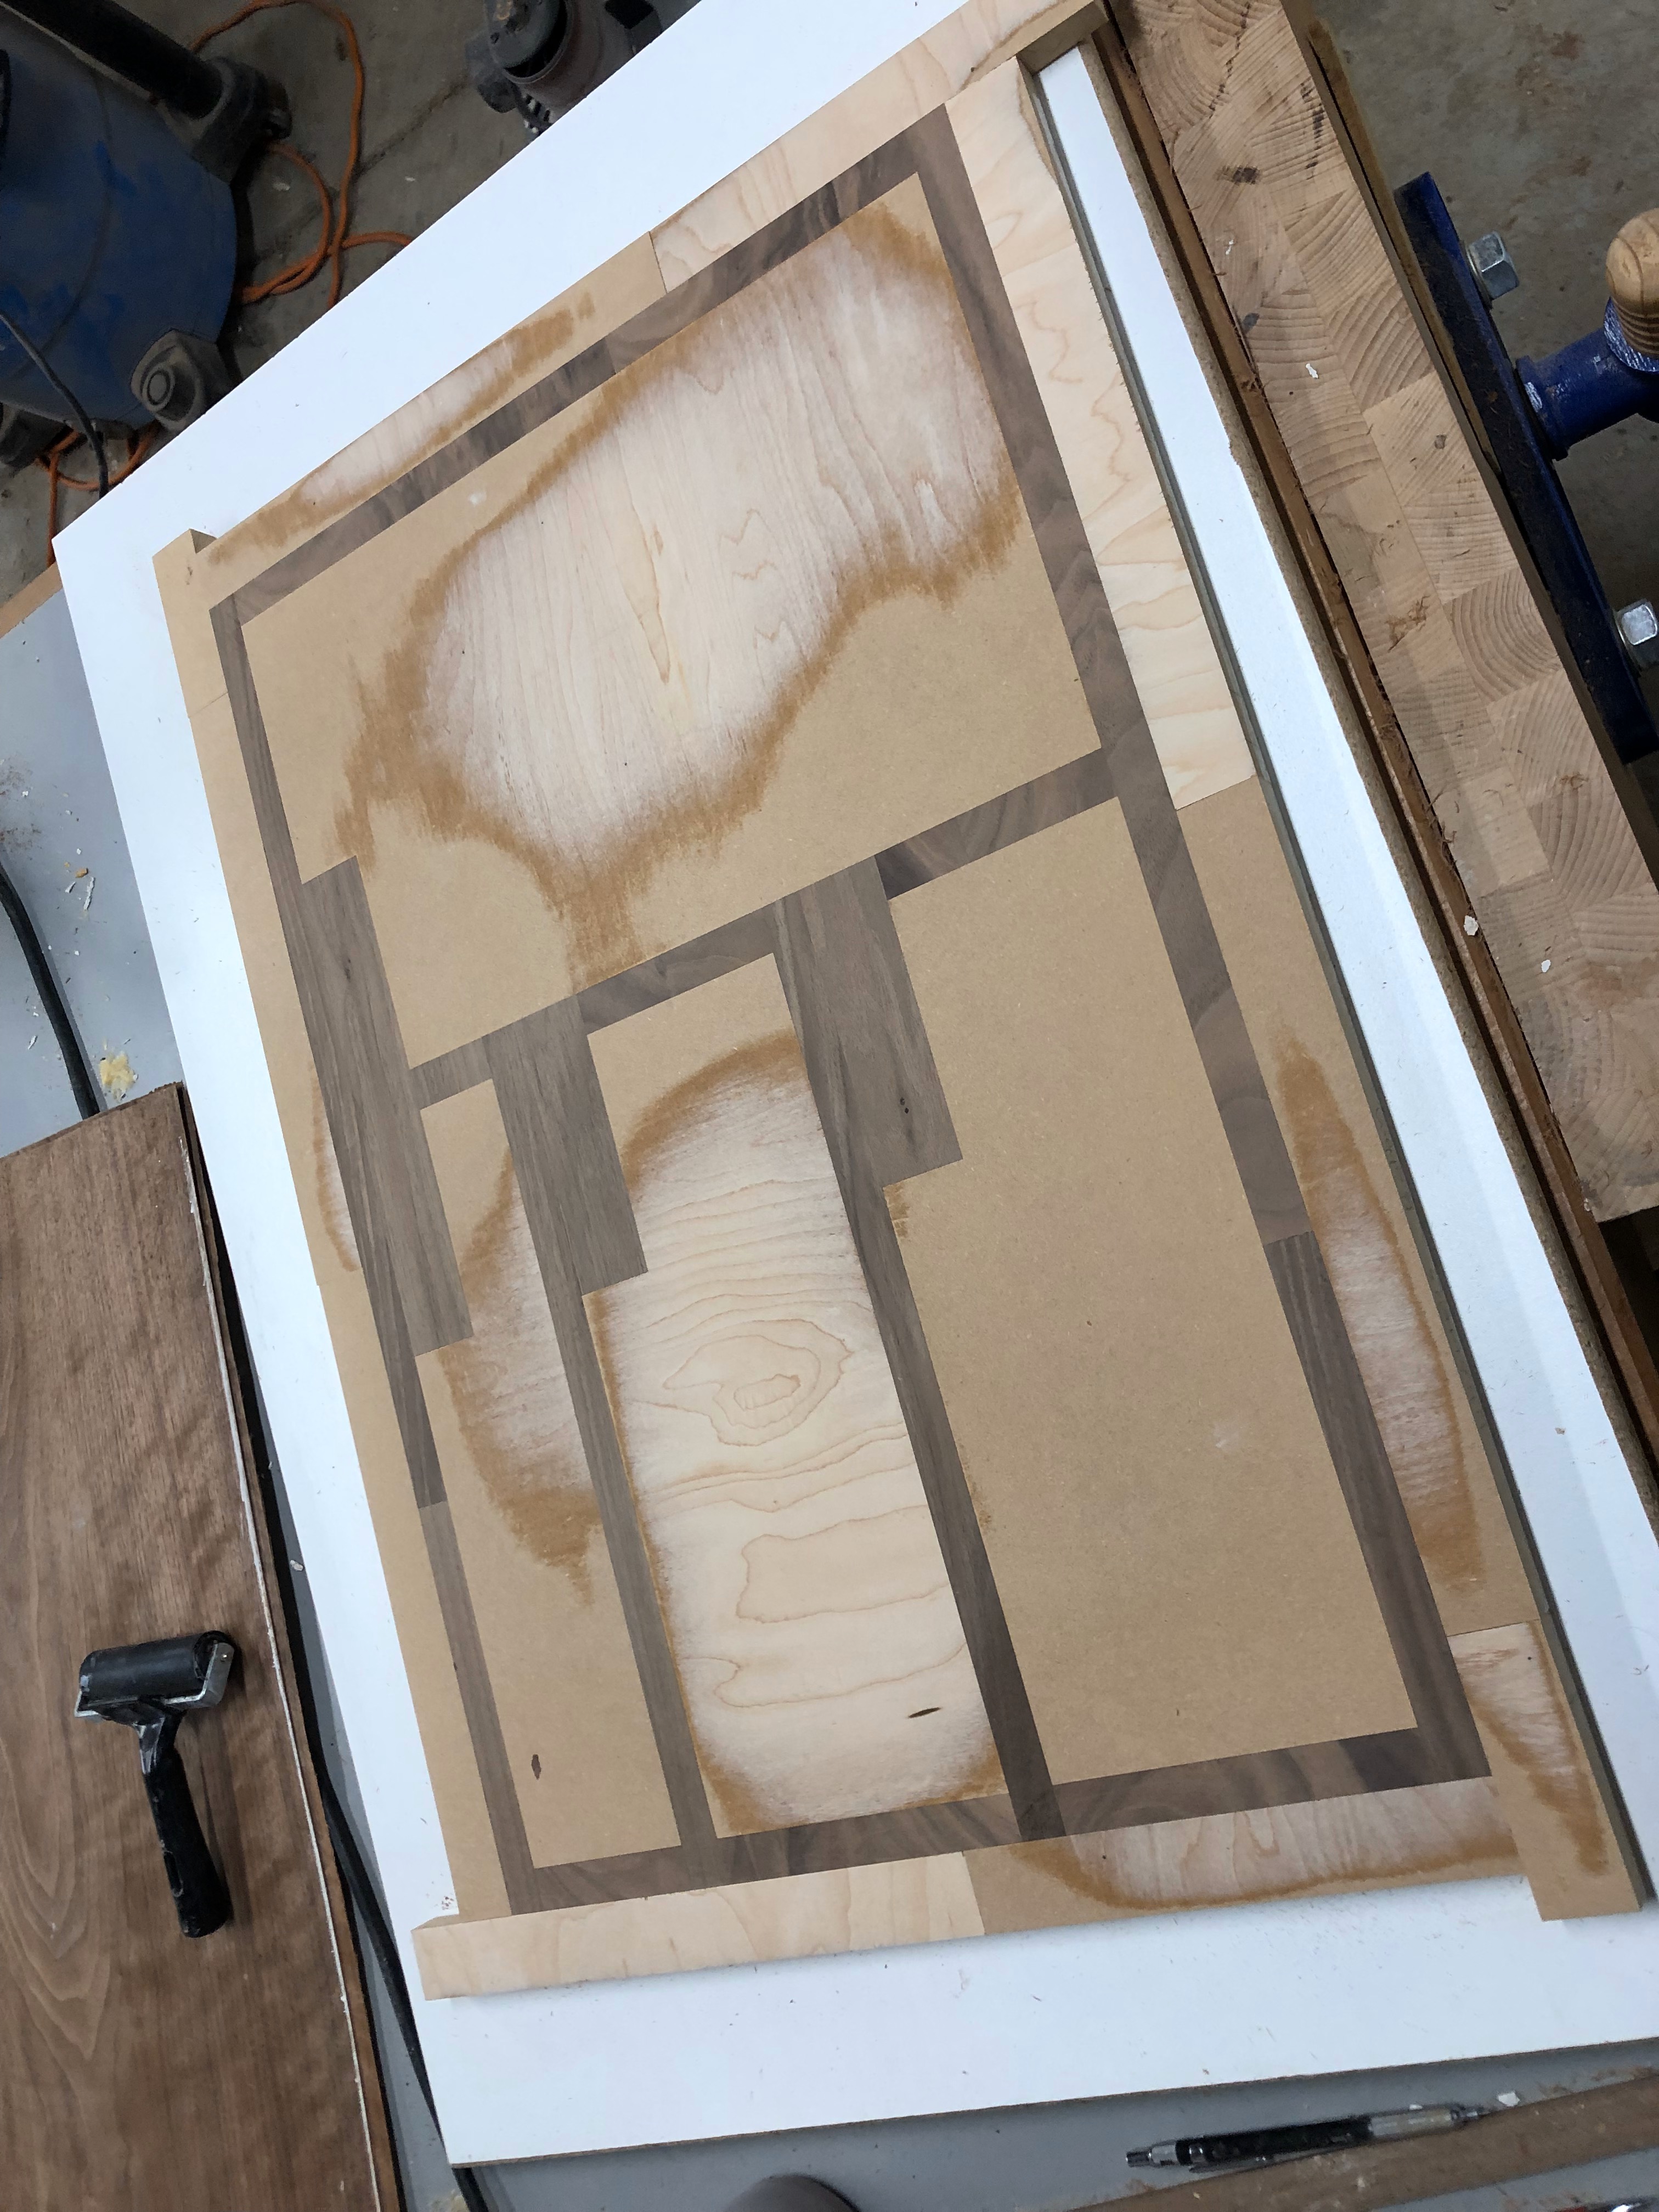
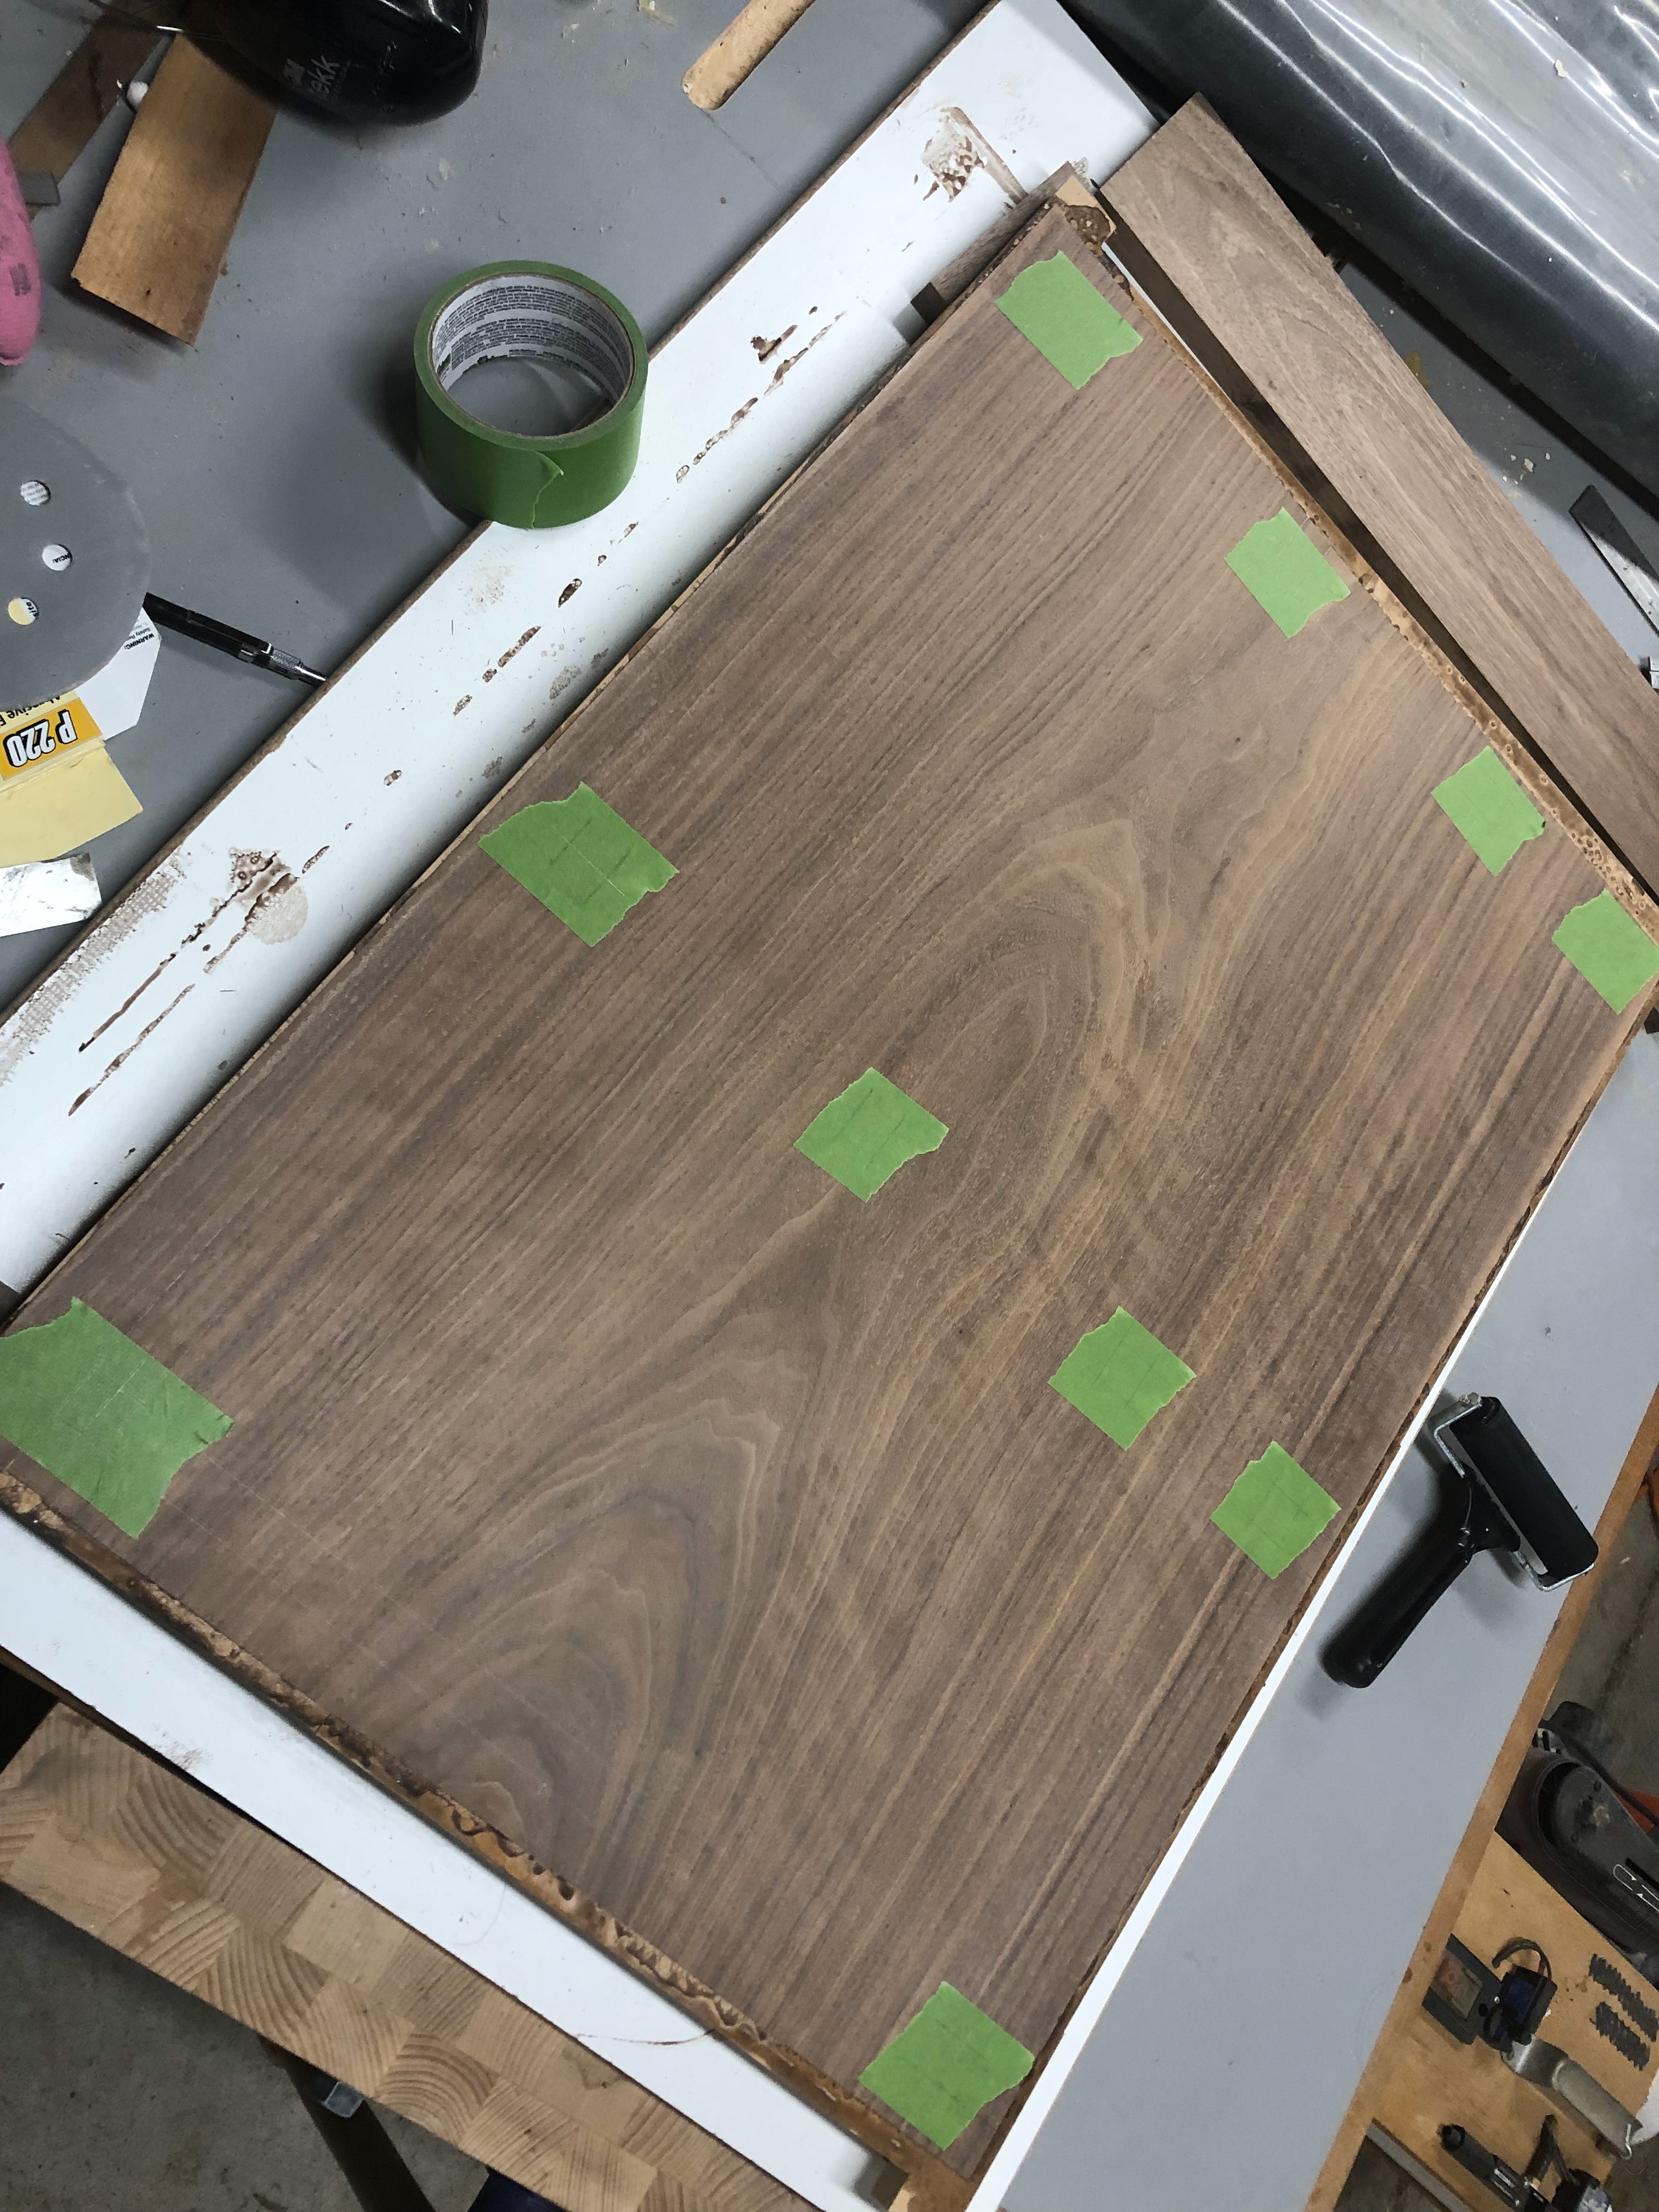 Carefully mark out the location of the edge banding prior to cutting
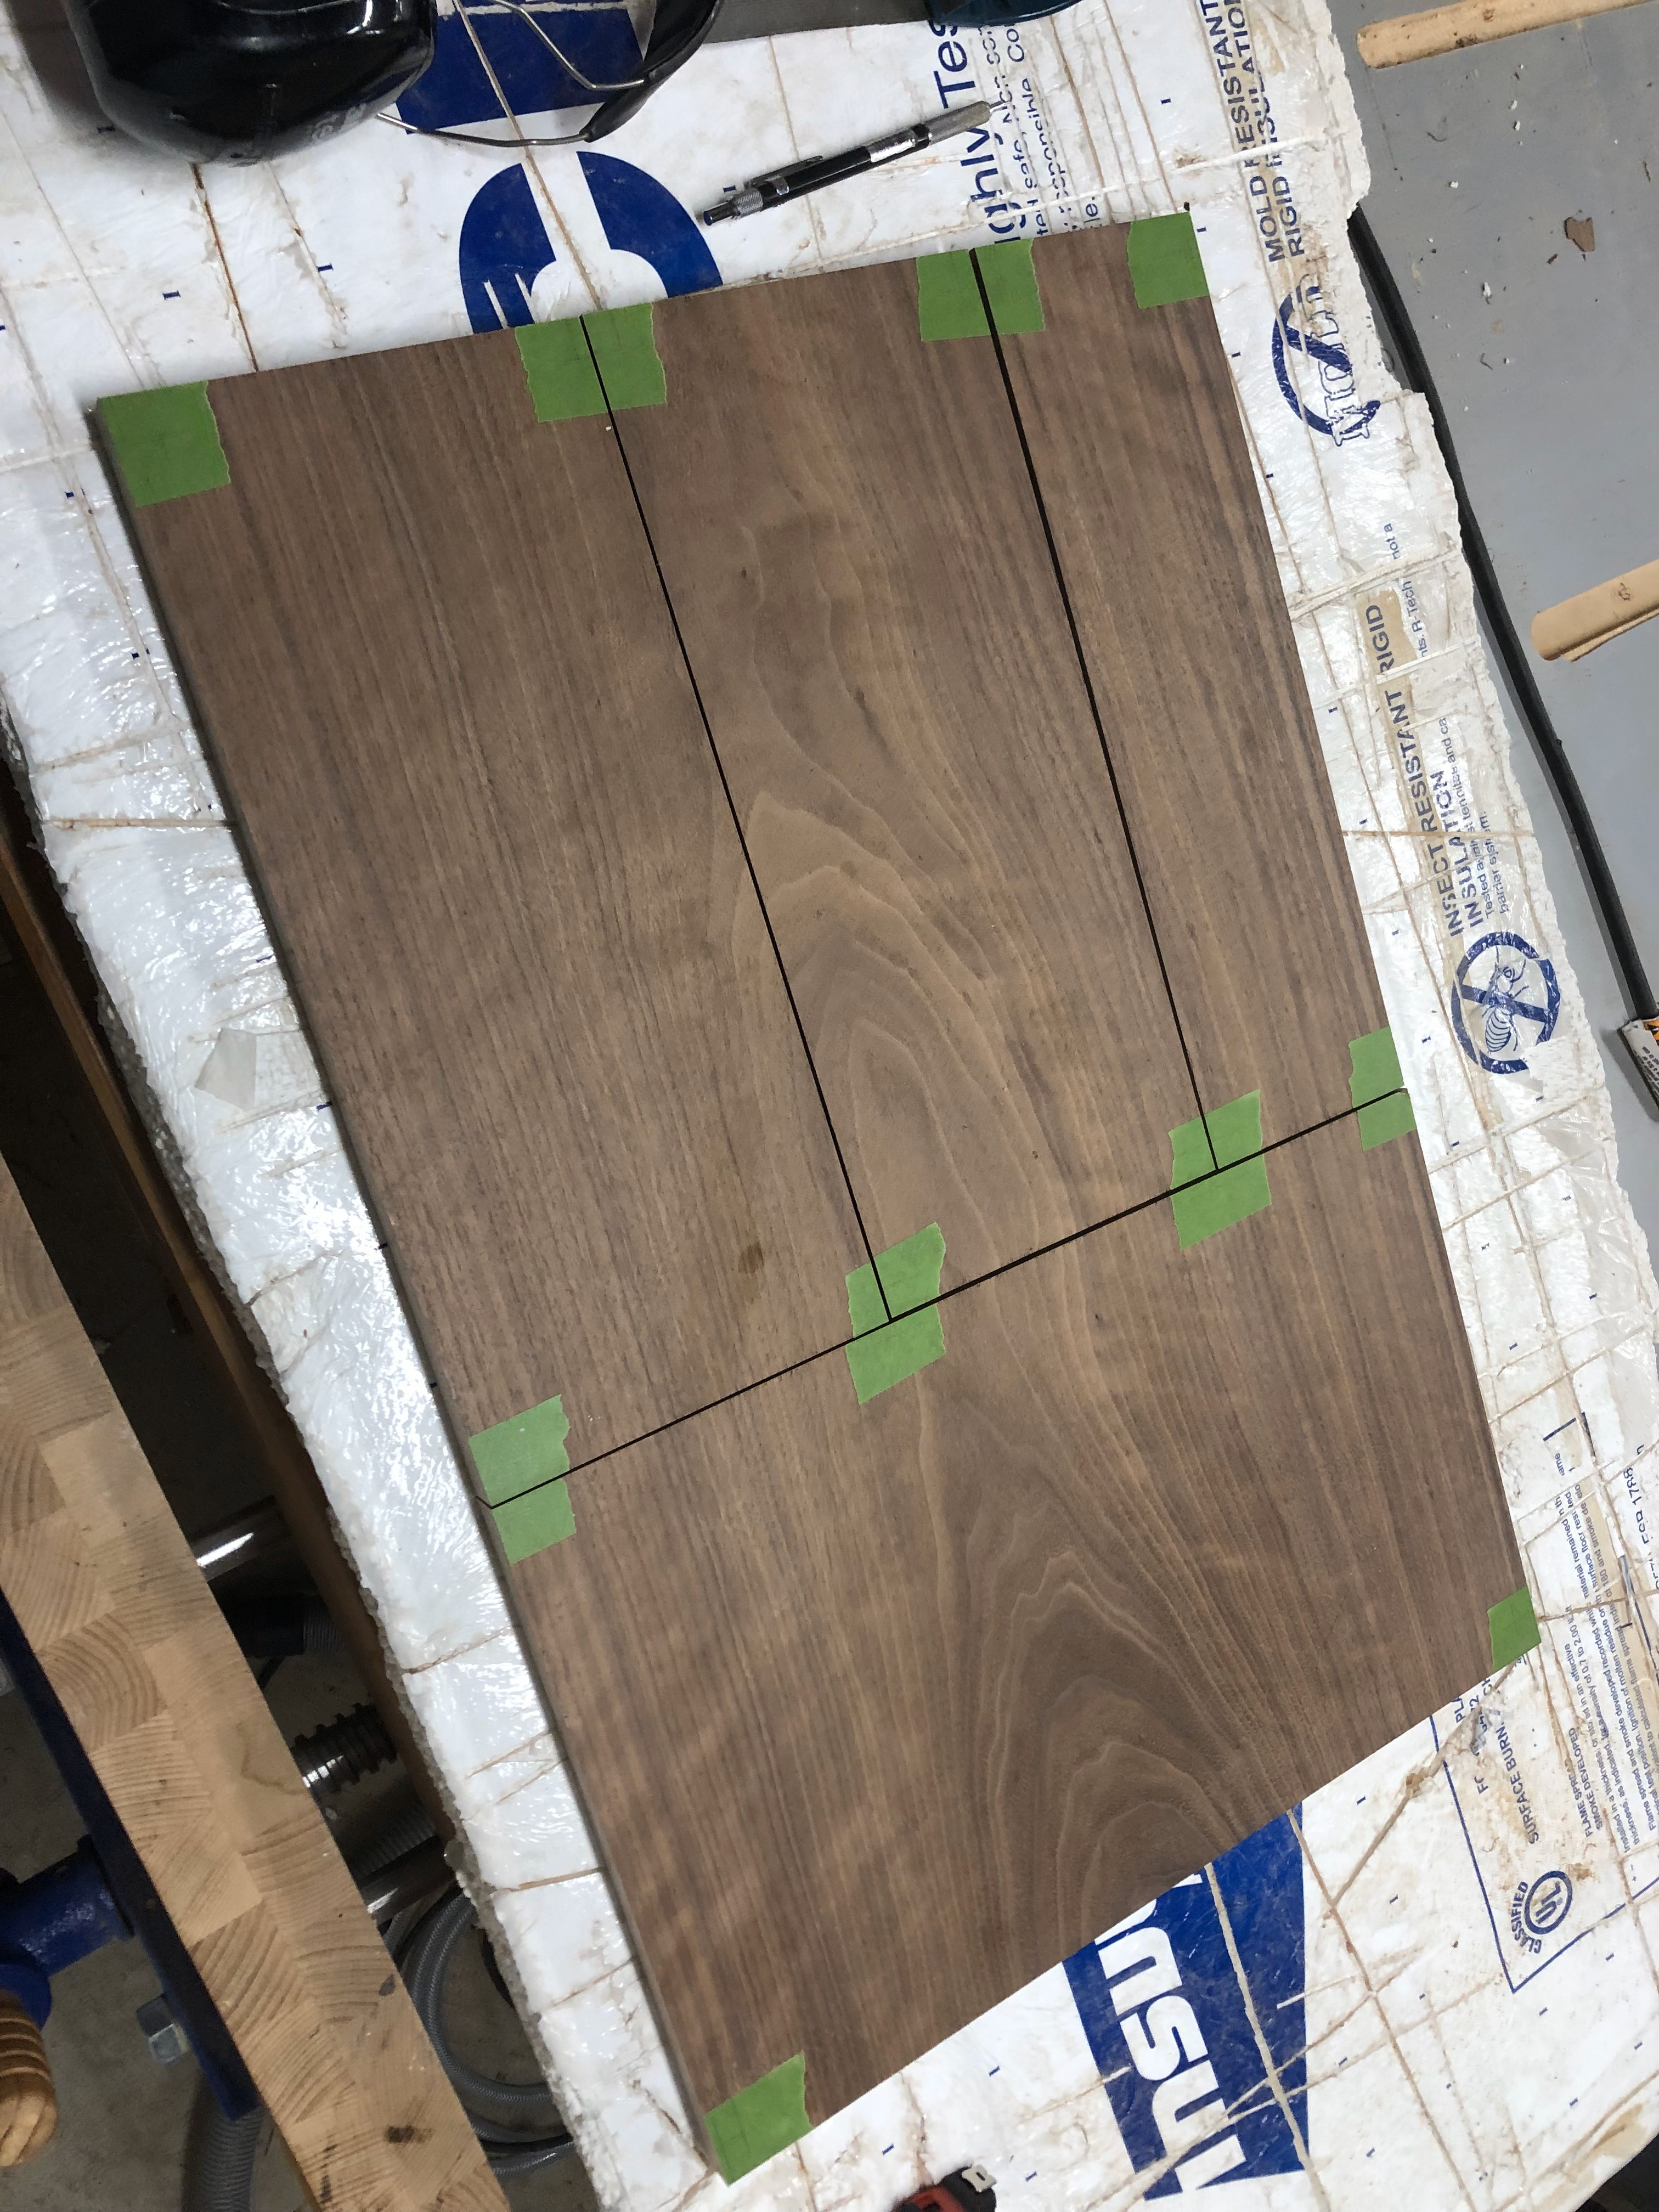 Cut out the drawers and door. I used my track saw rather than a table saw to keep the saw kerf as small as possible.
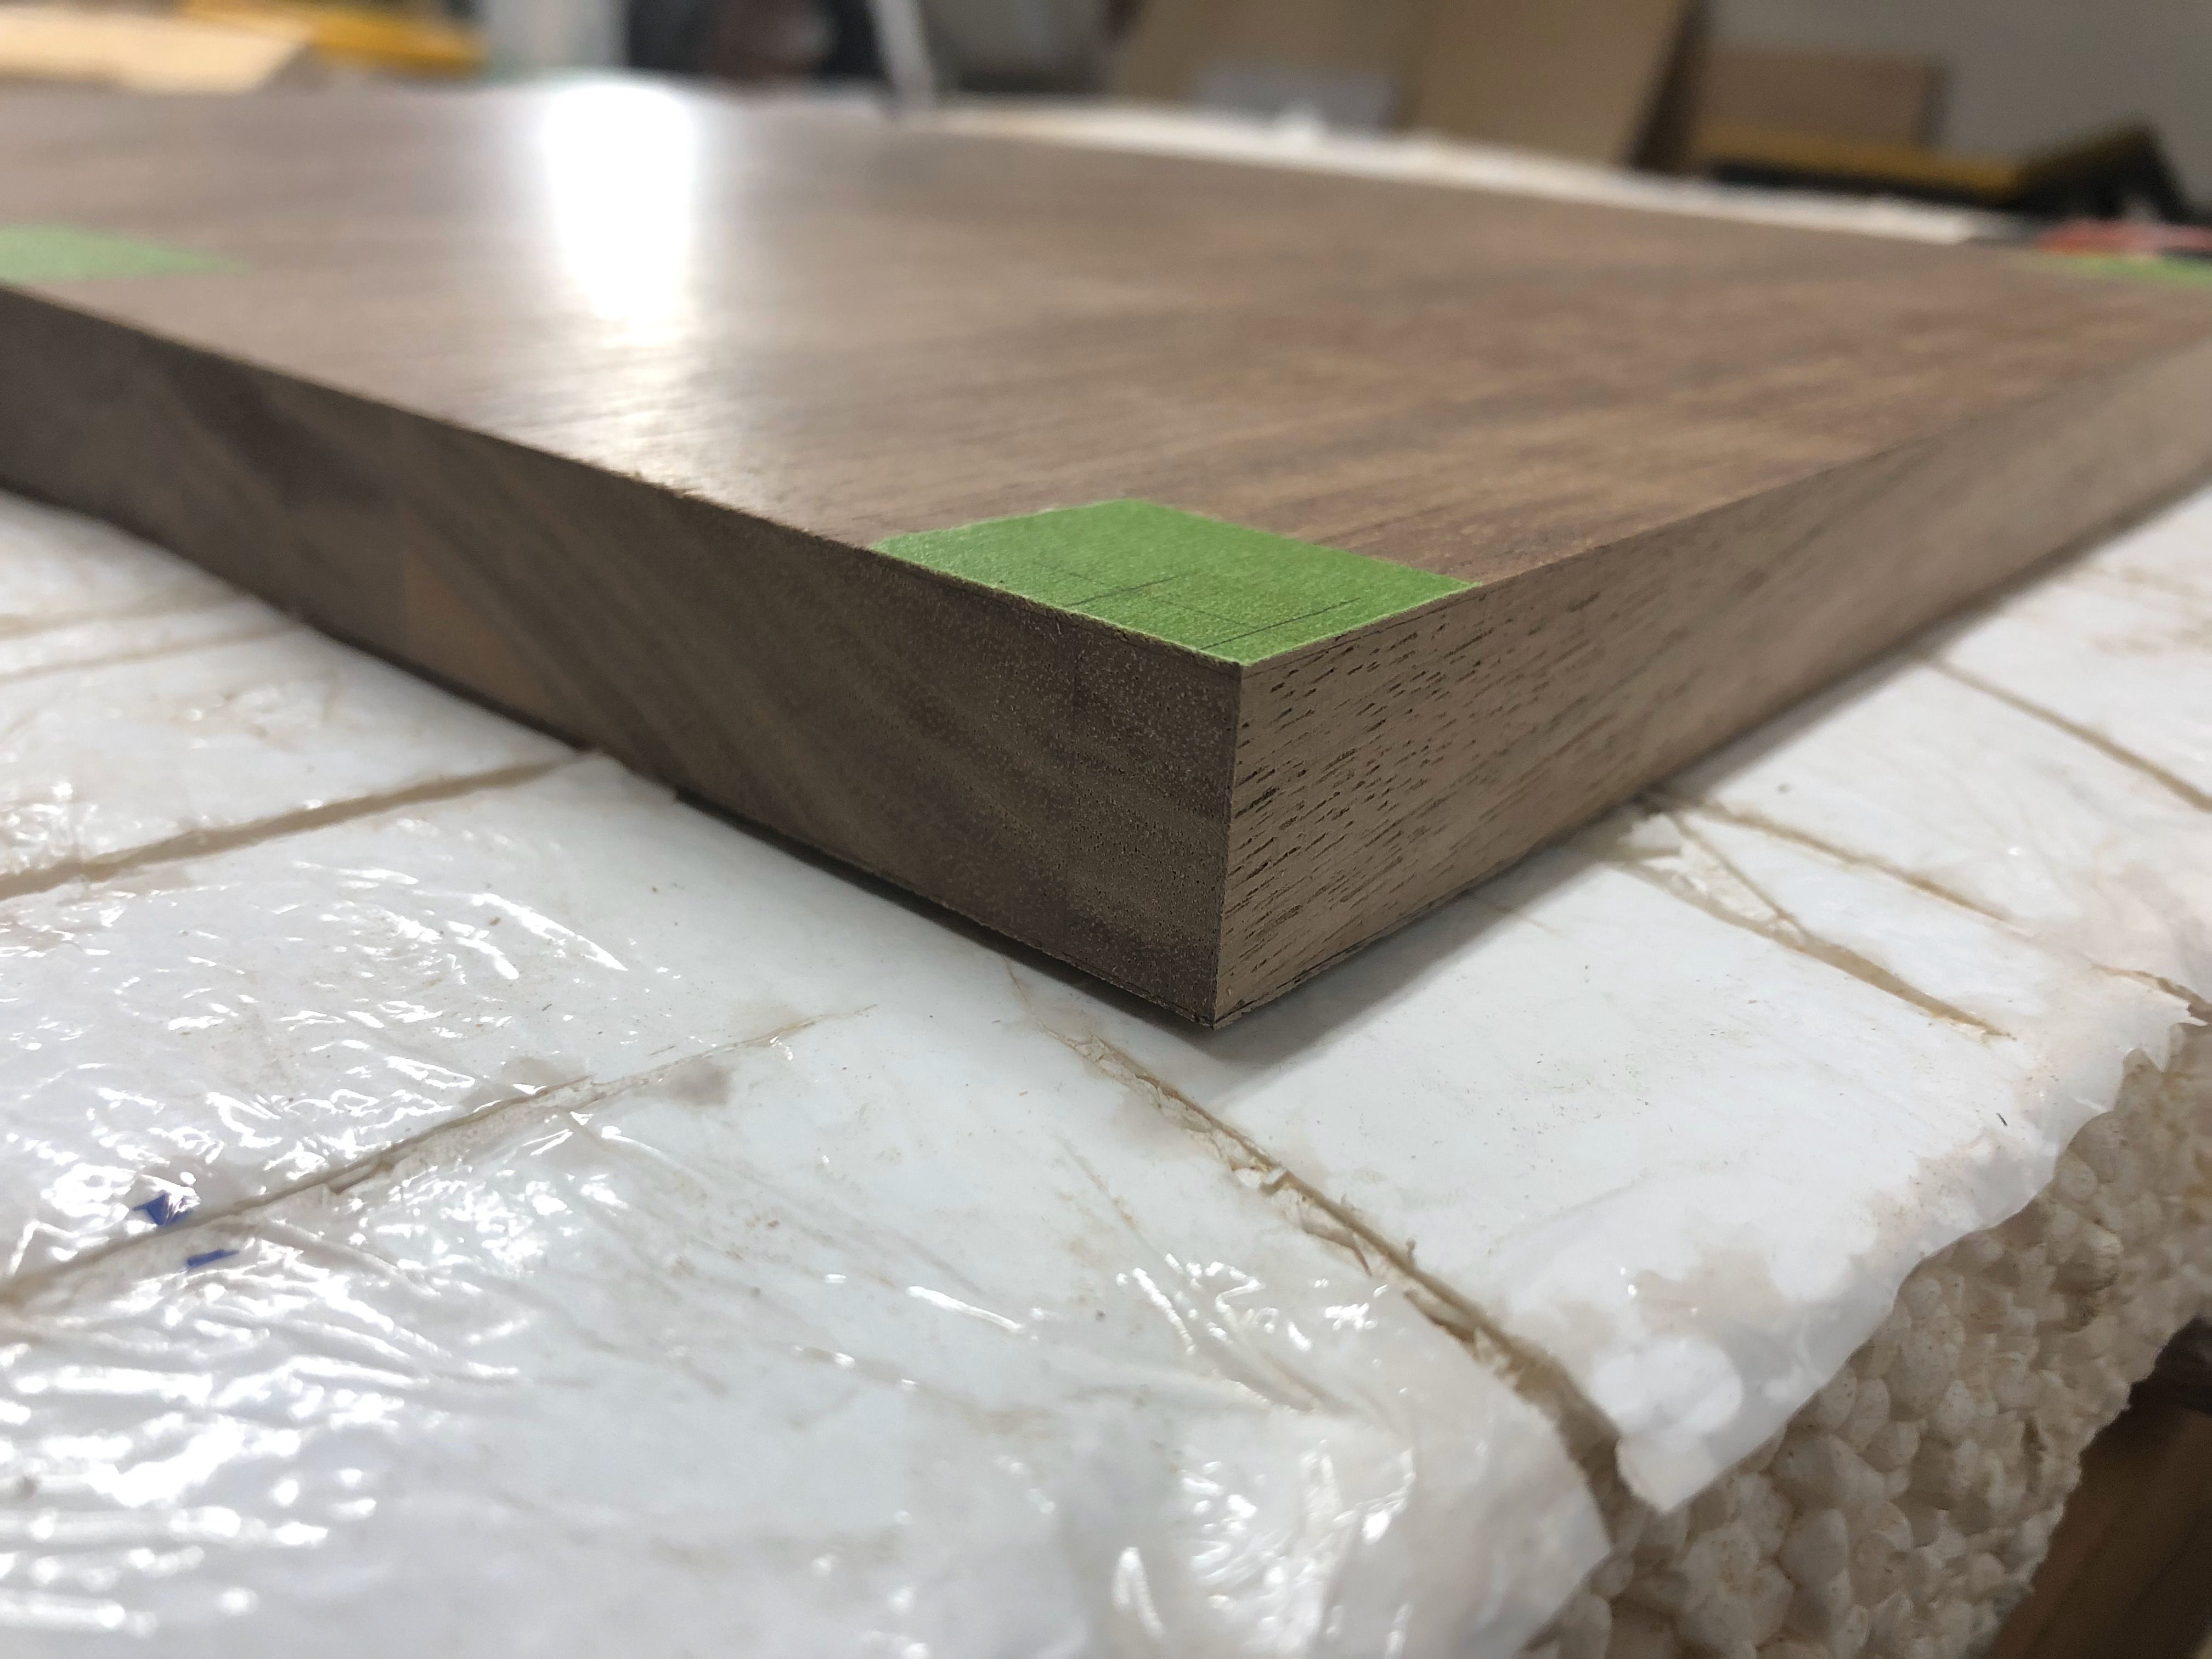 The finished product. After easing the edges, the veneer will completely disappear into the edge banding
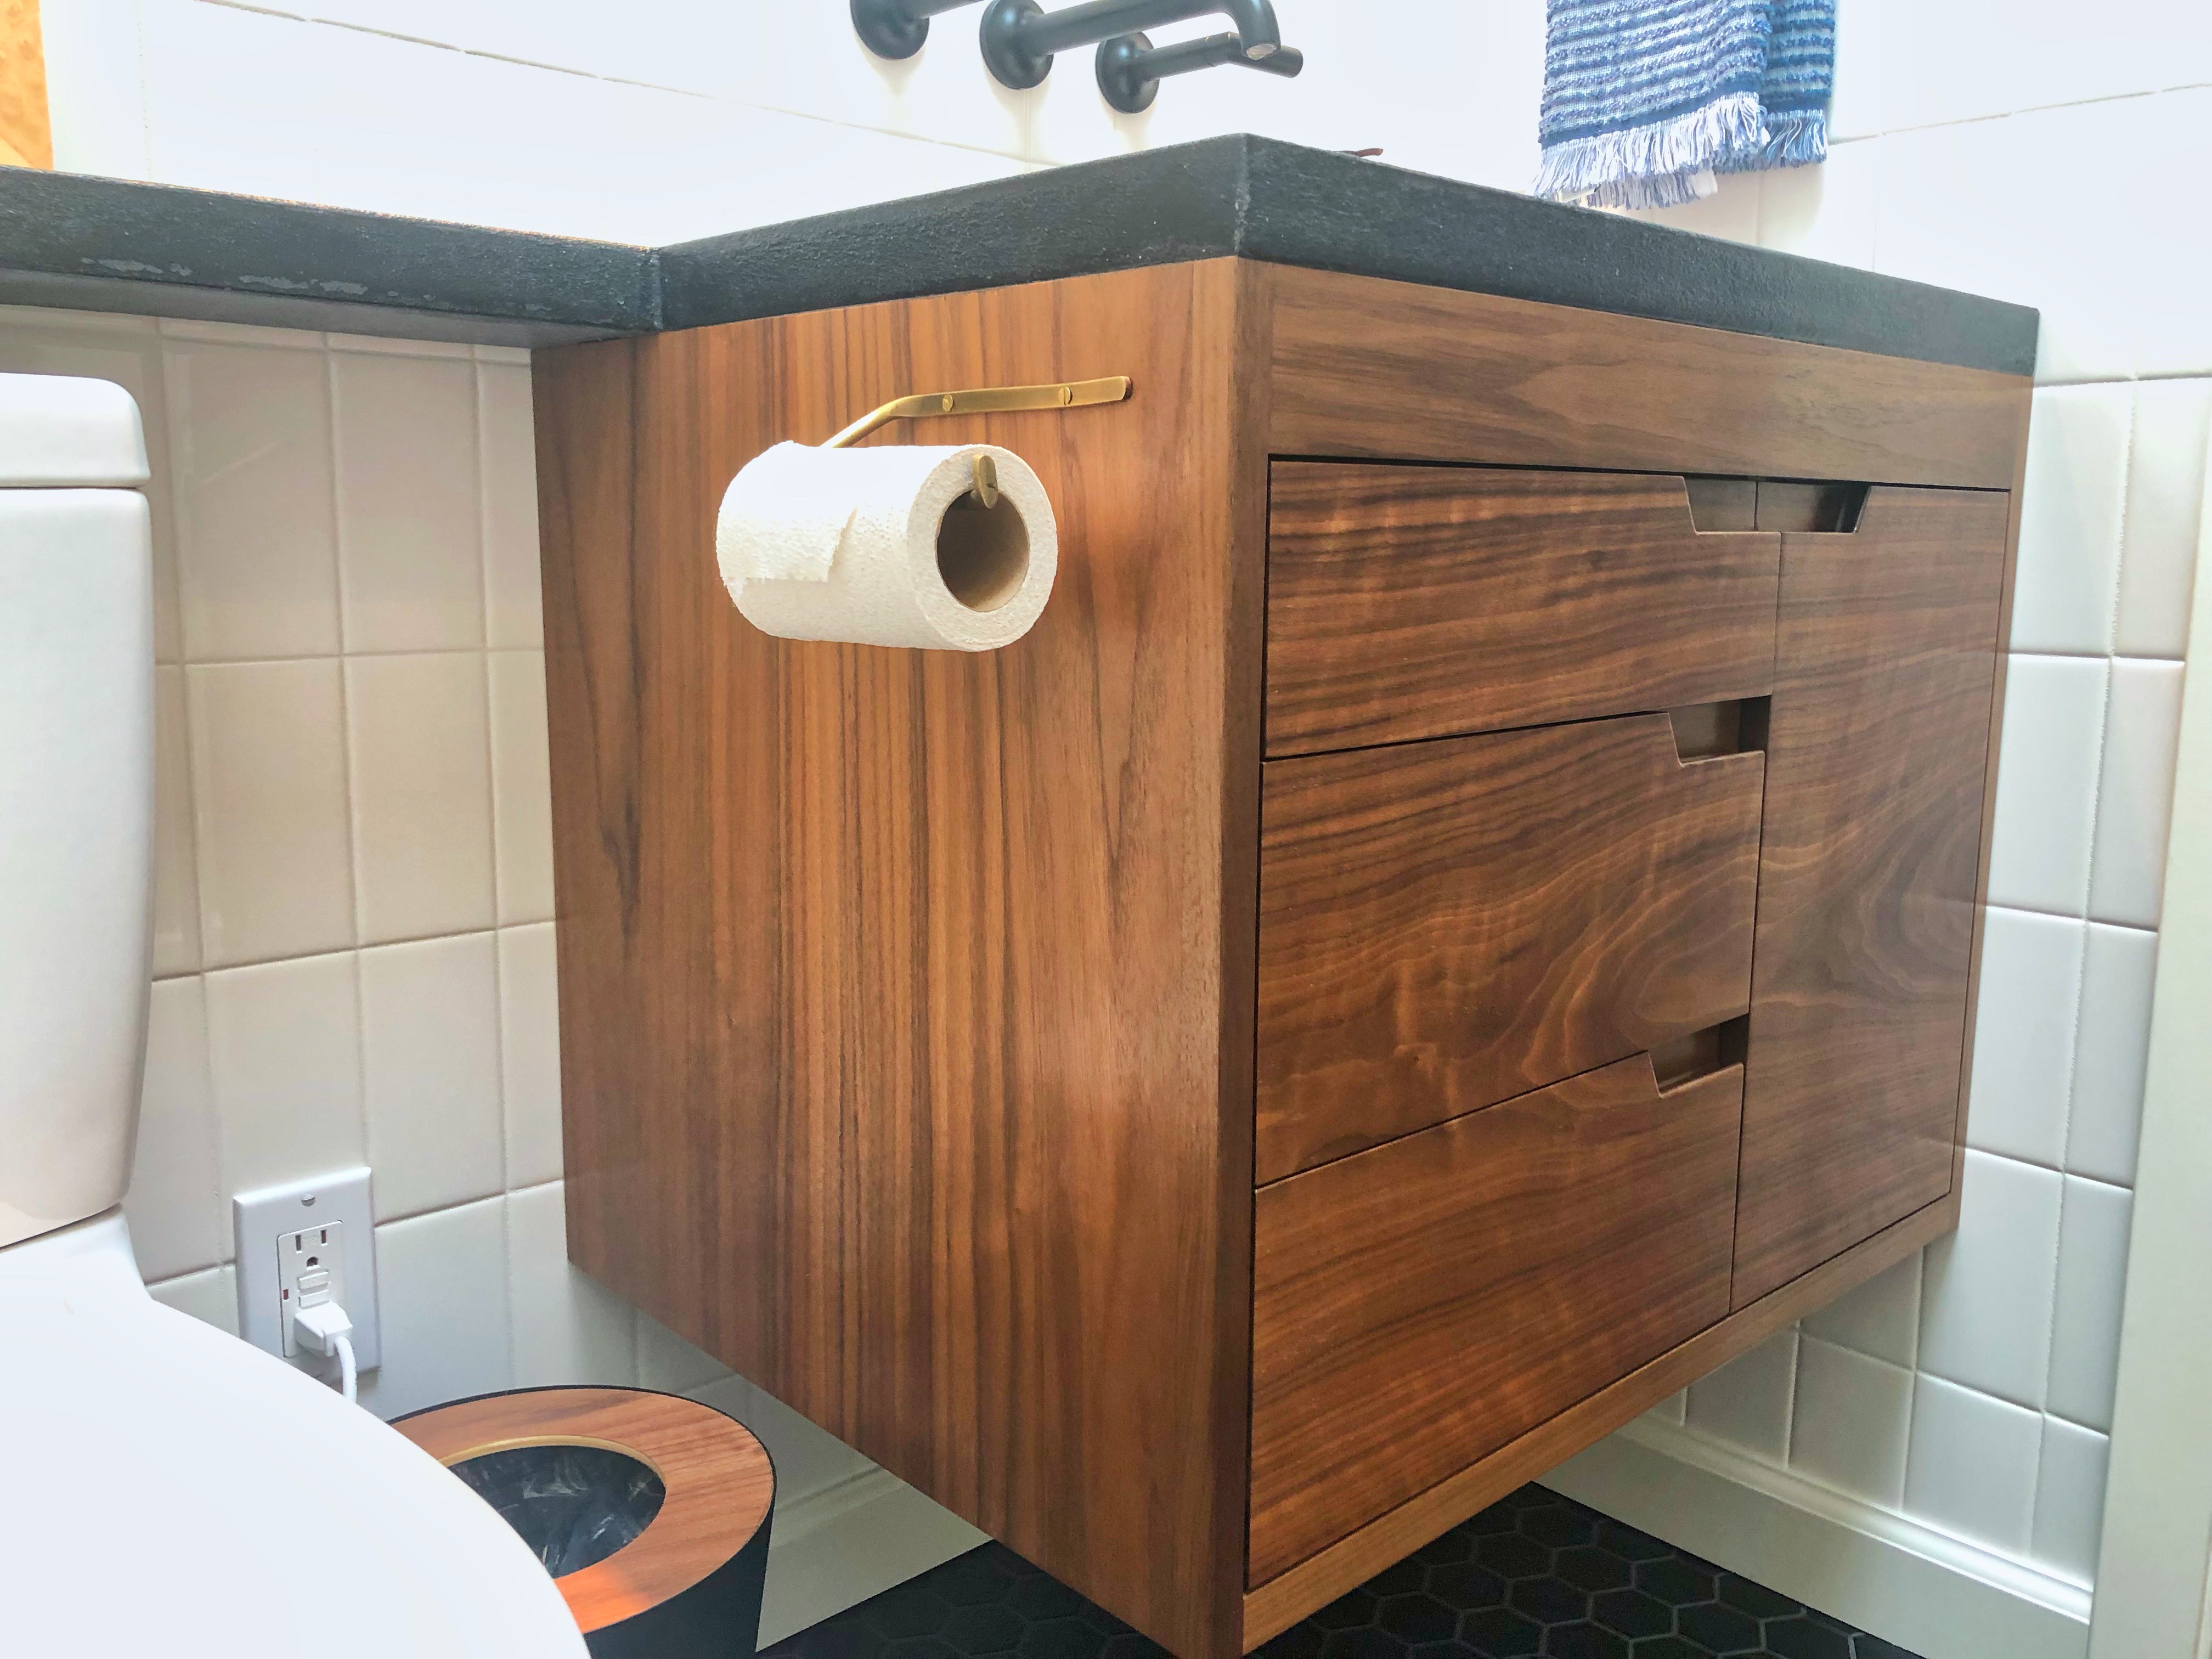
With veneering out of the way, it's time to route out the drawer pulls. I had to buy a specialized drawer-pull bit to get the profile I wanted. I ended up going with the Whiteside 6024 Drawer Pull bit.
I threw together a simple jig in the profile of the hand holds that I wanted. I had to make it reversible so that I would be able to route out both the left and right sides of the pulls. To route the profile, I first removed the bulk of the material with a straight bit, then for the final pass, used the drawer pull bit to give the profile.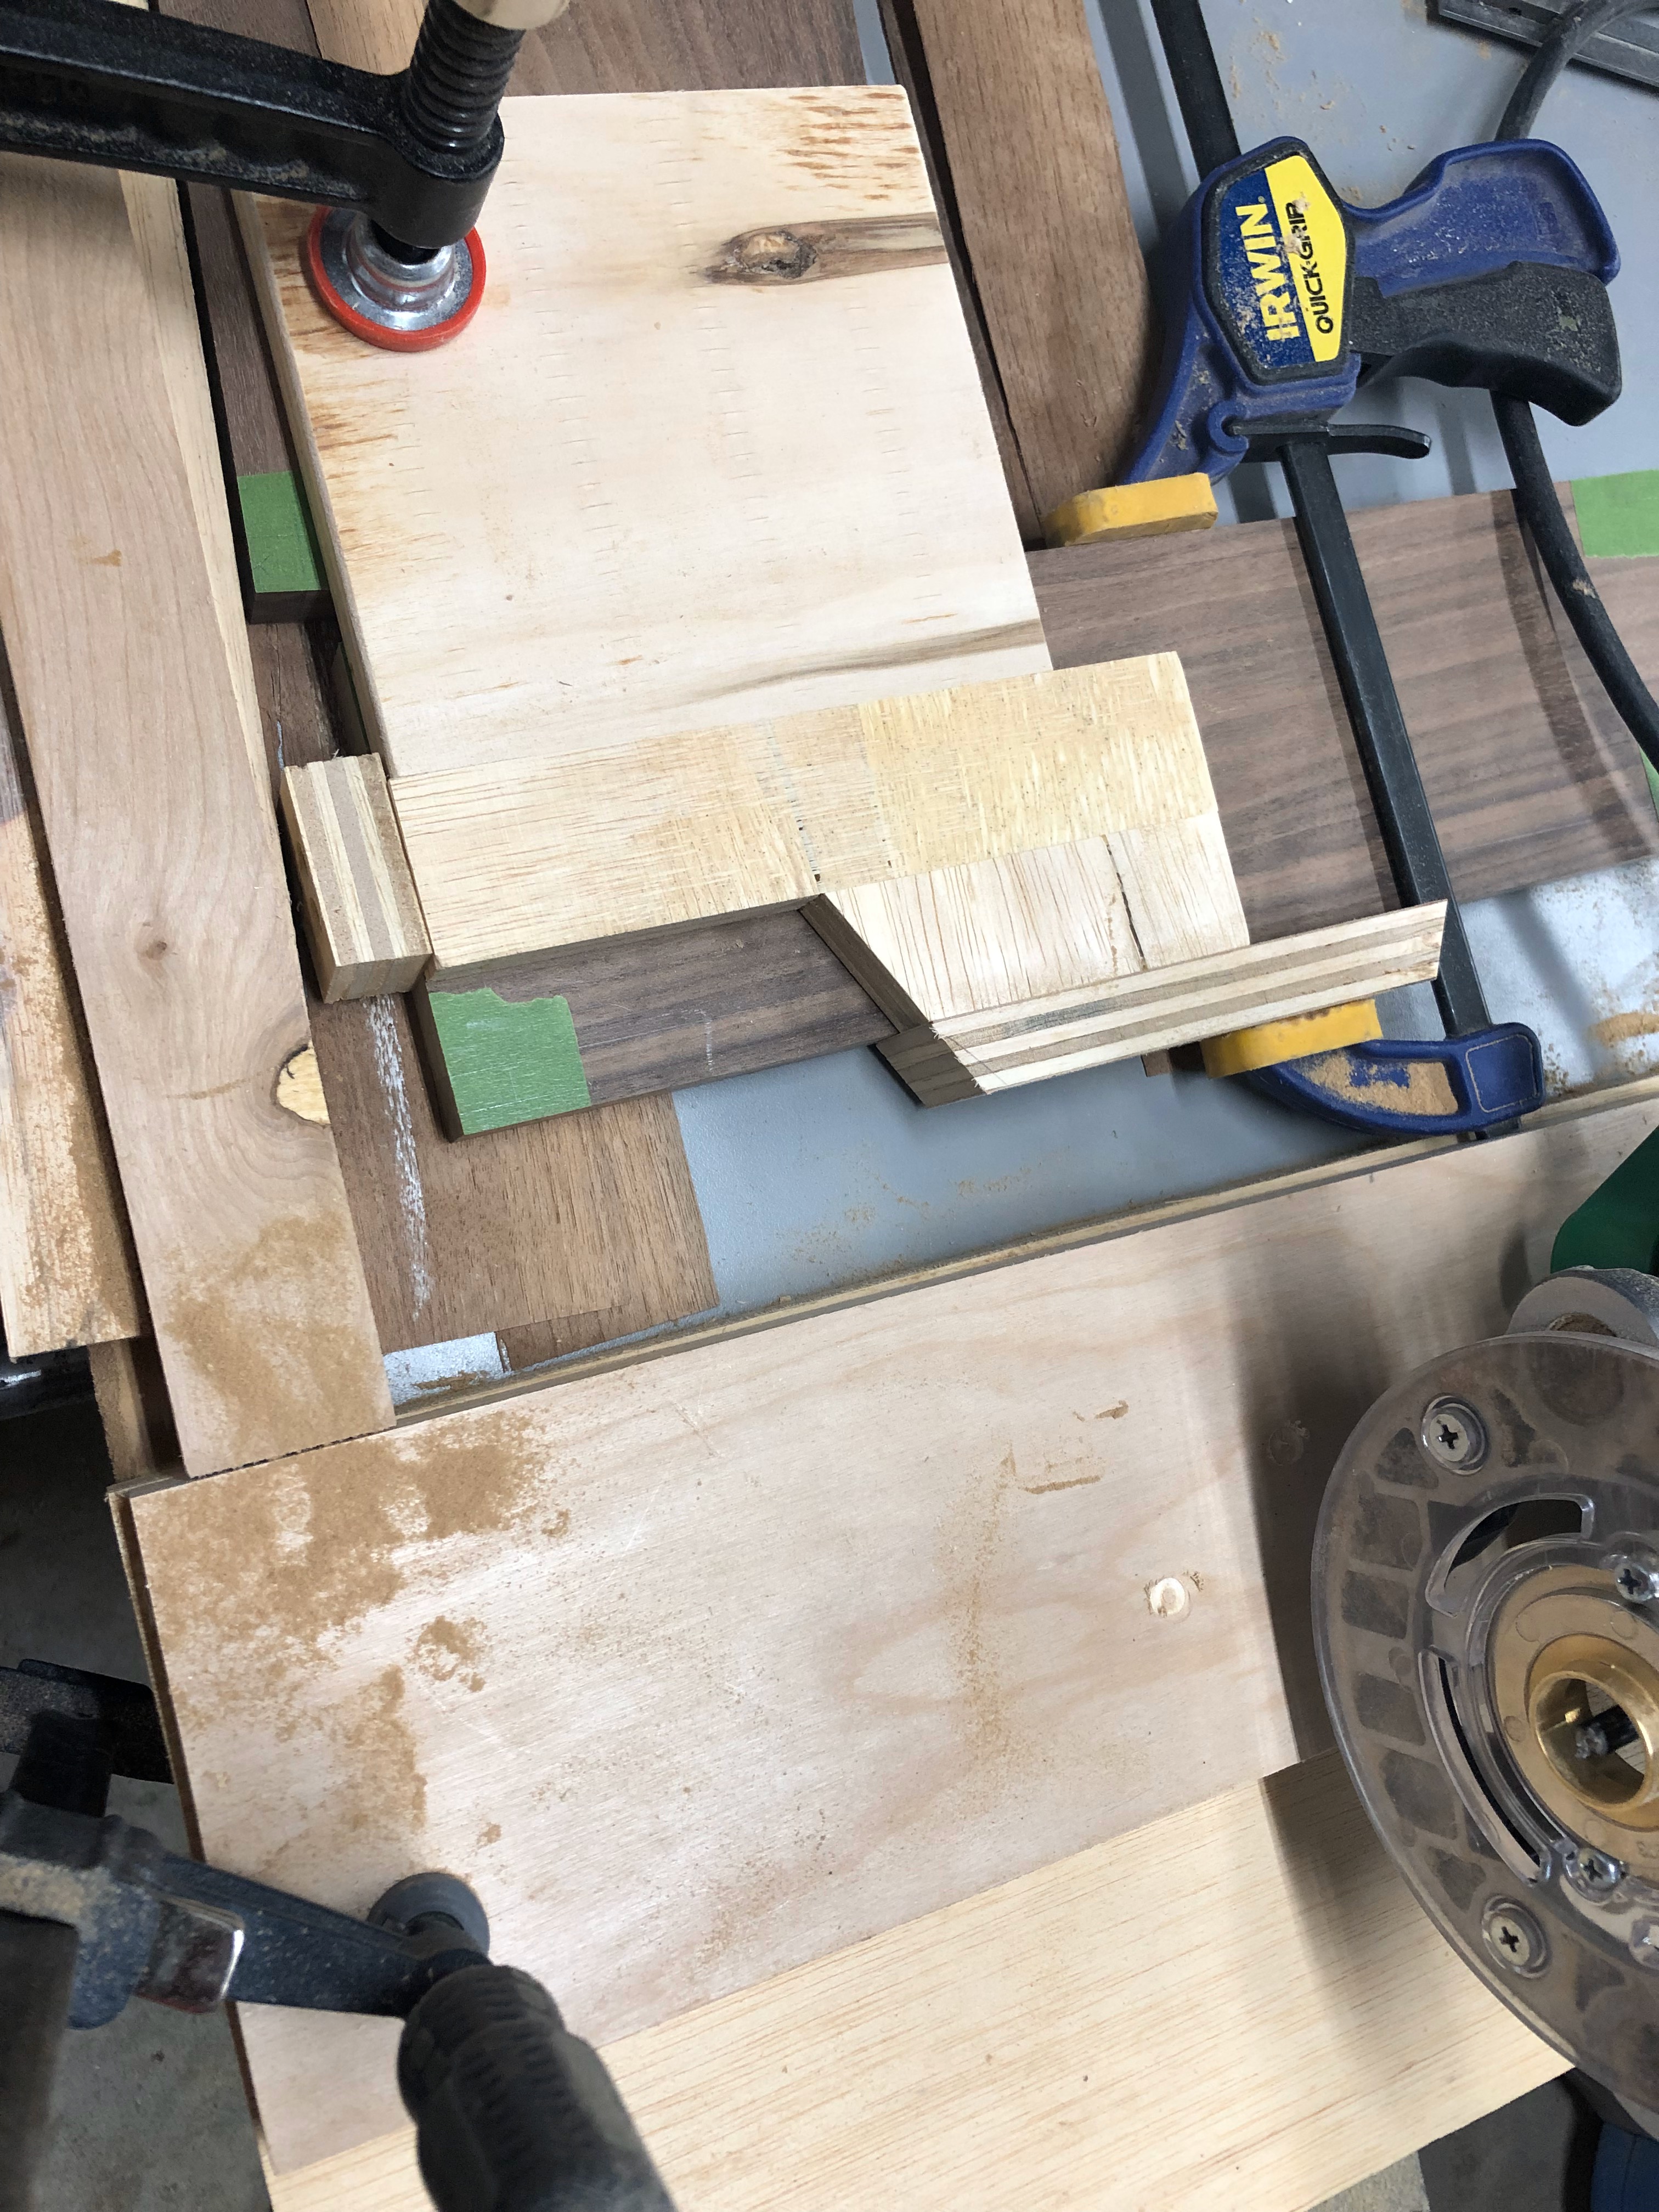 The jig and rotuer with guide bushing ready to route a pull
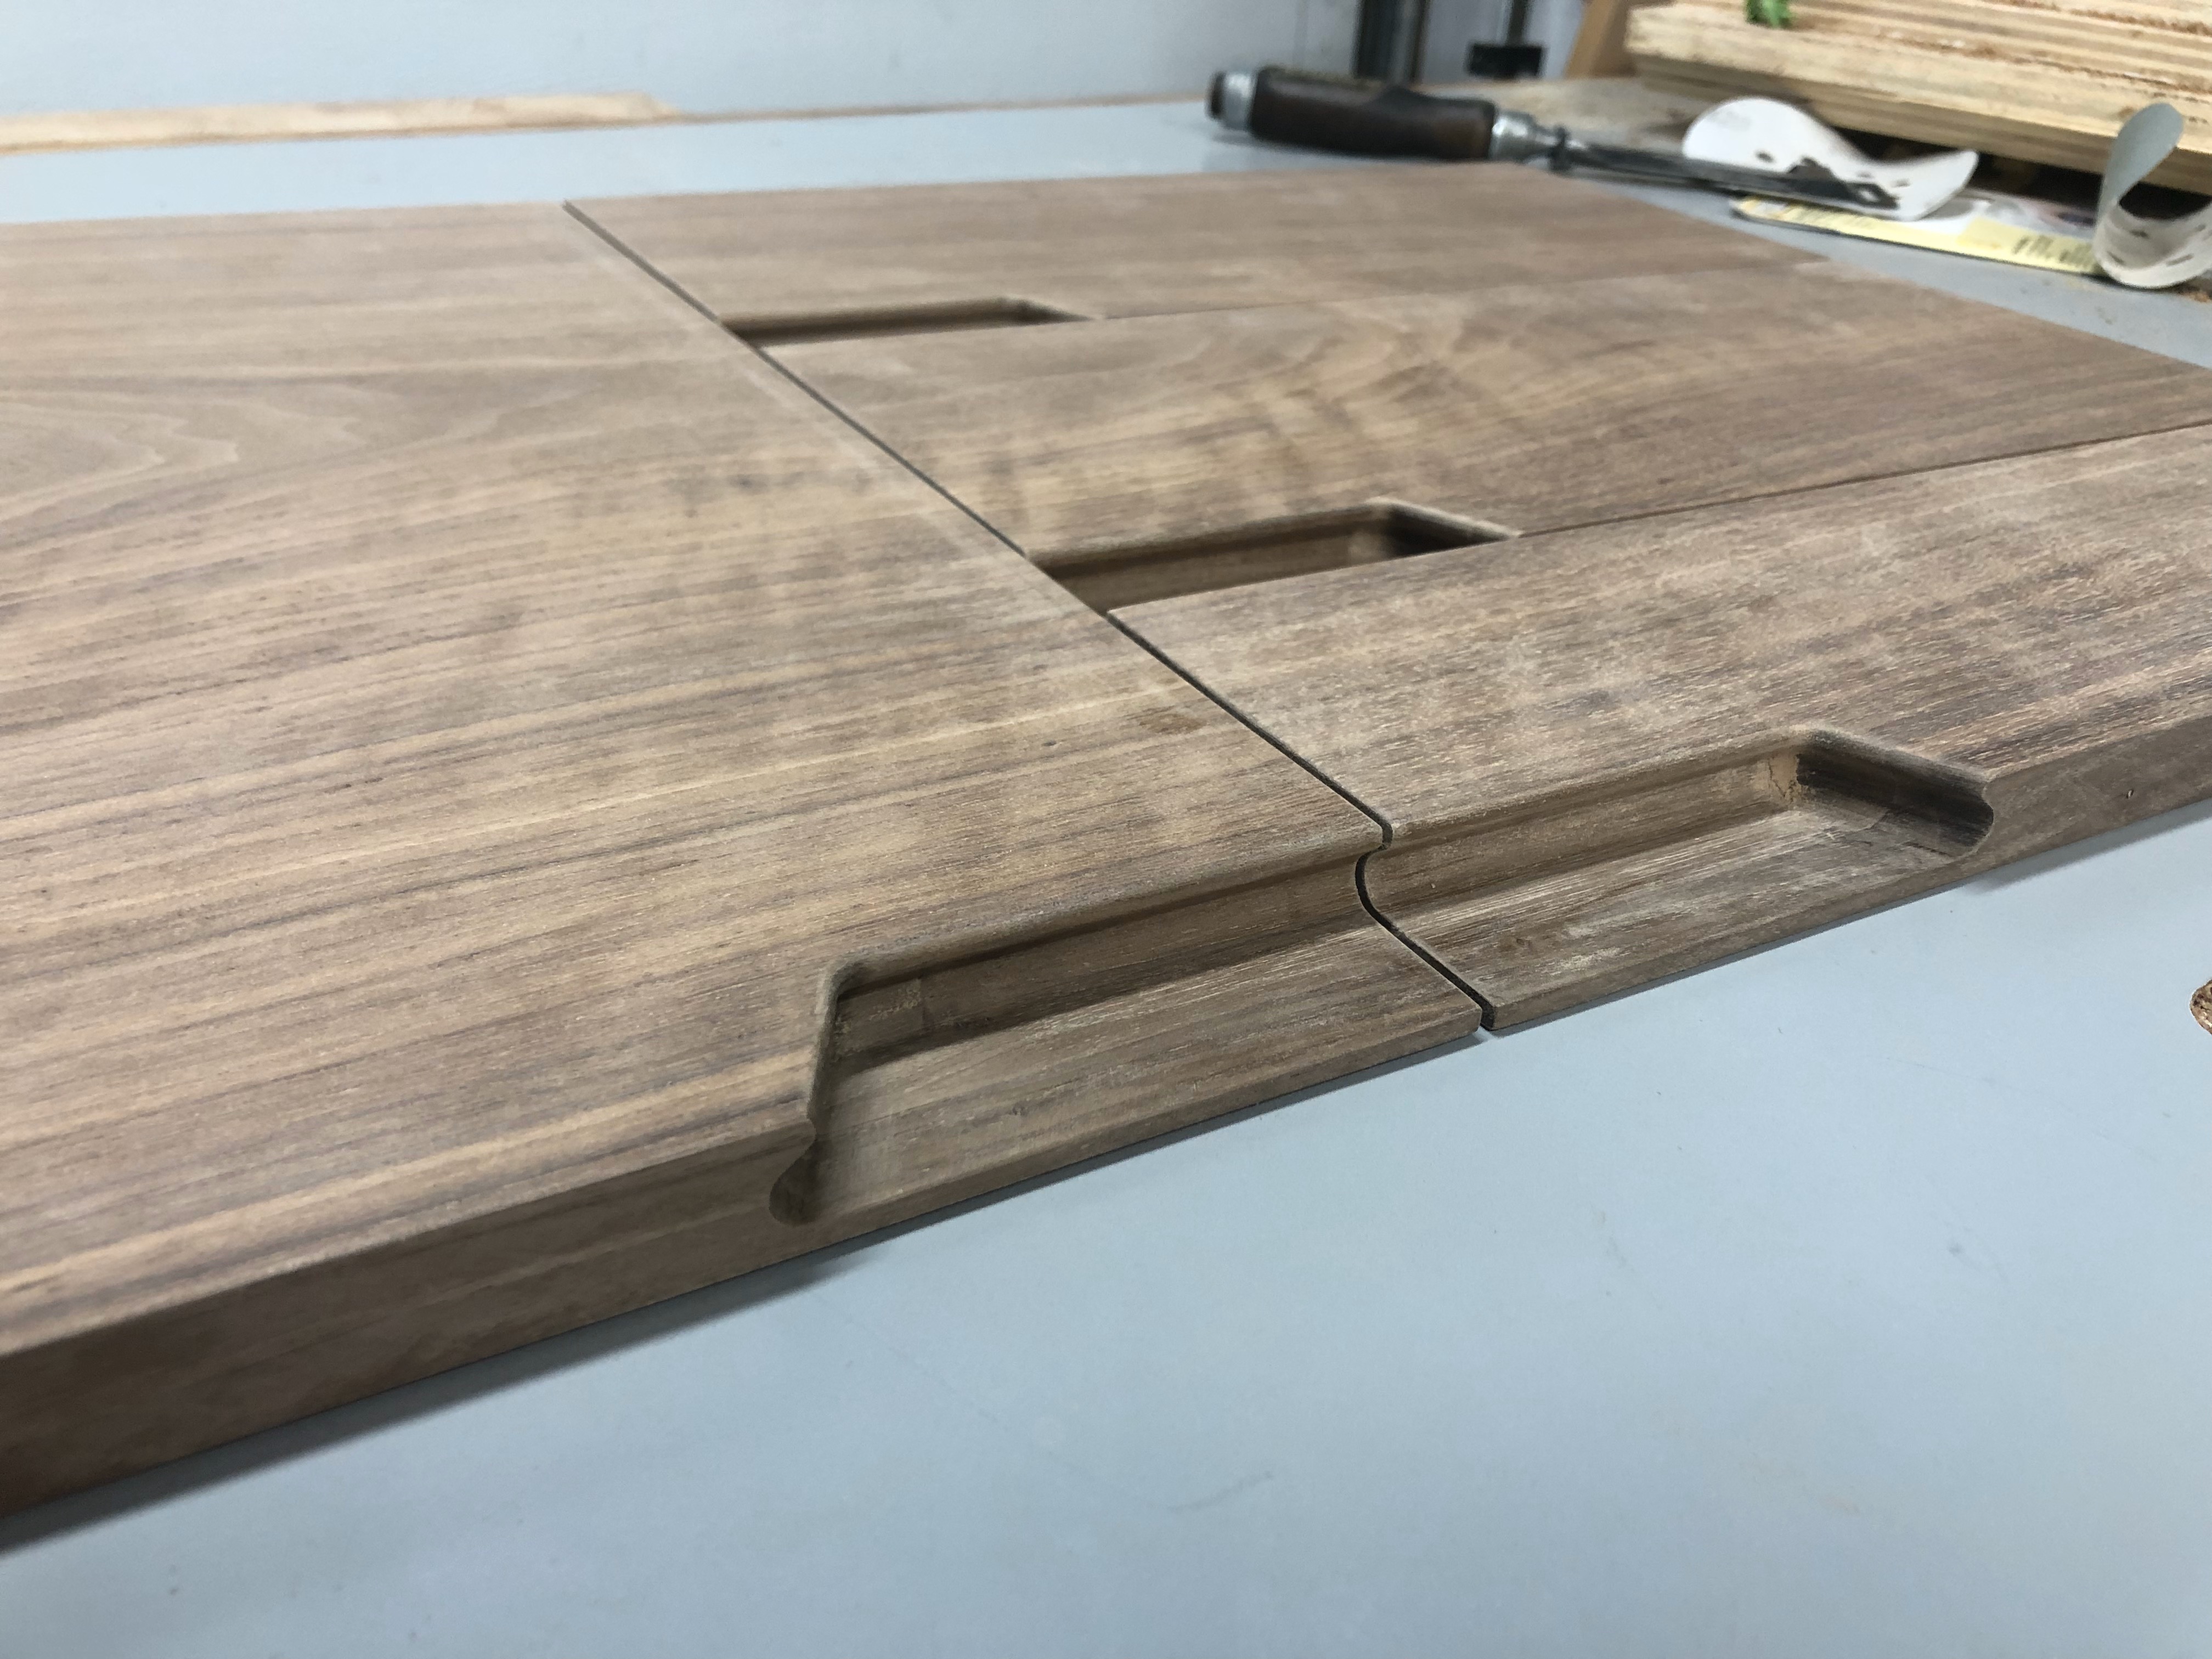 The finished pulls all done and ready for finish
Last up is finishing. As with just about every project I build, I went with a simple satin wipe-on-poly. I opted for 4 coats, sanding between each and finishing with a polish using #0000 steel wool.
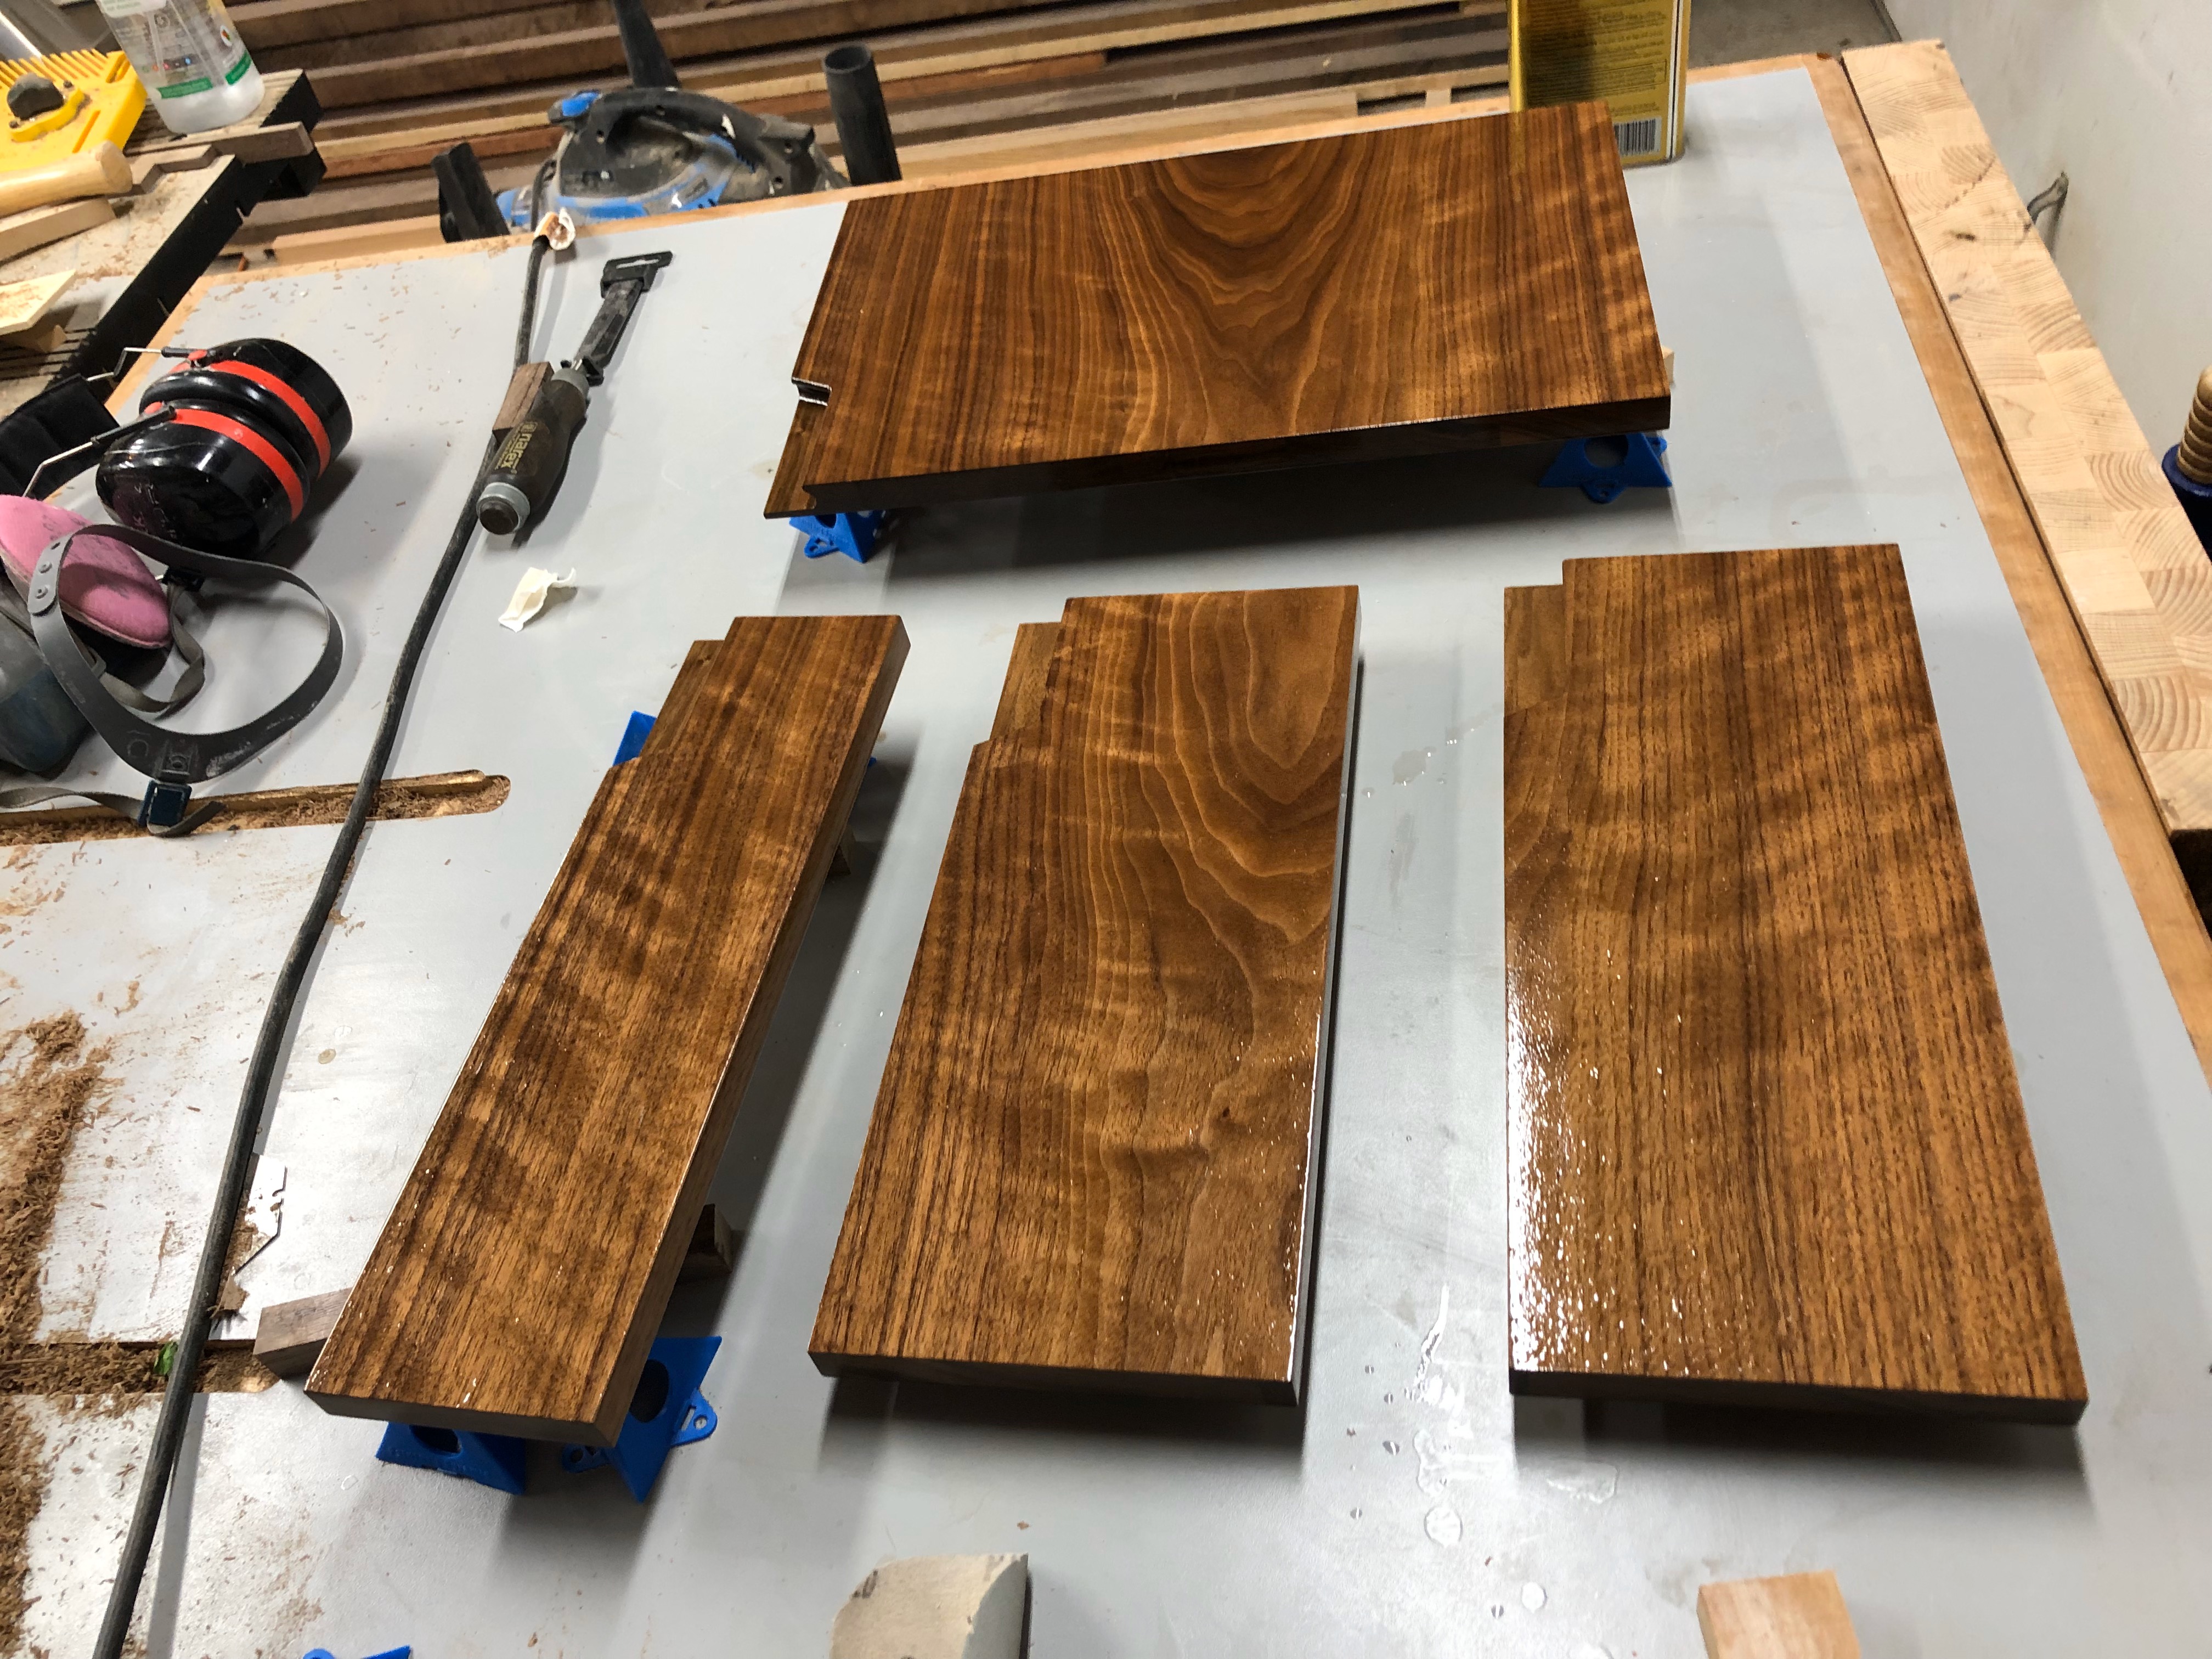 A fresh coat of finish on the drawers. So Shiny!
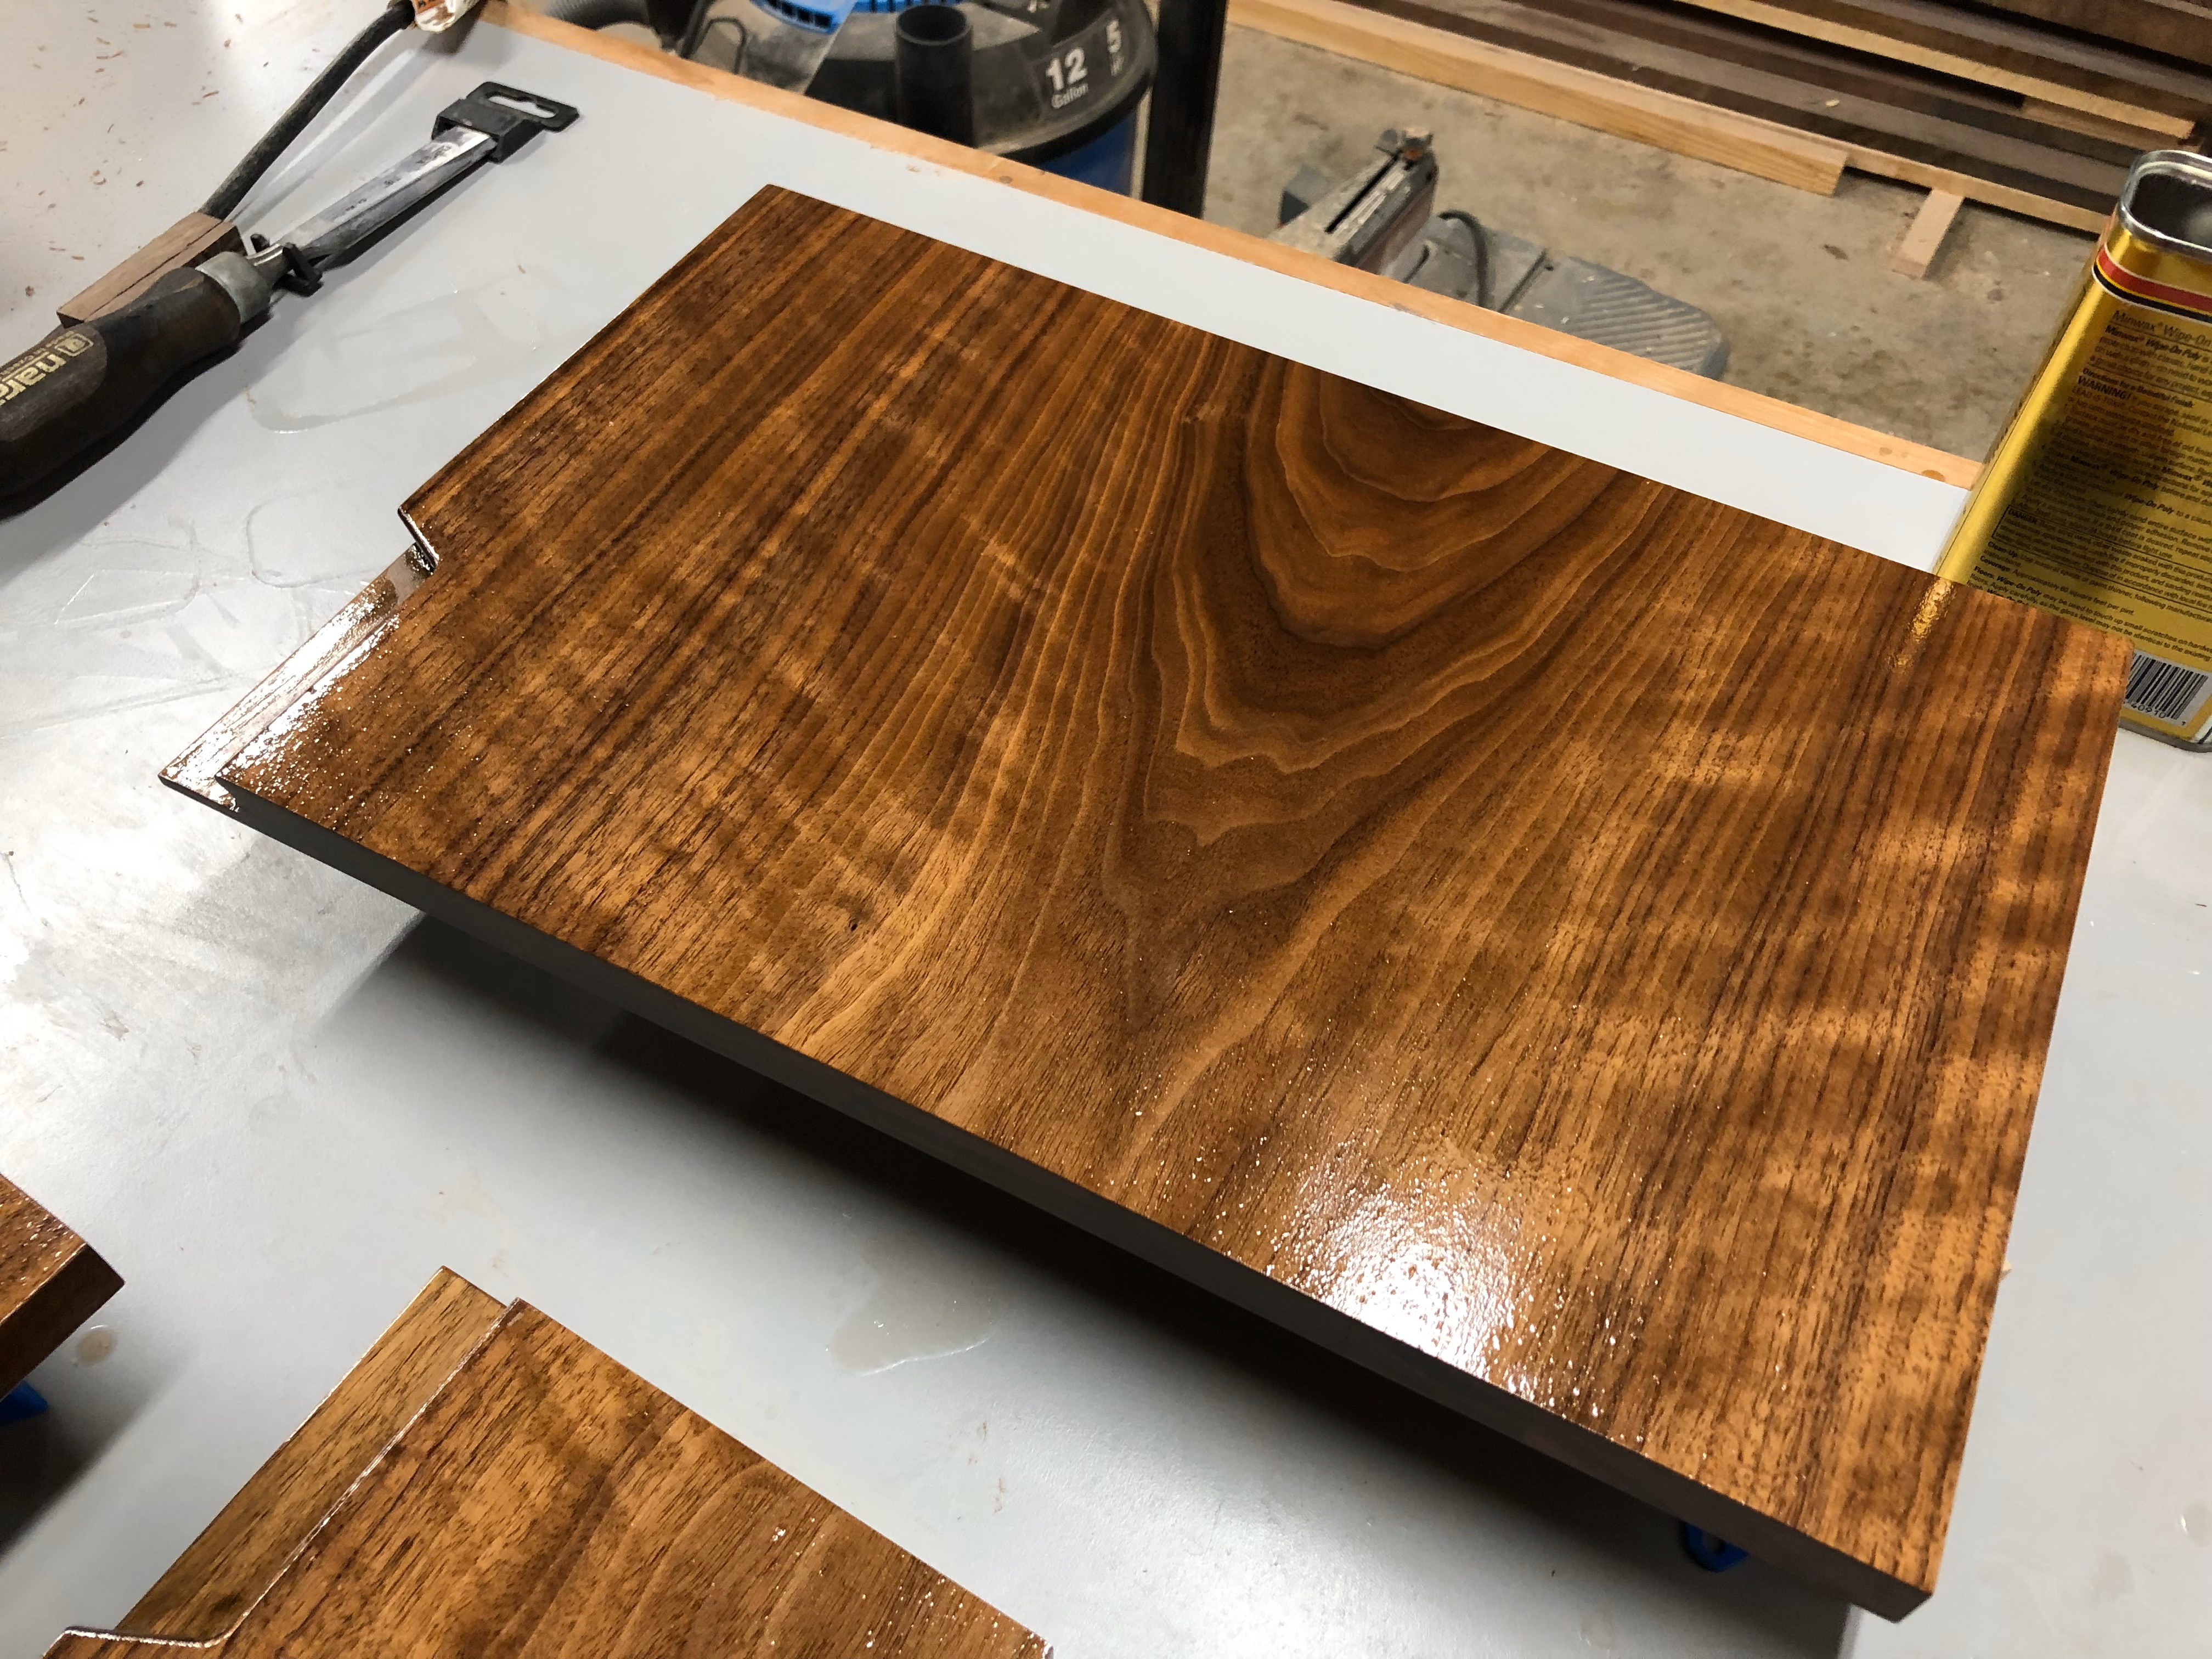 I love the look of the grain!
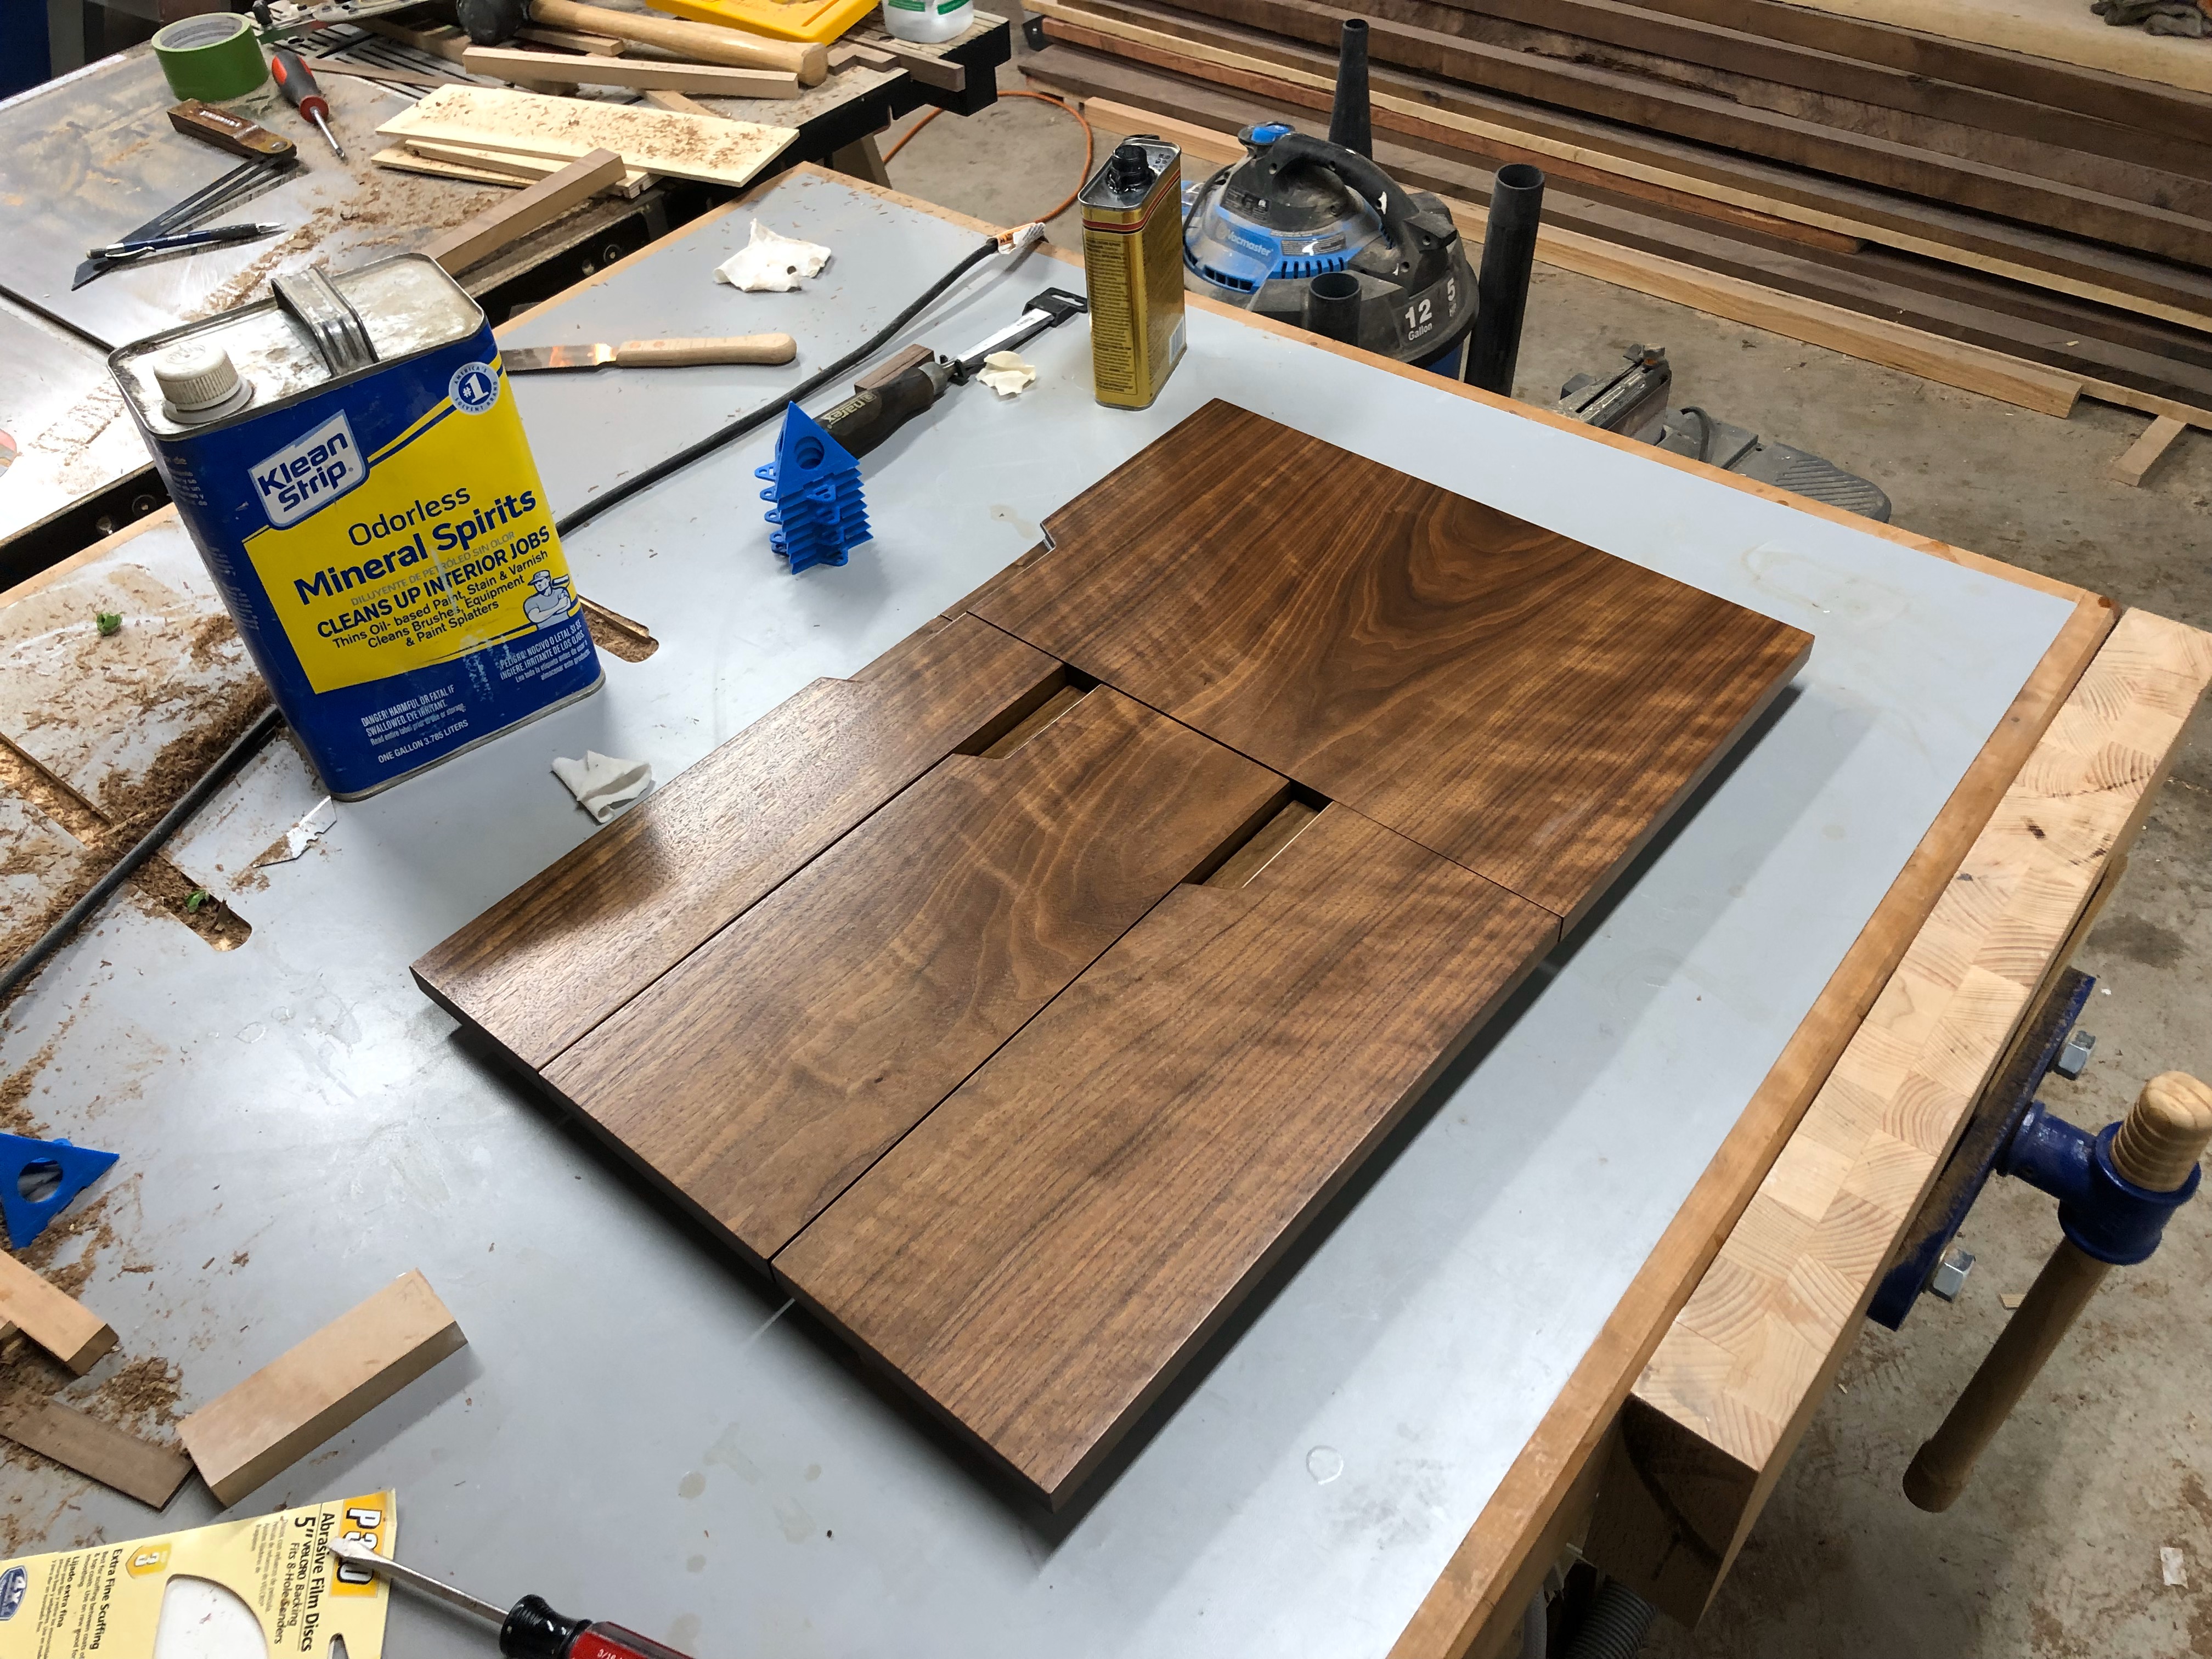 All finished and ready for install
To install the drawer fronts, I decided to use blum drawer front adjusters. These are small plastic discs that you recess into the back of the drawer front and give you
just enough play during installation to get everything aligned perfectly. They make the installation process much easier than trying to use shims and clamps to install
the fronts. Once you have everything positioned where you want it, just tighten down the screws and drive a couple extra to lock everything in place.
The cabinet door is installed using euro cup hinges, so a couple 35mm holes drilled per the manufacturers instructions were all that's needed for that. To prevent the
door from hitting the wall when opening, I installed hinge restrictors to limit the door travel to 86 degrees instead of 110 degrees.
Here it is all complete and assembled: