
Kitchen Breakfast Nook
Power Tools
- Circular Saw
- Biscuit Joiner
- Trim Router
- Random Orbit Sander
Wood
- 3/4" Walnut Plywood
- 4/4 Walnut
Bits & Blades
- Flush Trim Router Bit
Hardware

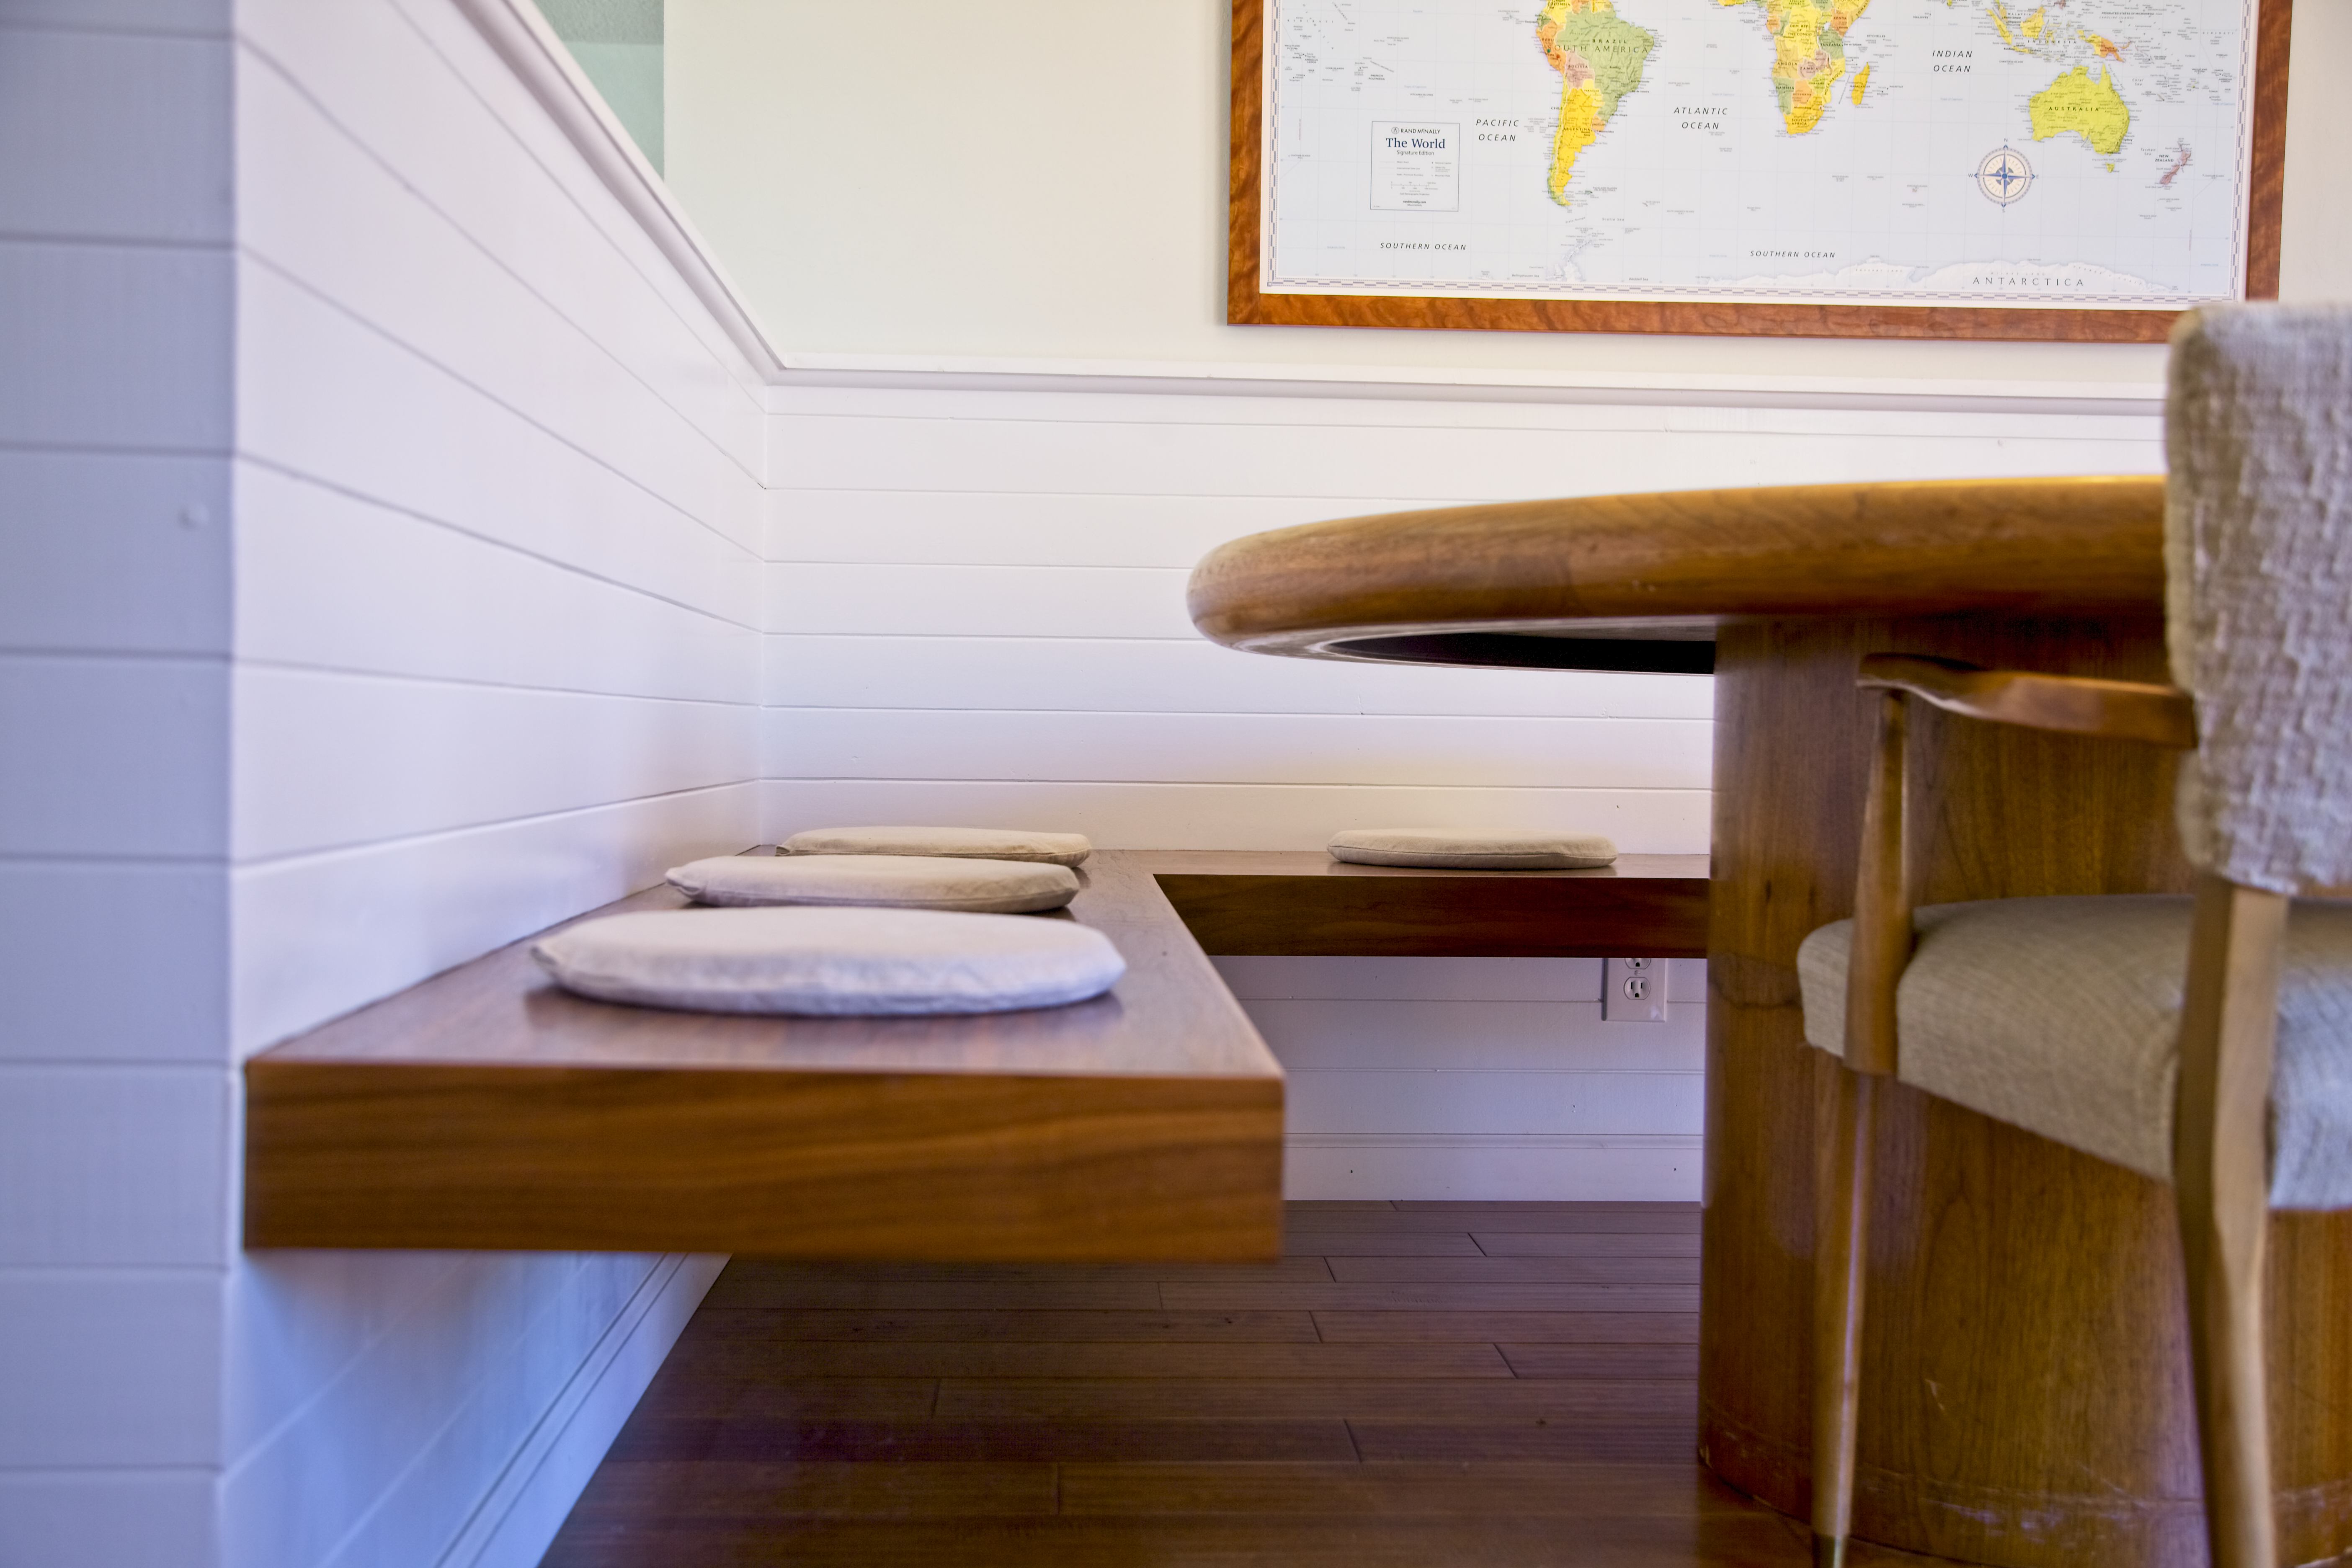
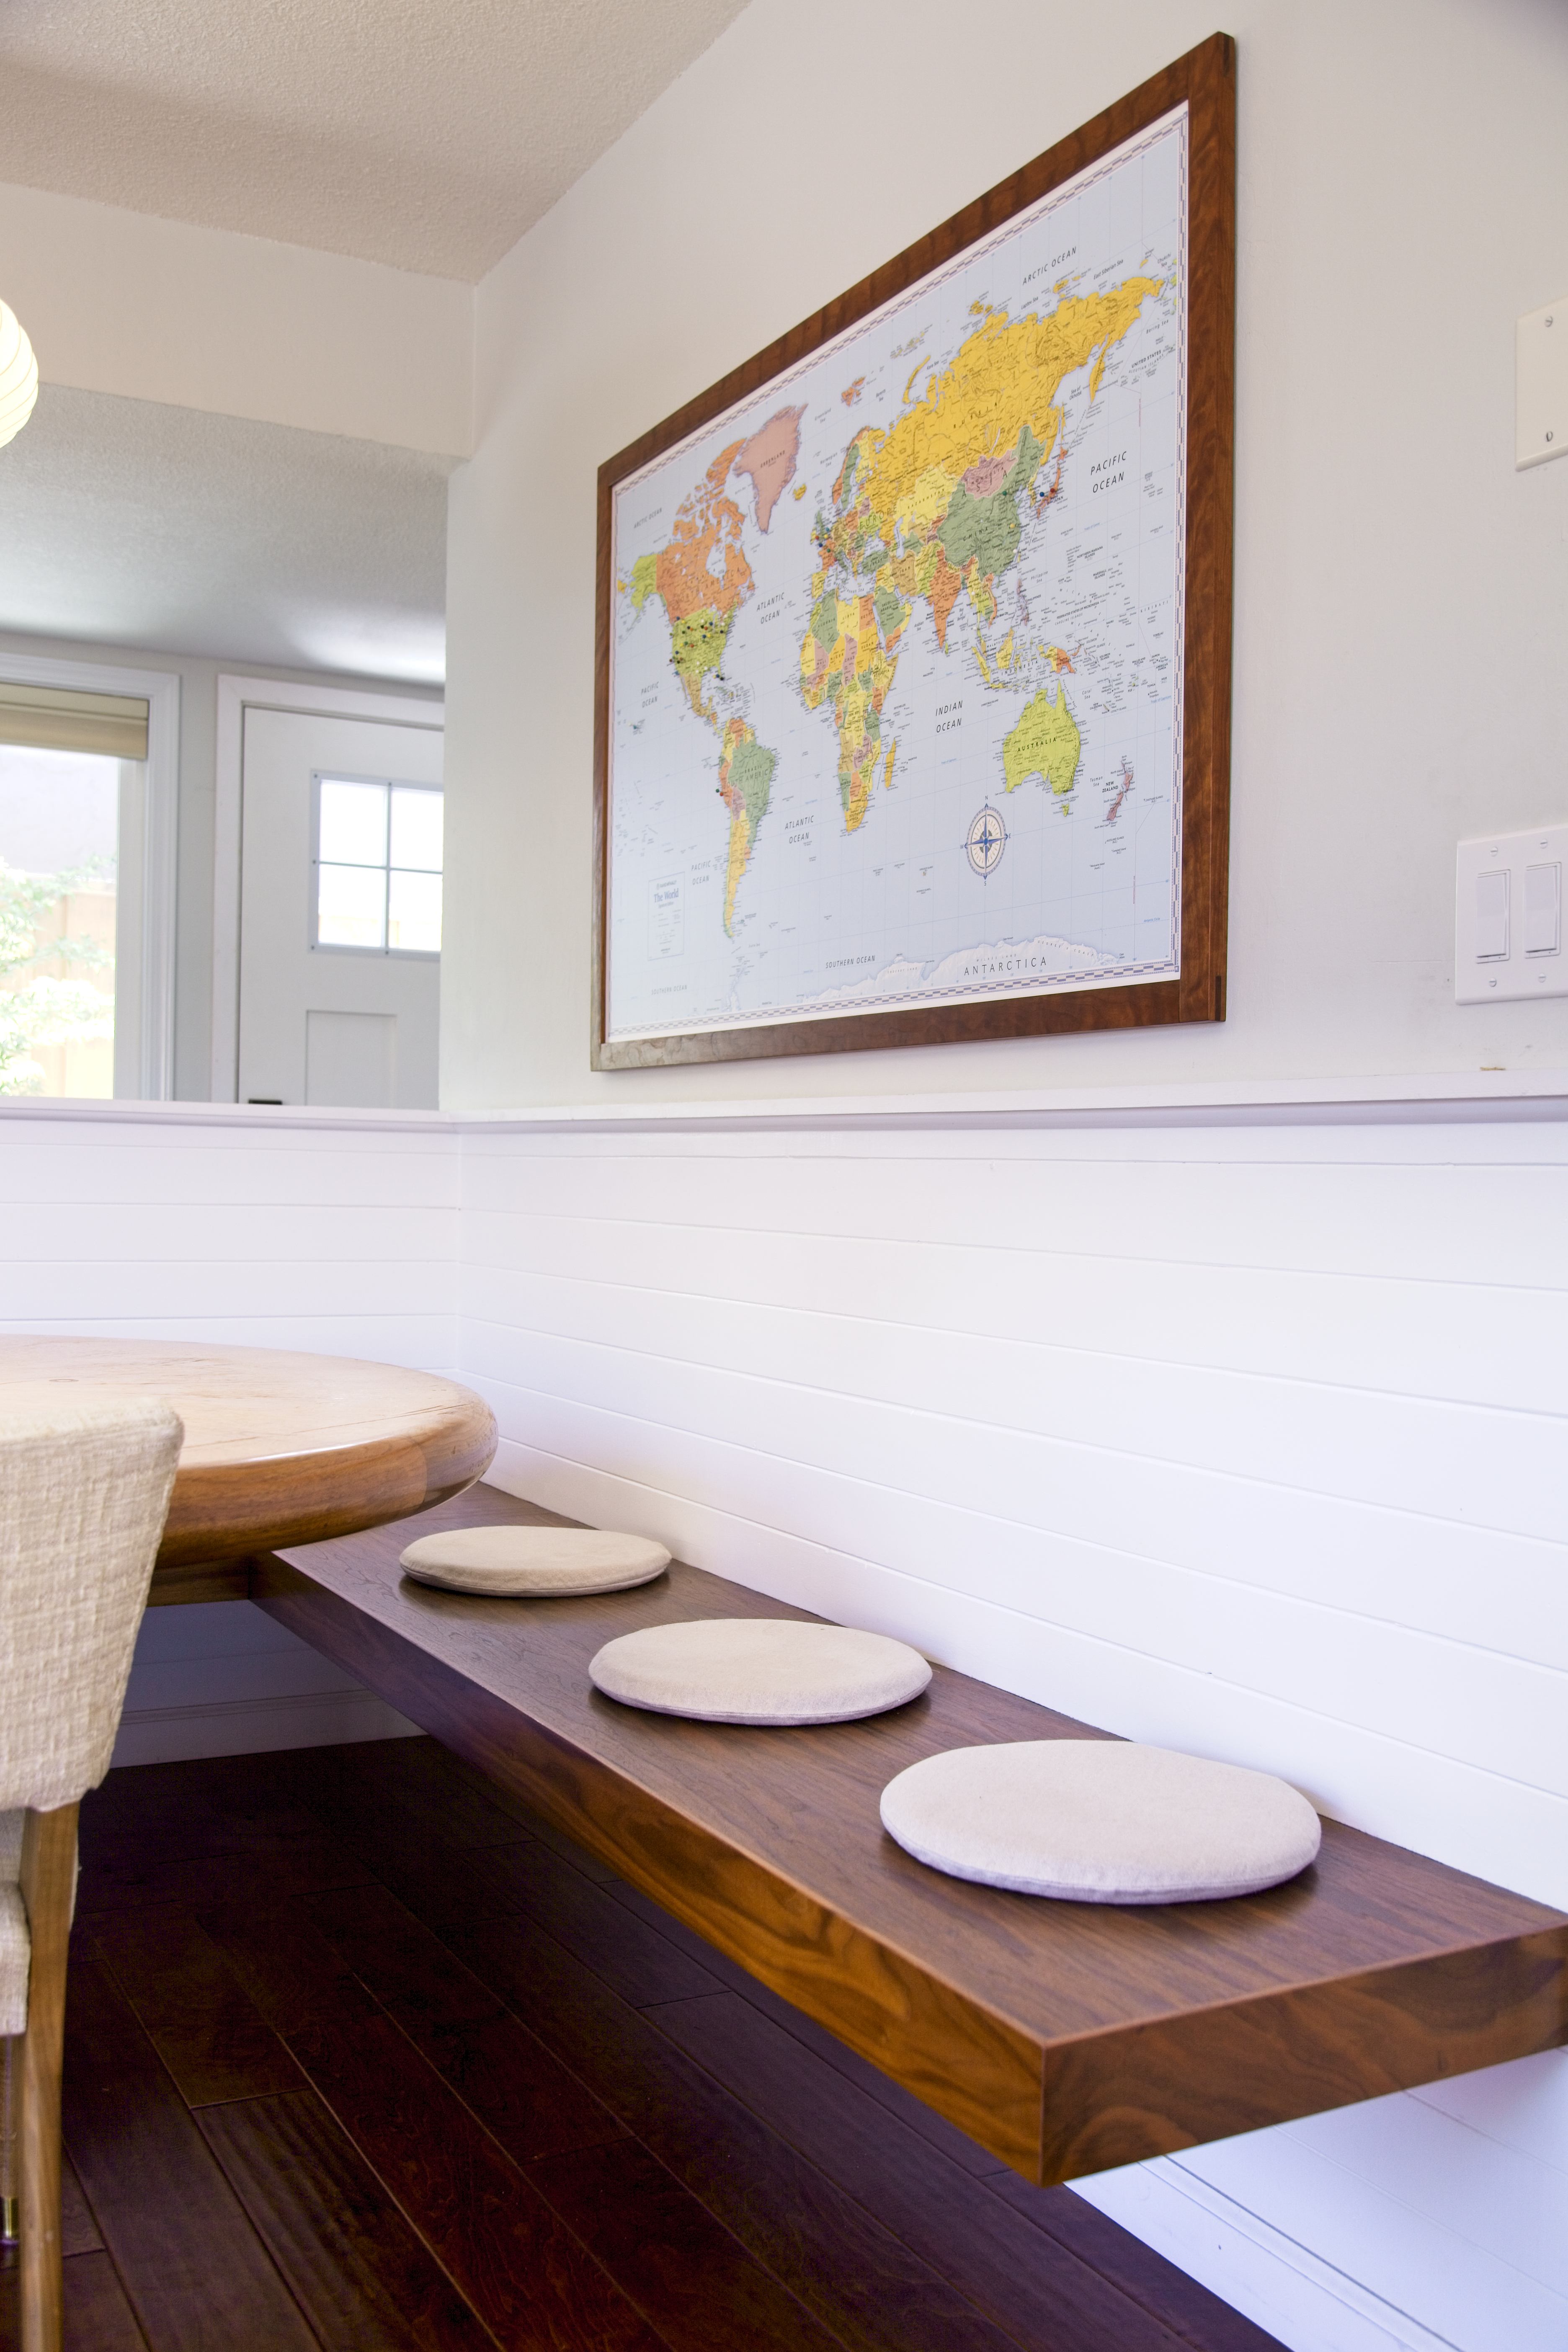
We ripped out the desk and put in a built-in seating bench instead. The biggest challenge was figuring out how to make it floating (legless) and still be strong enough to support 7-8 people sitting on it at once. We decided to use a number of steel countertop brackets mounted directly to the framing studs. Unfortunately that meant we had to rip out the plank paneling and drywall in that corner of the kitchen to get to the studs. We installed blocking between all the studs to help stiffen and distribute the load across the wall, then lag bolted the brackets in place. We probably went a bit overboard with the number of brackets, but we figured it's best to err on the side of caution in this case, since there would be no easy fix if we put everything back together only to discover that there wasn't enough support in place.
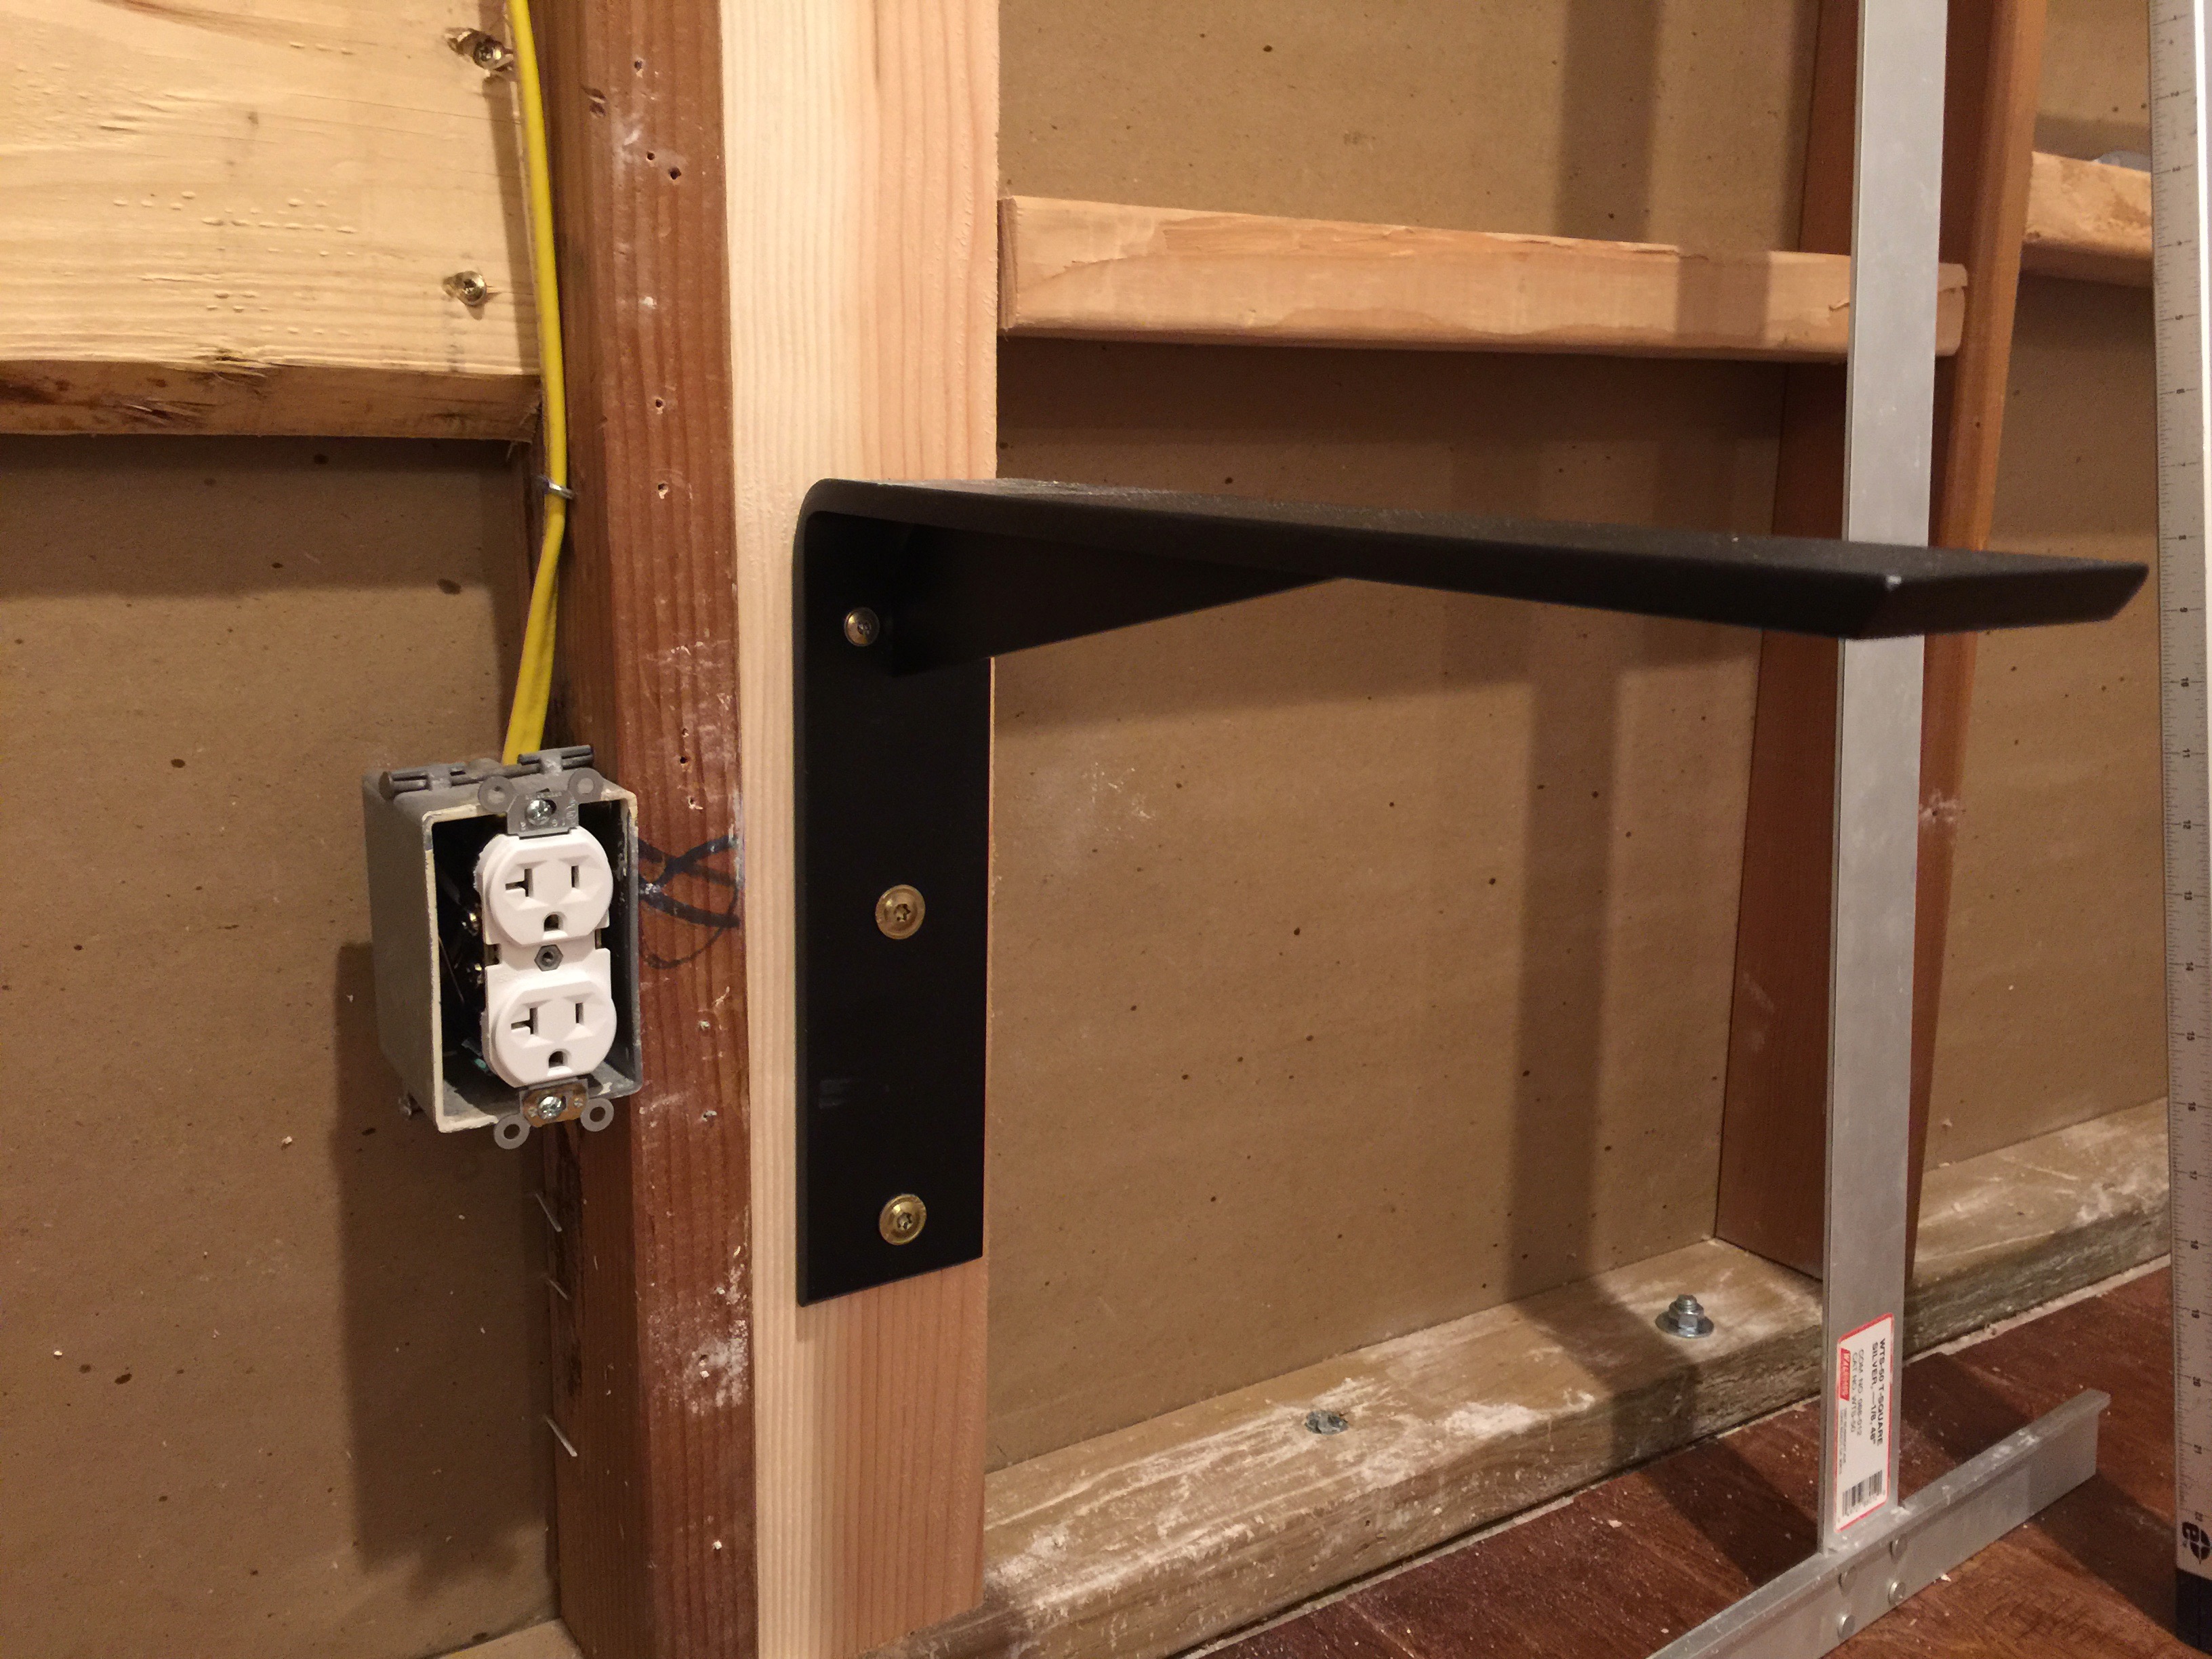 One of the brackets mounted to the wall framing.
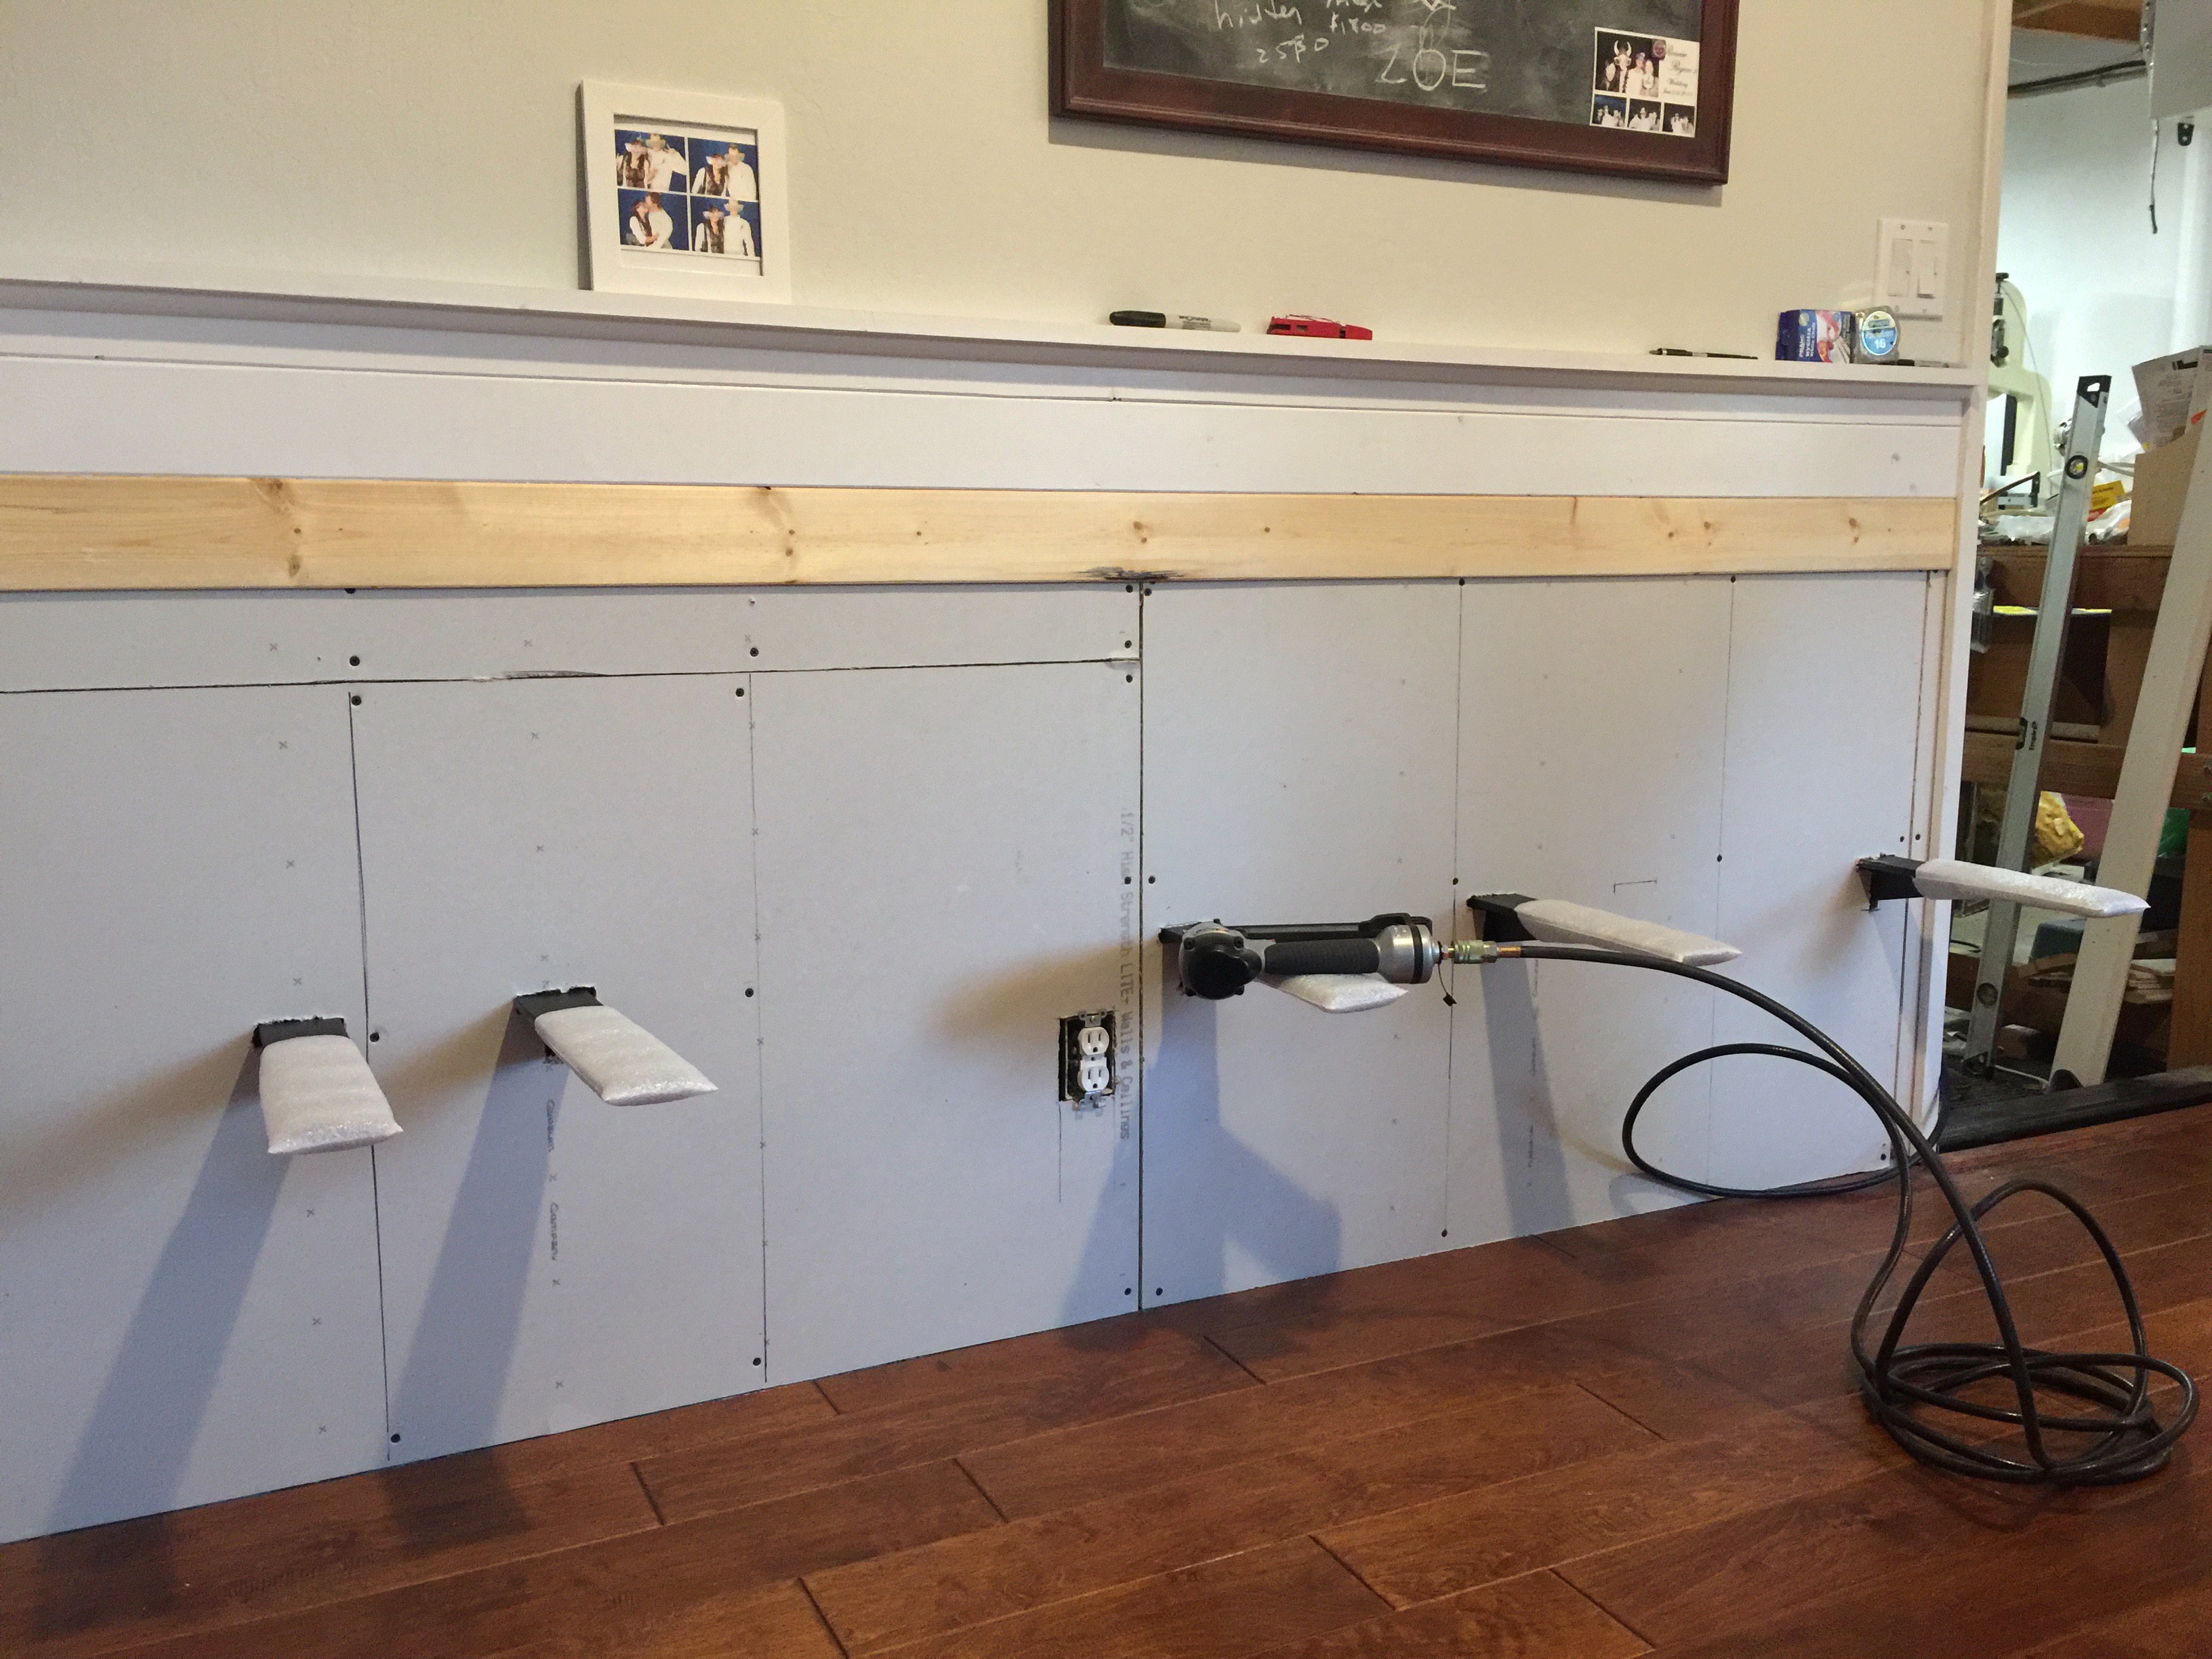 New drywall over a bunch of new brackets.
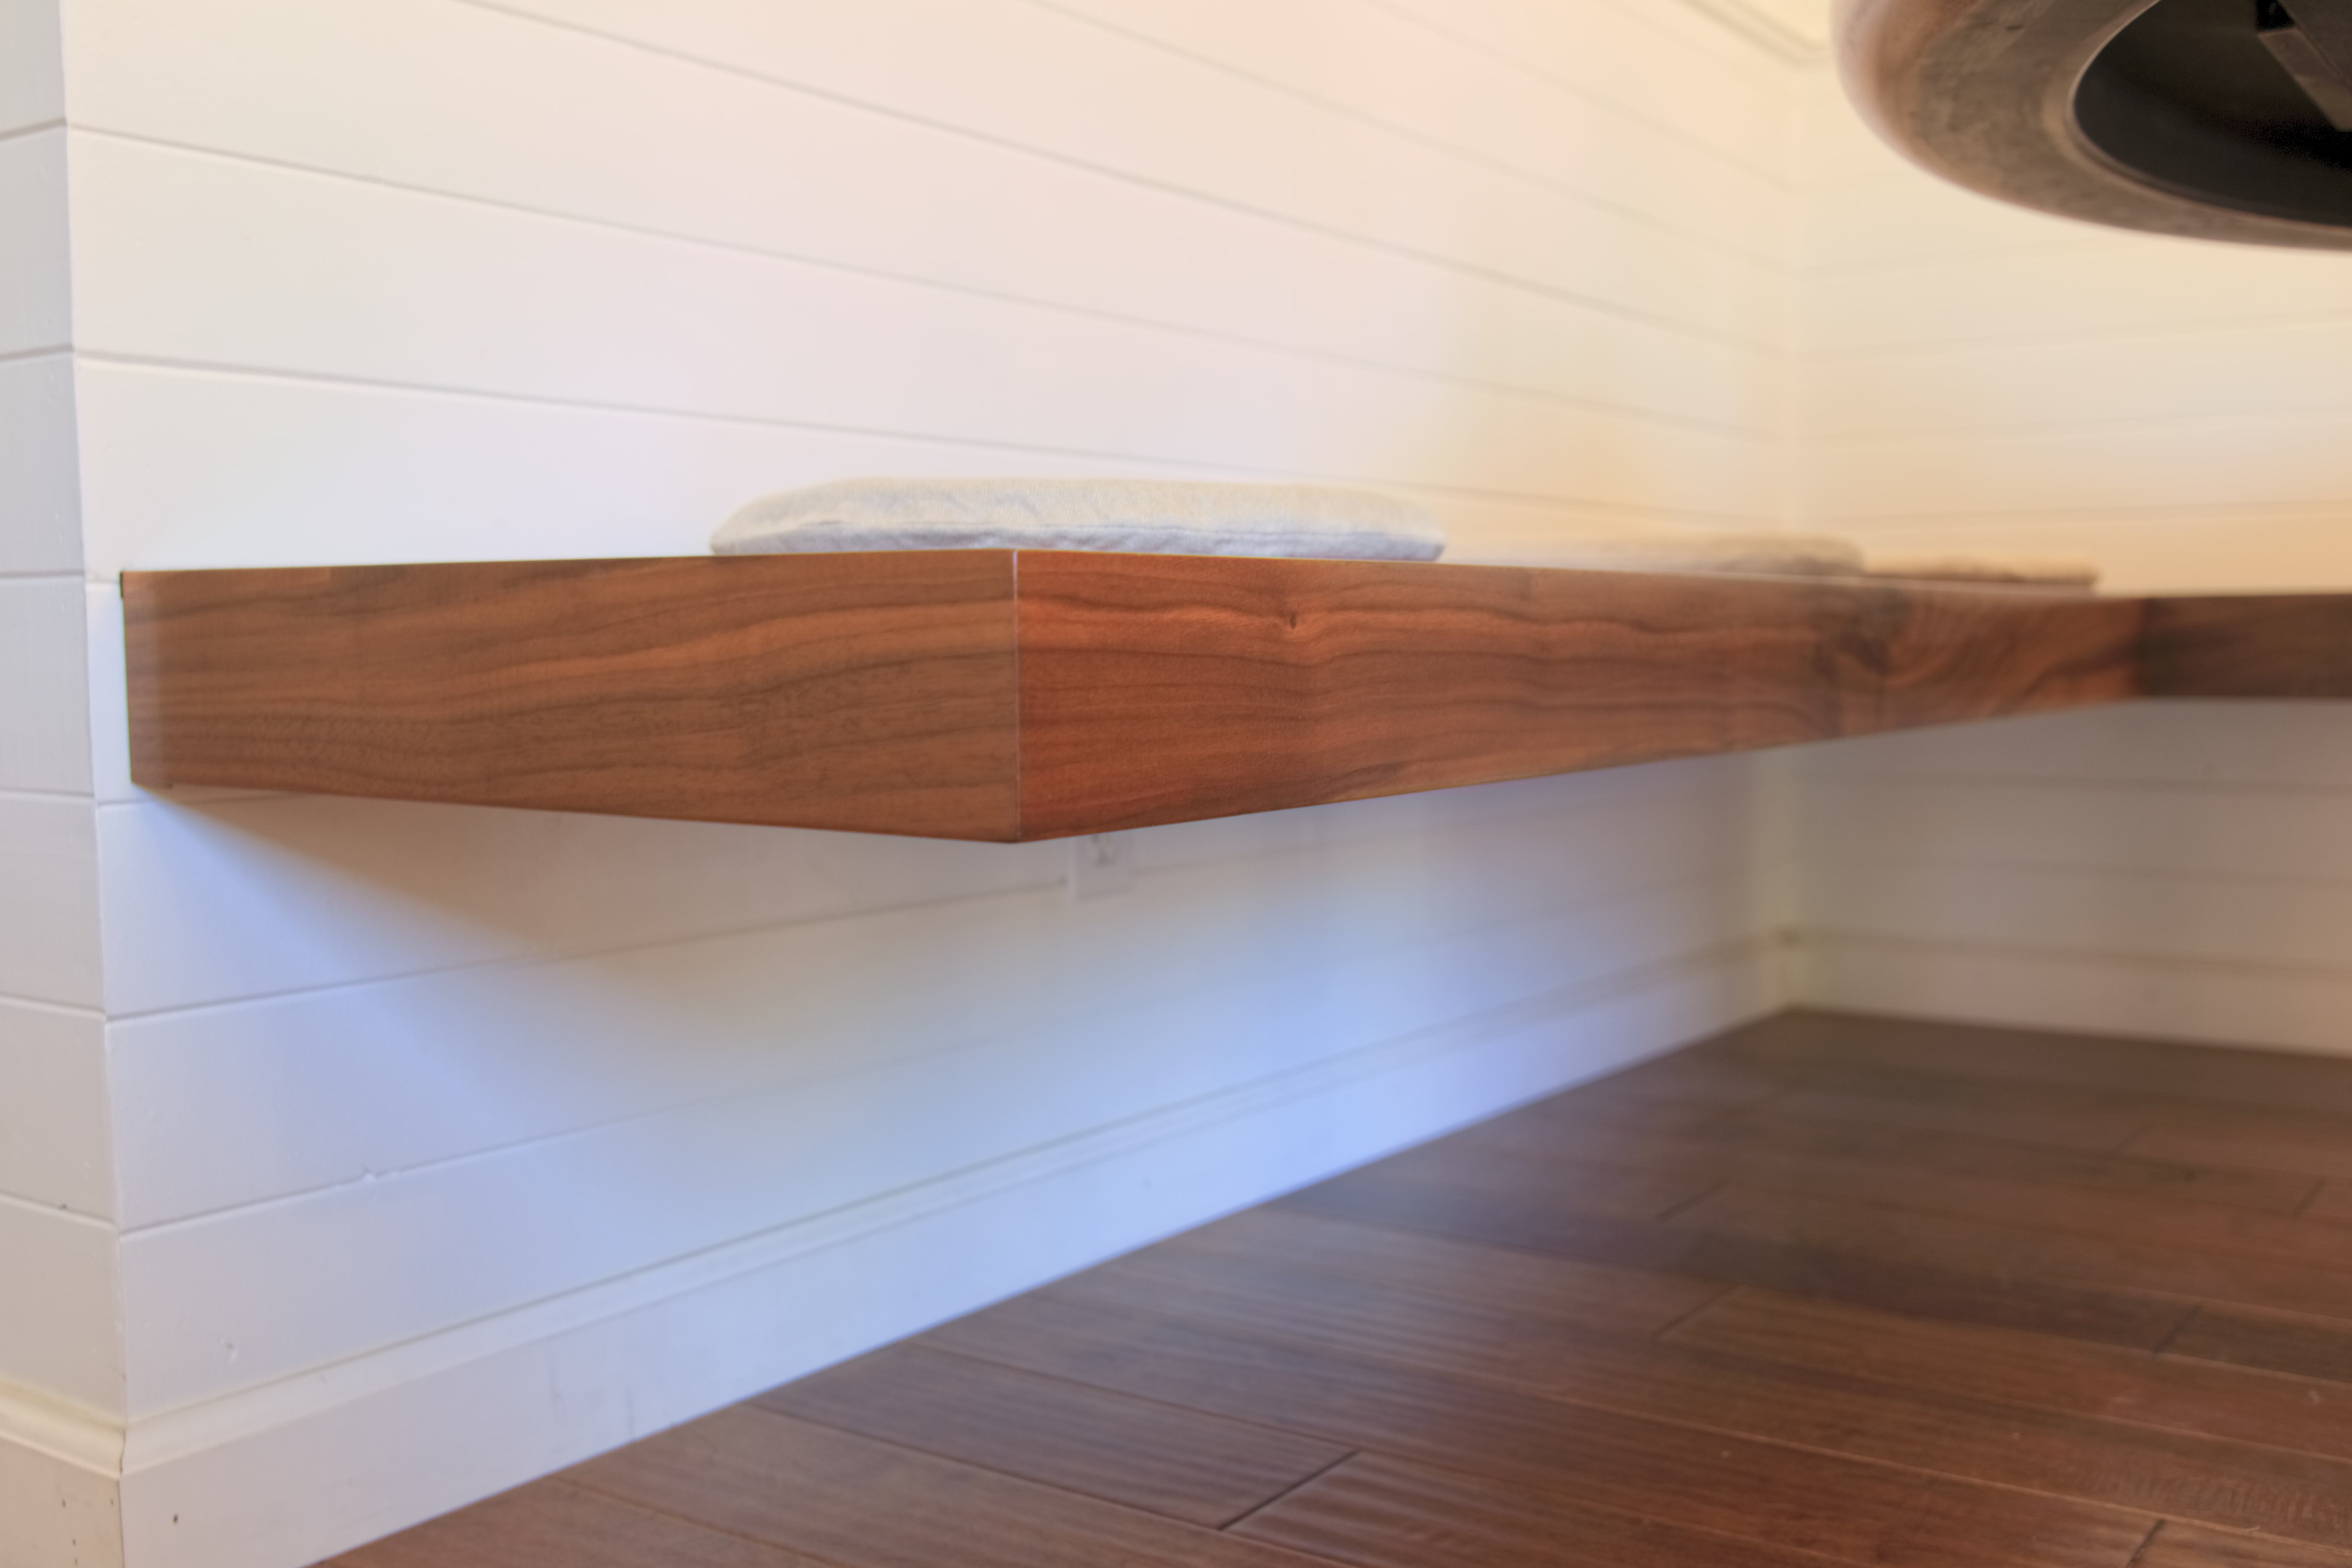
The actual bench is super simple, it's just two pieces of 3/4" walnut veneer plywood glued together in an L shape. I used biscuits and pocket screws to attach the two pieces, then outfitted it with a nice tall piece of 4/4 walnut around the edge to serve as edge banding and give it a much thicker appearance. The bench is secured to the brackets using some simple small blocks of wood with a shallow rabbet cut into one side to clamp tight onto the bracket.
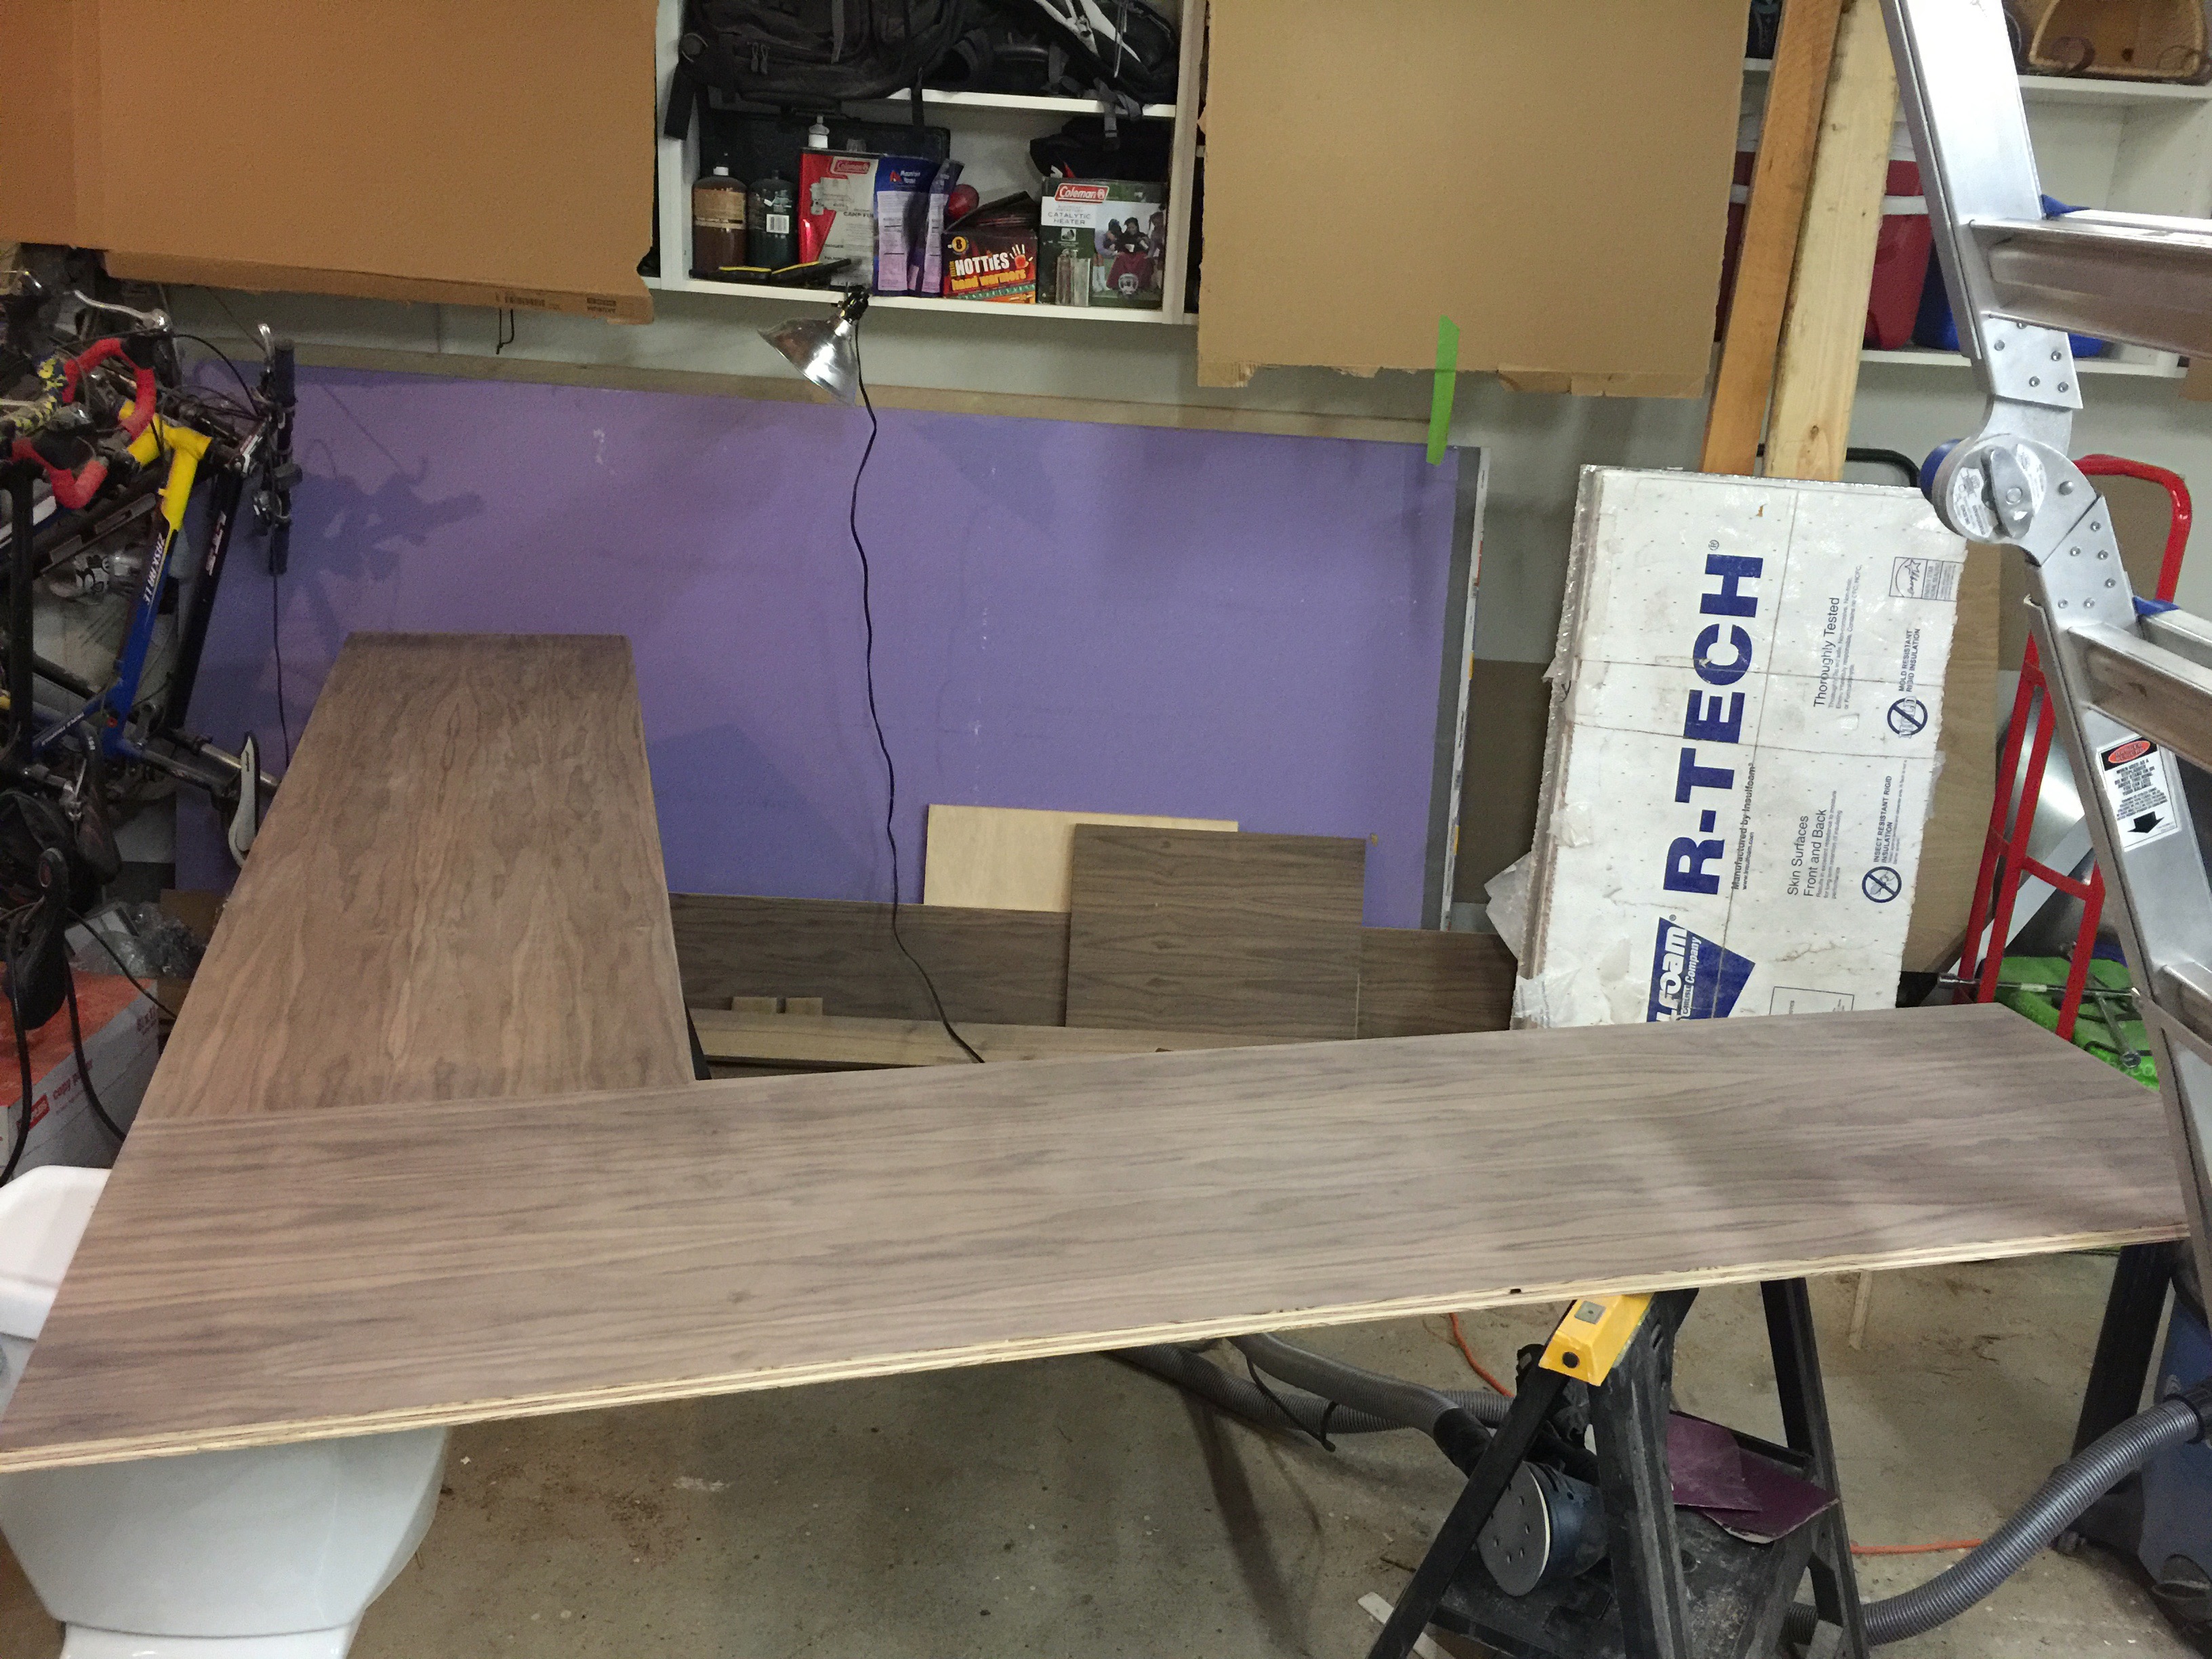 The two plywood pieces glued into an L shape.
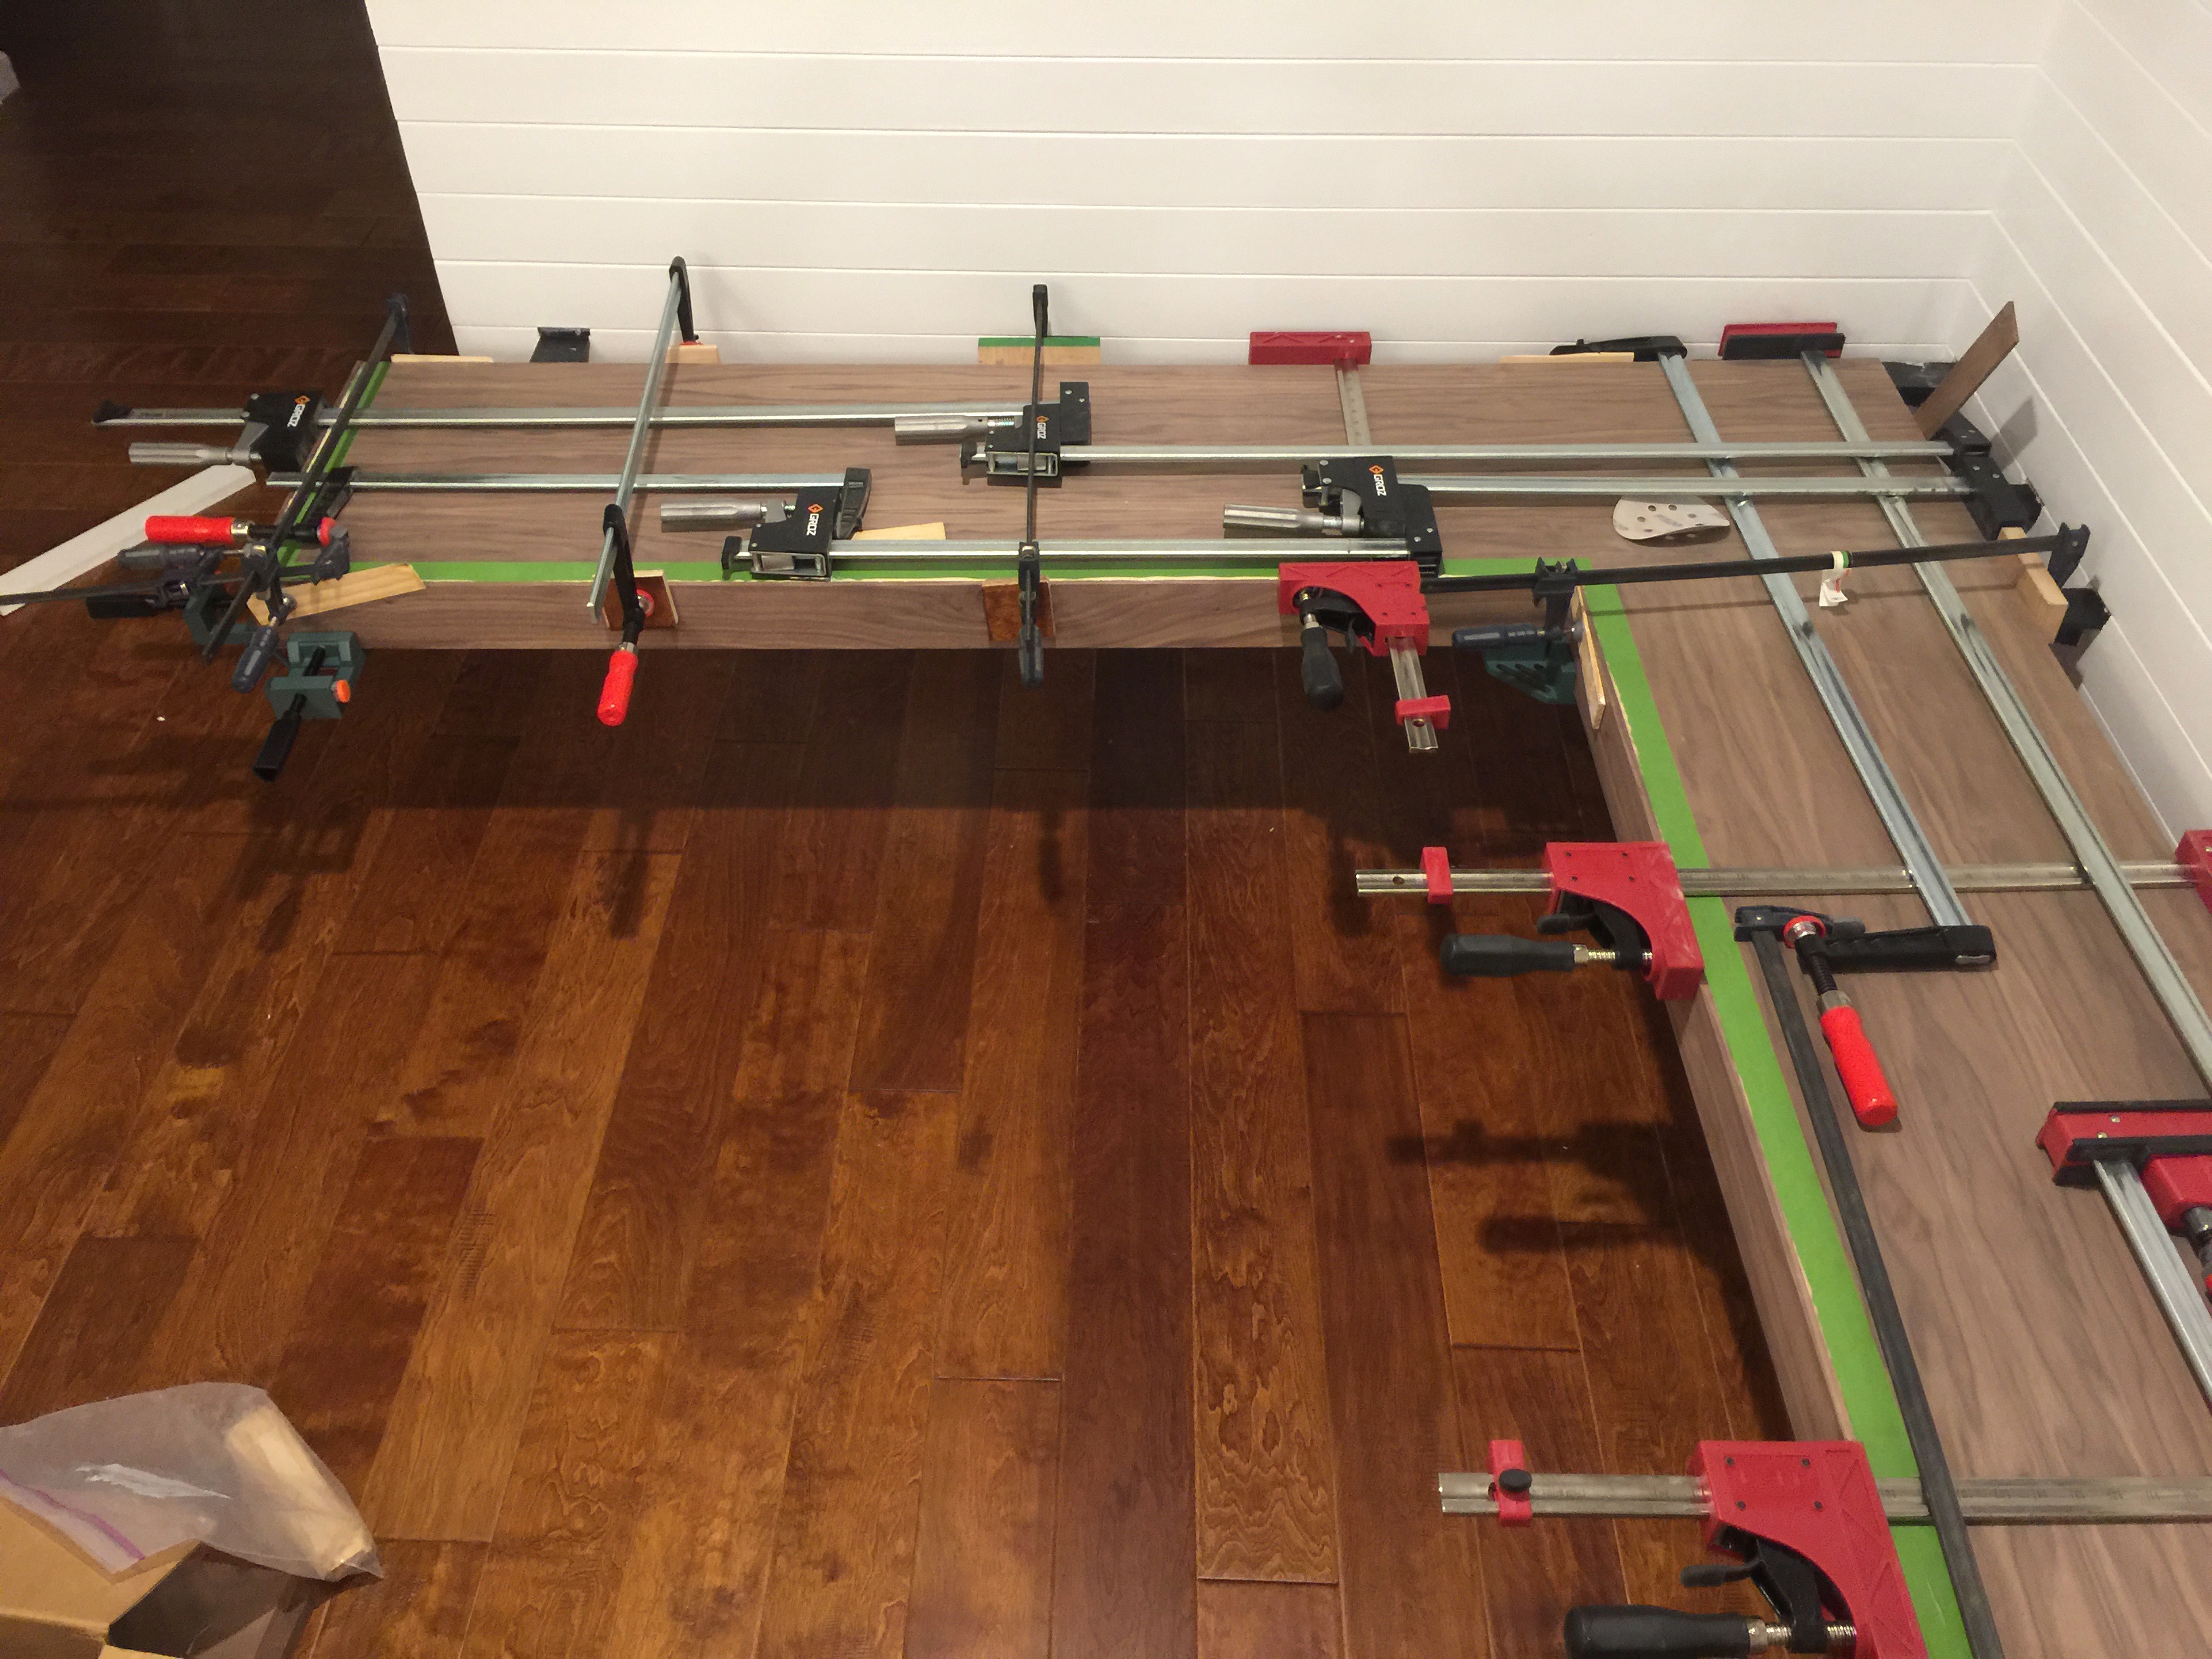 It took just about every clamp I own to get the edge banding on.
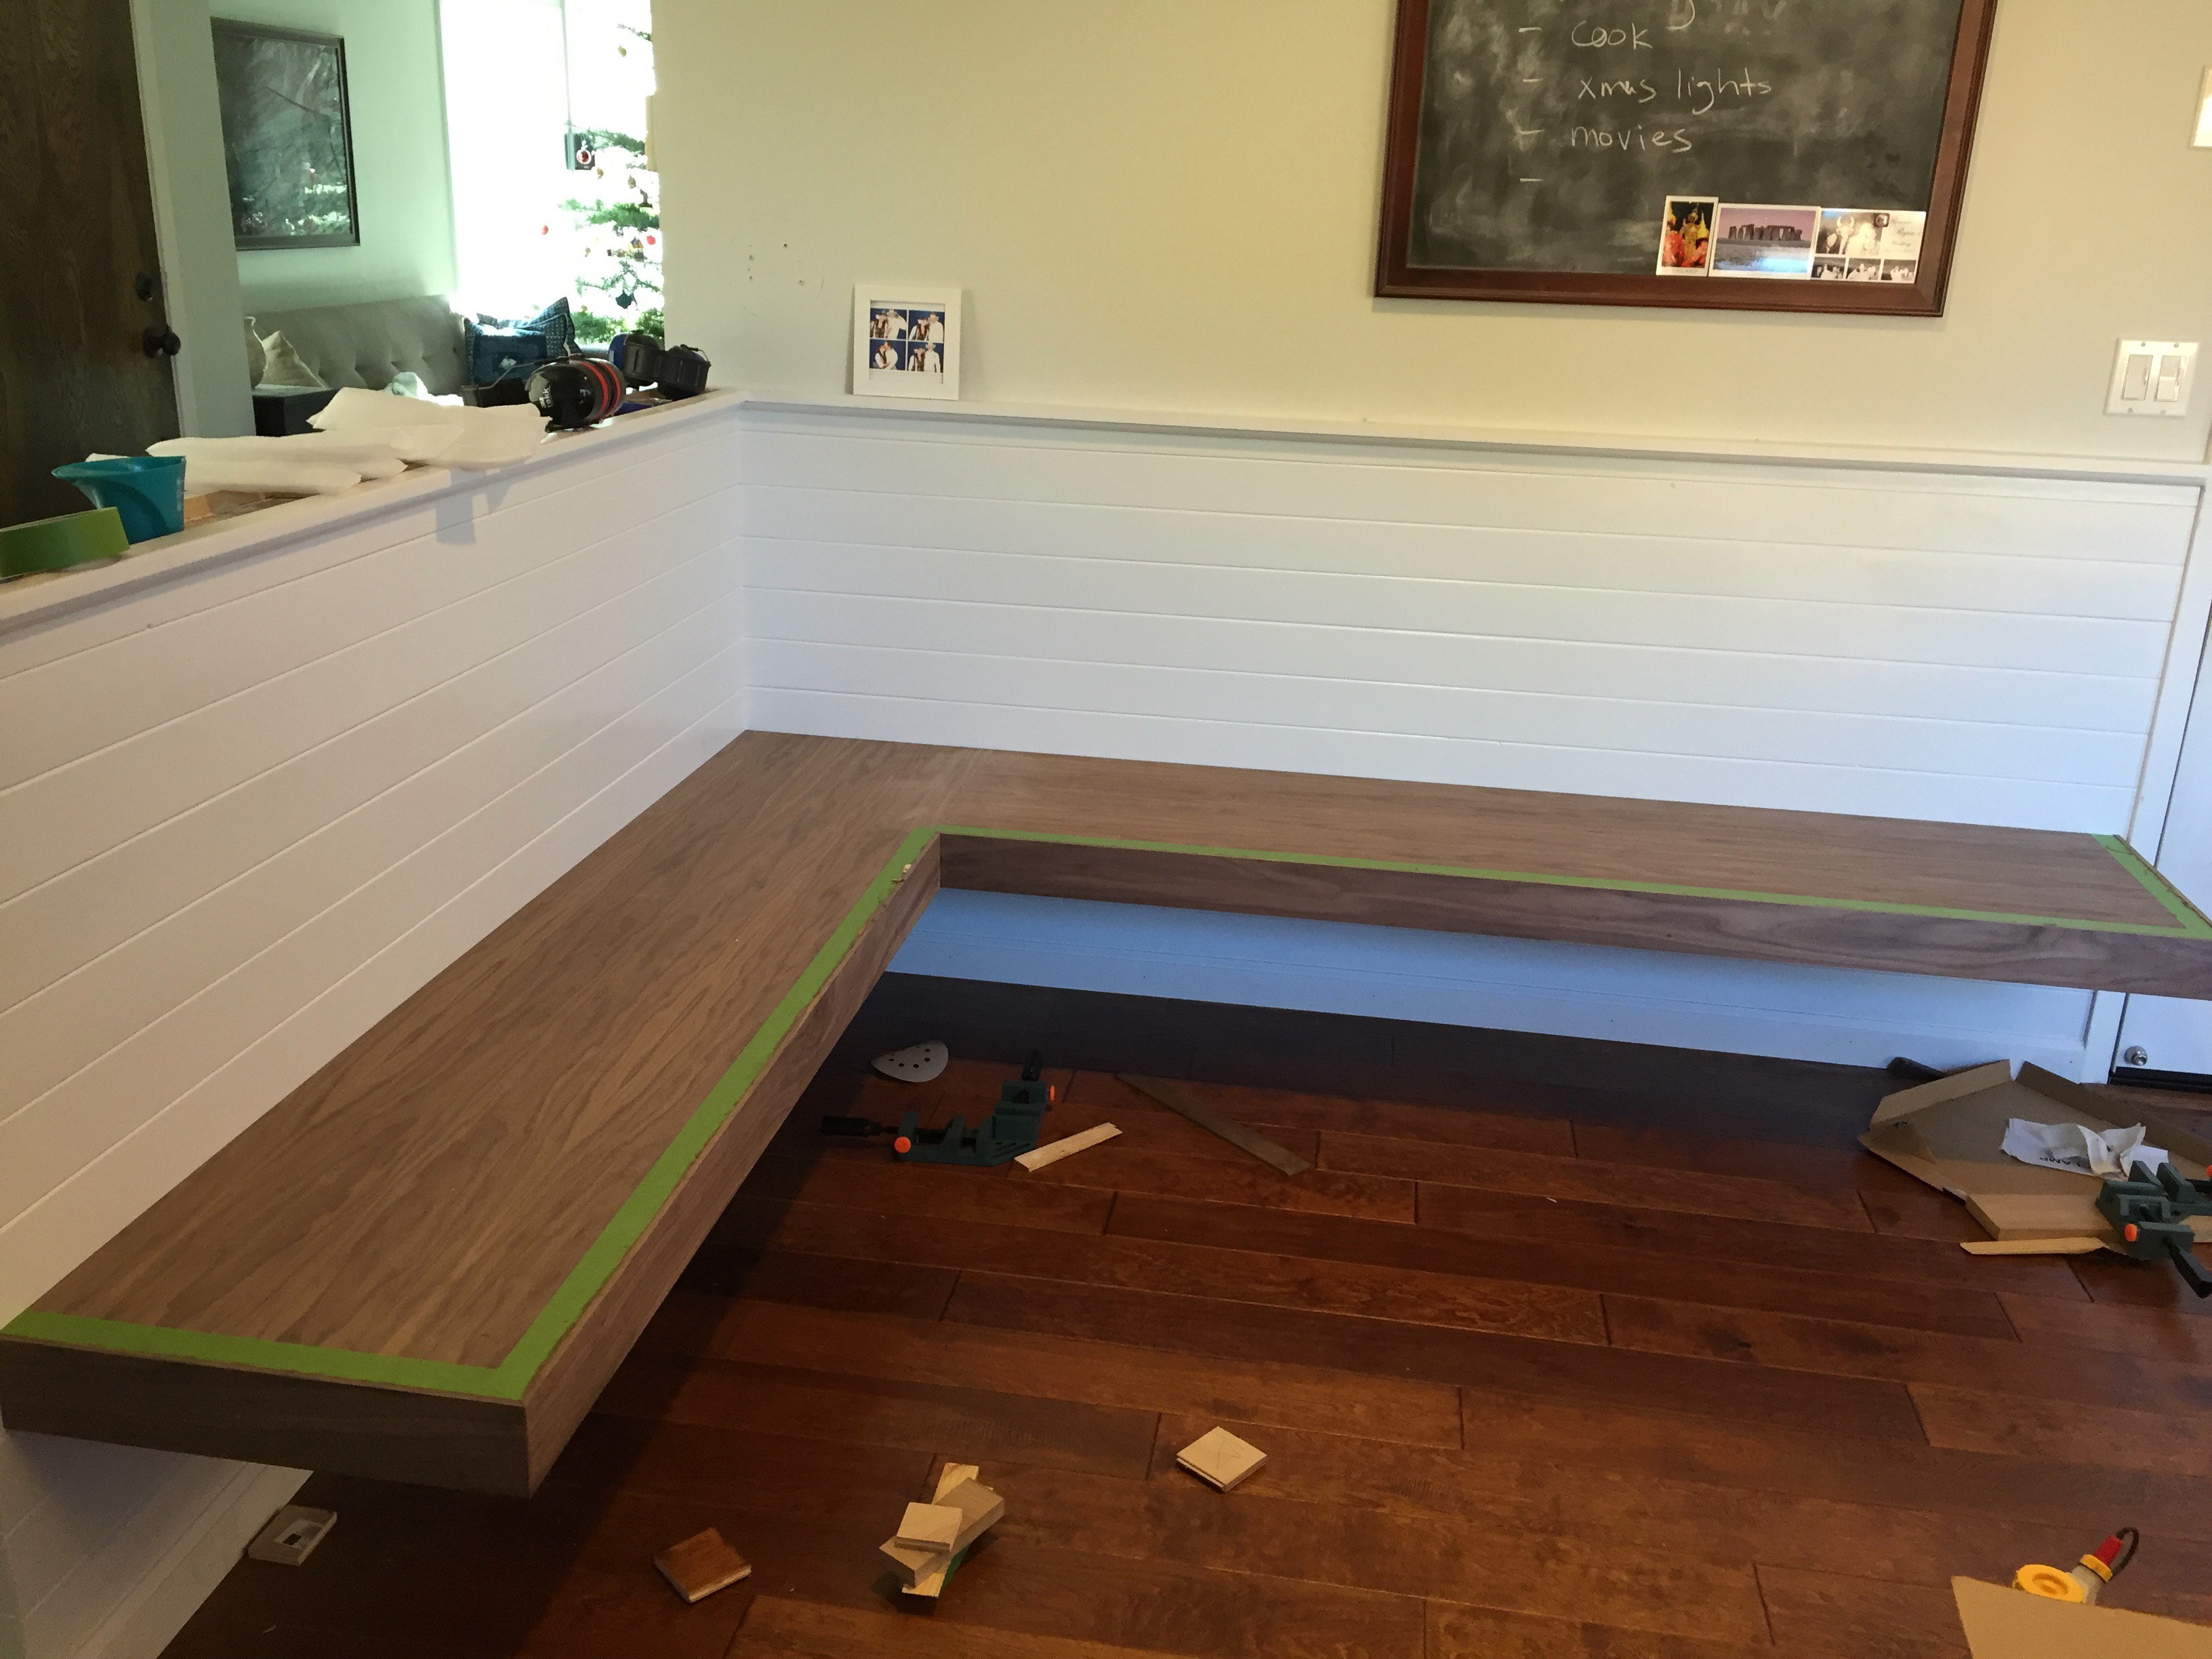 Out of the clamps!
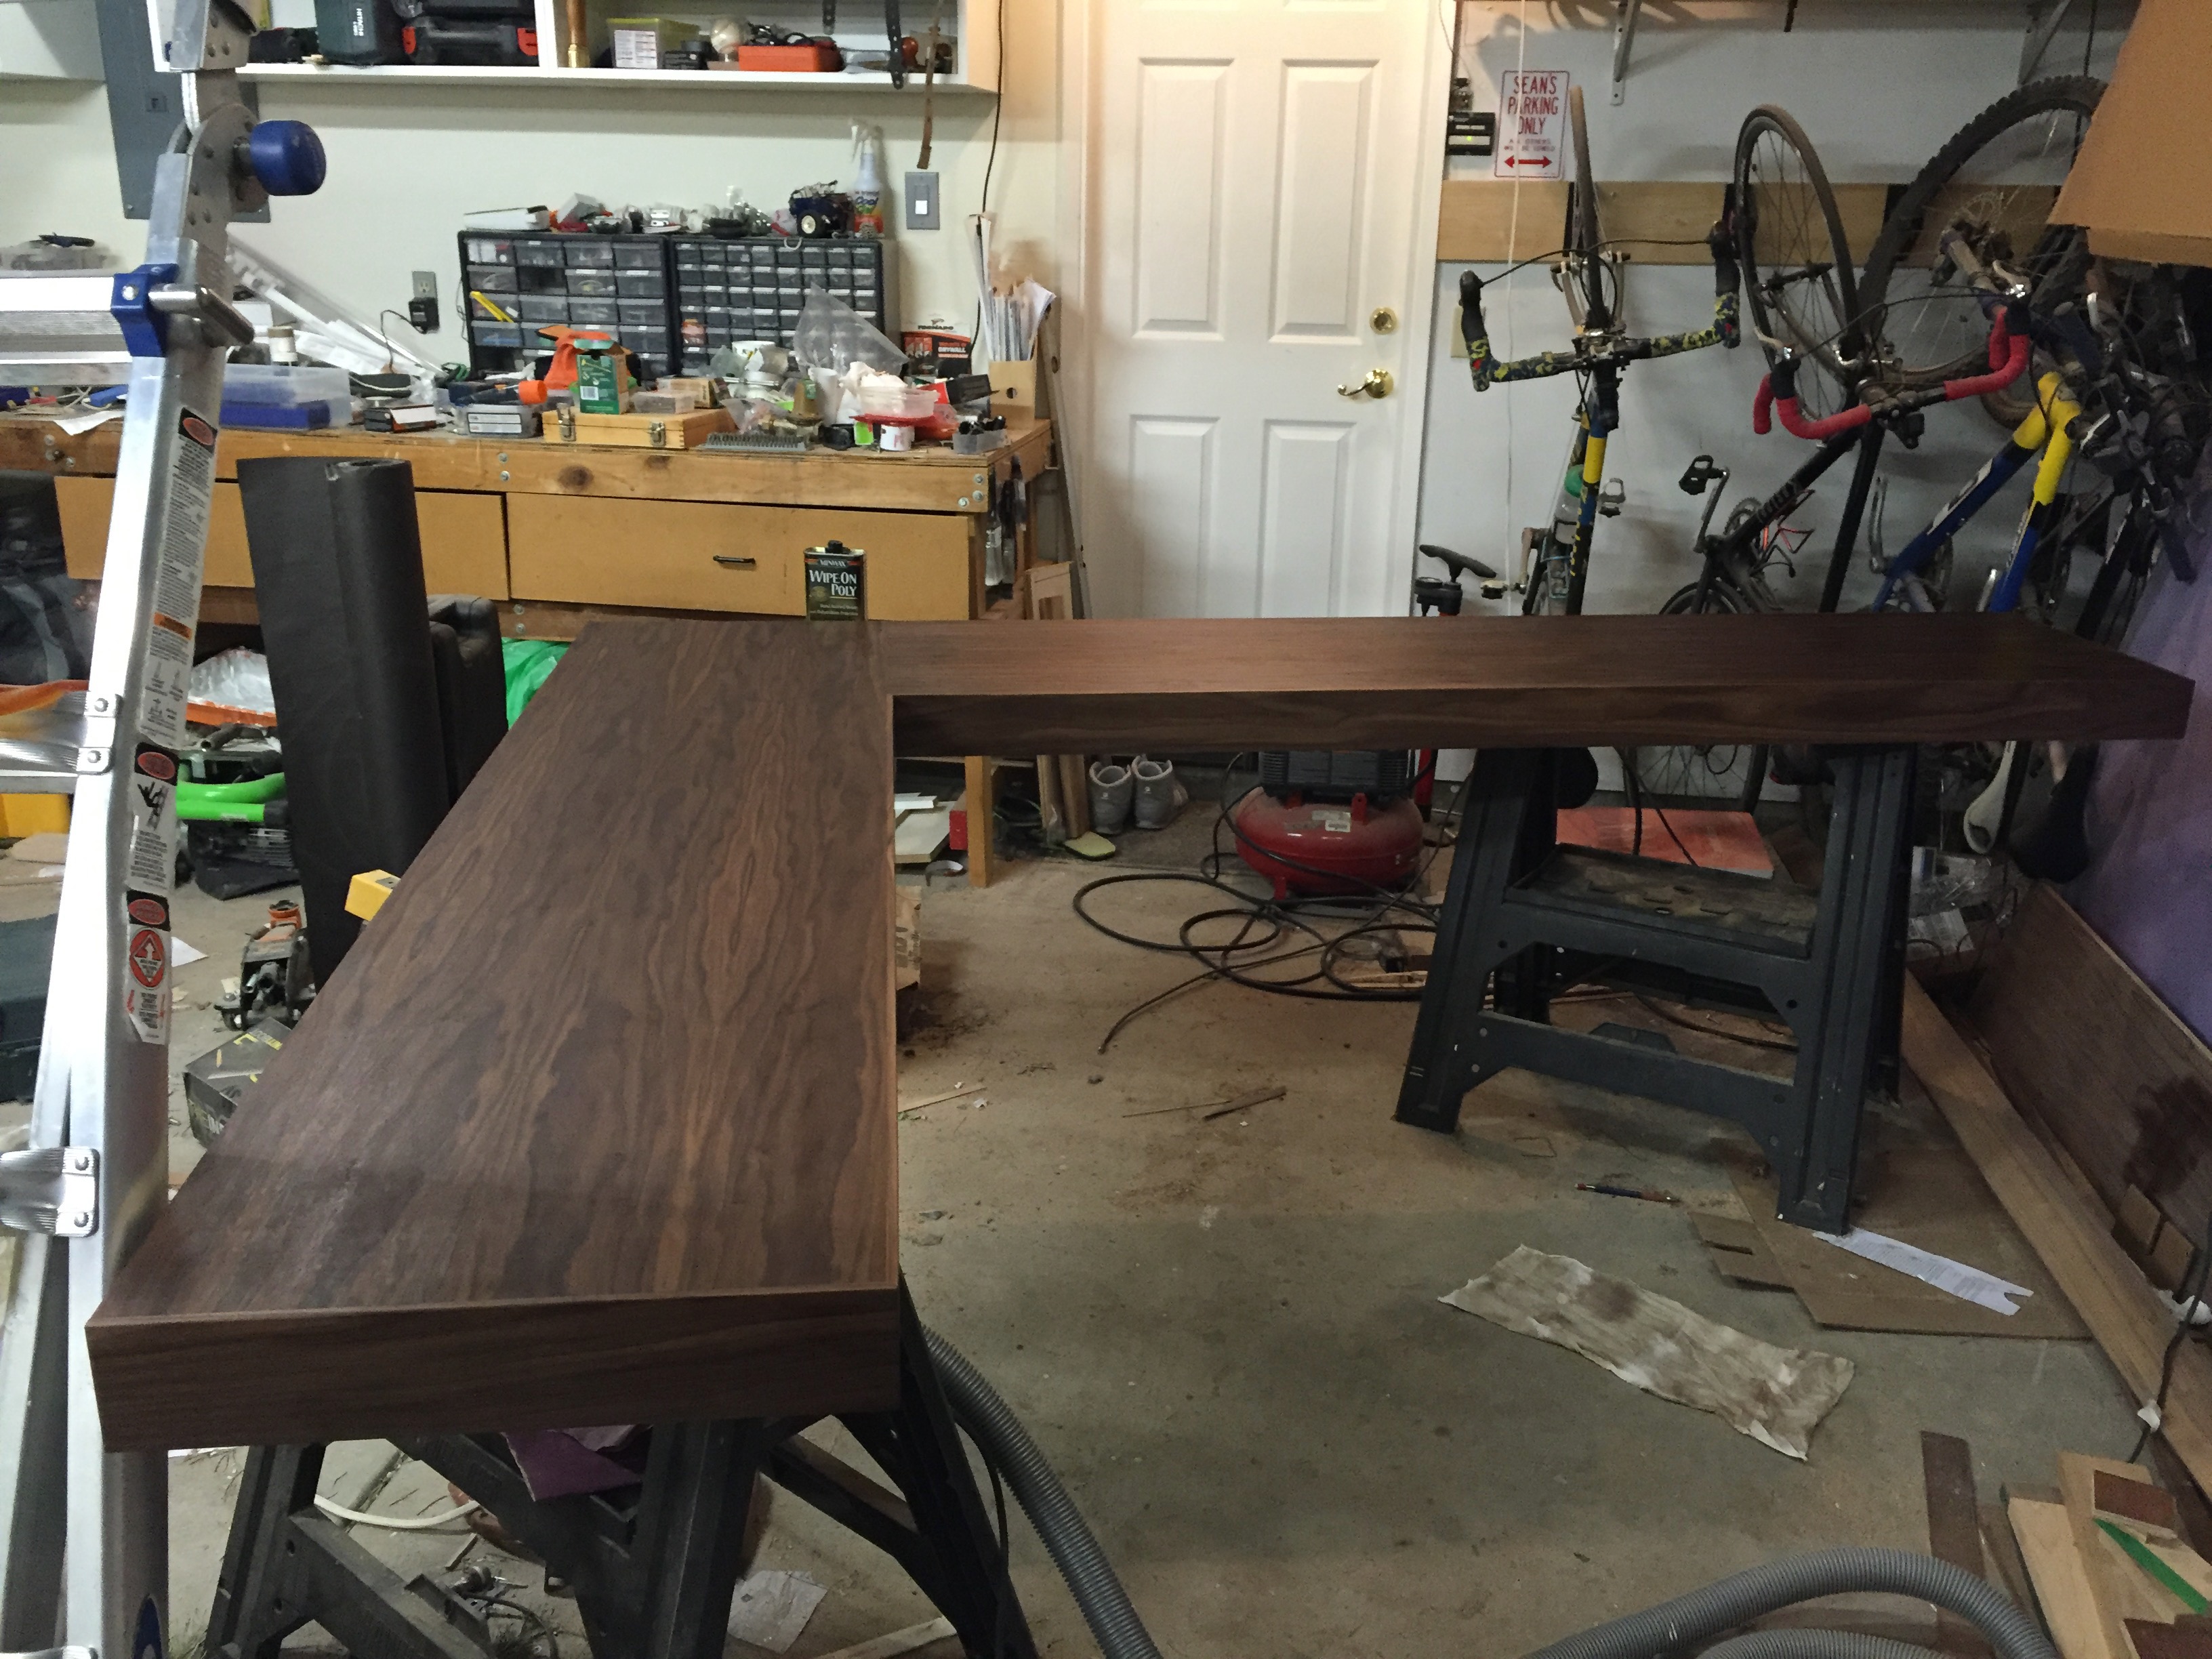
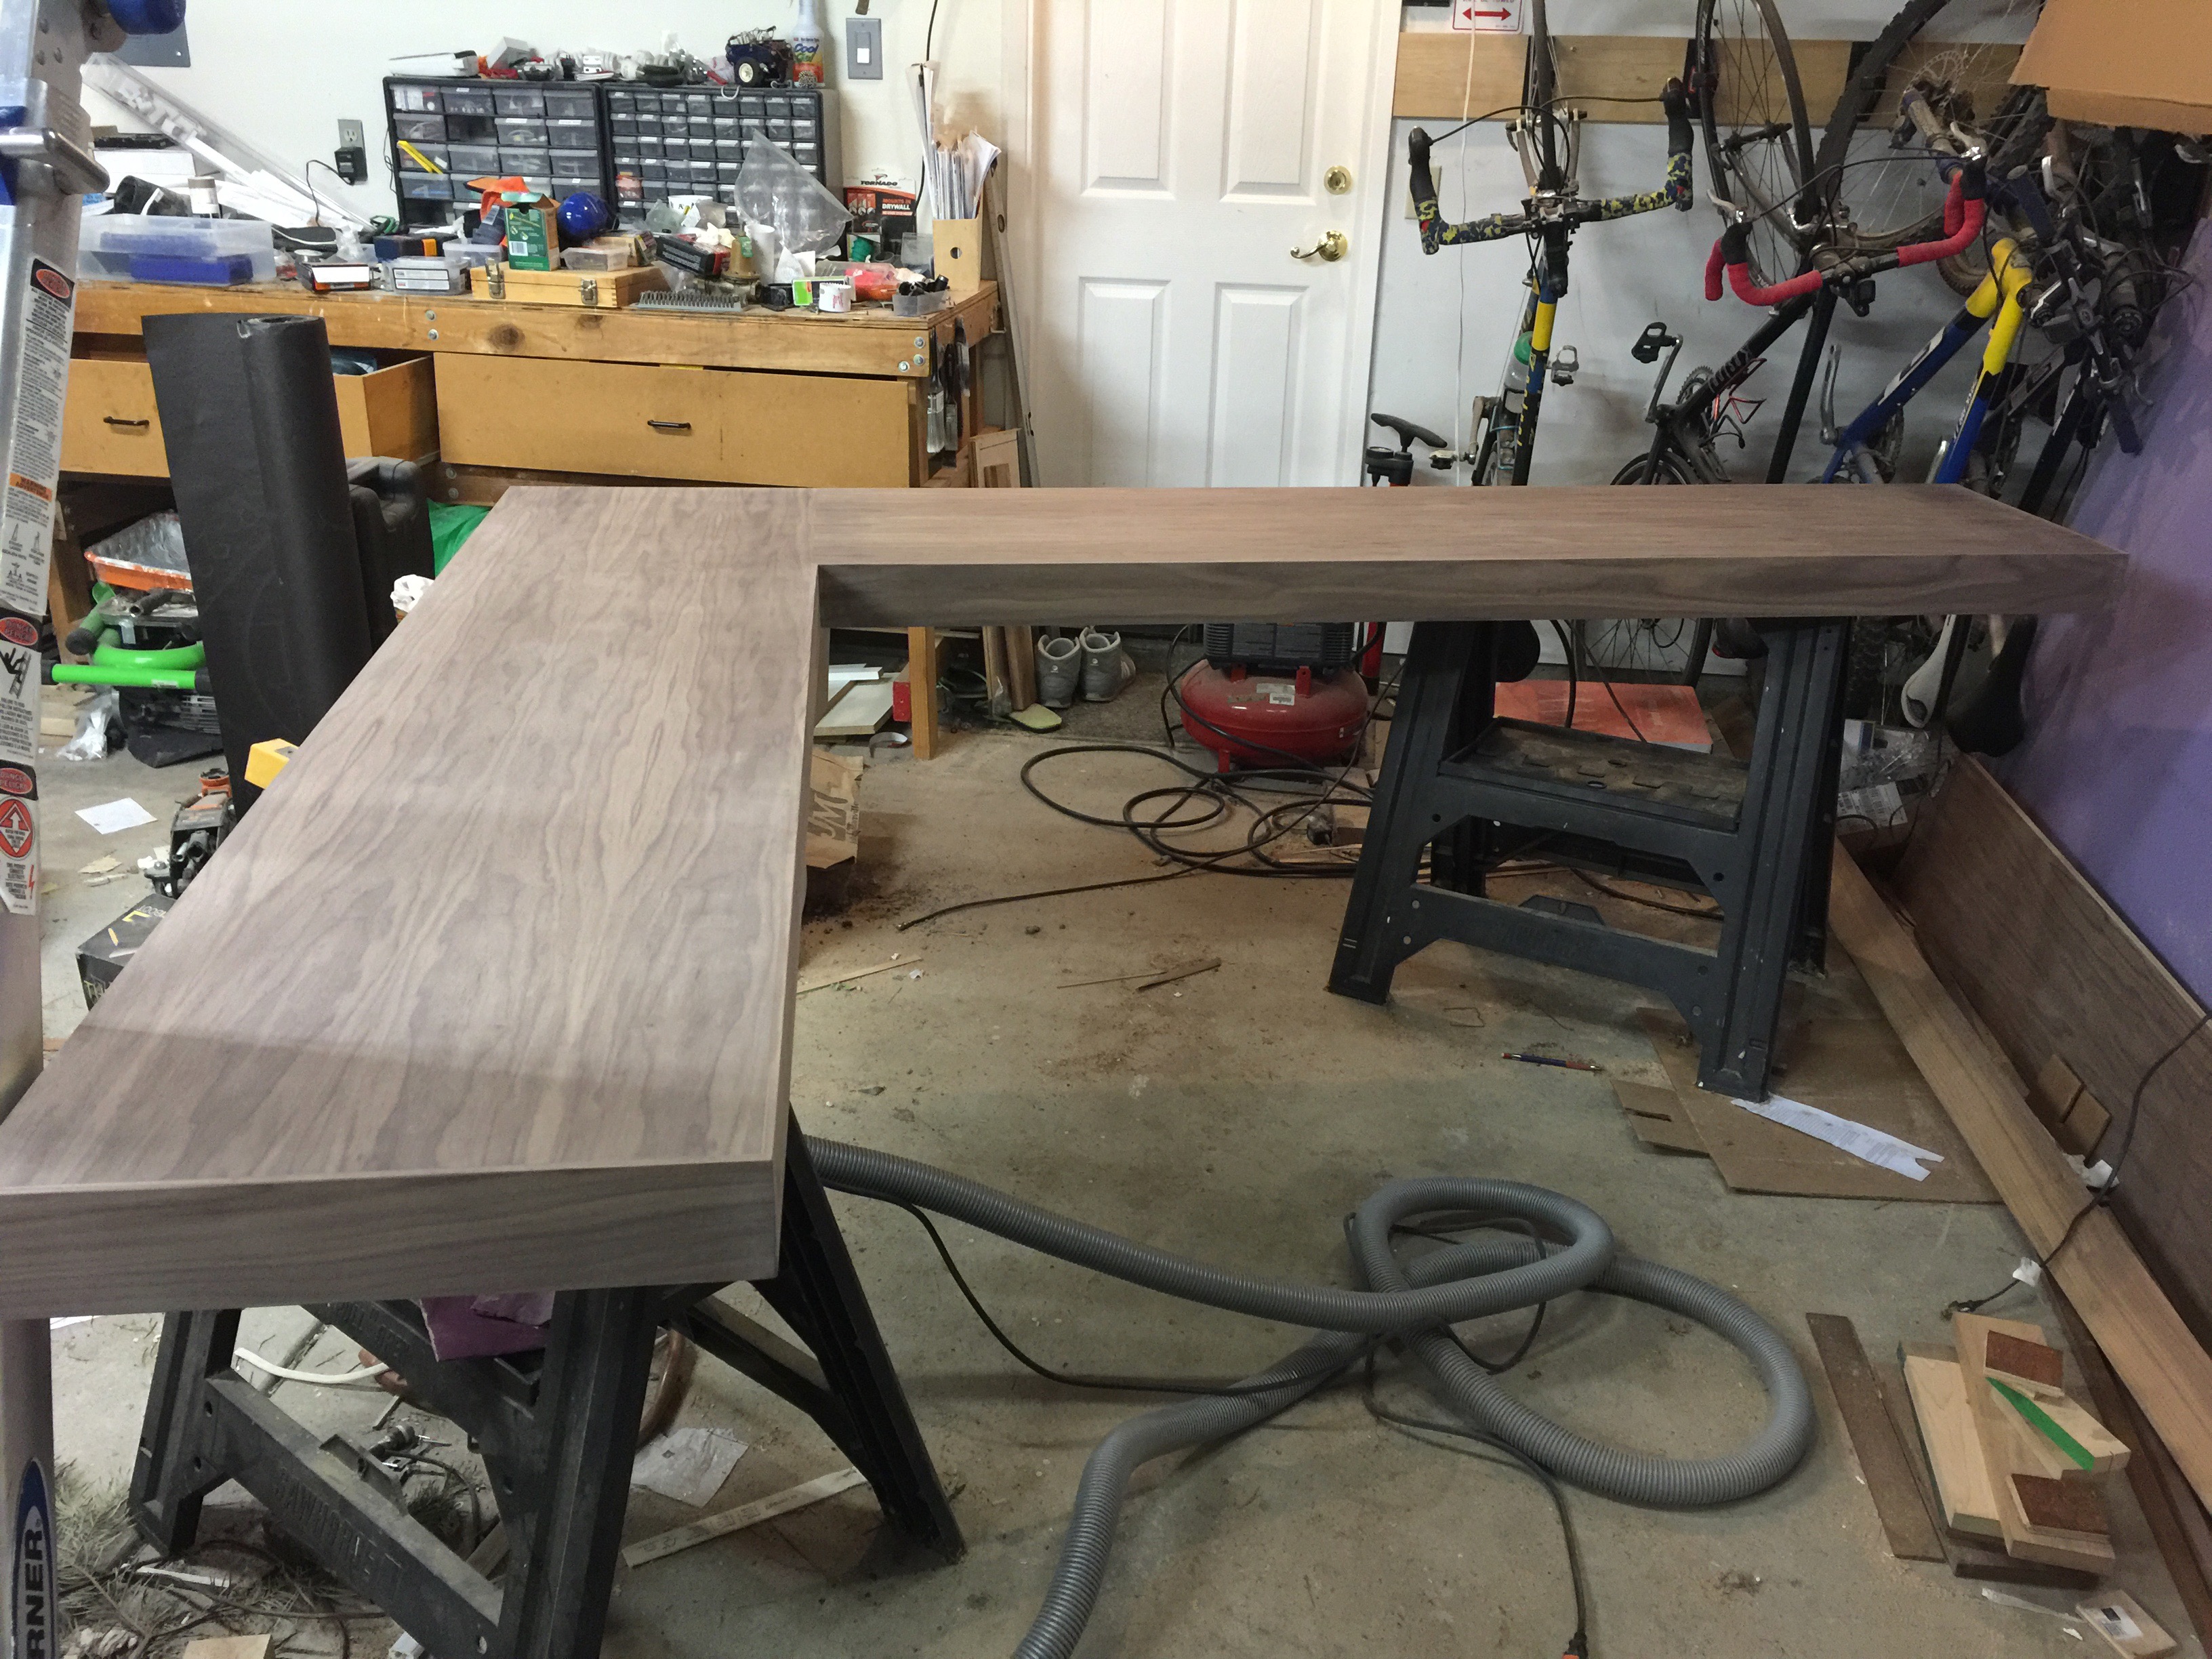 The completed bench before finish.
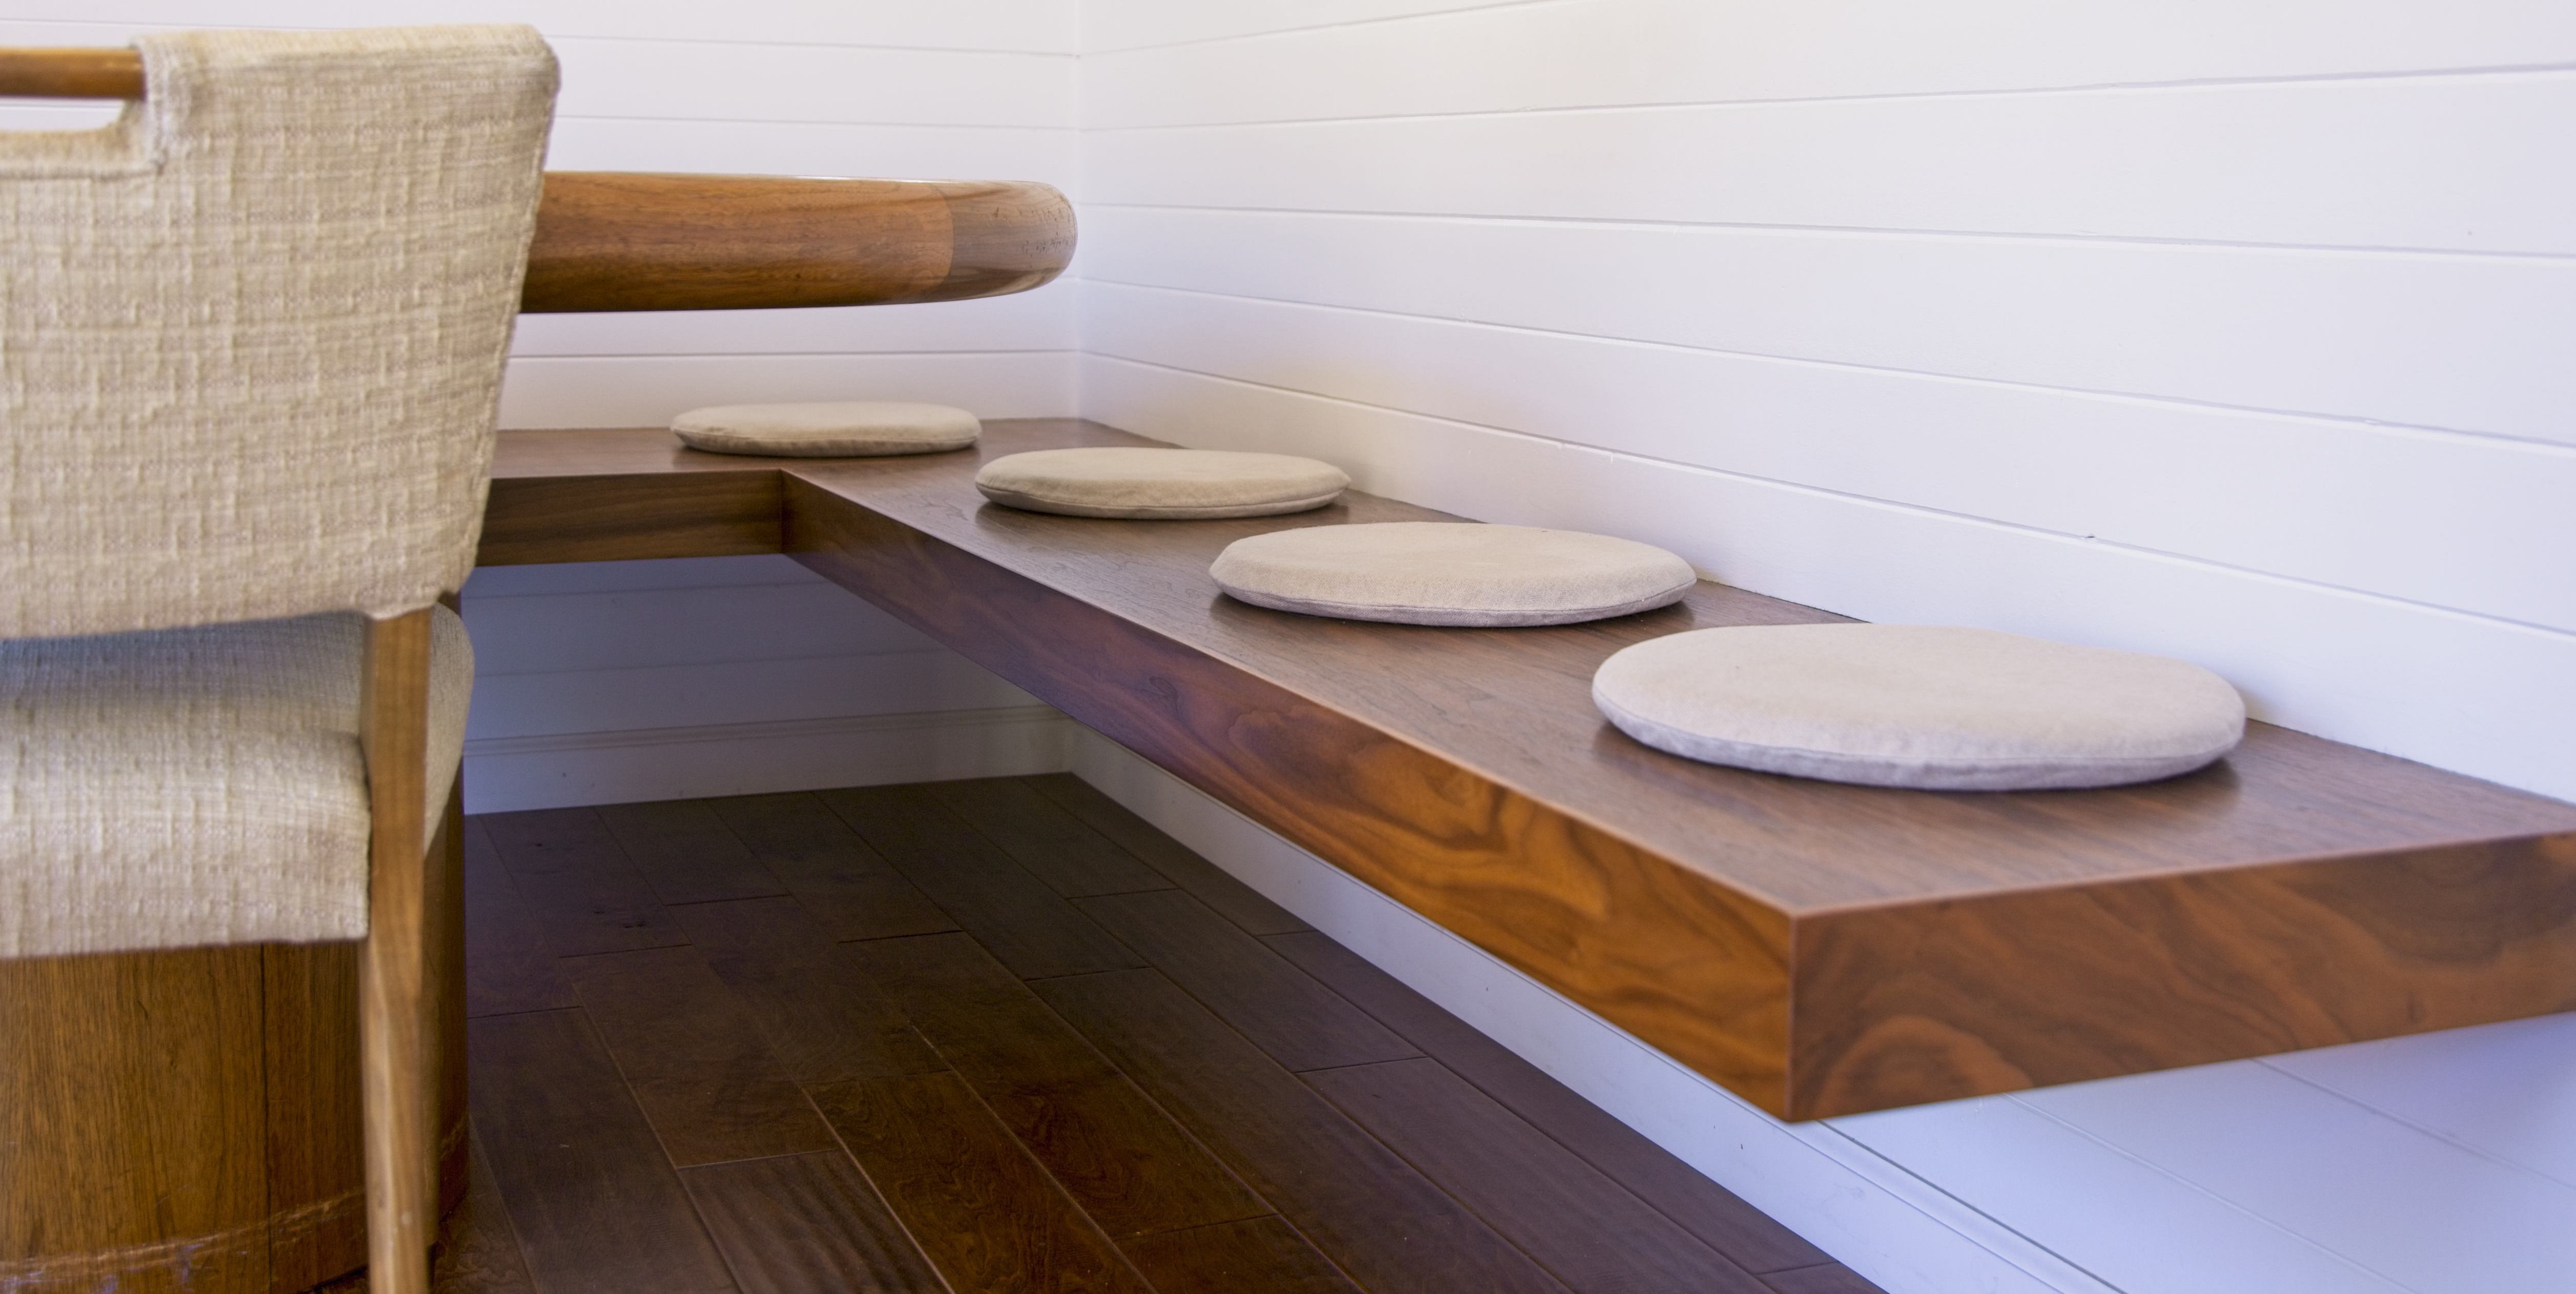
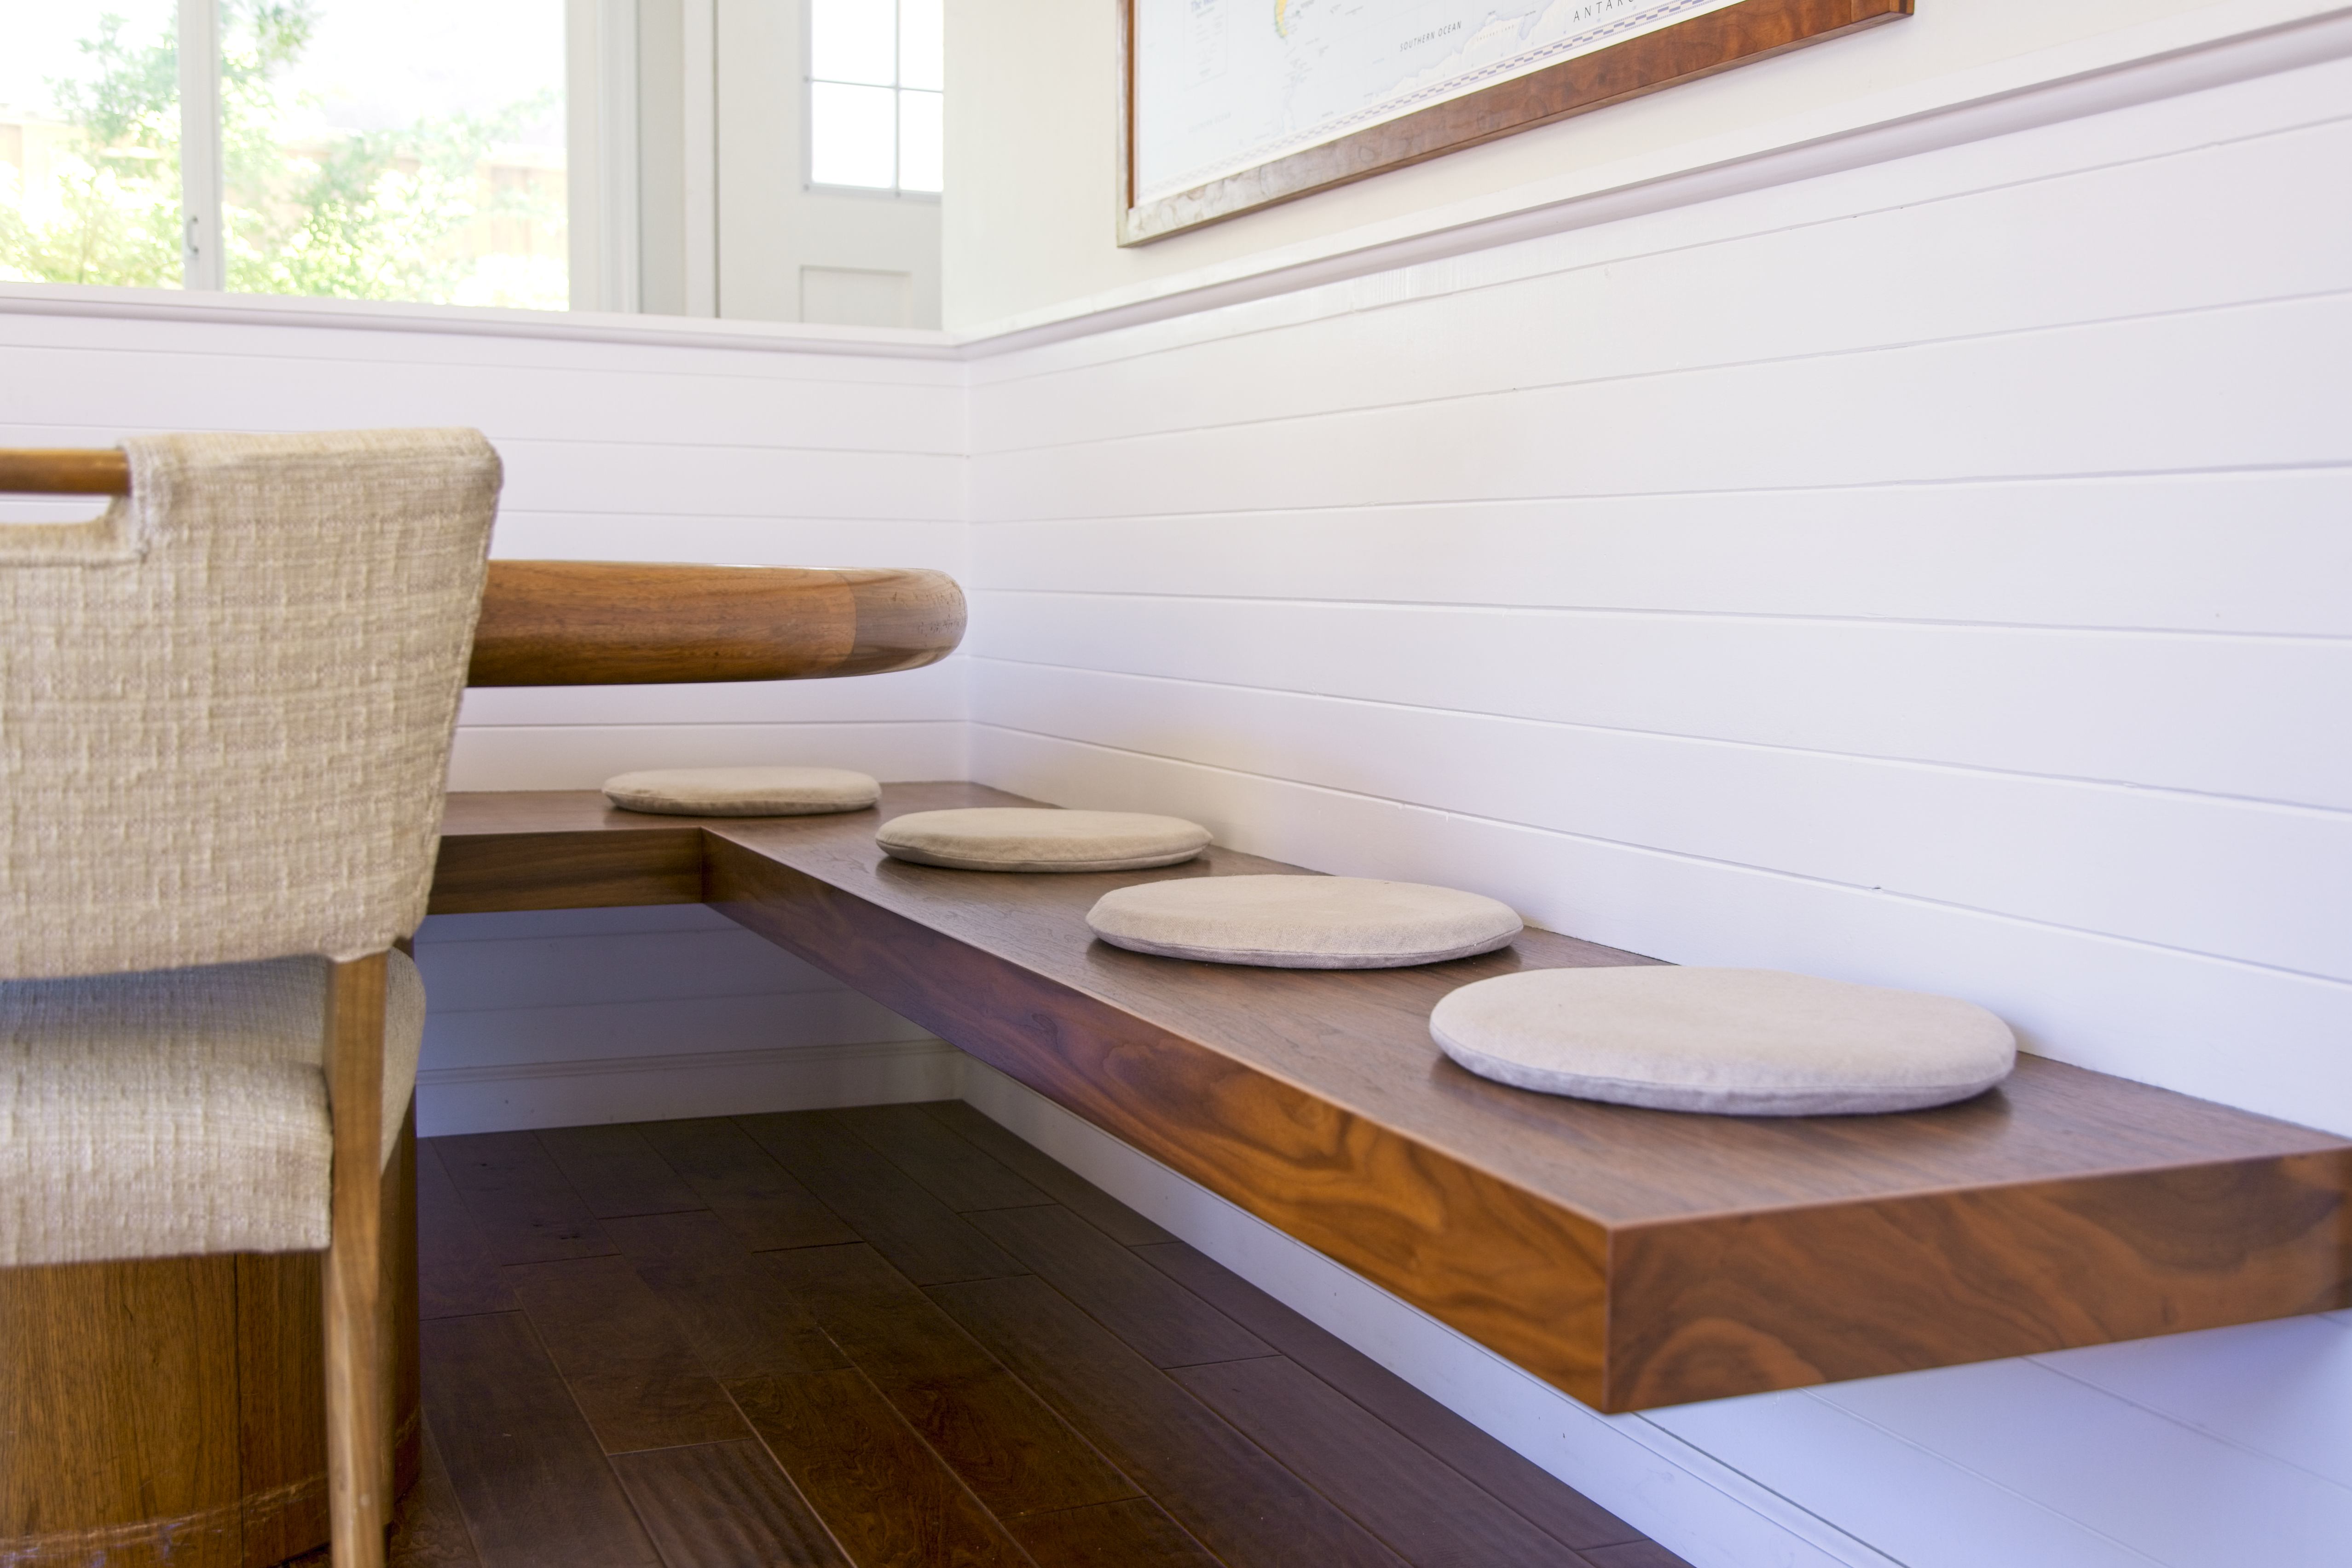
 After Finish!
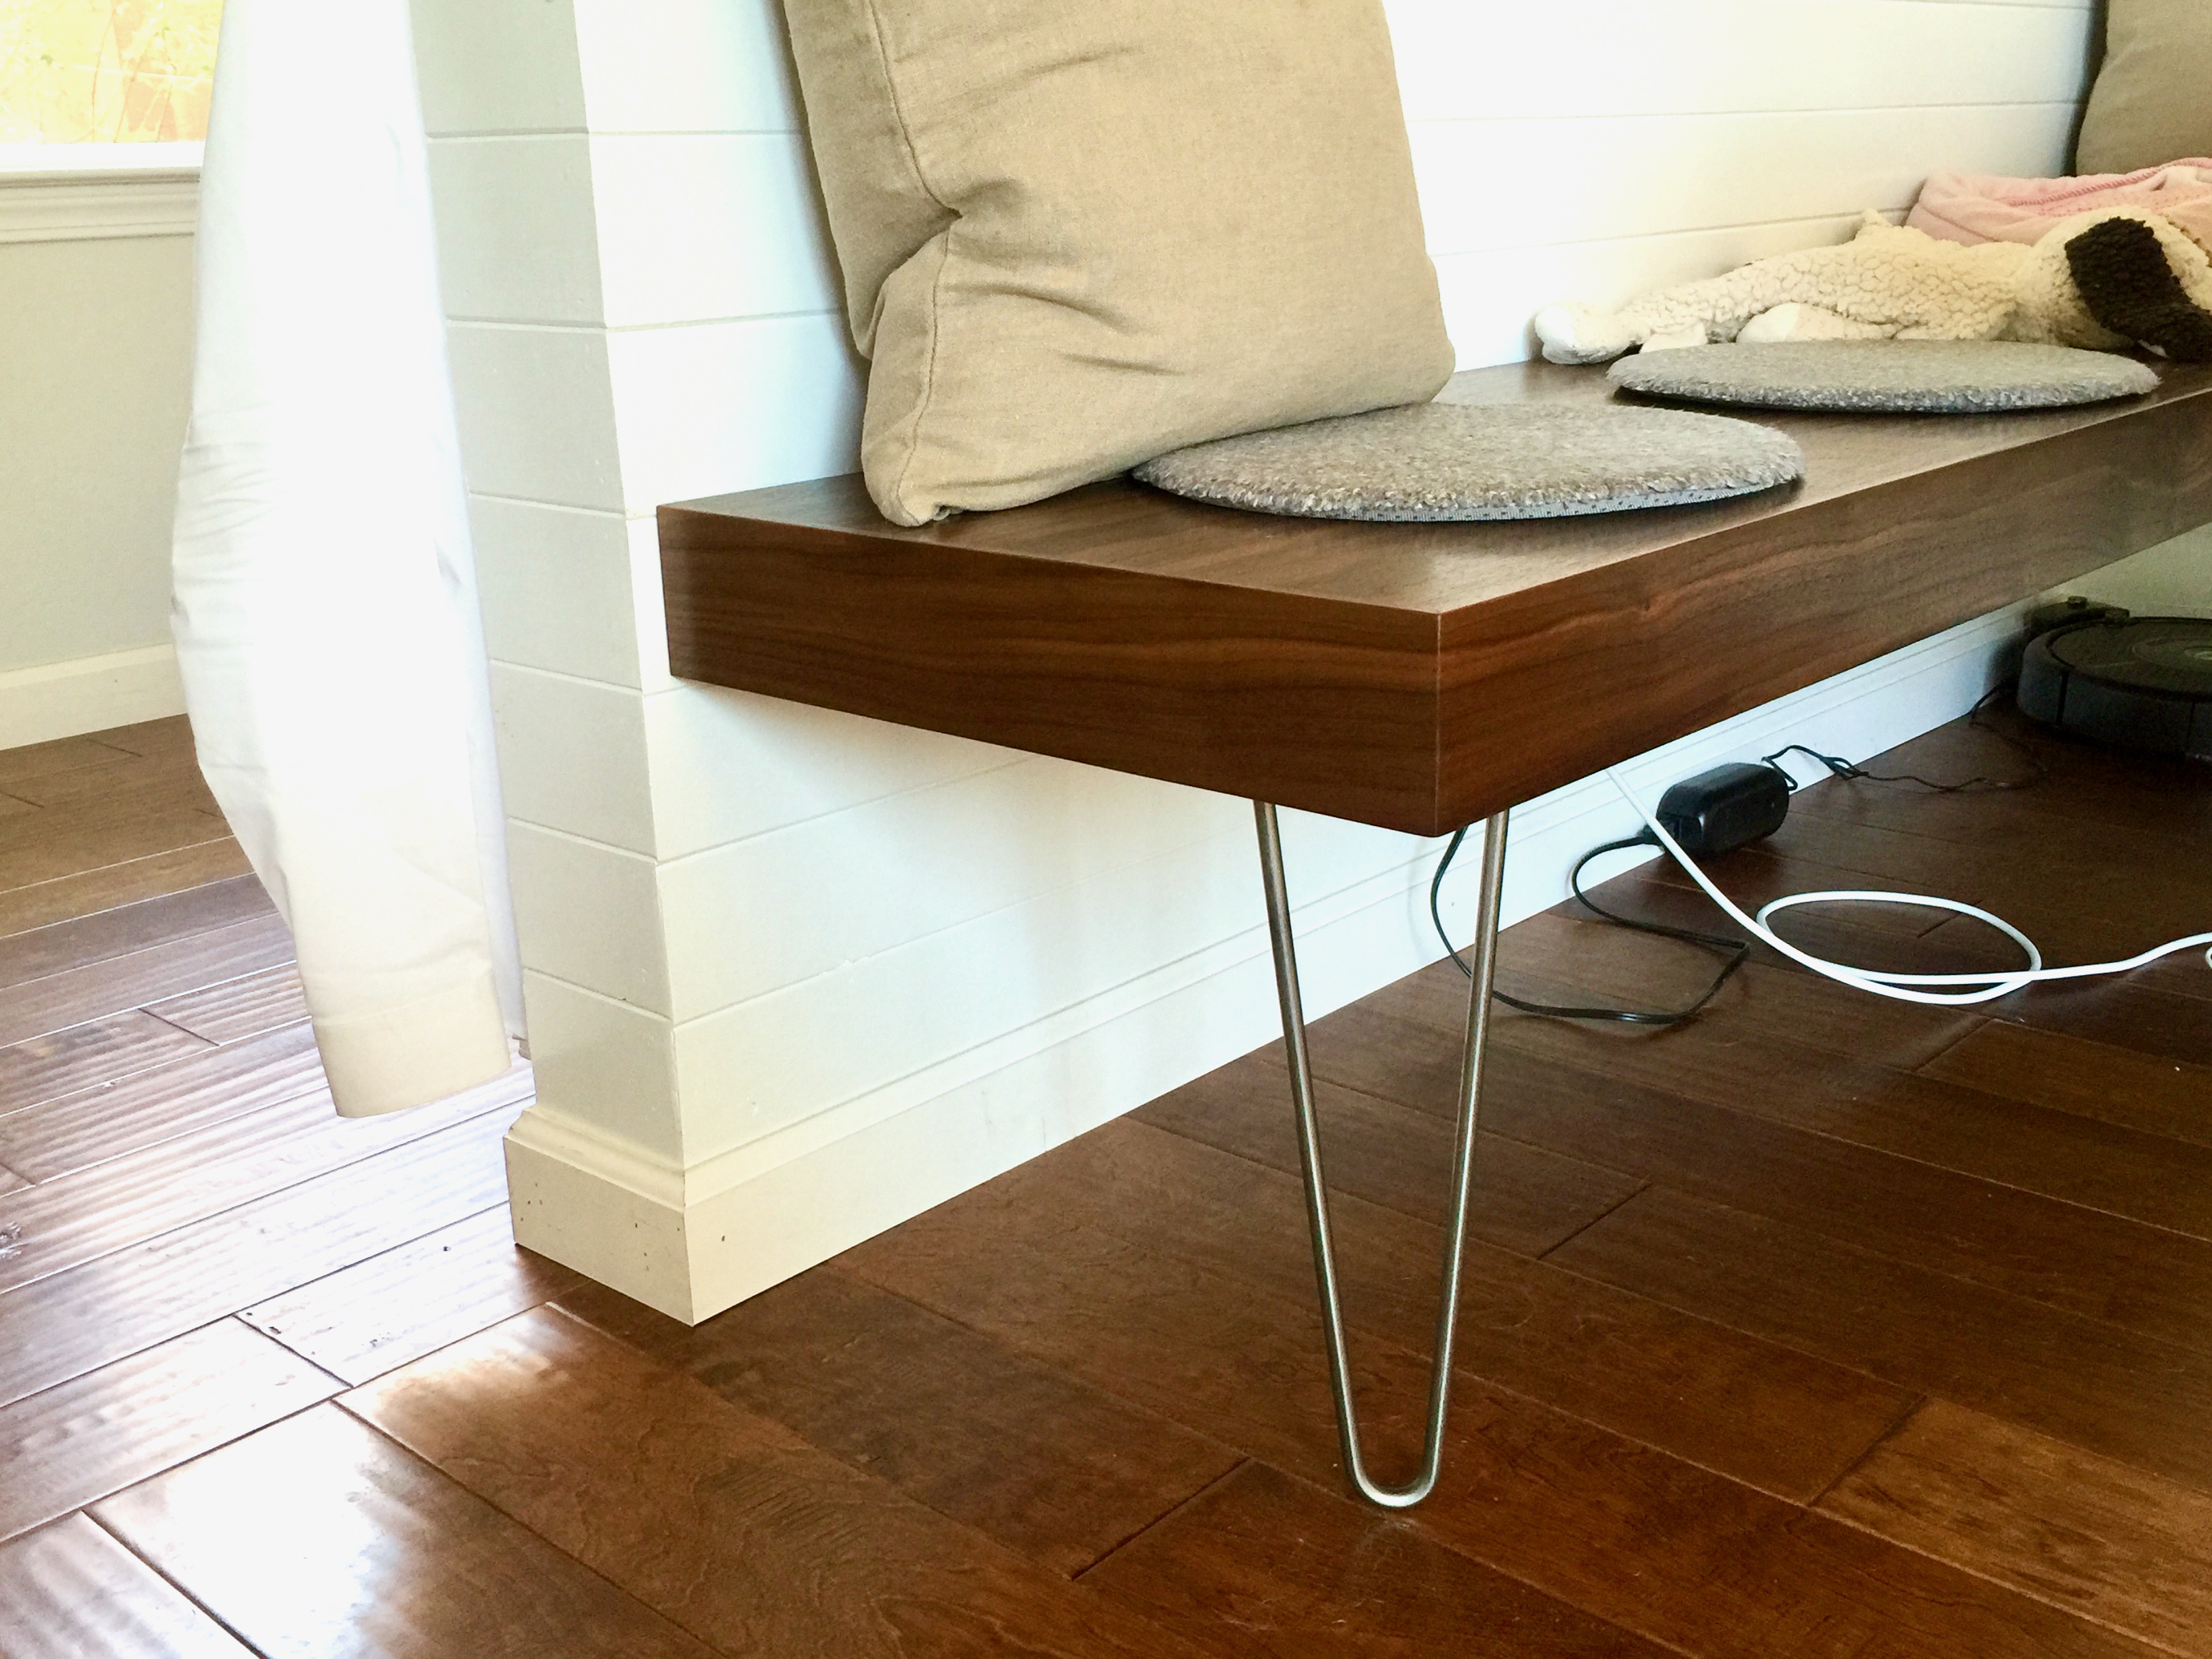 One of the legs we considering installing.
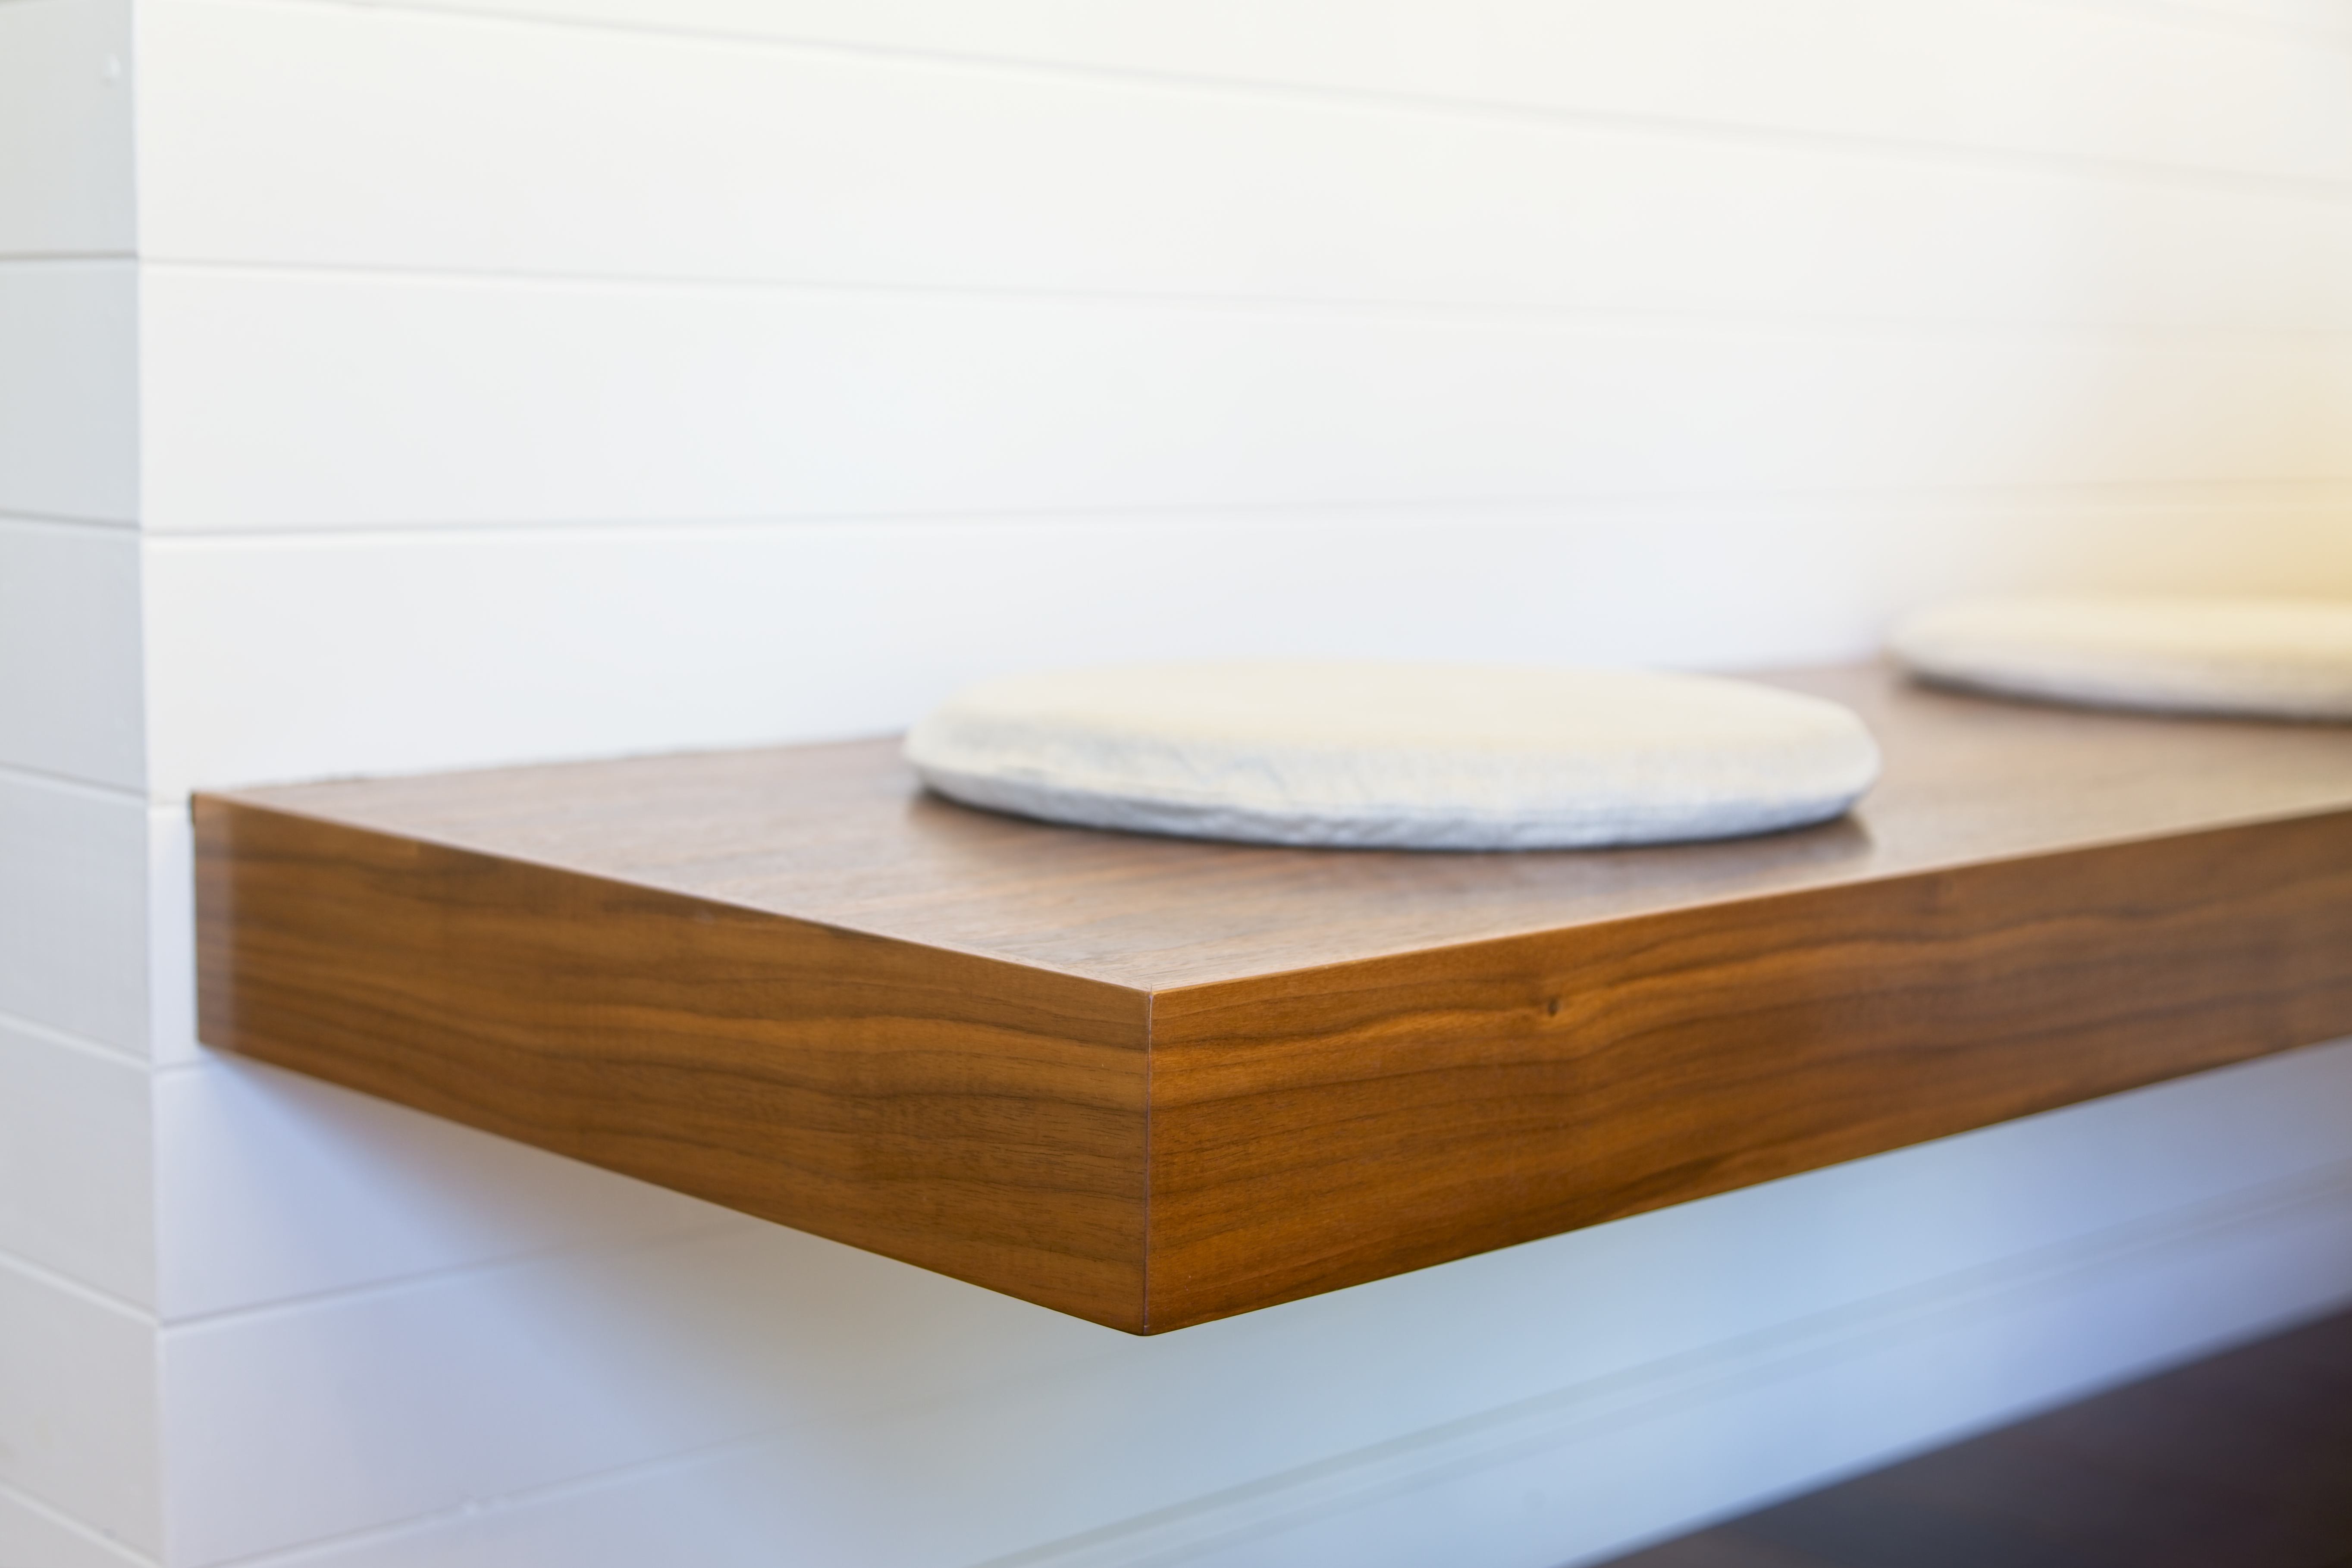
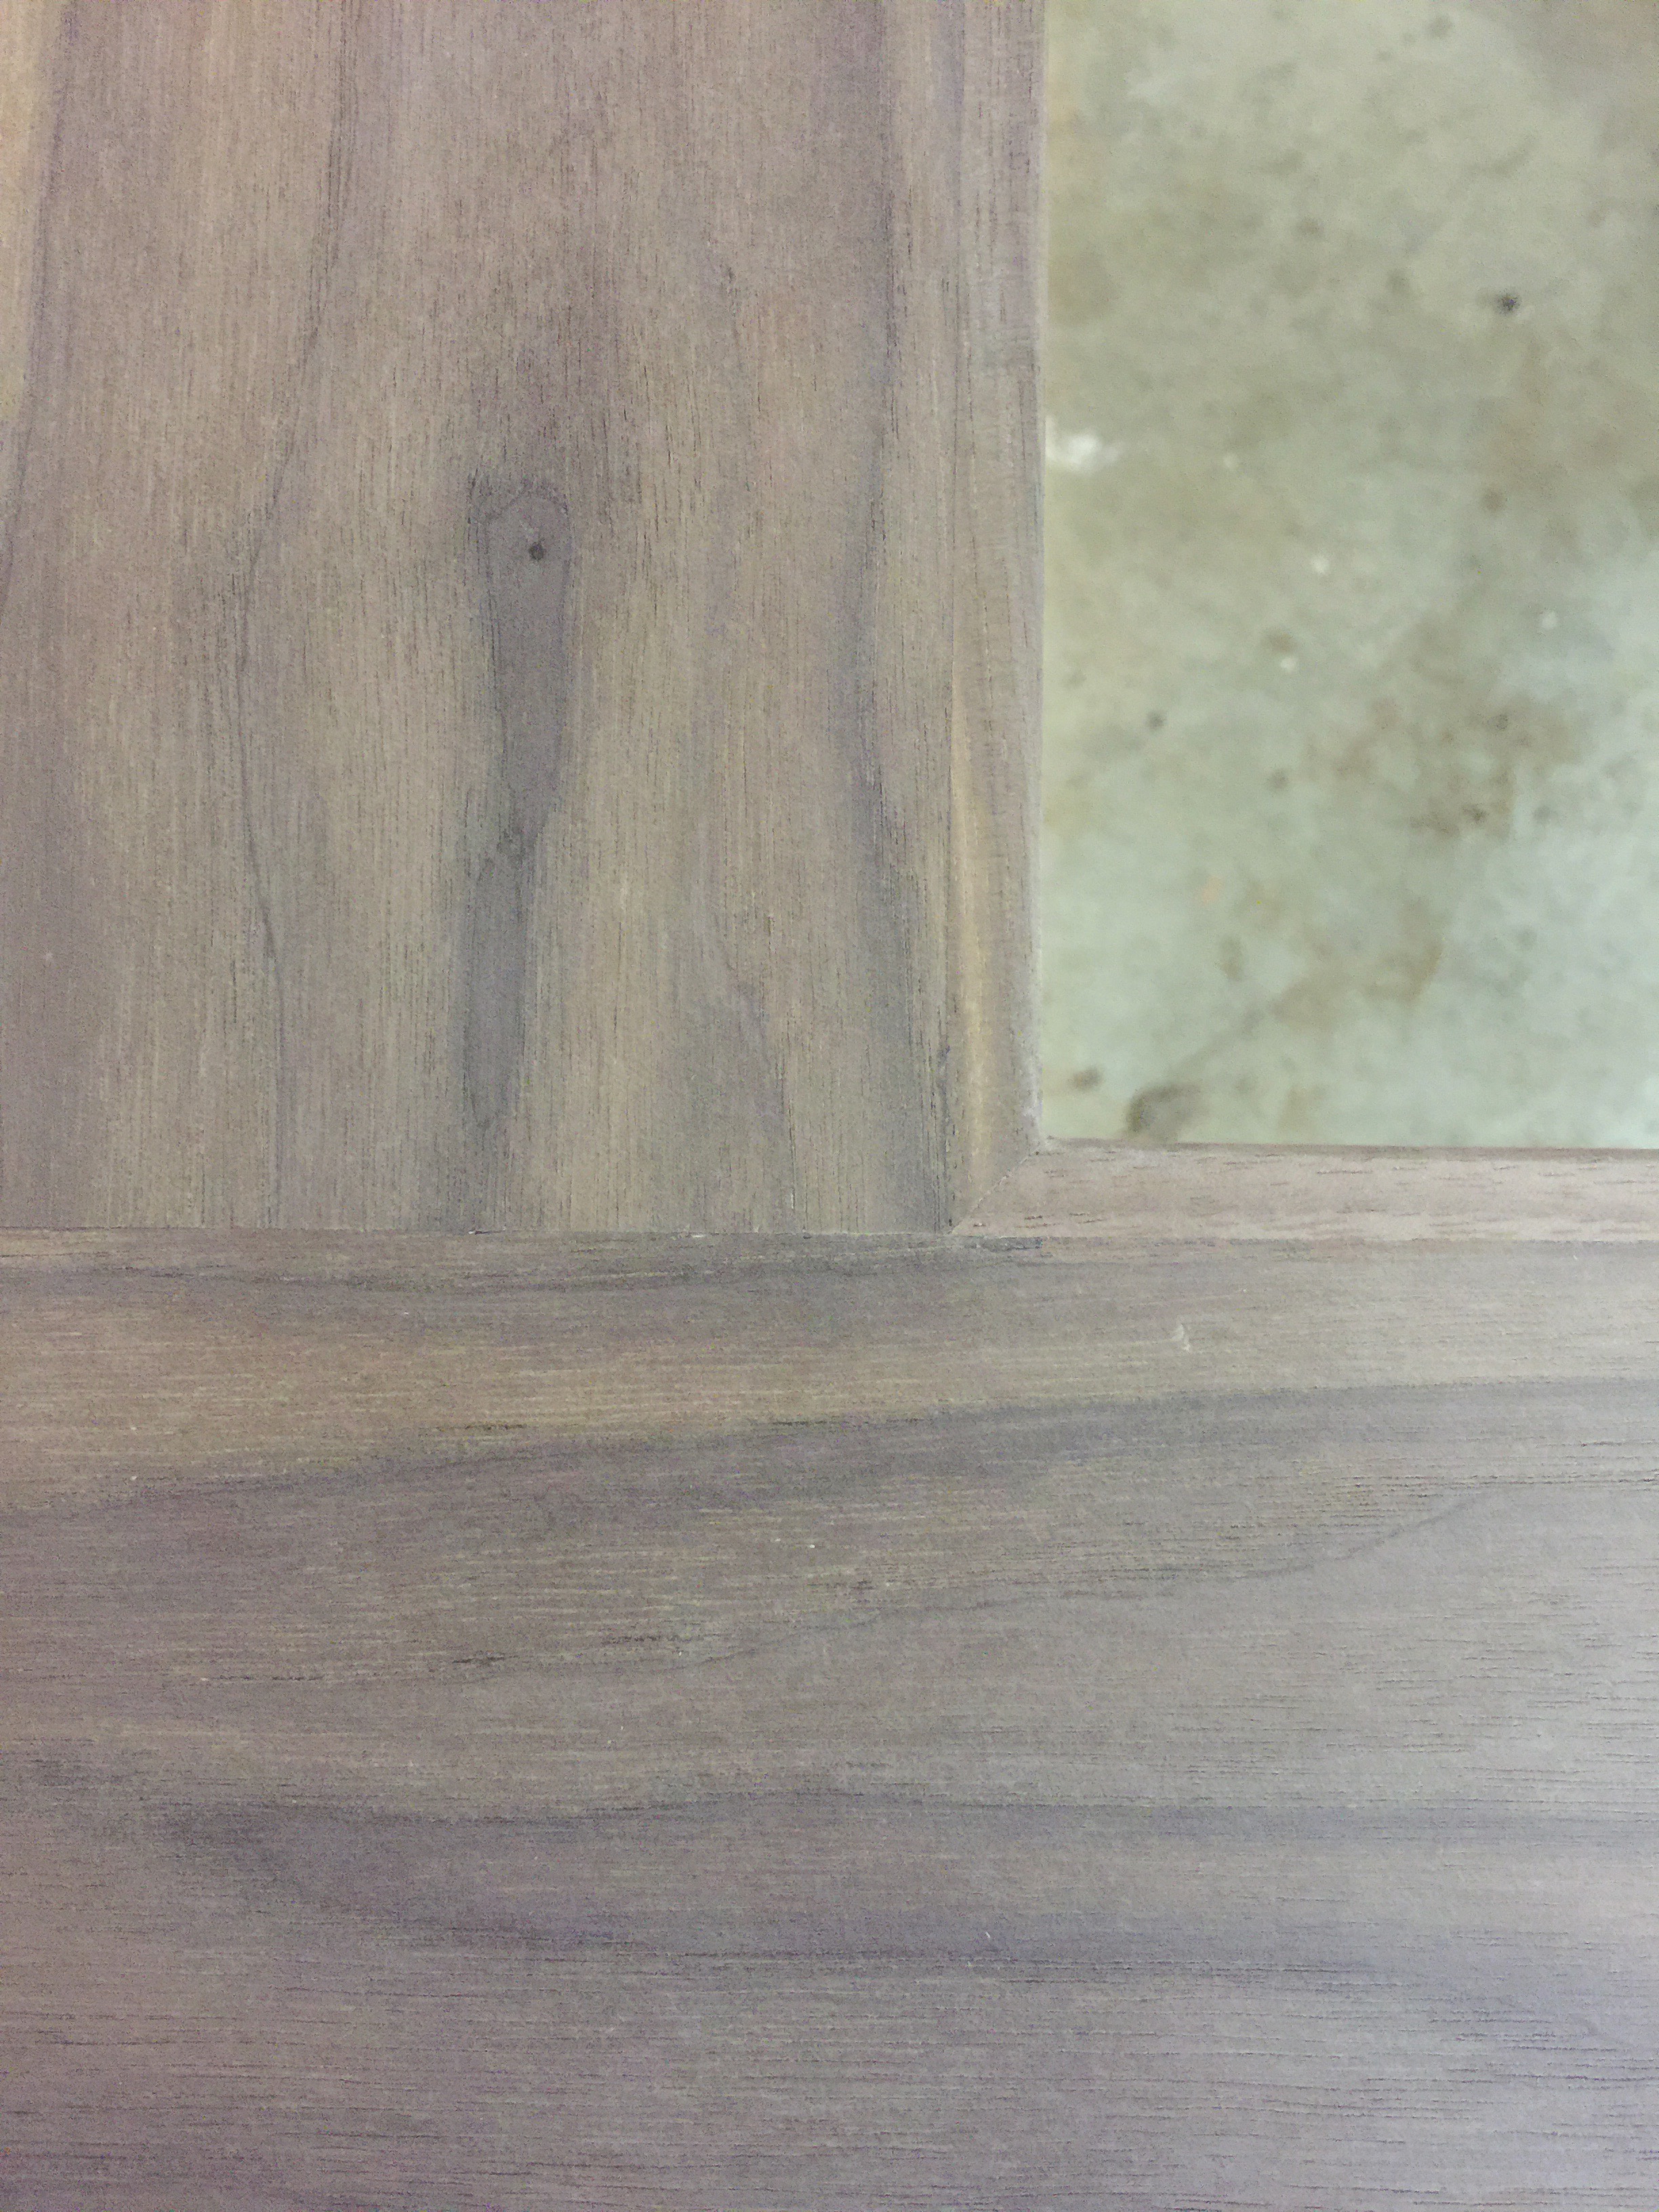 Nice tight edge banding.