Drill Press Table
Power Tools
- Table Saw
Wood
- 1/2" MDF
- 4/4 Solid Edge Banding
Bits & Blades
- Nothing Special
Hardware
- Incra T-Track
- Incra Hold Down Clamps
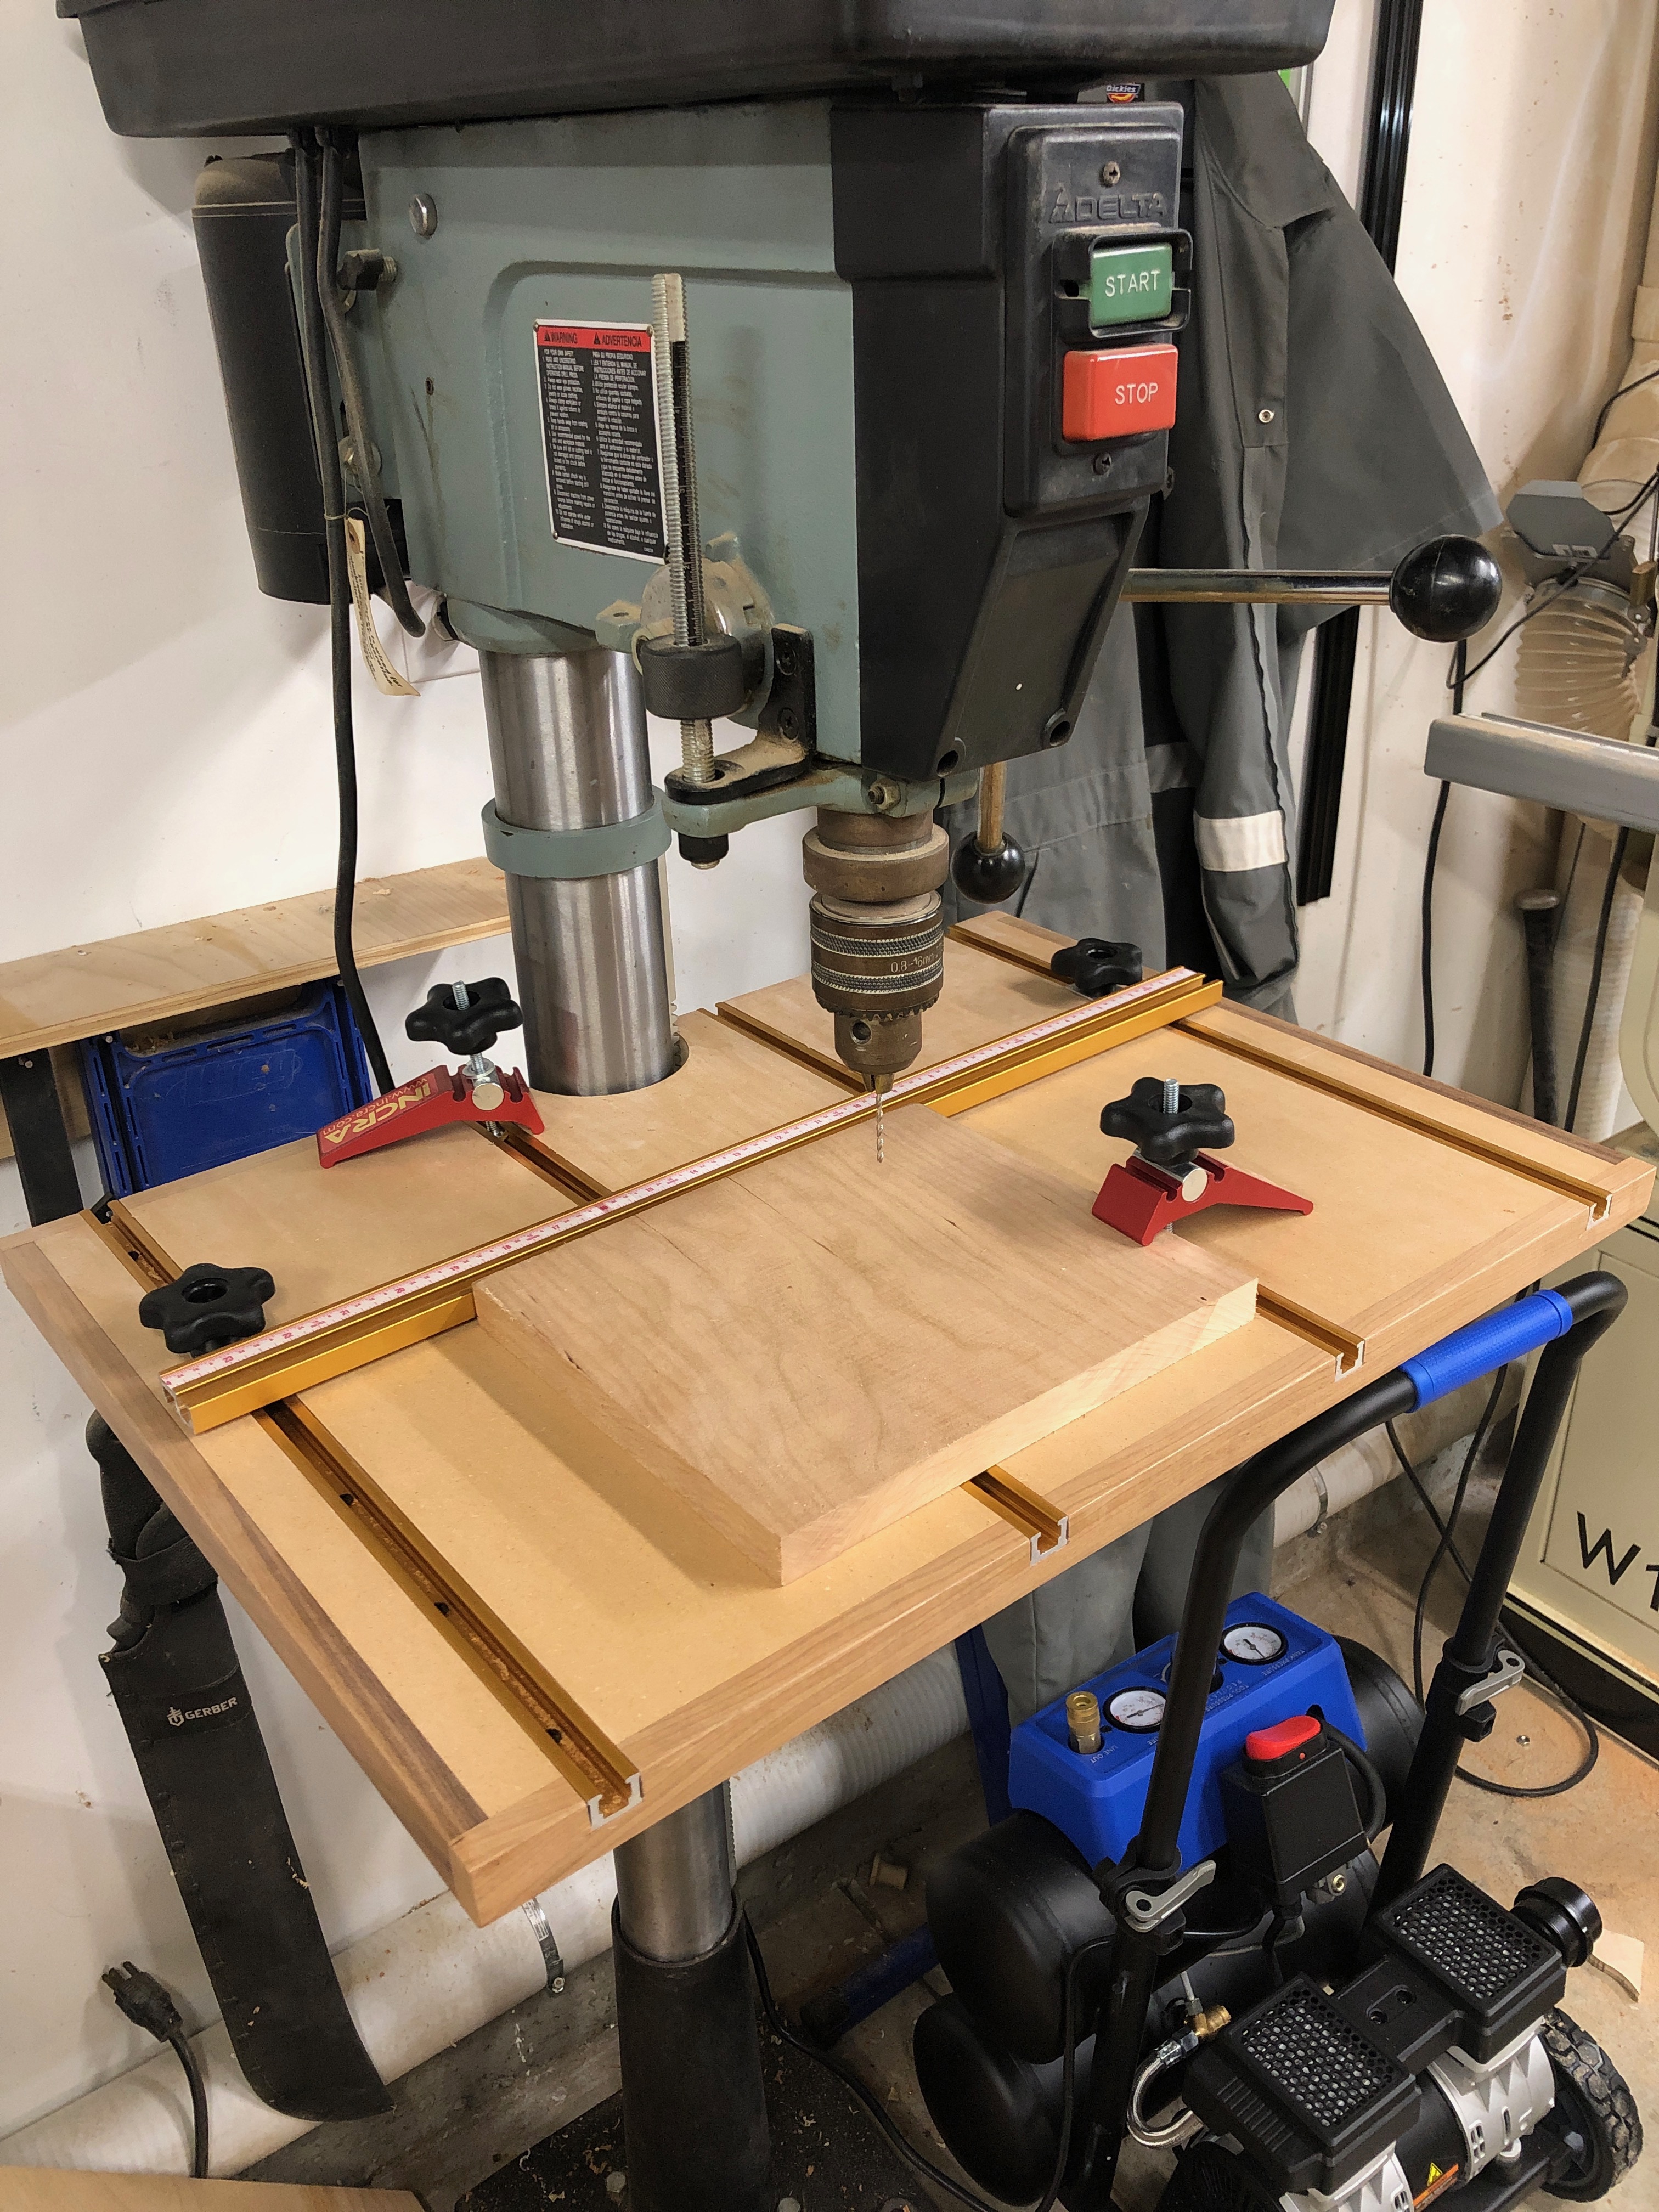
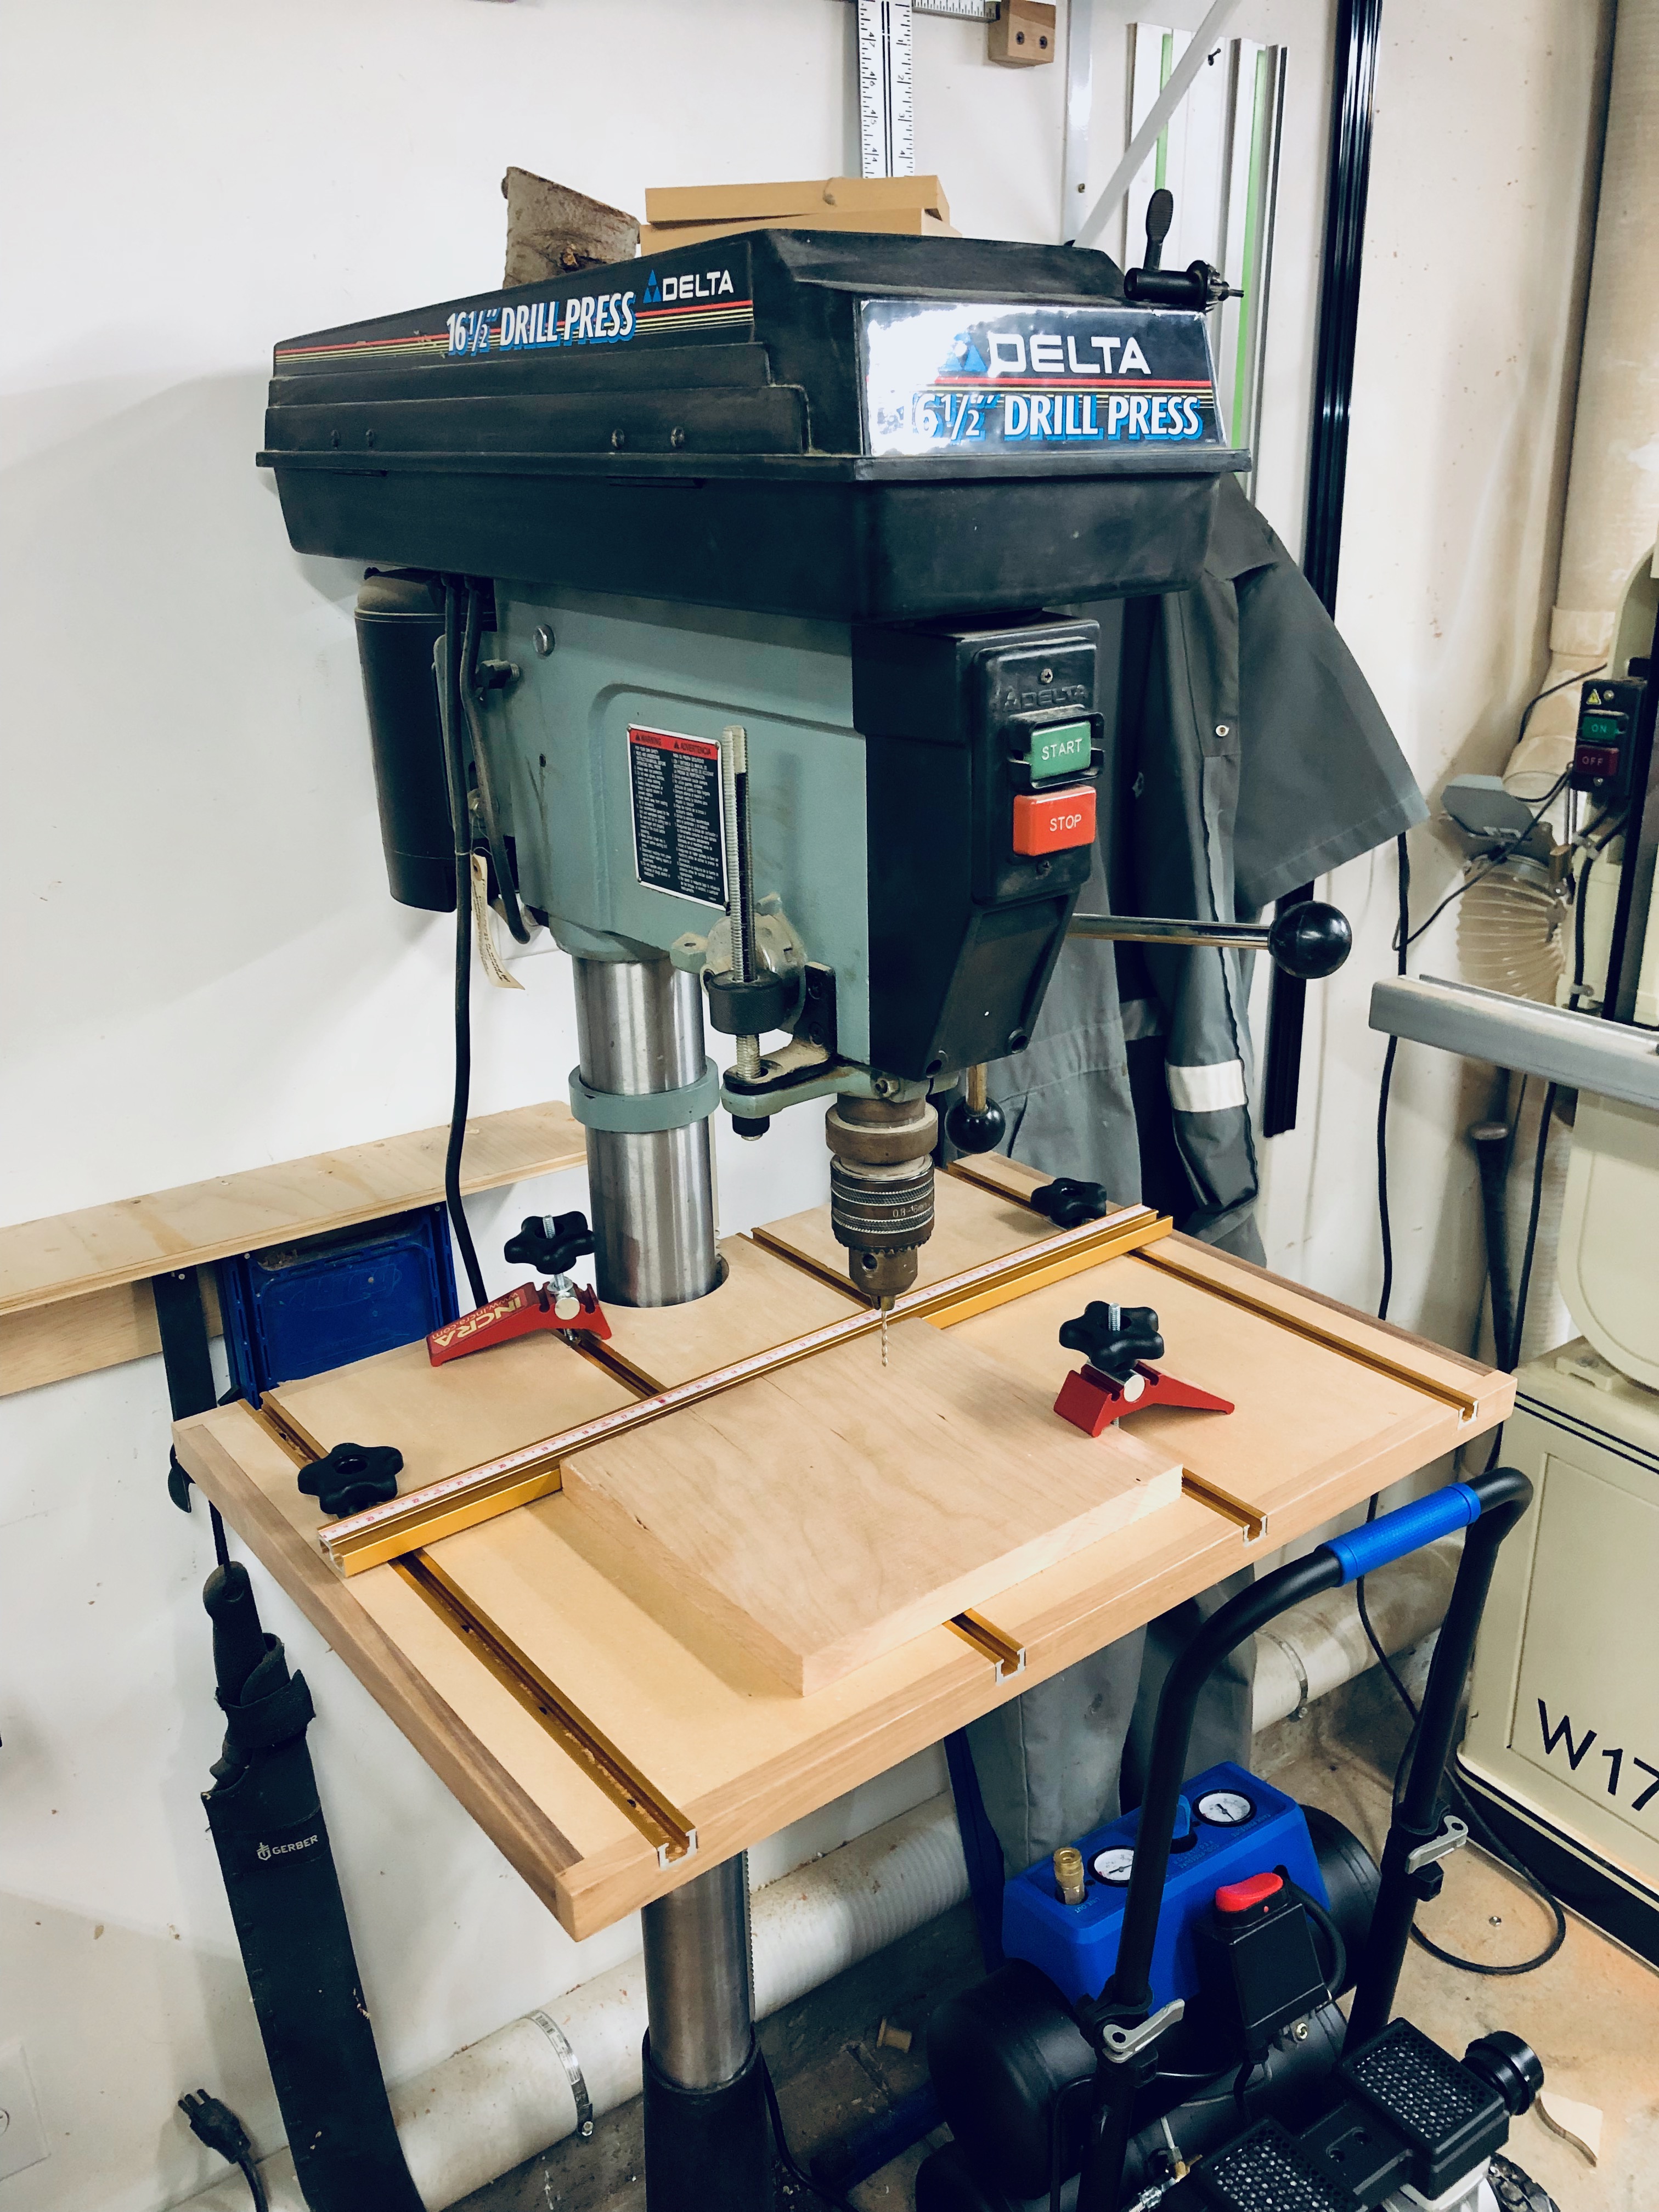
A drill press table is definitely a project I wish had done sooner. Most drill presses seem to be mainly geared towards metalworking and offer woodworkers pretty poor options in terms of surface area and work-holding options. When it was time for me drill the mounting holes for about 50 euro hinges in my garage cabinet doors, it quickly became painfully apparent that the factory table wasn't going to cut it. Trying to balance the large doors on the factory table was extremely frustrating, involving various support stands and random clamps in awkward places to get it flat and secure.
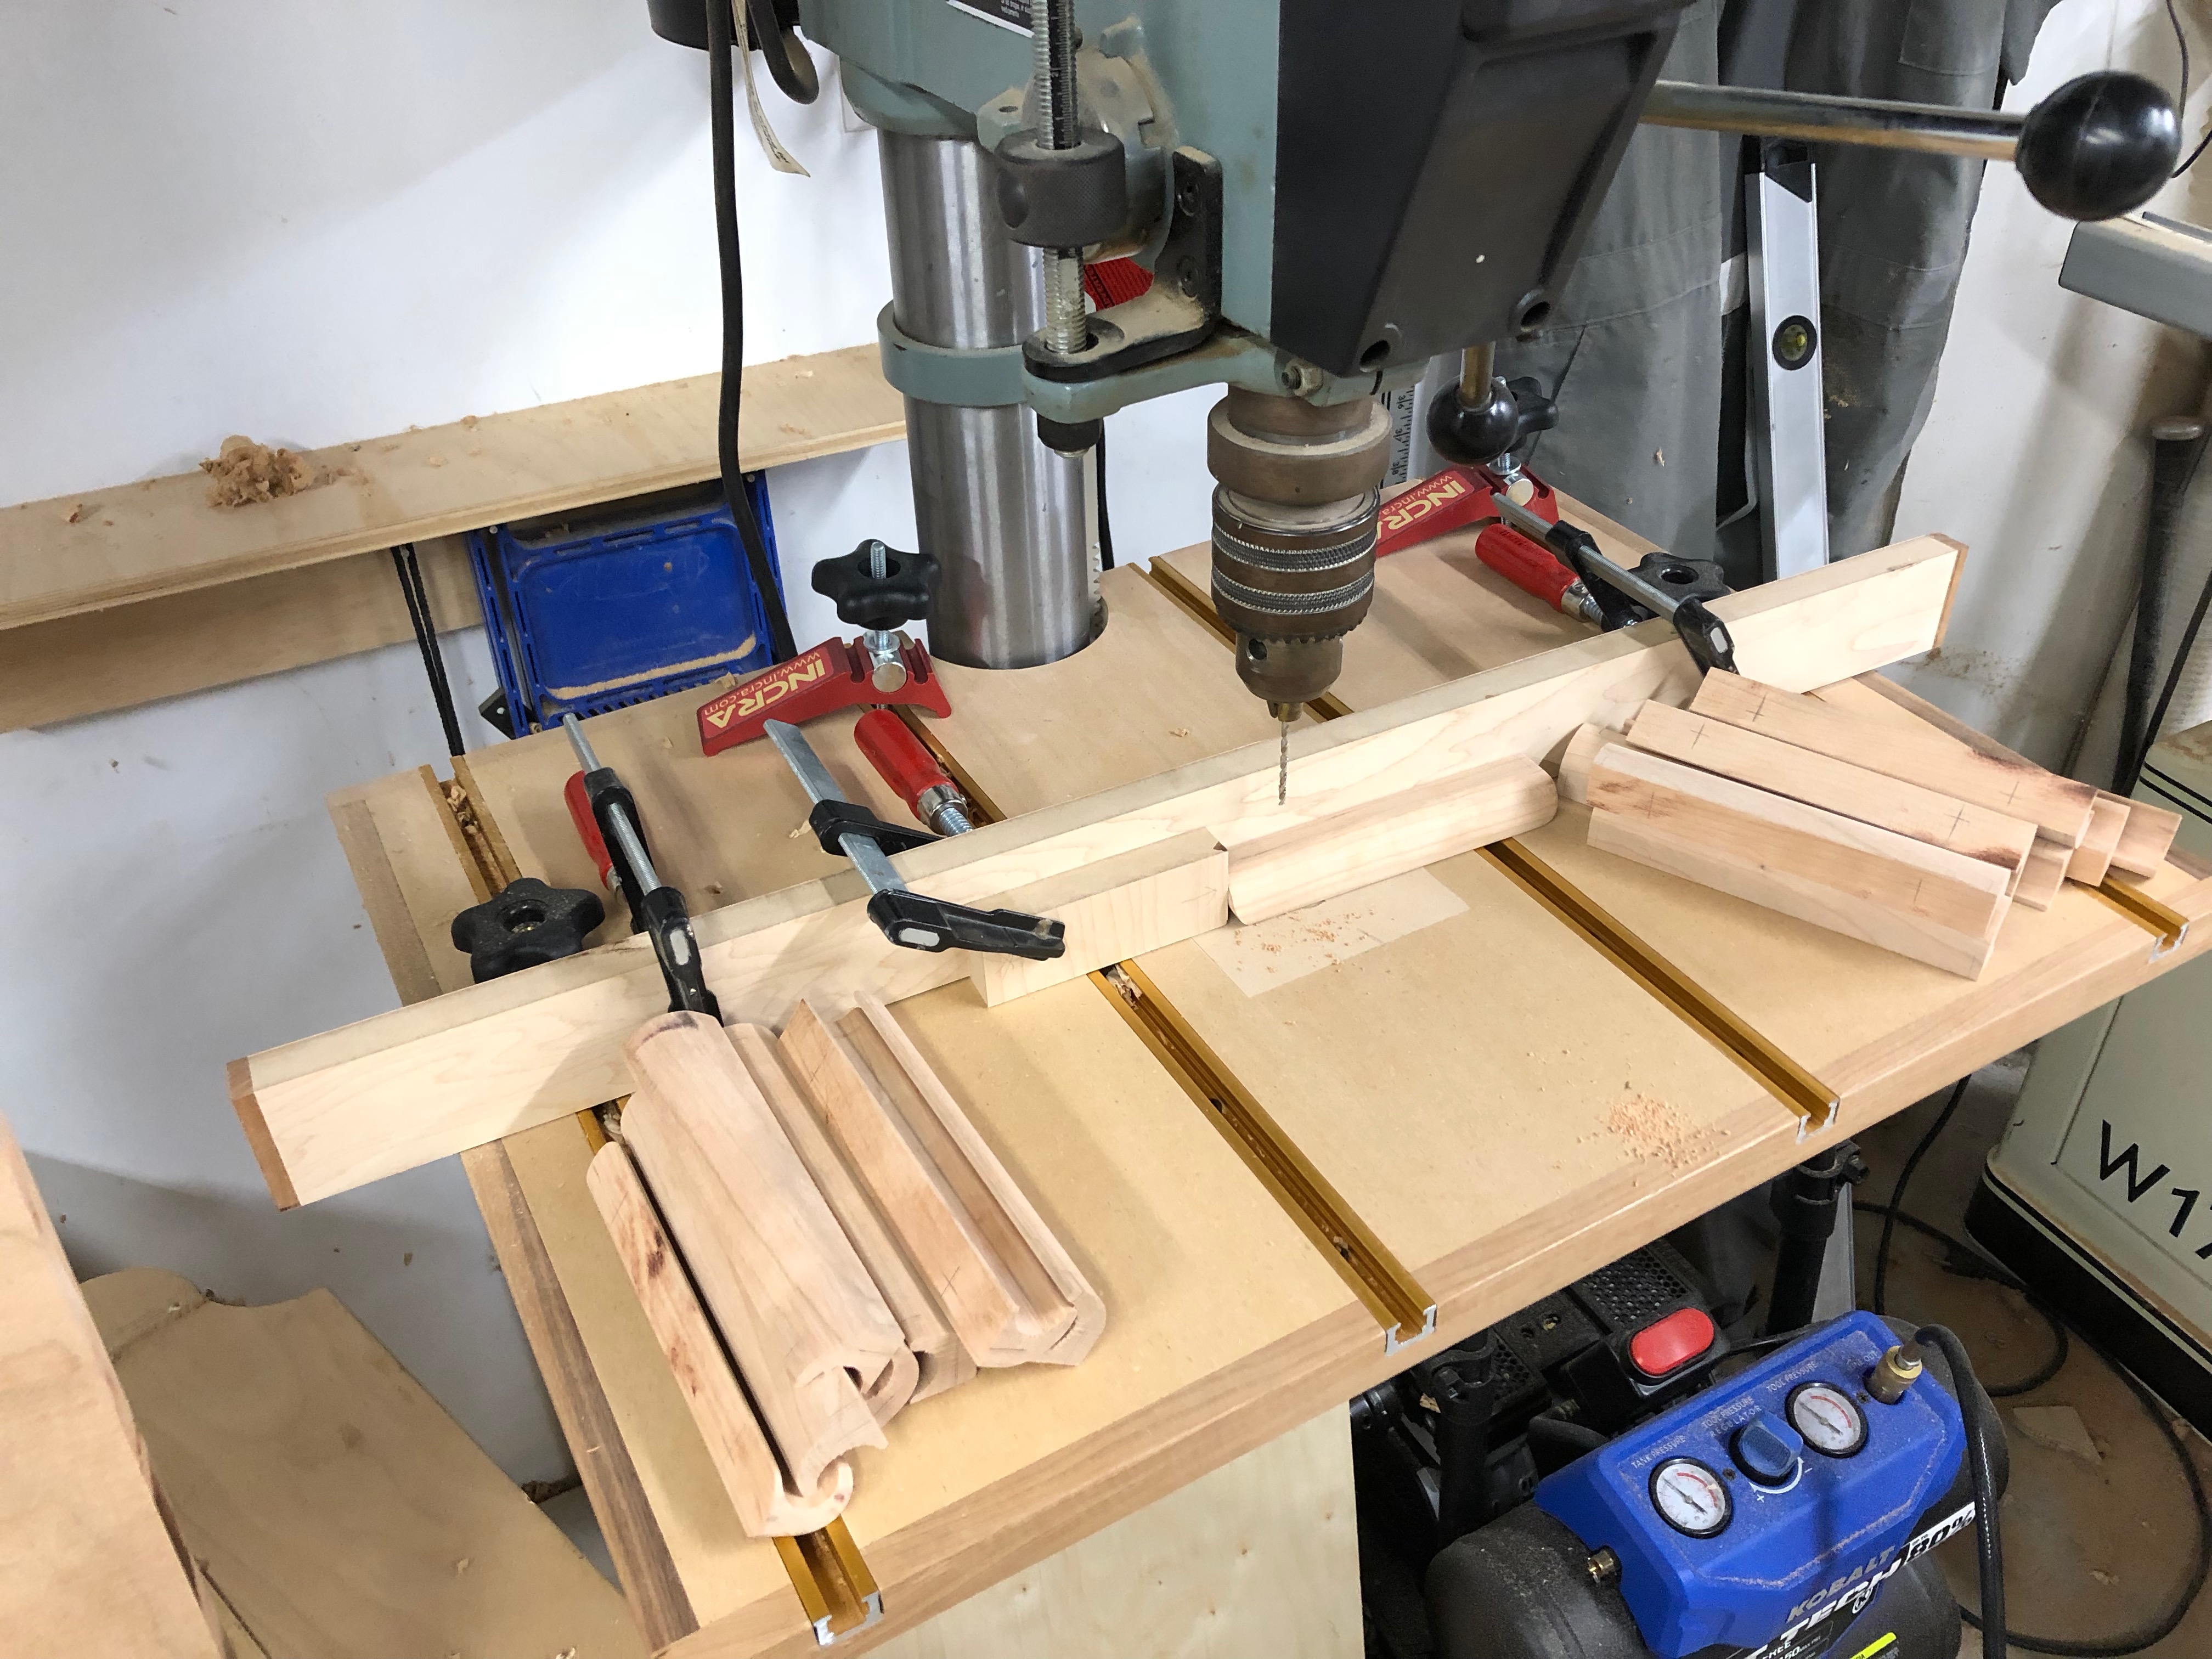
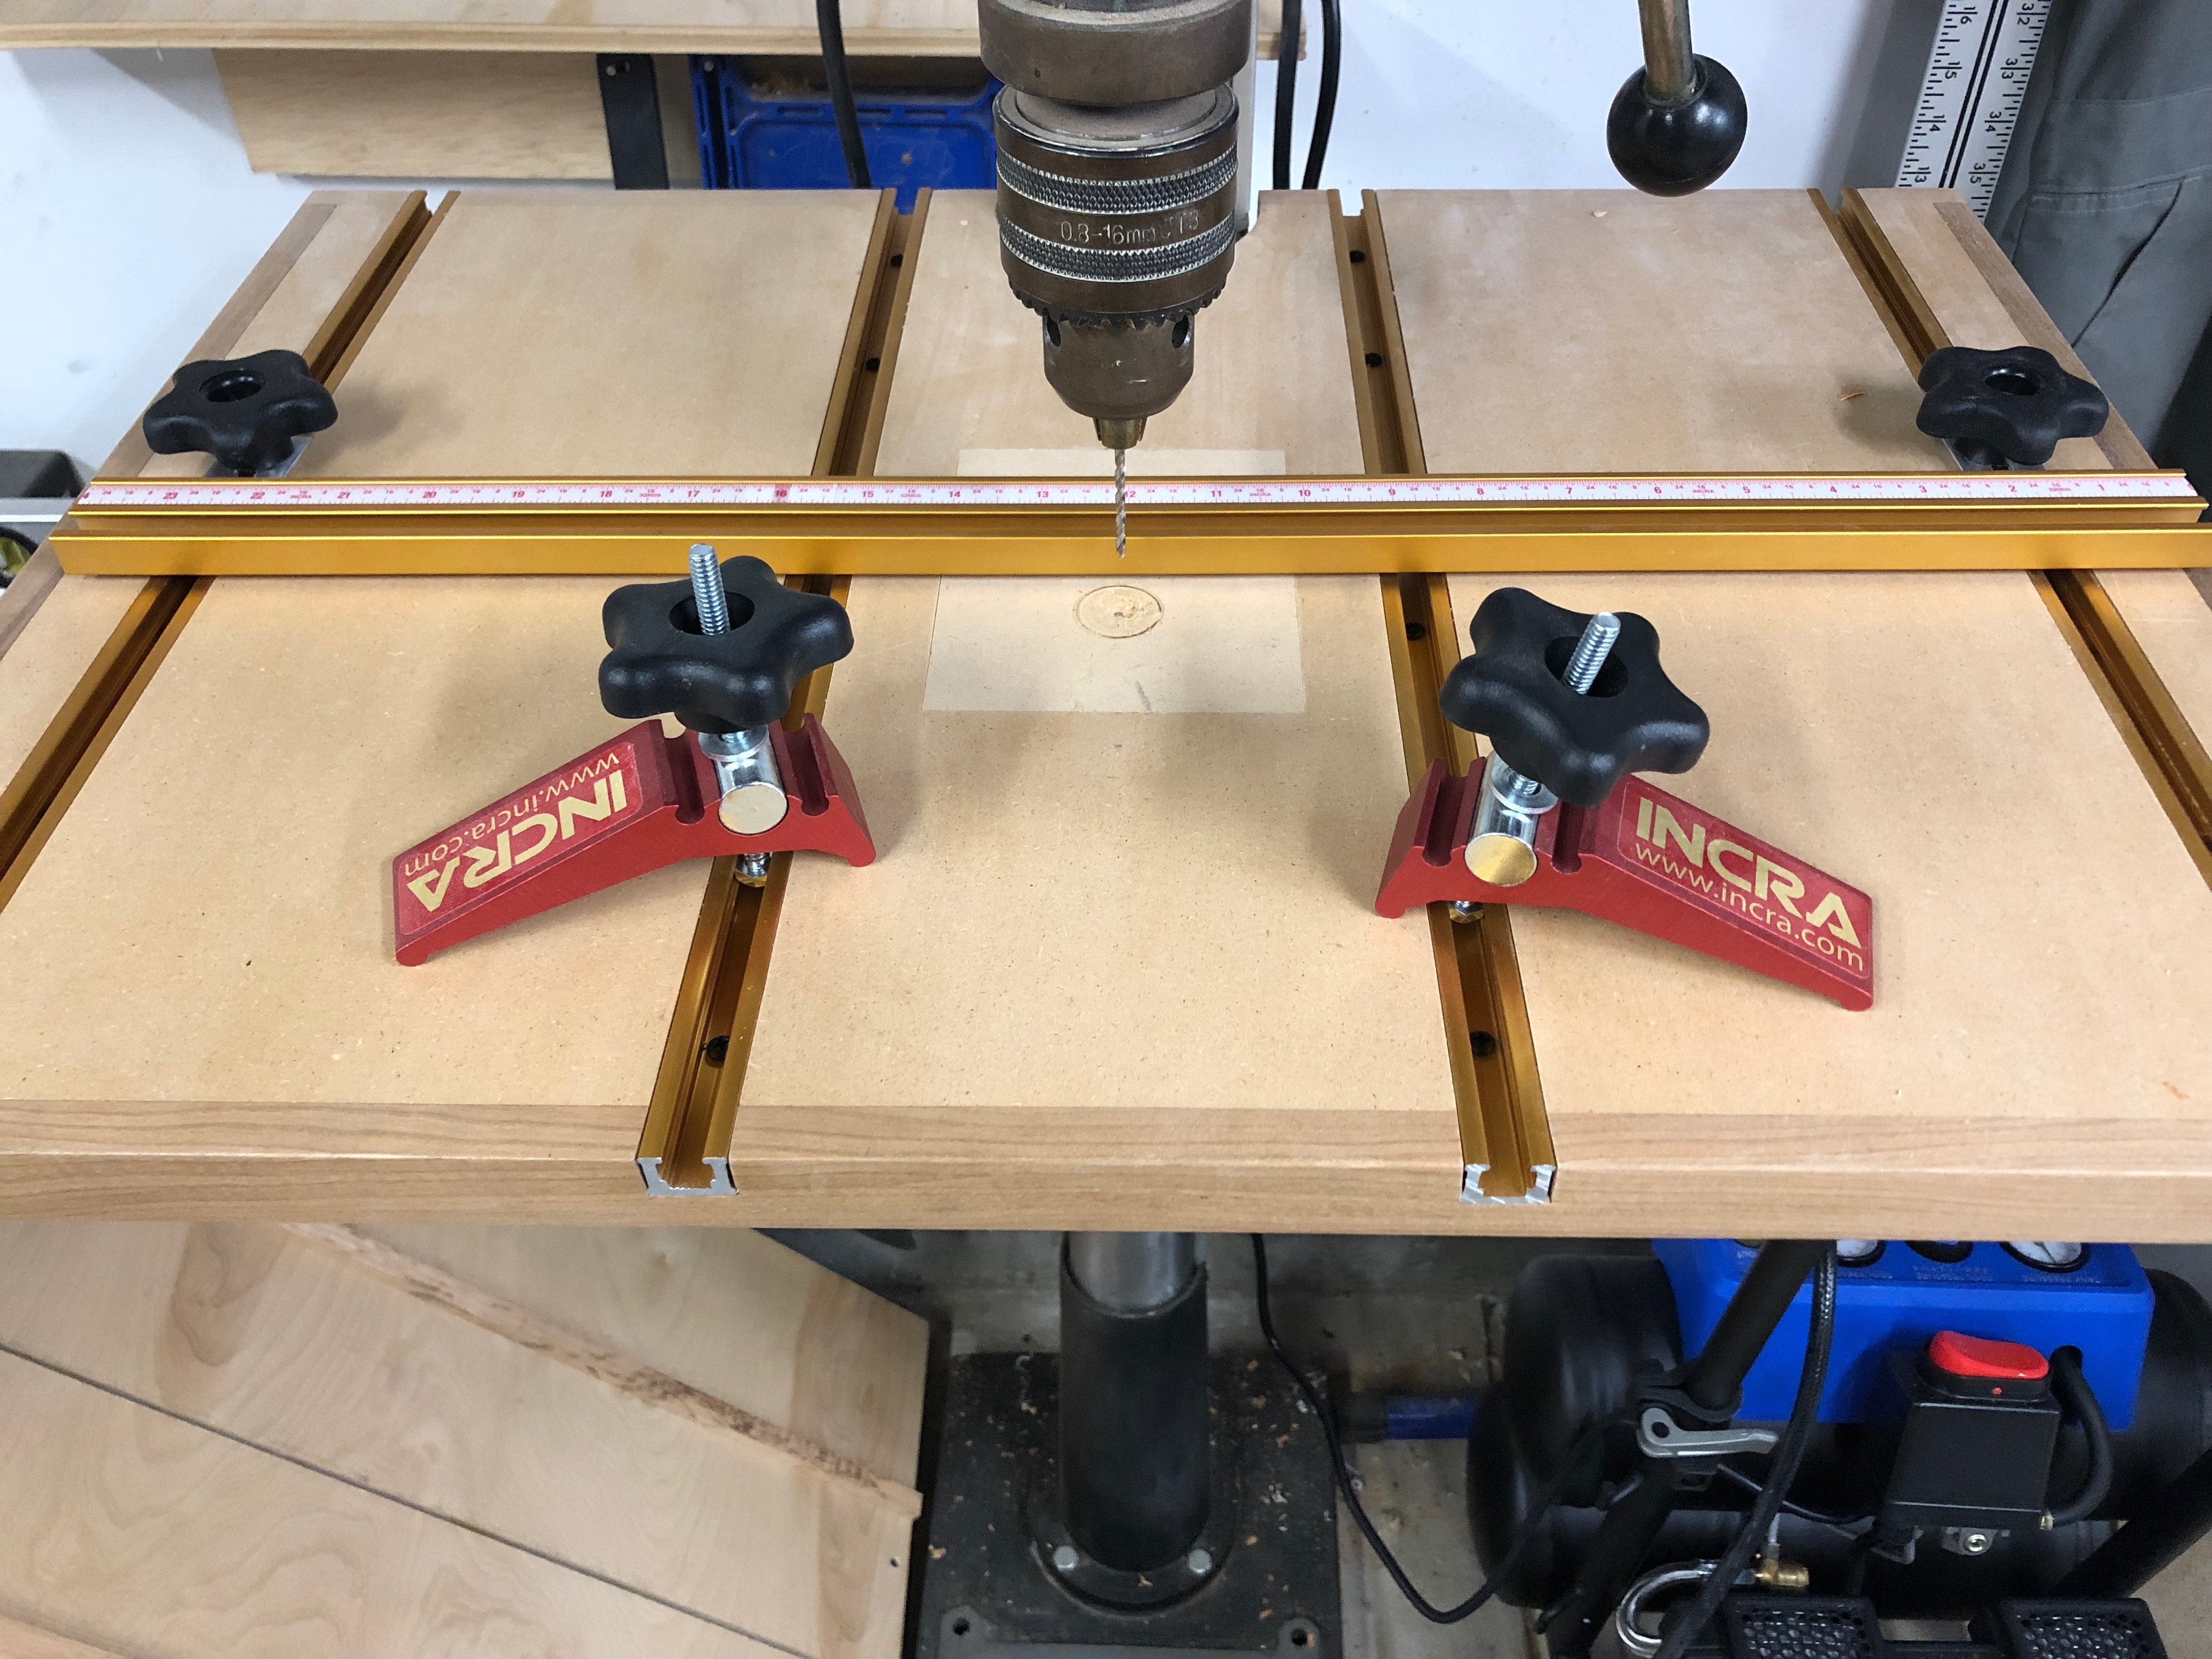
I tend to build a lot of fairly large things, so I wanted to make my table as large as reasonably possible. I wanted to make sure I had plenty of work holding options to securely clamp my workpieces, a fence to make repeatable holes easy and replaceable inserts to support the bottom of the drill.

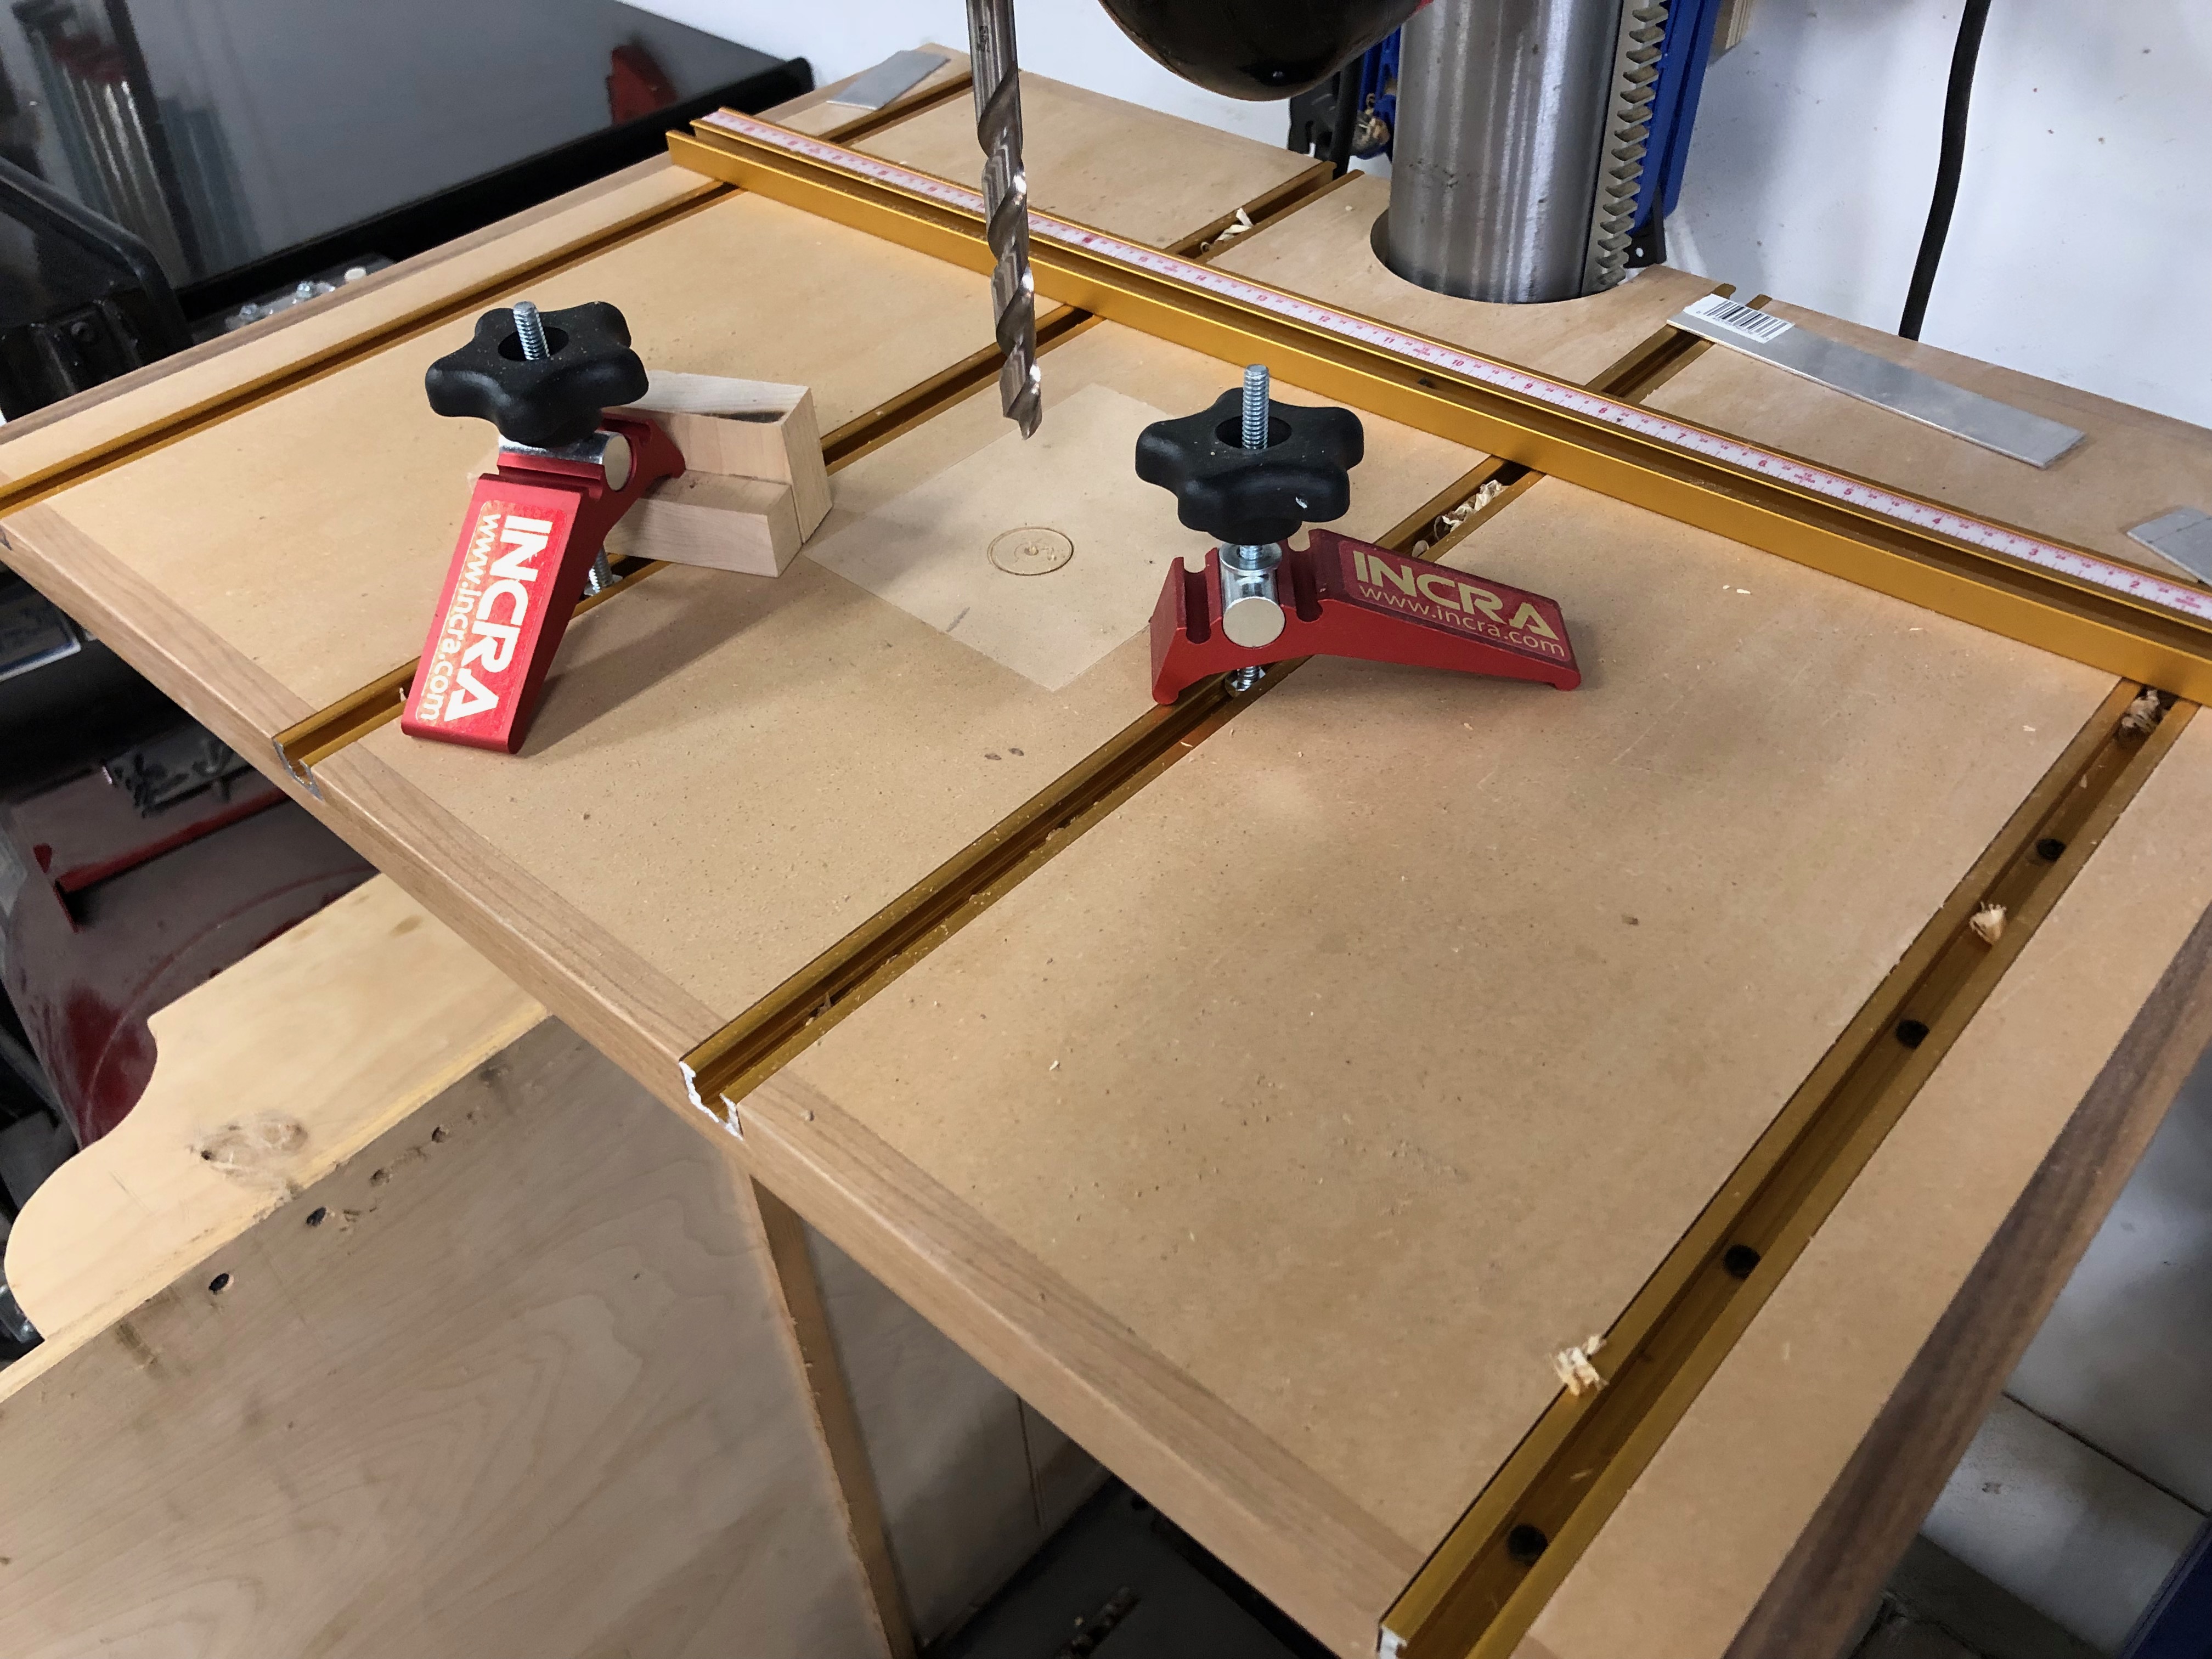
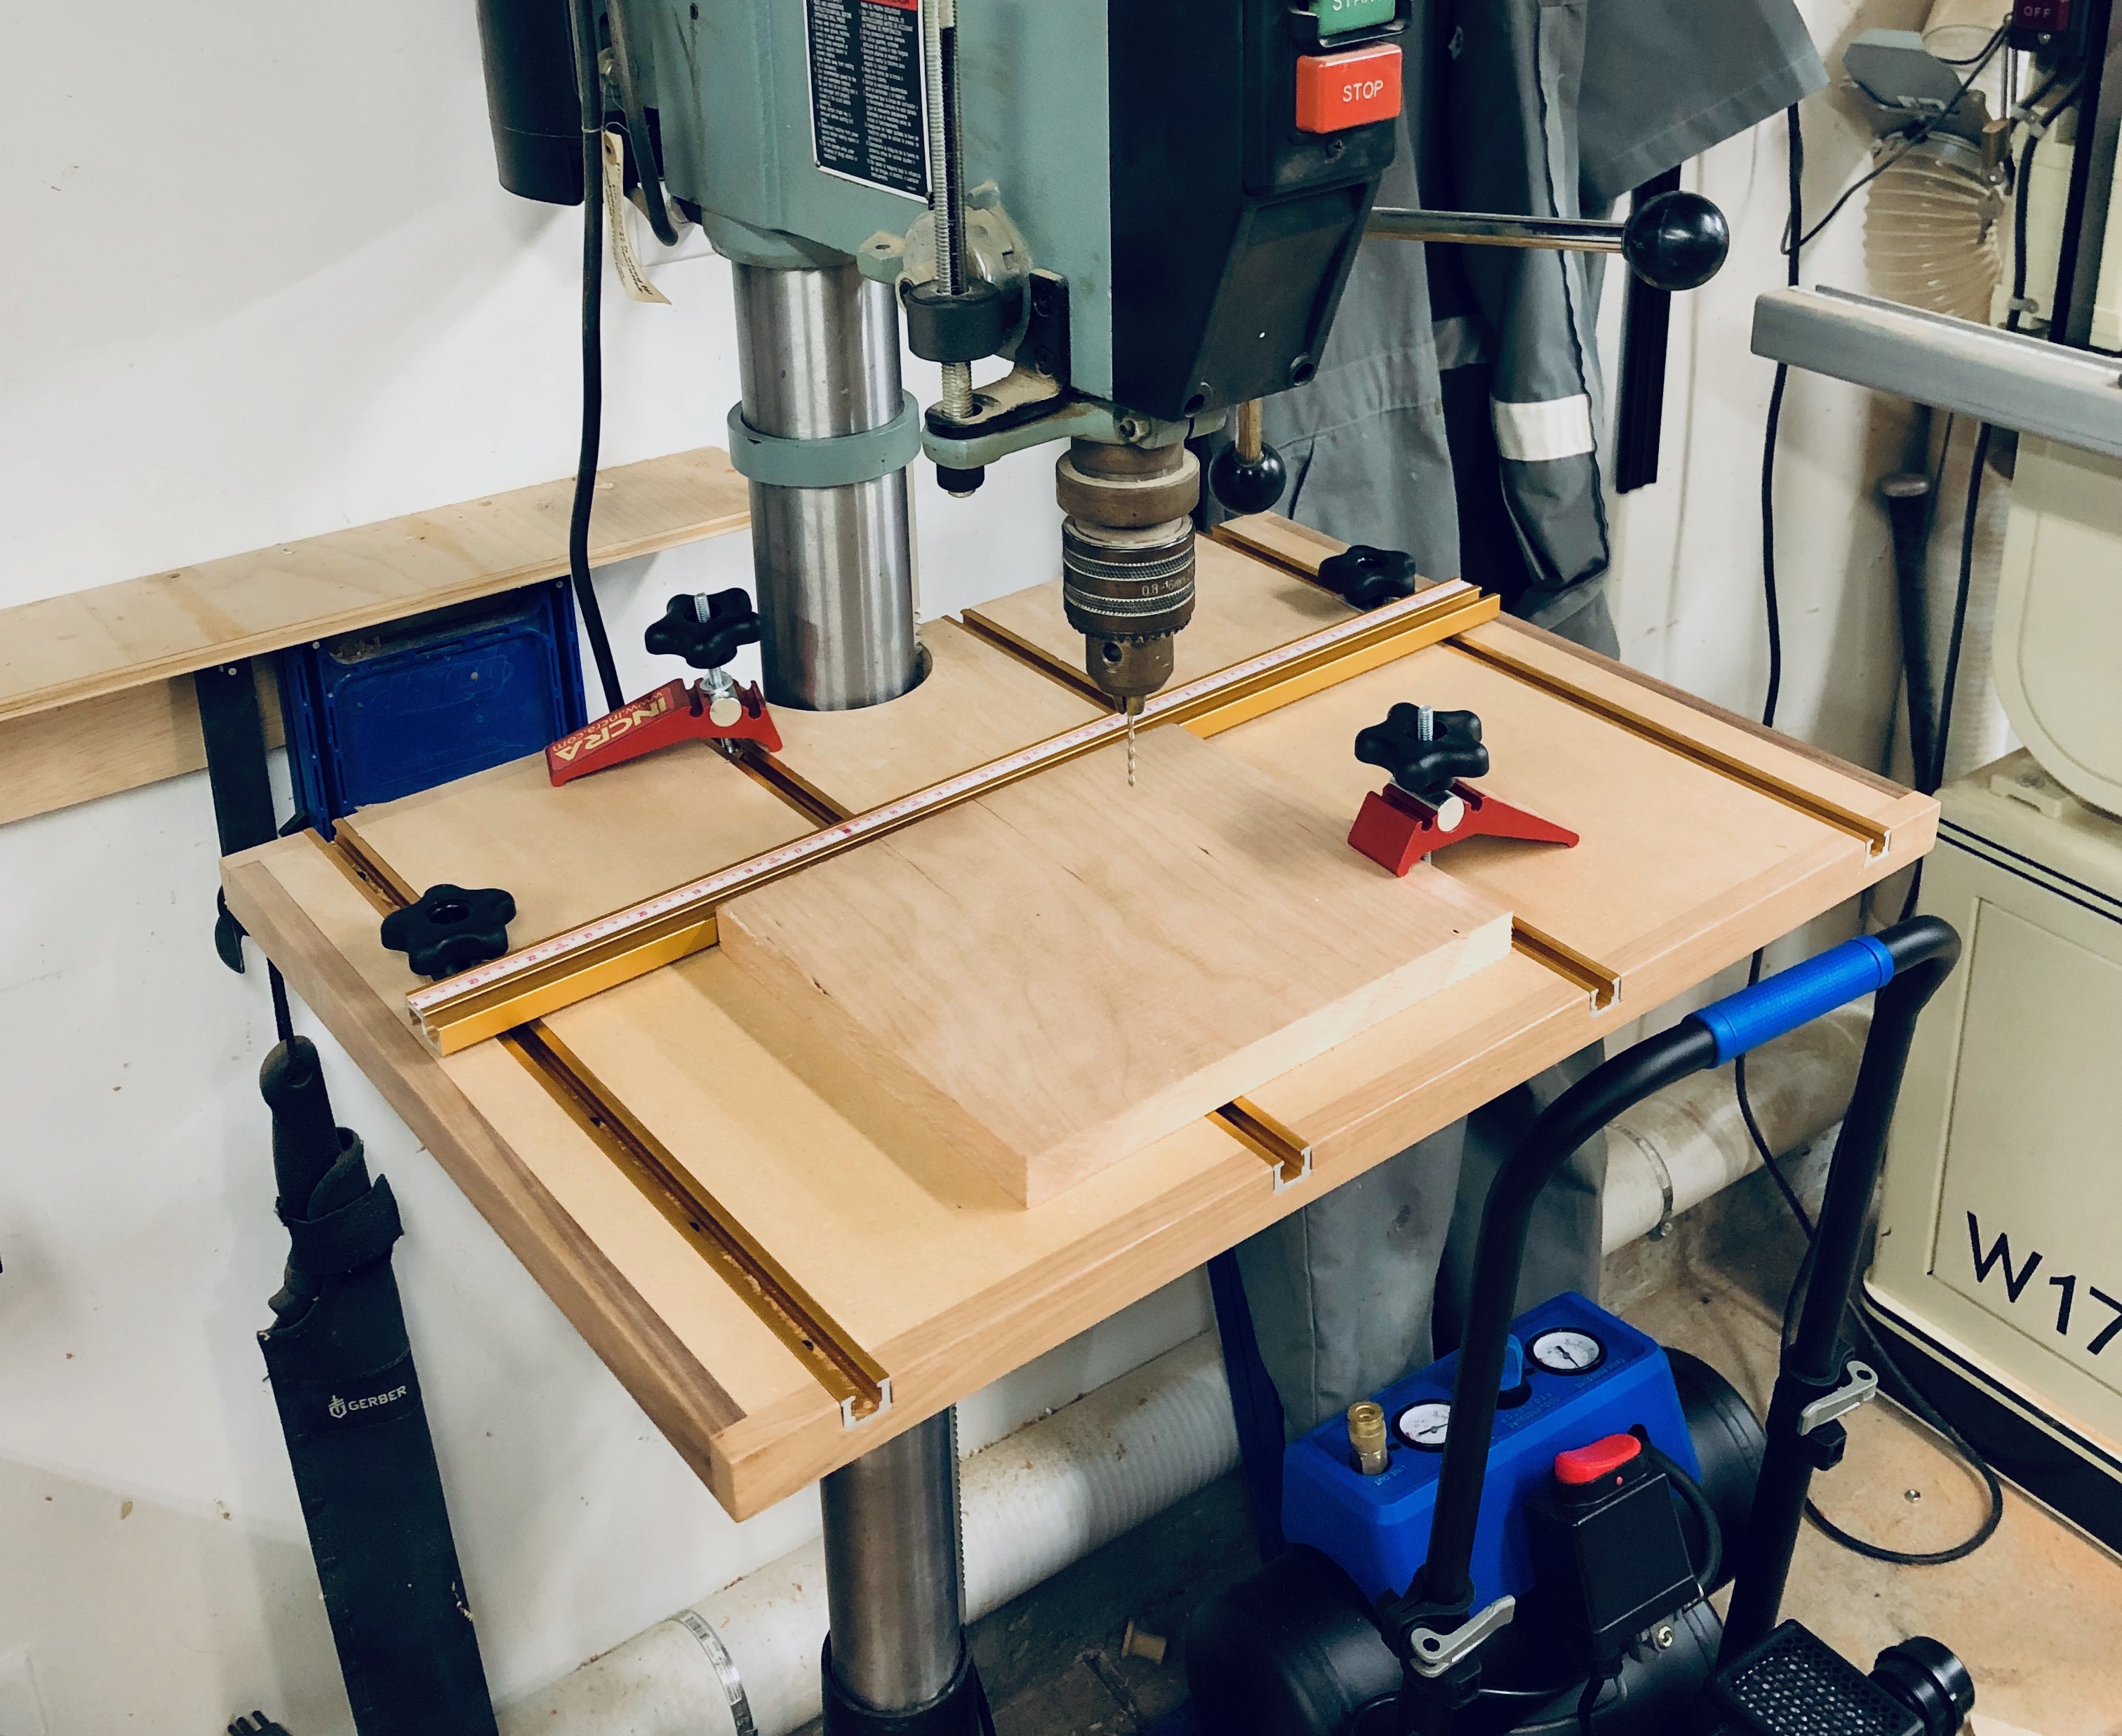
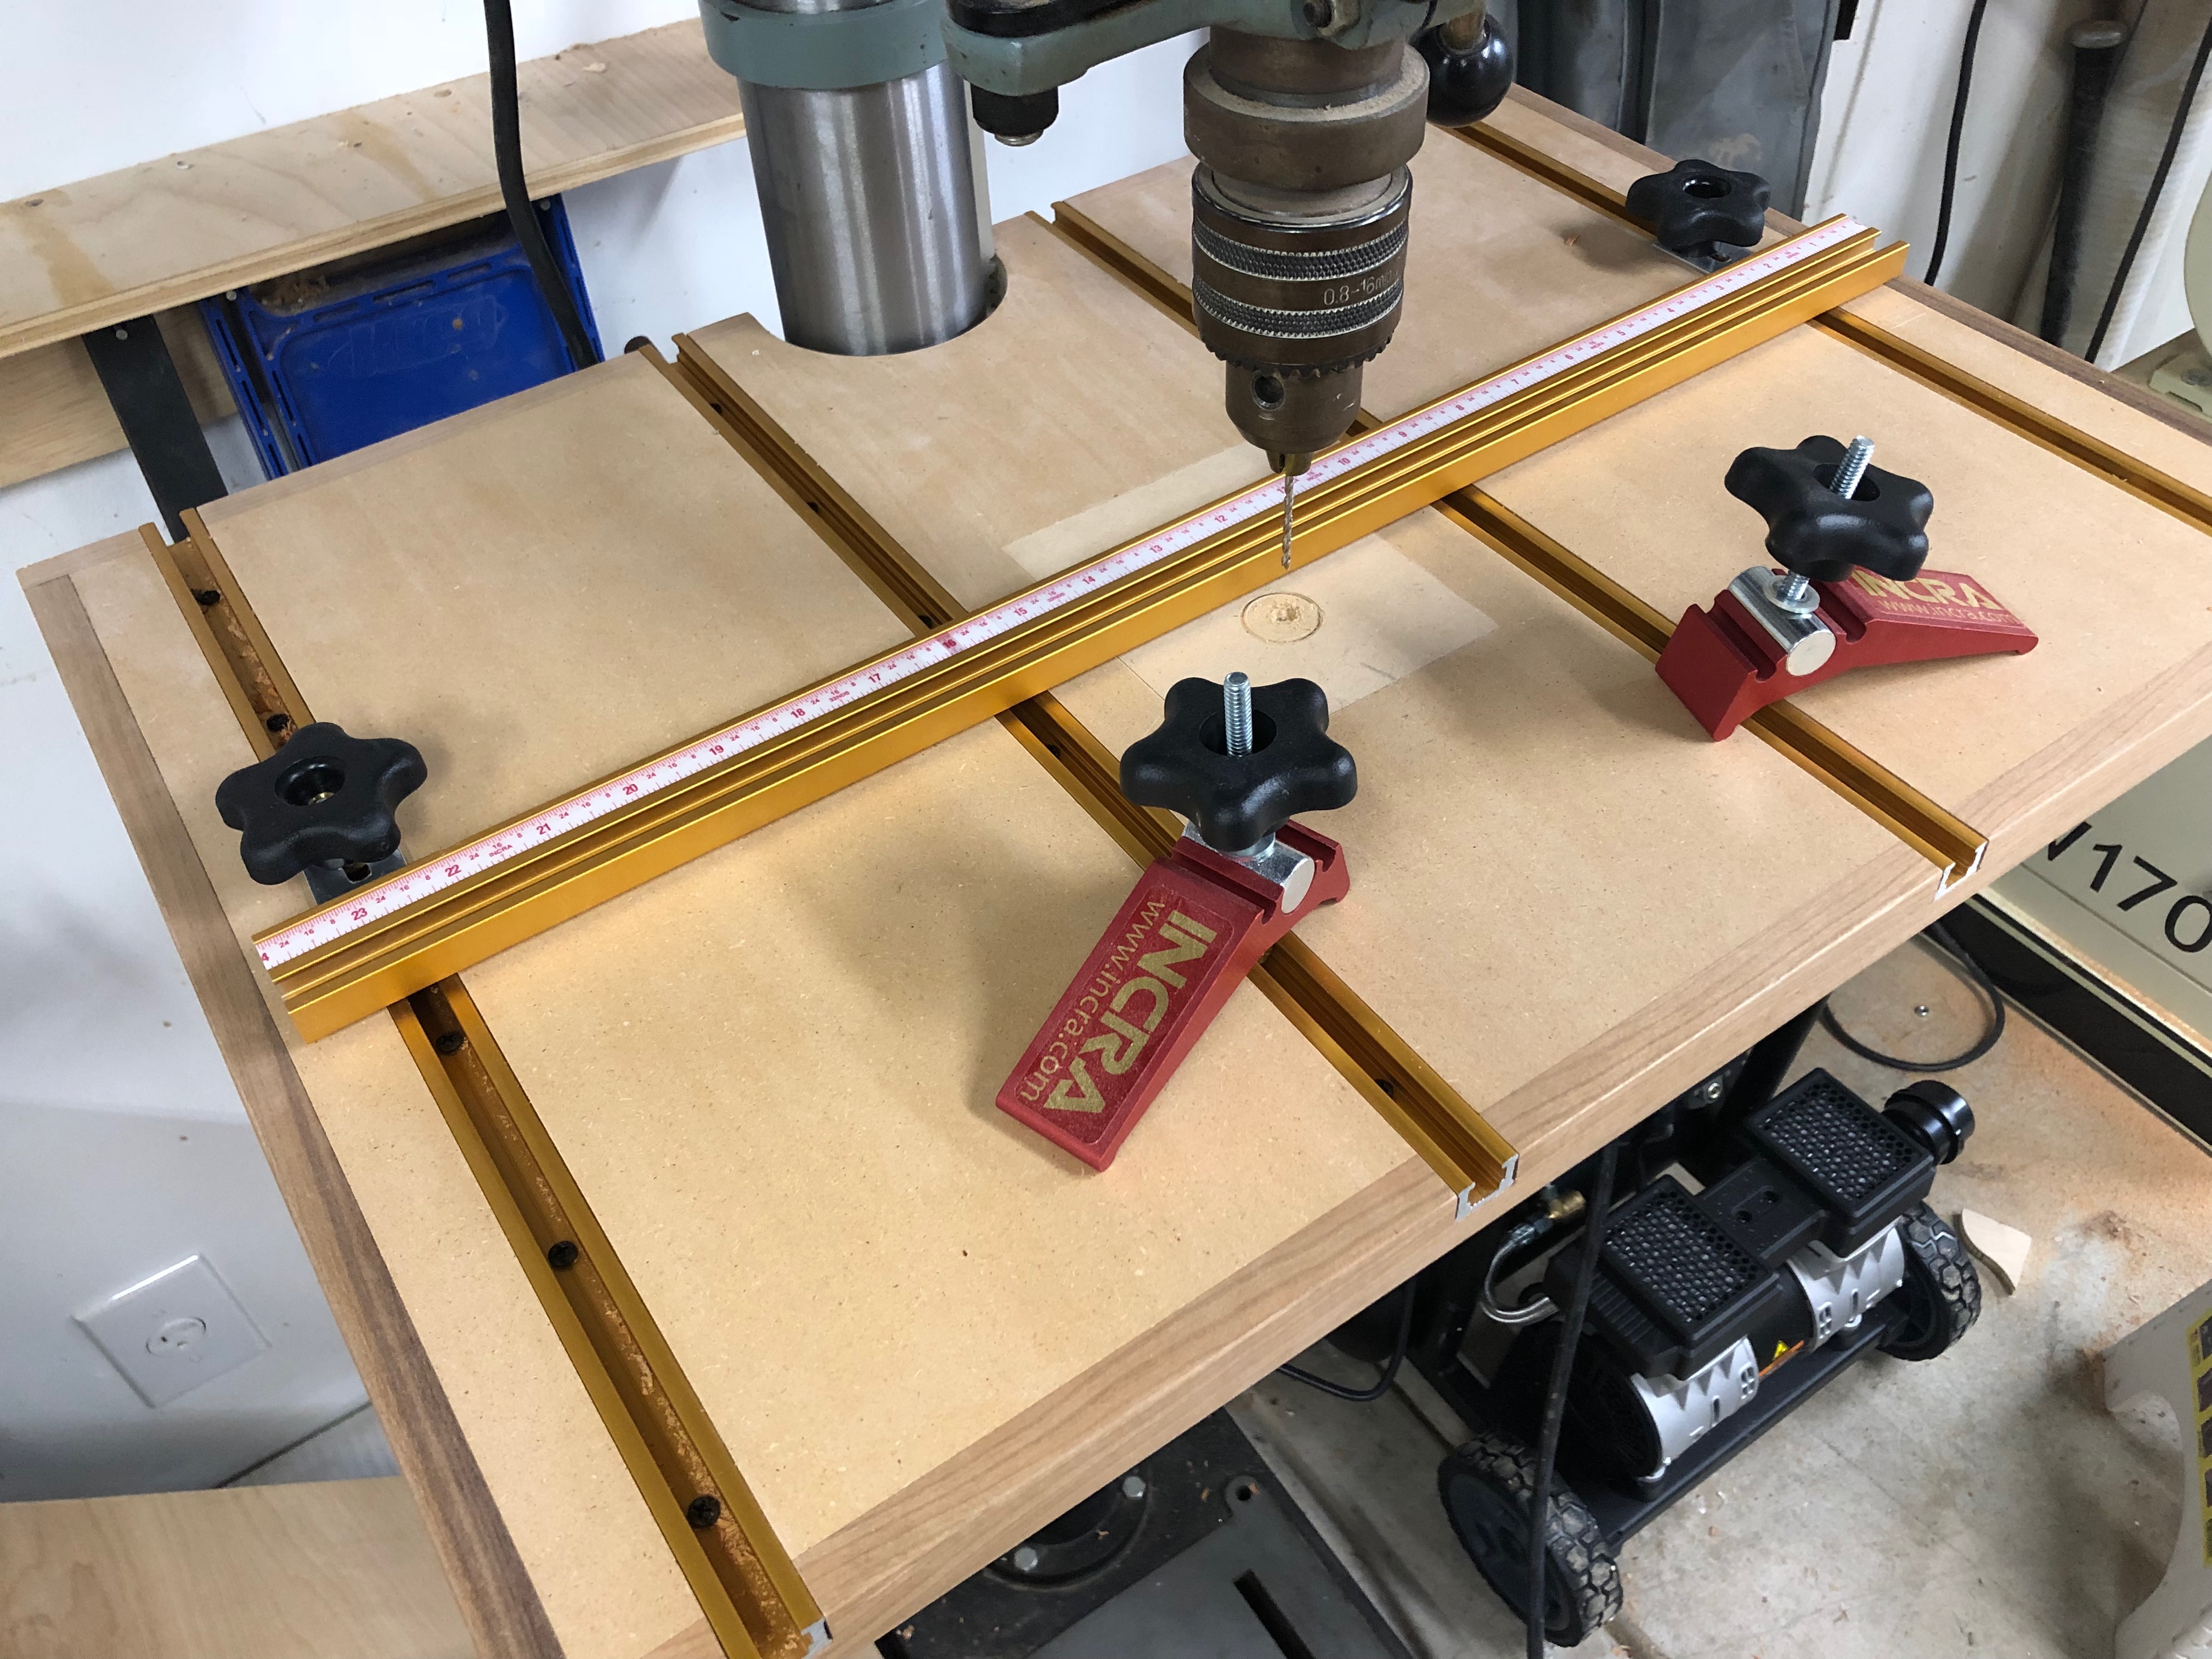
For clamping, I opted to go with Incra hold-down clamps and 4 rows of T-Track embedded in the table. Since the T-track is 1/2" high, 1/2" MDF makes assembly quick and easy. The base is made of one layer of MDF, followed by a second layer of Smaller MDF pieces with a small gap between each piece to hold a piece of T-Track. Doing it this way gives me a full 1-inch thick table, and a perfect fit for the t-tracks without needing to cut any dados.
For the fence, I opted to build it with just a simple piece of Incra double T-track. I bolted a couple small strips of Aluminum flat bar to the bottom half of the track and then a couple knobs bolt the track to the outer two tracks in the table. I'm not 100% happy with the current fence and will probably replace it with a wood one sometime in the future. The main issue I have is with the way the aluminum flat bar attaches to the track allows for a small amount of swivel that can sometimes still move even when the fence is all tightened down, which throws off the repeatability of the fence.
I debated between circular or square replacement inserts. Whether you go with circles or squares, it's a good idea to offset the insert from the center of the bit slightly so that you can rotate the insert a few times to expose fresh wood. If the insert was centered on the bit, no matter how you rotate the insert, the bit will always land in the same place, reducing the actual usable area. A circle would be nice because you can always rotate the circle to a new position to use a fresh section on the insert. Square inserts can only be flipped in 4 discrete positions so you don't have quite as many chances to reuse a single insert before it needs replacing.
In the end I decided to go with square inserts simply for ease of construction. Making round inserts is a lot more work than making square ones on a table saw, so I figured I would be more likely to actually make a new insert when I need one with the square profile as opposed to round.
Finally, I wrapped the table in some hardwood edge banding. I just used whatever scraps I had on hand, so the sides are walnut and the front and back are cherry. I then cut a half circle in the back of the table to fit around the drill press column and simply screwed it down to the factory able from underneath.