
Floating Bathroom Vanity
Power Tools
Wood
- 4/4 Walnut
- Walnut Veneer
- 3/4" MDF
- 4/4 Solid Walnut
- 1/2" Baltic Birch Plywood
- 1/4" Birch Plywood
Bits & Blades
- Flush Trim Router Bit
Hardware
- Knape & Voght Undermount Drawer Slides
- Mazoni Drawer Pulls
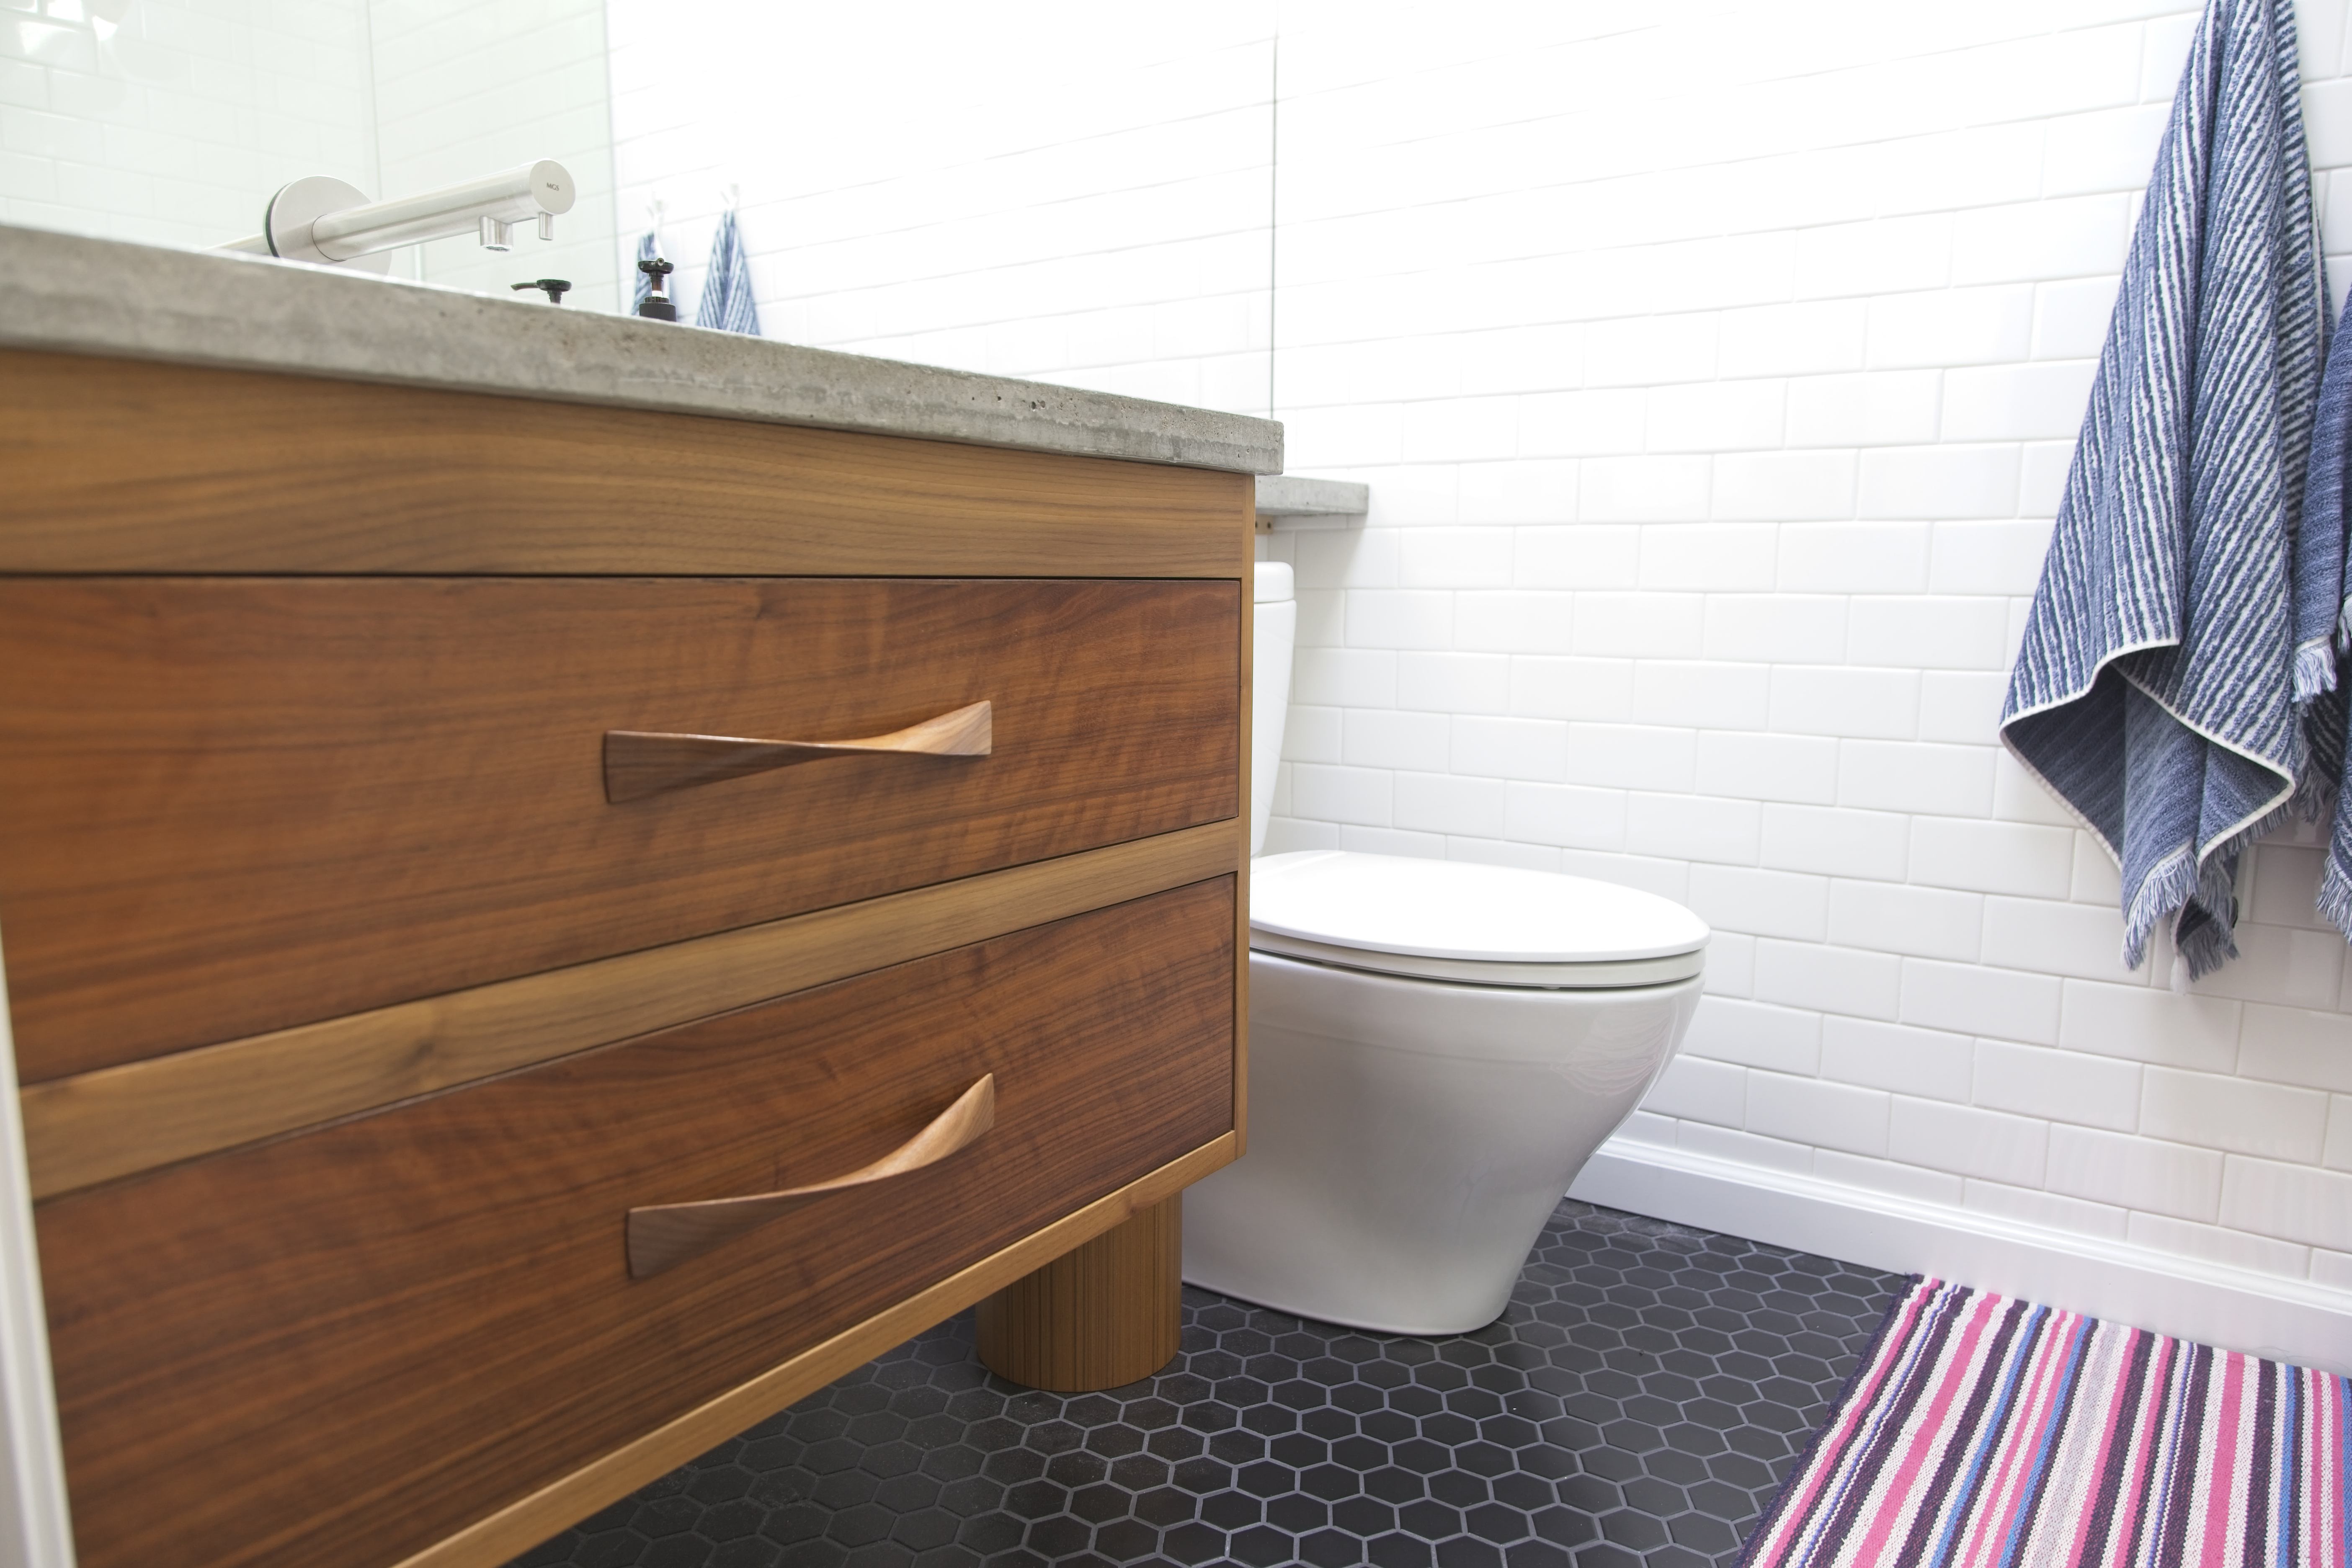
I am very proud of this piece. To me it represents a point in my woodworking journey where things finally started coming together and I was able to put together a higher level project. While the final product isn't exactly what I had envisioned when I started out, and there were one or two hurdles along the way, the end product is still amazing.
The construction of this vanity presented me with a number of challenges. First, I originally intended for the drawers of the vanity to be full overlay drawers that would cover 100% of the face-frame material and would simply look like two large drawer fronts. Unfortunately I failed to account for the door trim on the wall right in front of the vanity that would prevent the drawers from opening if they were to extend all the way to the edge of the vanity. To get around this, I had to pivot from overlay to inset drawers. Unfortunately this means that the face-frame material would be visible at all times and the color match between the frame and the drawer fronts isn't all that great.
 The inset drawers in the vanity. Not a great color match with the face frame.
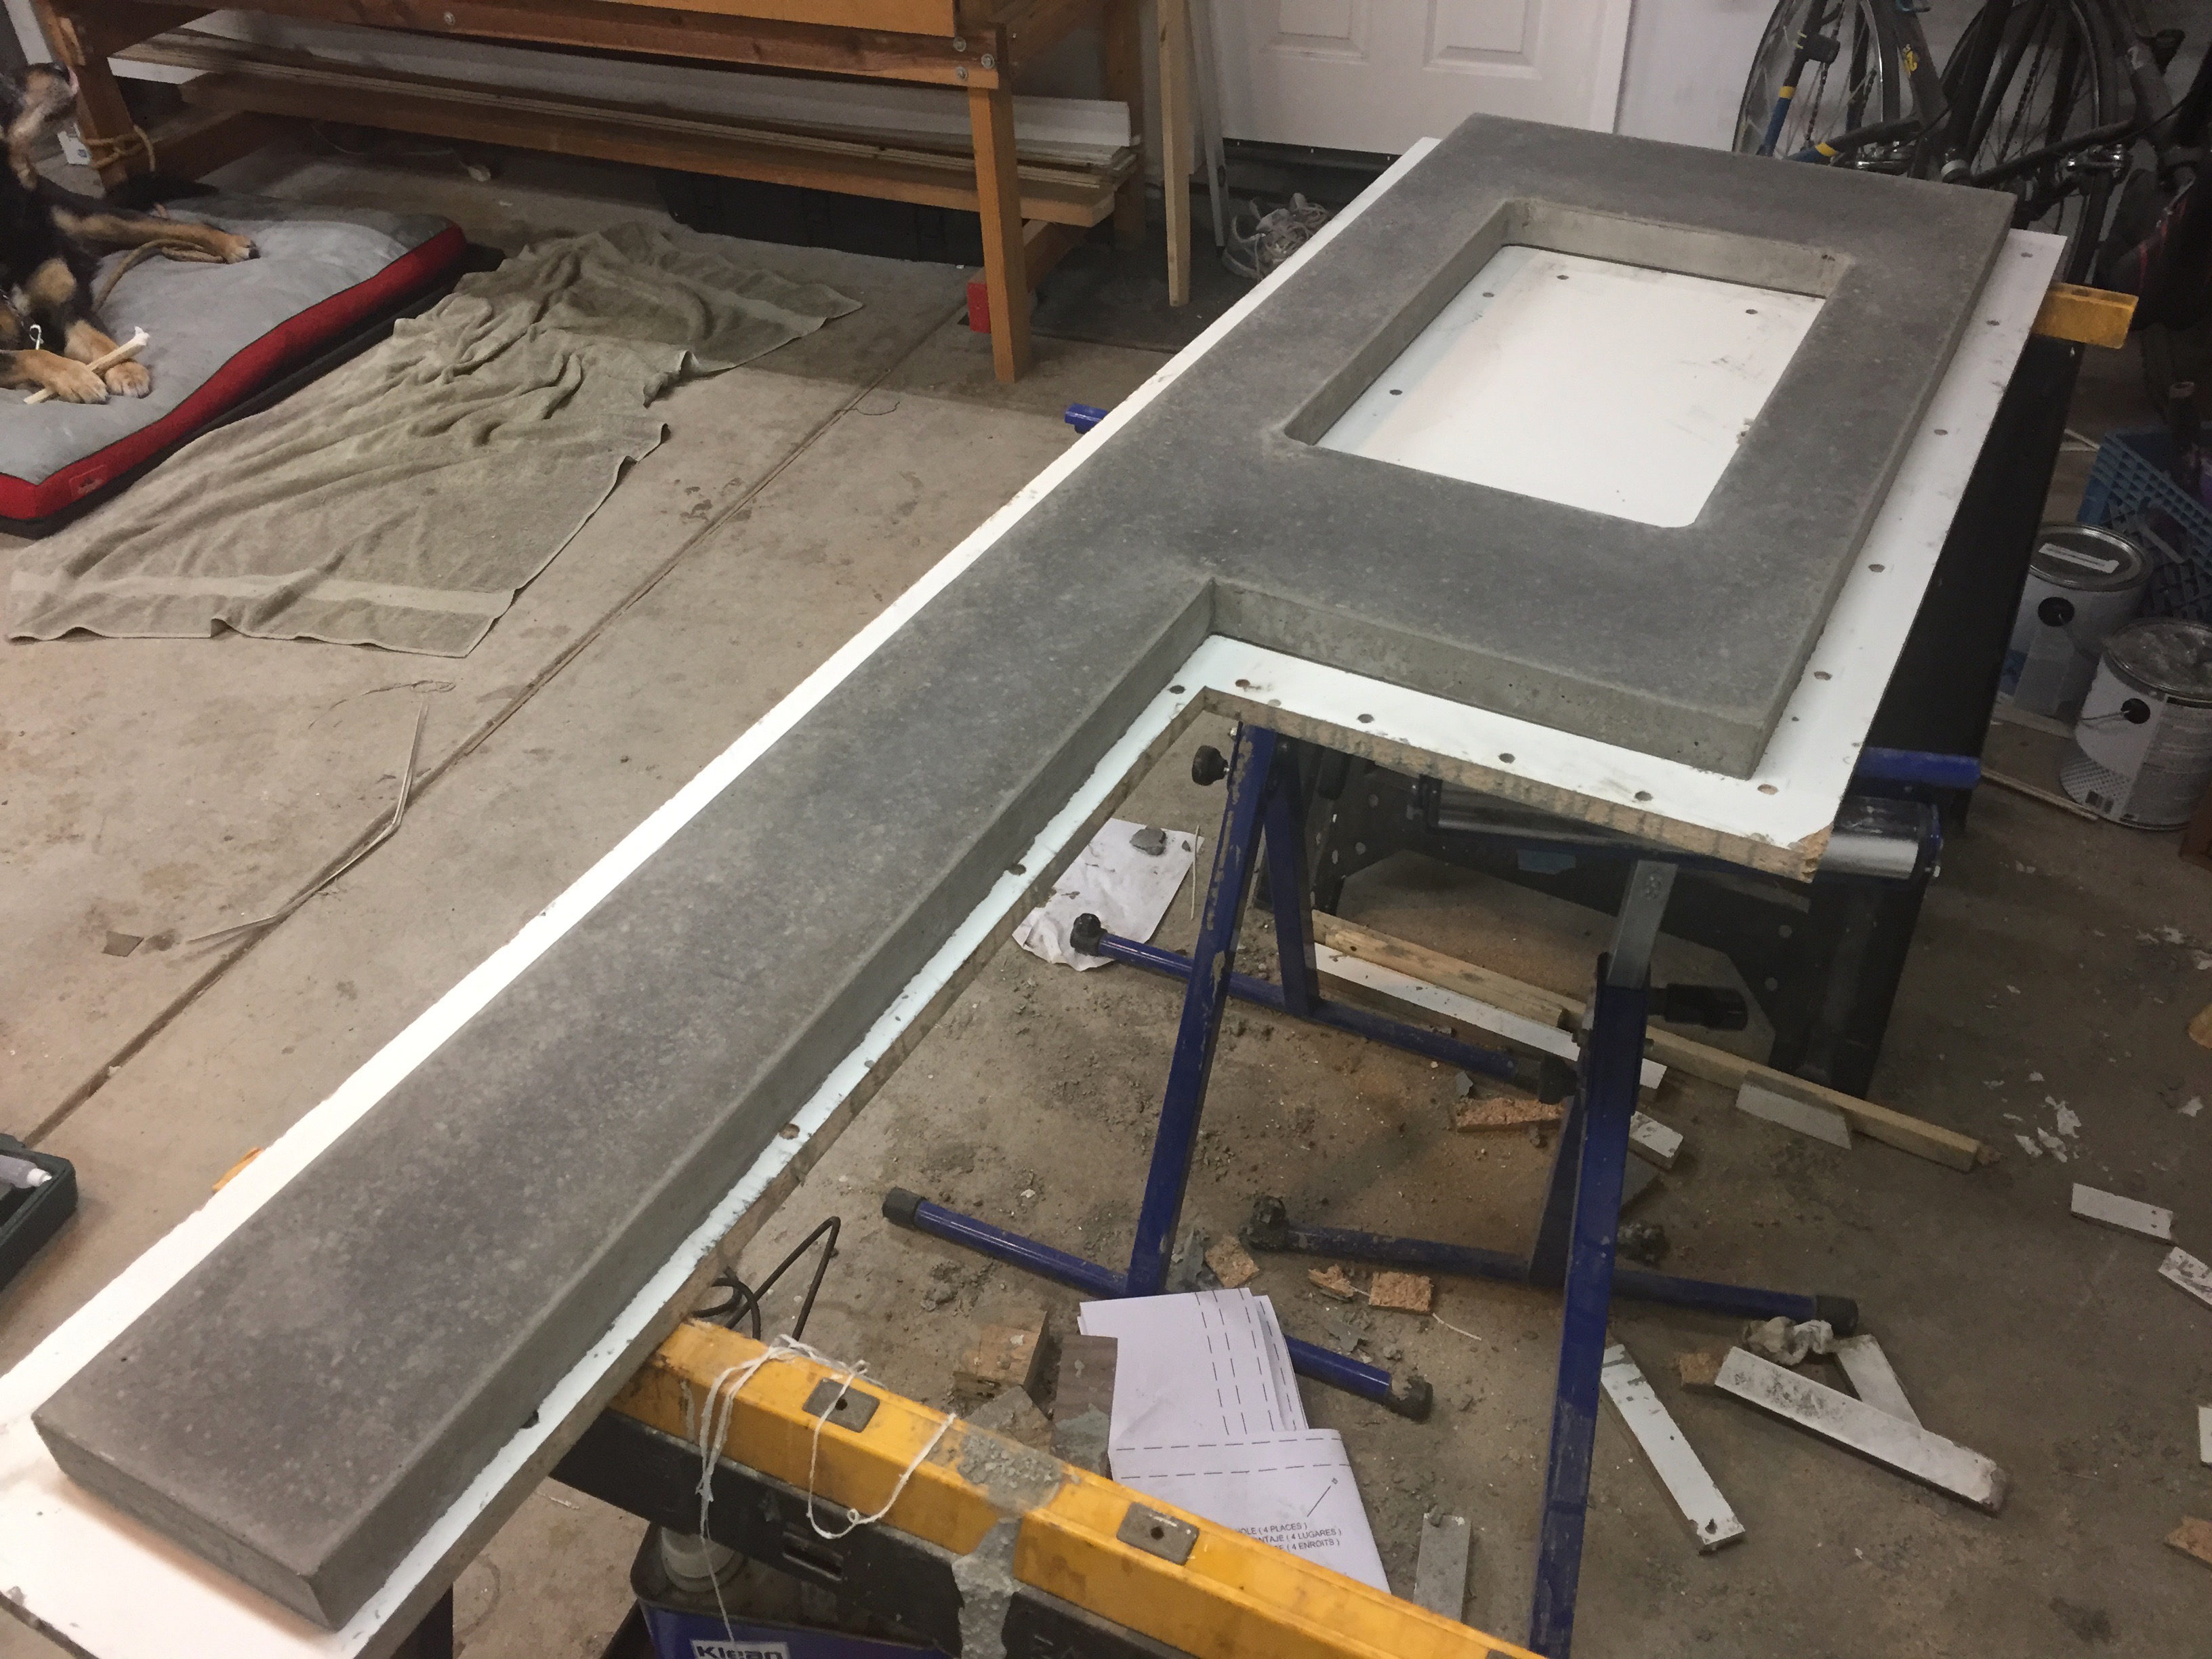
The next huge challenge was building the concrete countertop with an extension over the toilet. To build it, I first created a template of the room using some scrap wood, then built a melamine form around that template which I would pour concrete into. Unfortunately, I failed to take into account that when pouring concrete into a mold, the top of the countertop is actually on the bottom surface and you therefore need your mold to be a mirror image of the final shape. I didn't do that, and didn't even realize I had made a mistake until my wife pointed out to me that the countertop was backwards when I took it out of the mold a few days after pouring it. I was pretty upset since the concrete pour came out great other than being backwards.
 A great result from the concrete pour.
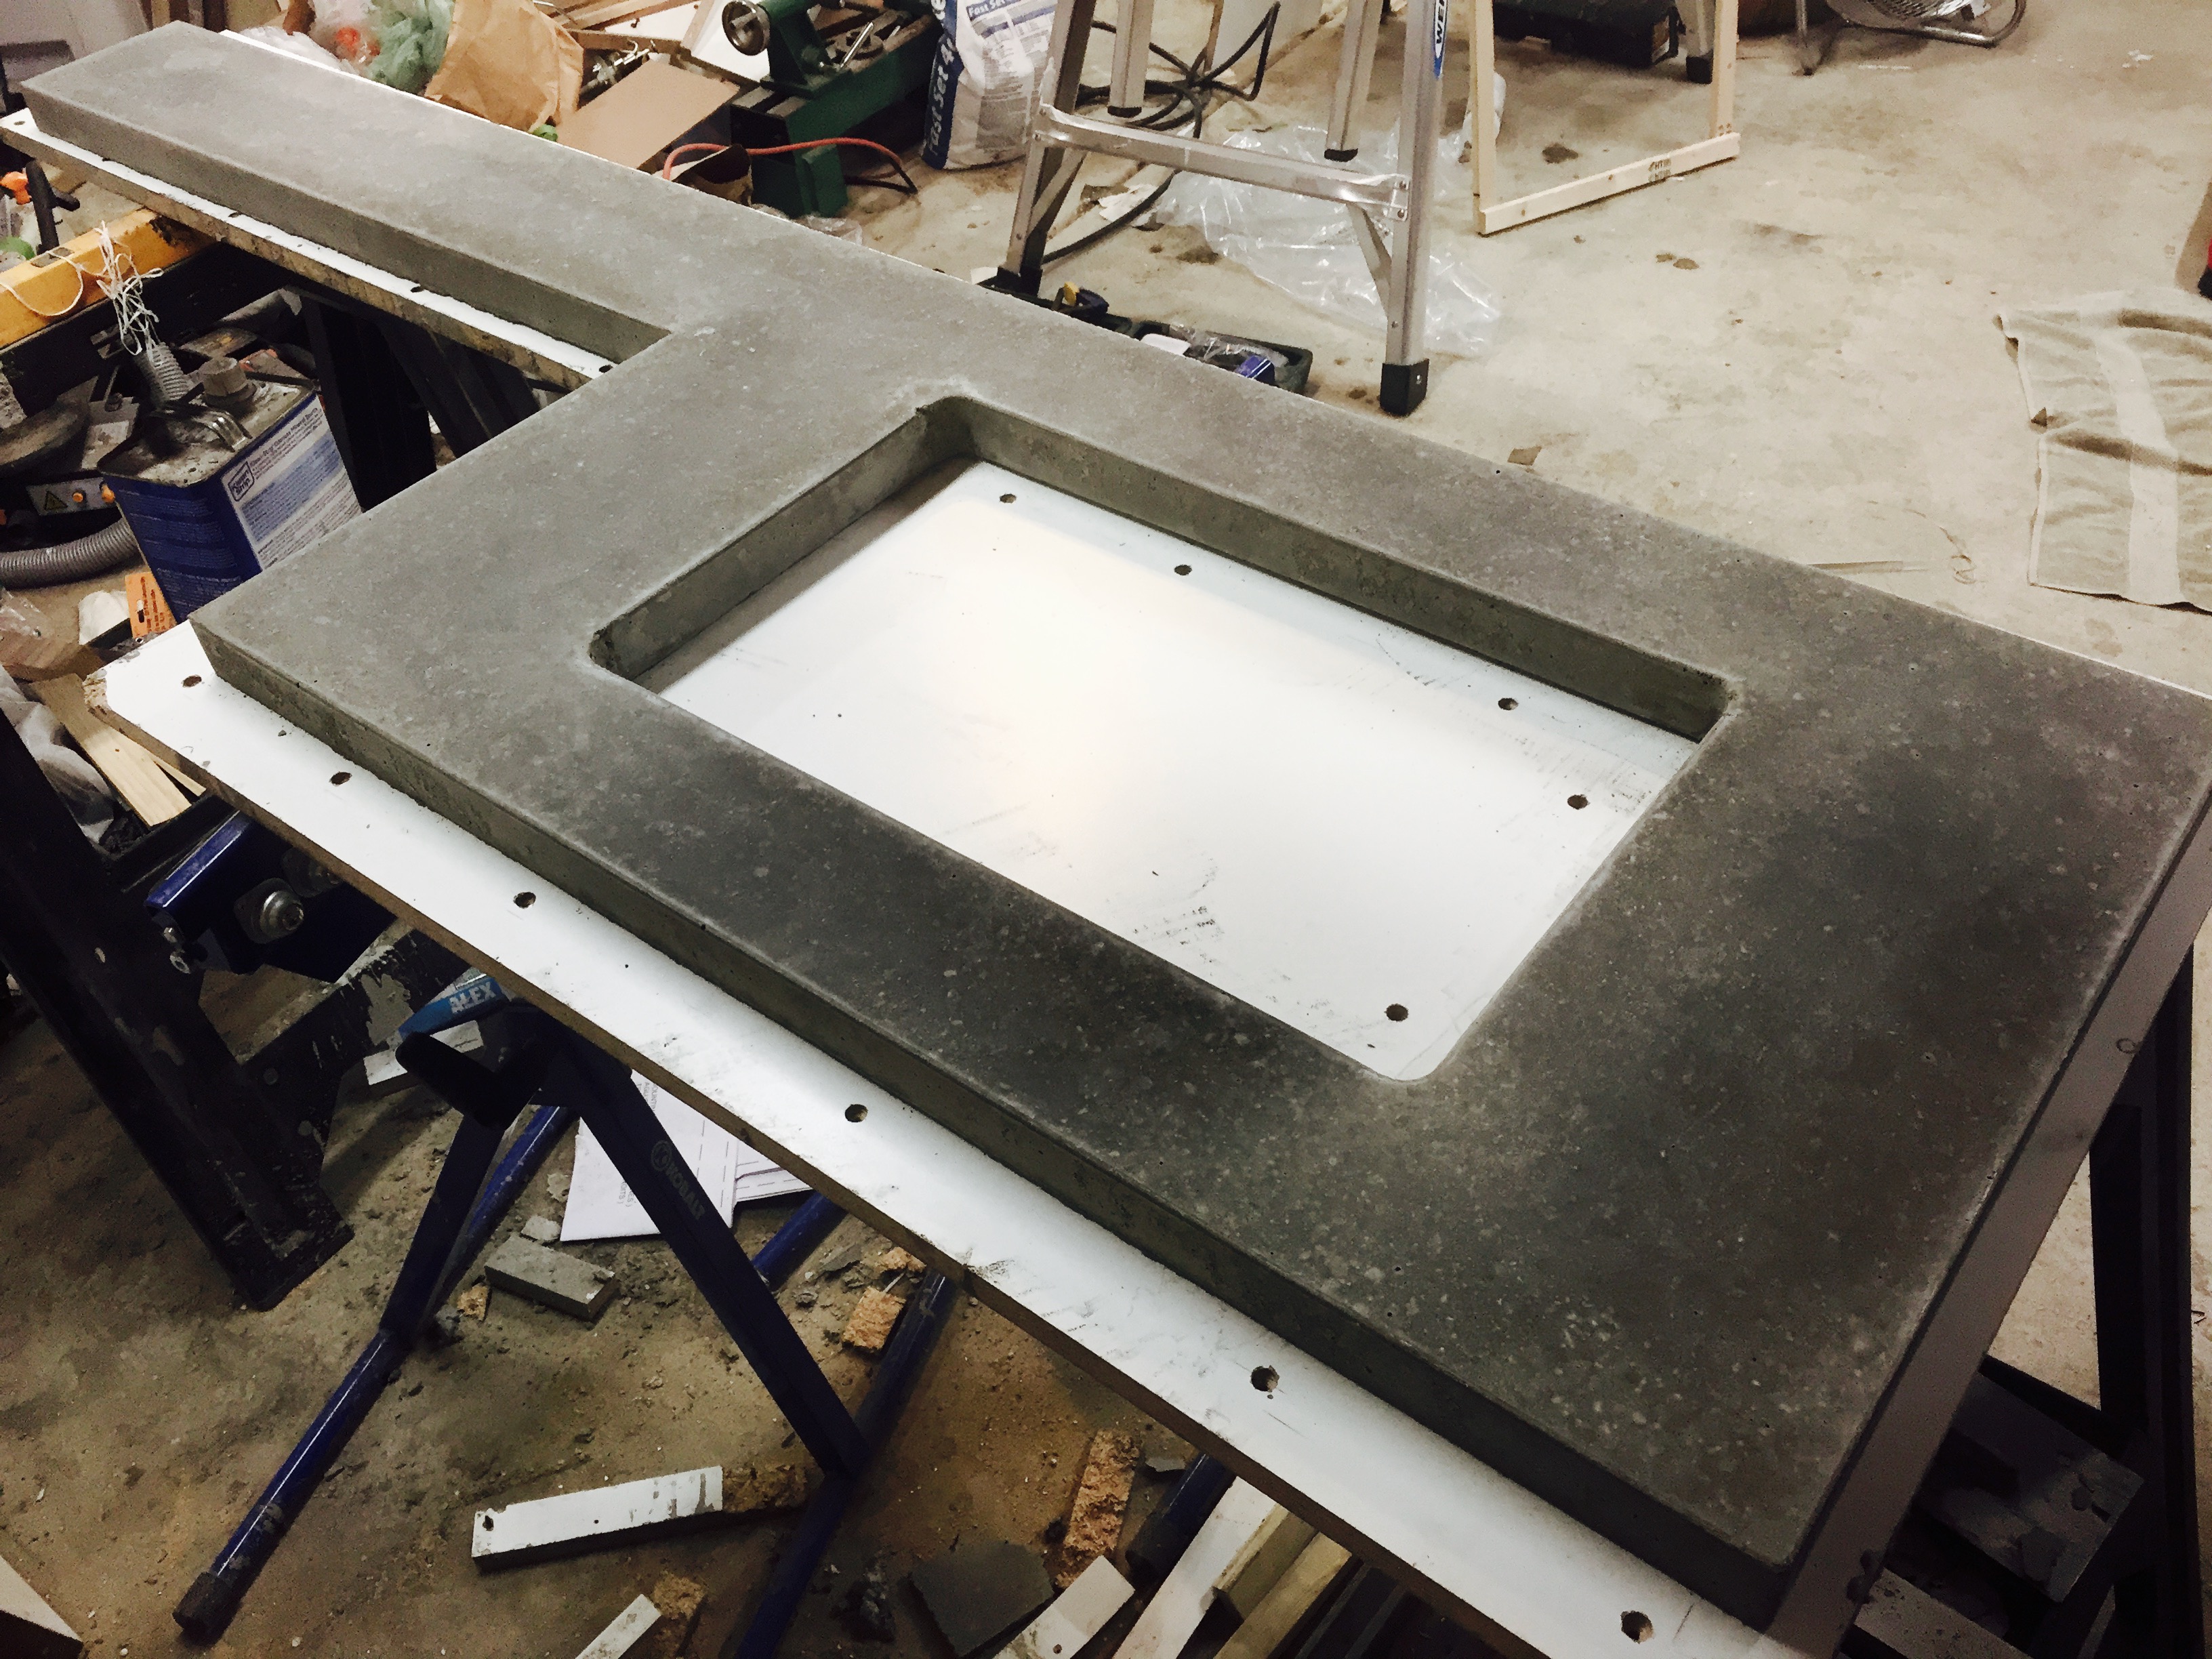 Not yet fully cured, but great surface finish.
 But it's backwards!
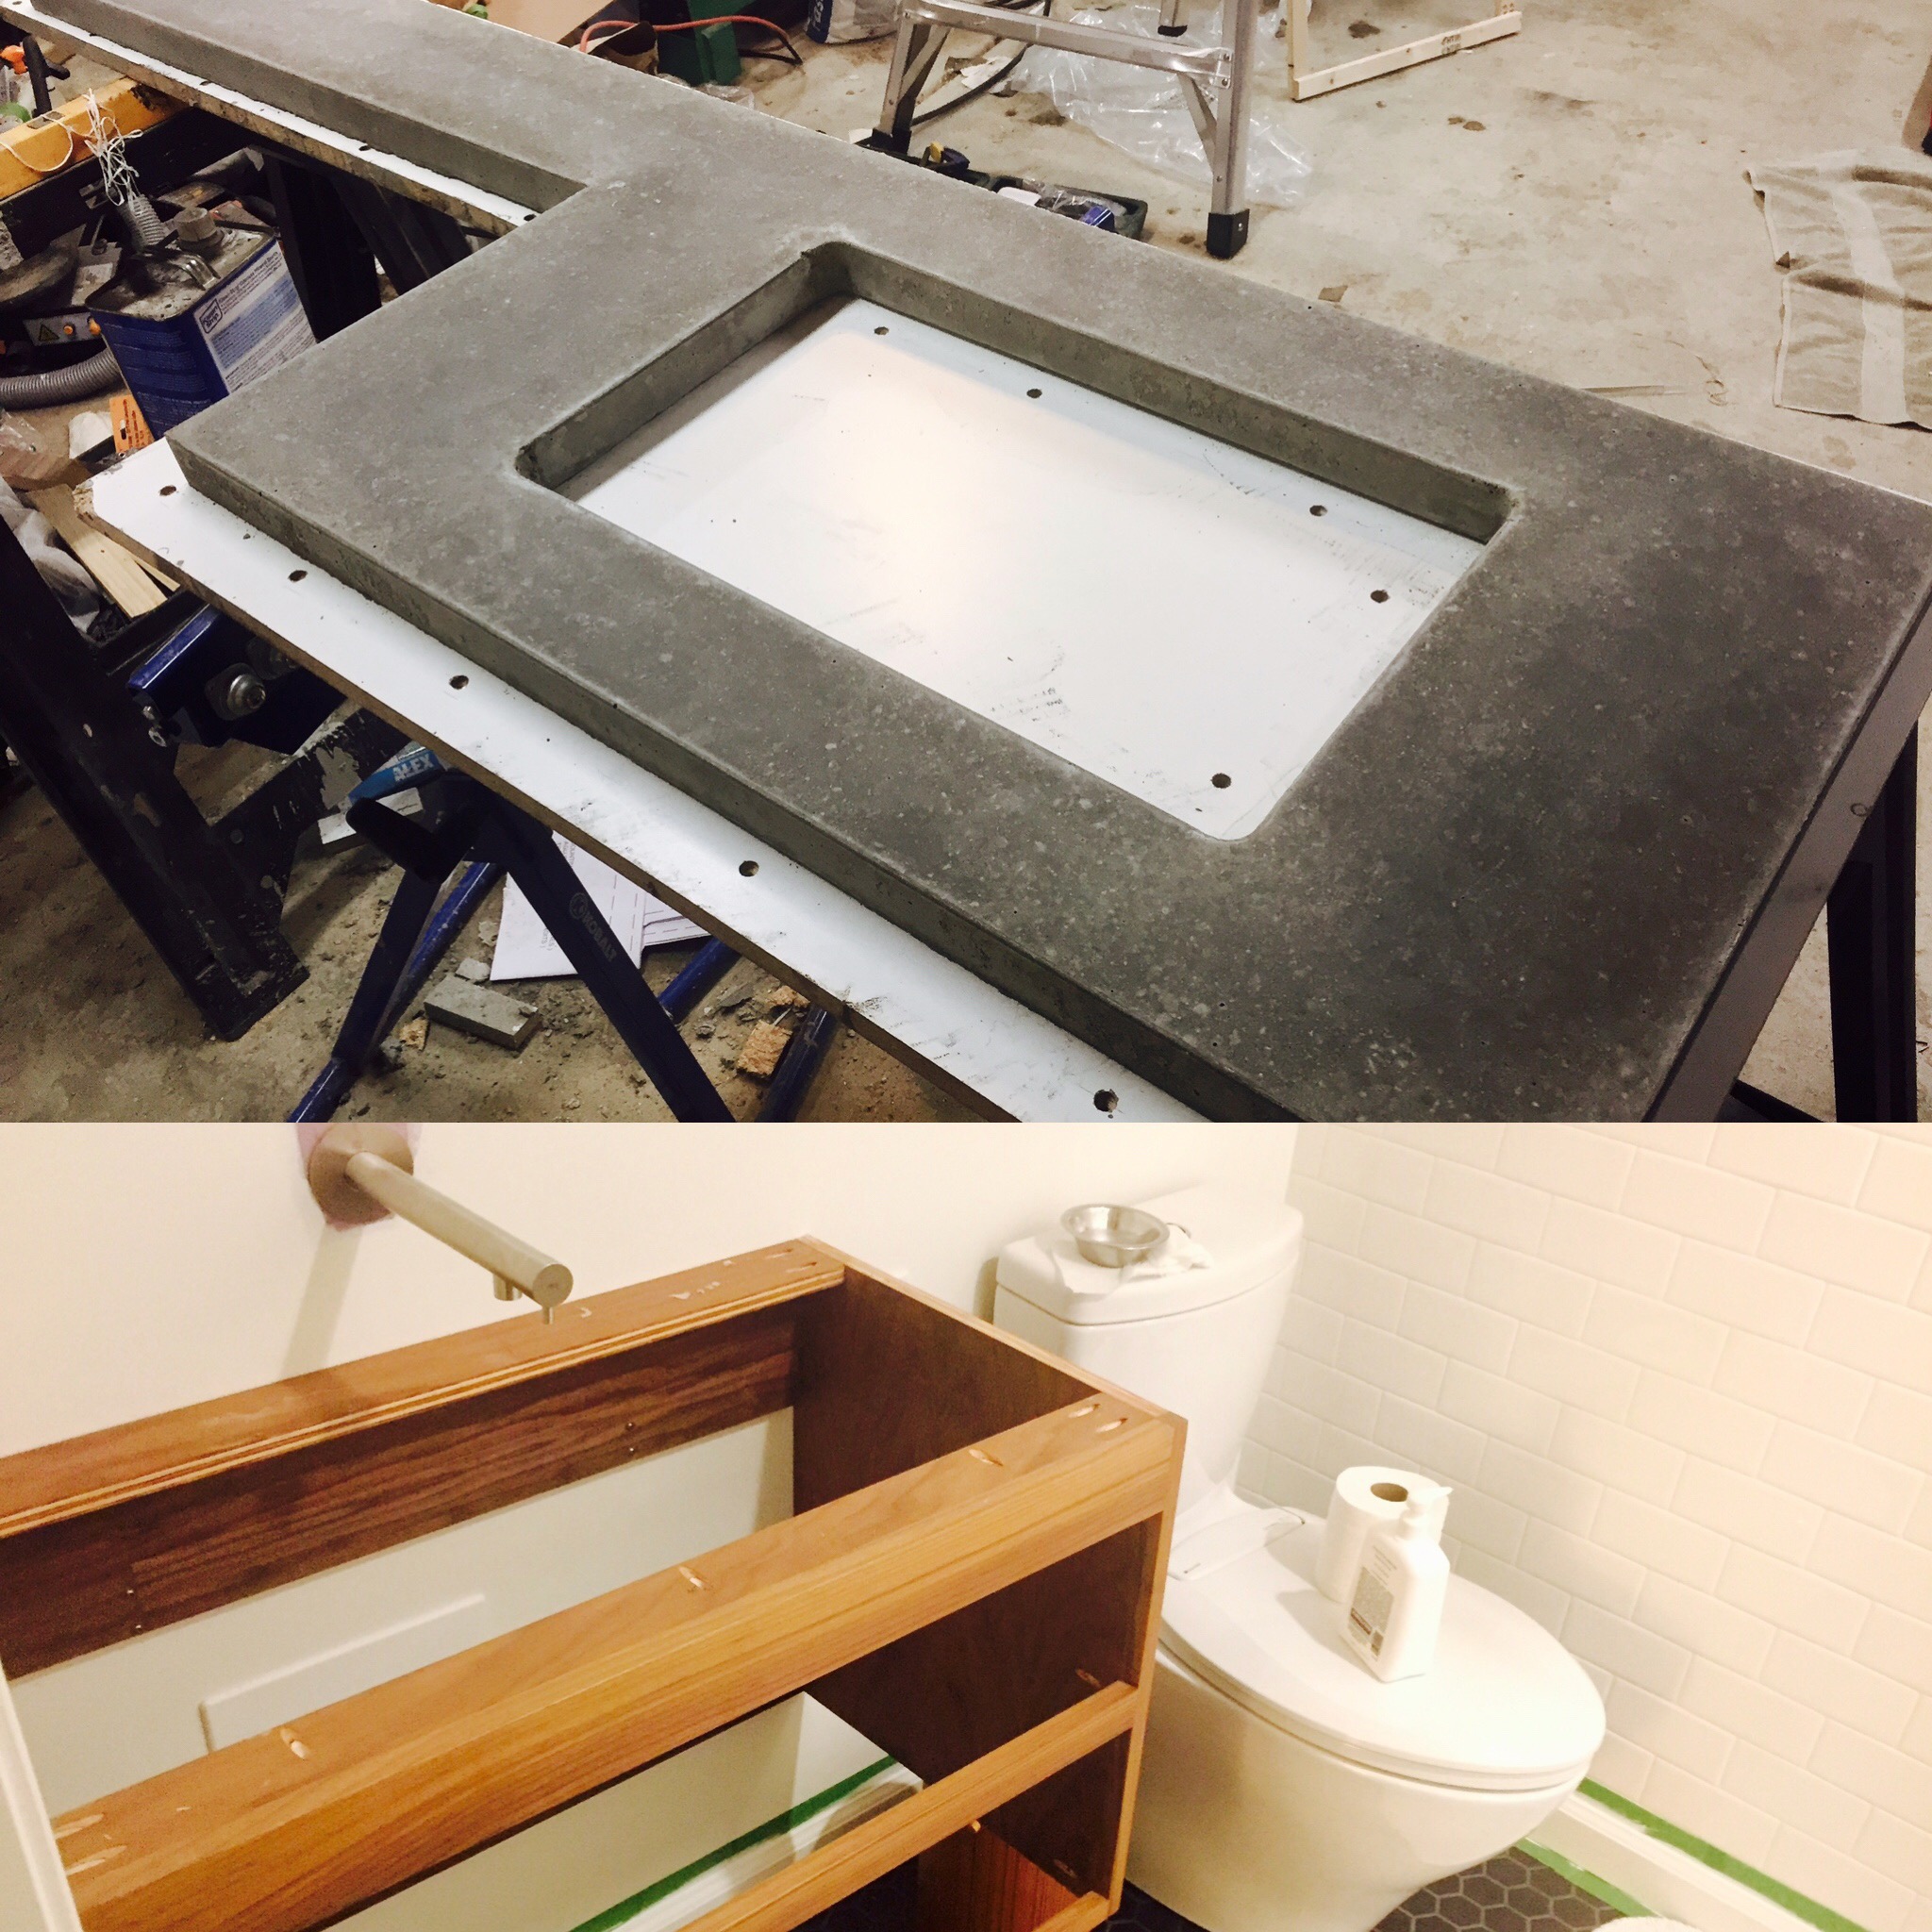
There must have been an element of beginner's luck on the first concrete pour, because the next couple pours turned out terrible! They were full of air bubbles and huge voids with large aggregate clearly visible. They were simply way too ugly to use. It took two failed attempts before I finally got a good enough quality on the third retry. By the end, I had poured a total of four concrete countertops for this vanity: one that was backwards, two that were the correct orientation but low quality, and the one that was finally usable. Since each time I had to rebuilt the form and wait 3+ days for the concrete to cure meant this was an extremely time-consuming and frustrating process, not to mention the hassle of getting rid of 3 garbage concrete countertops!
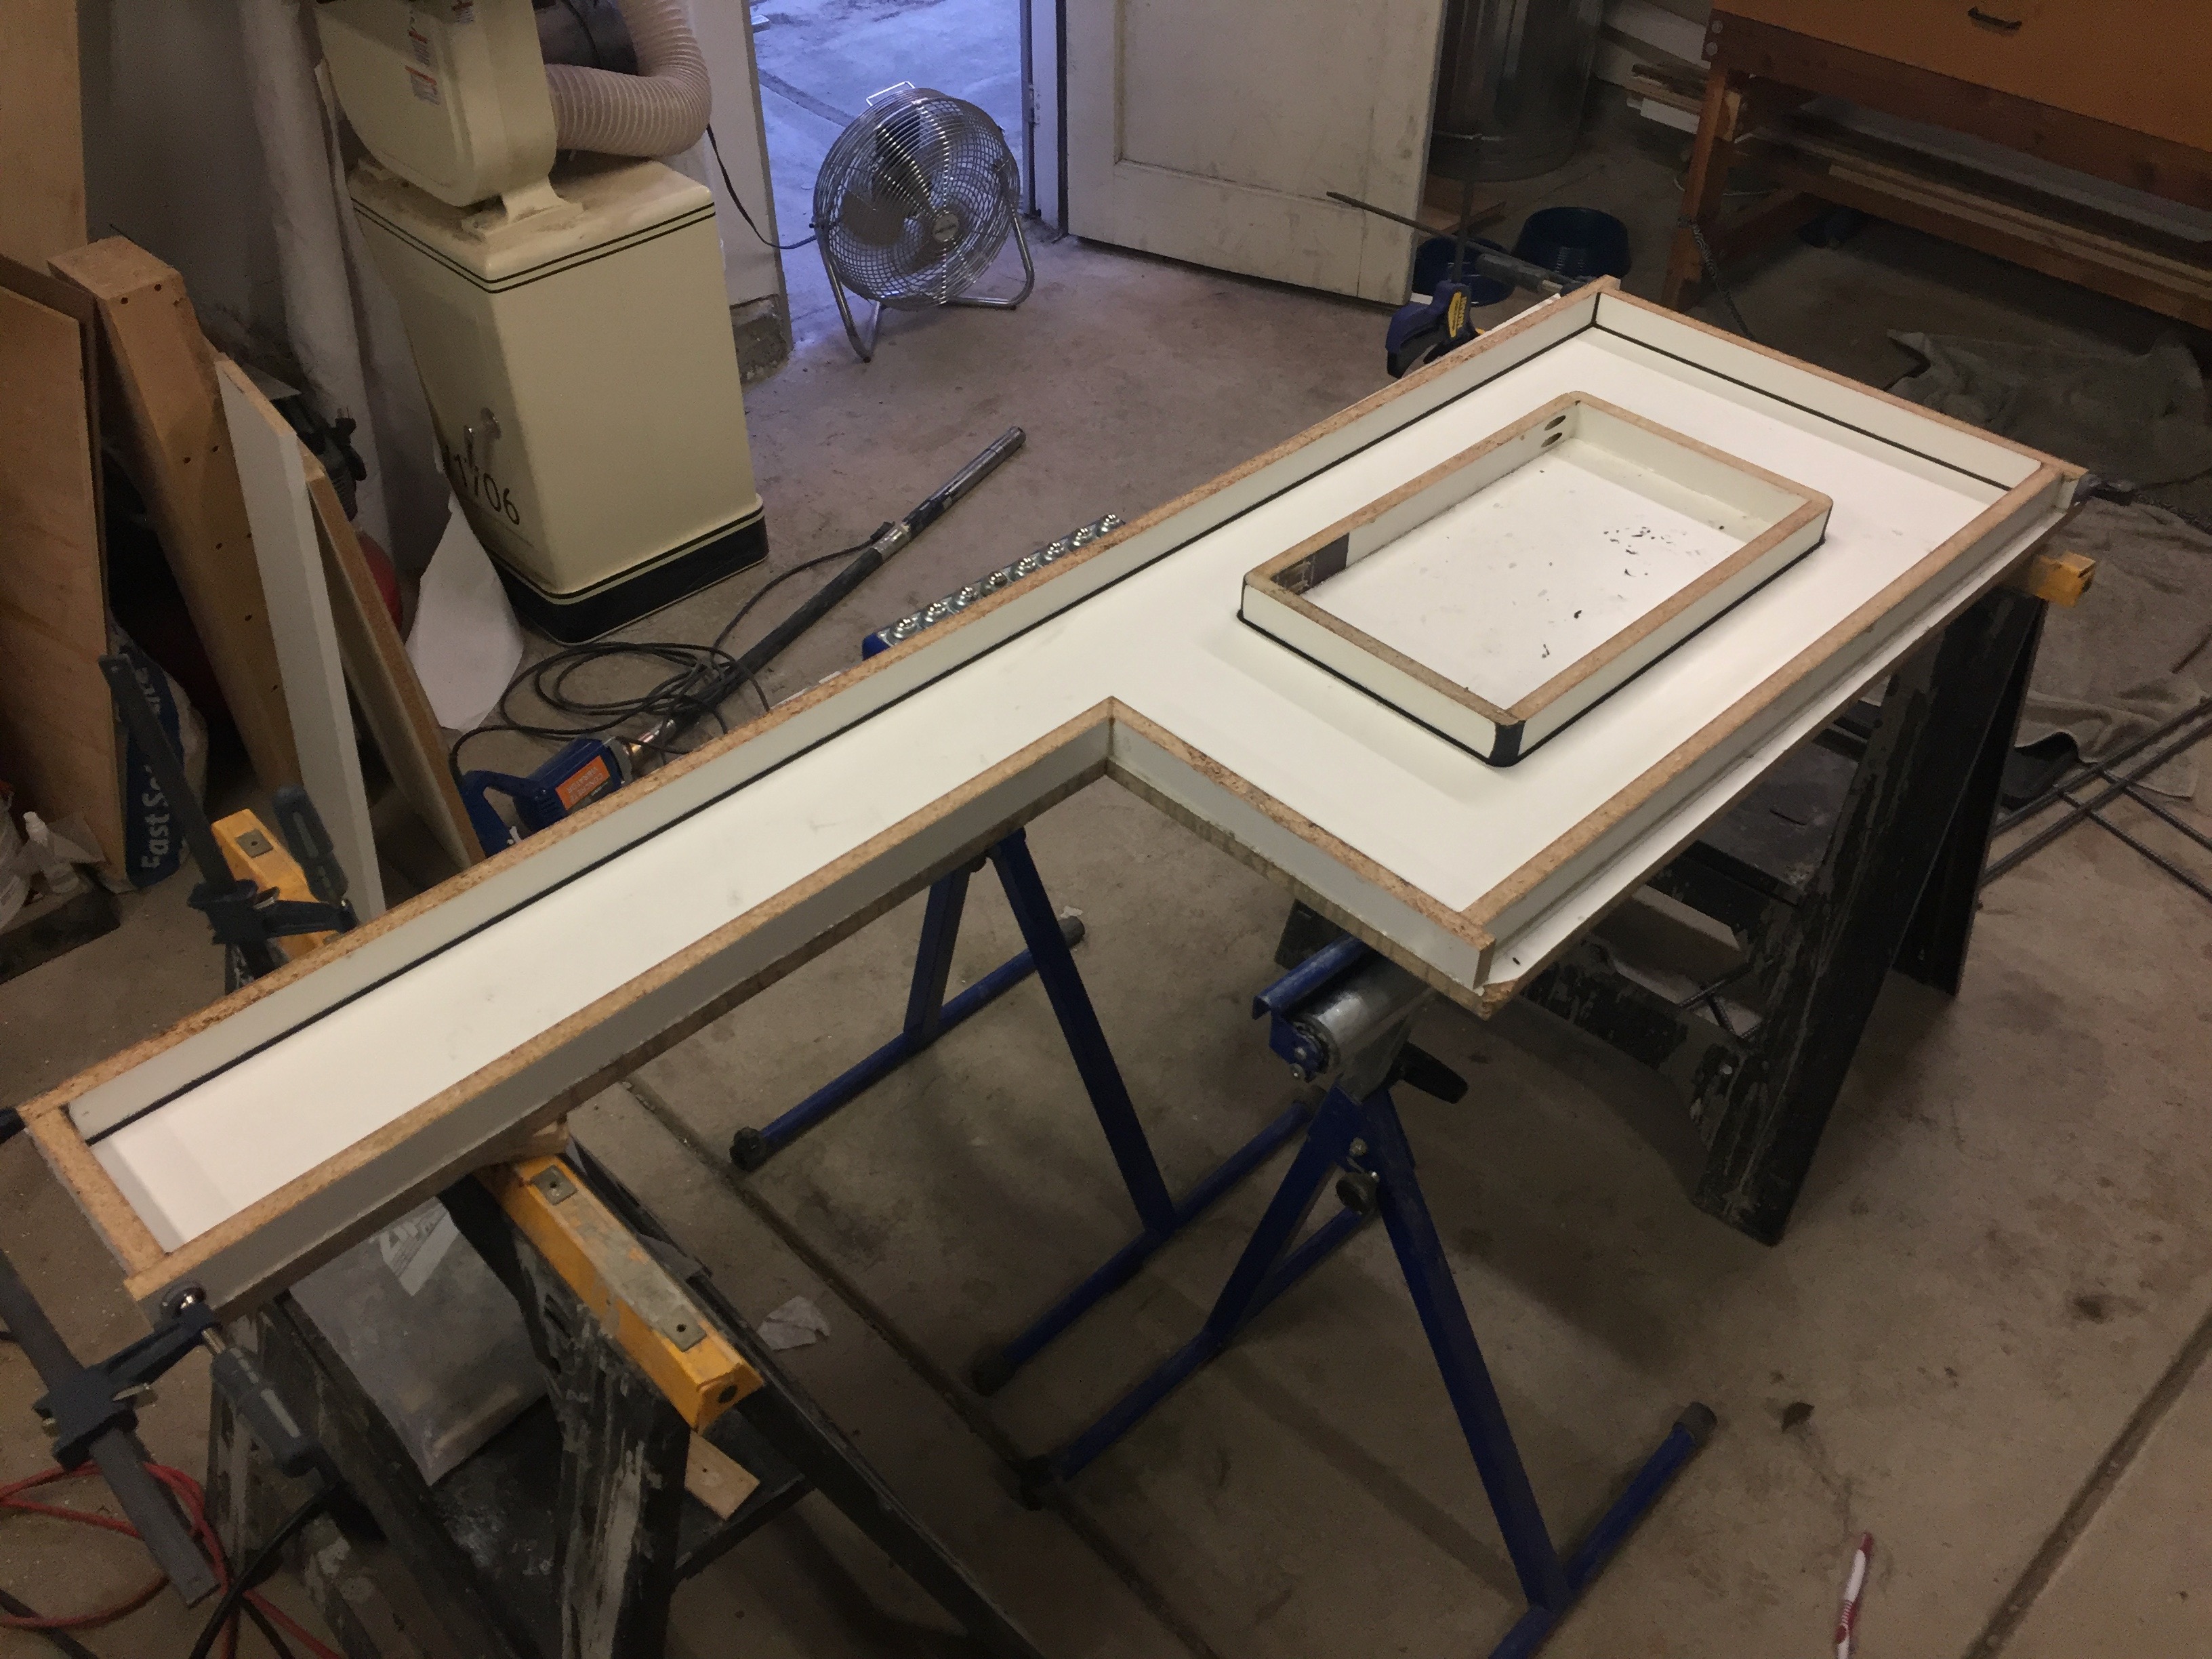 A new form in the correct orientation this time.
 pouring countertops is really messy. Vibrating to get the bubbles out throws concrete everywhere.
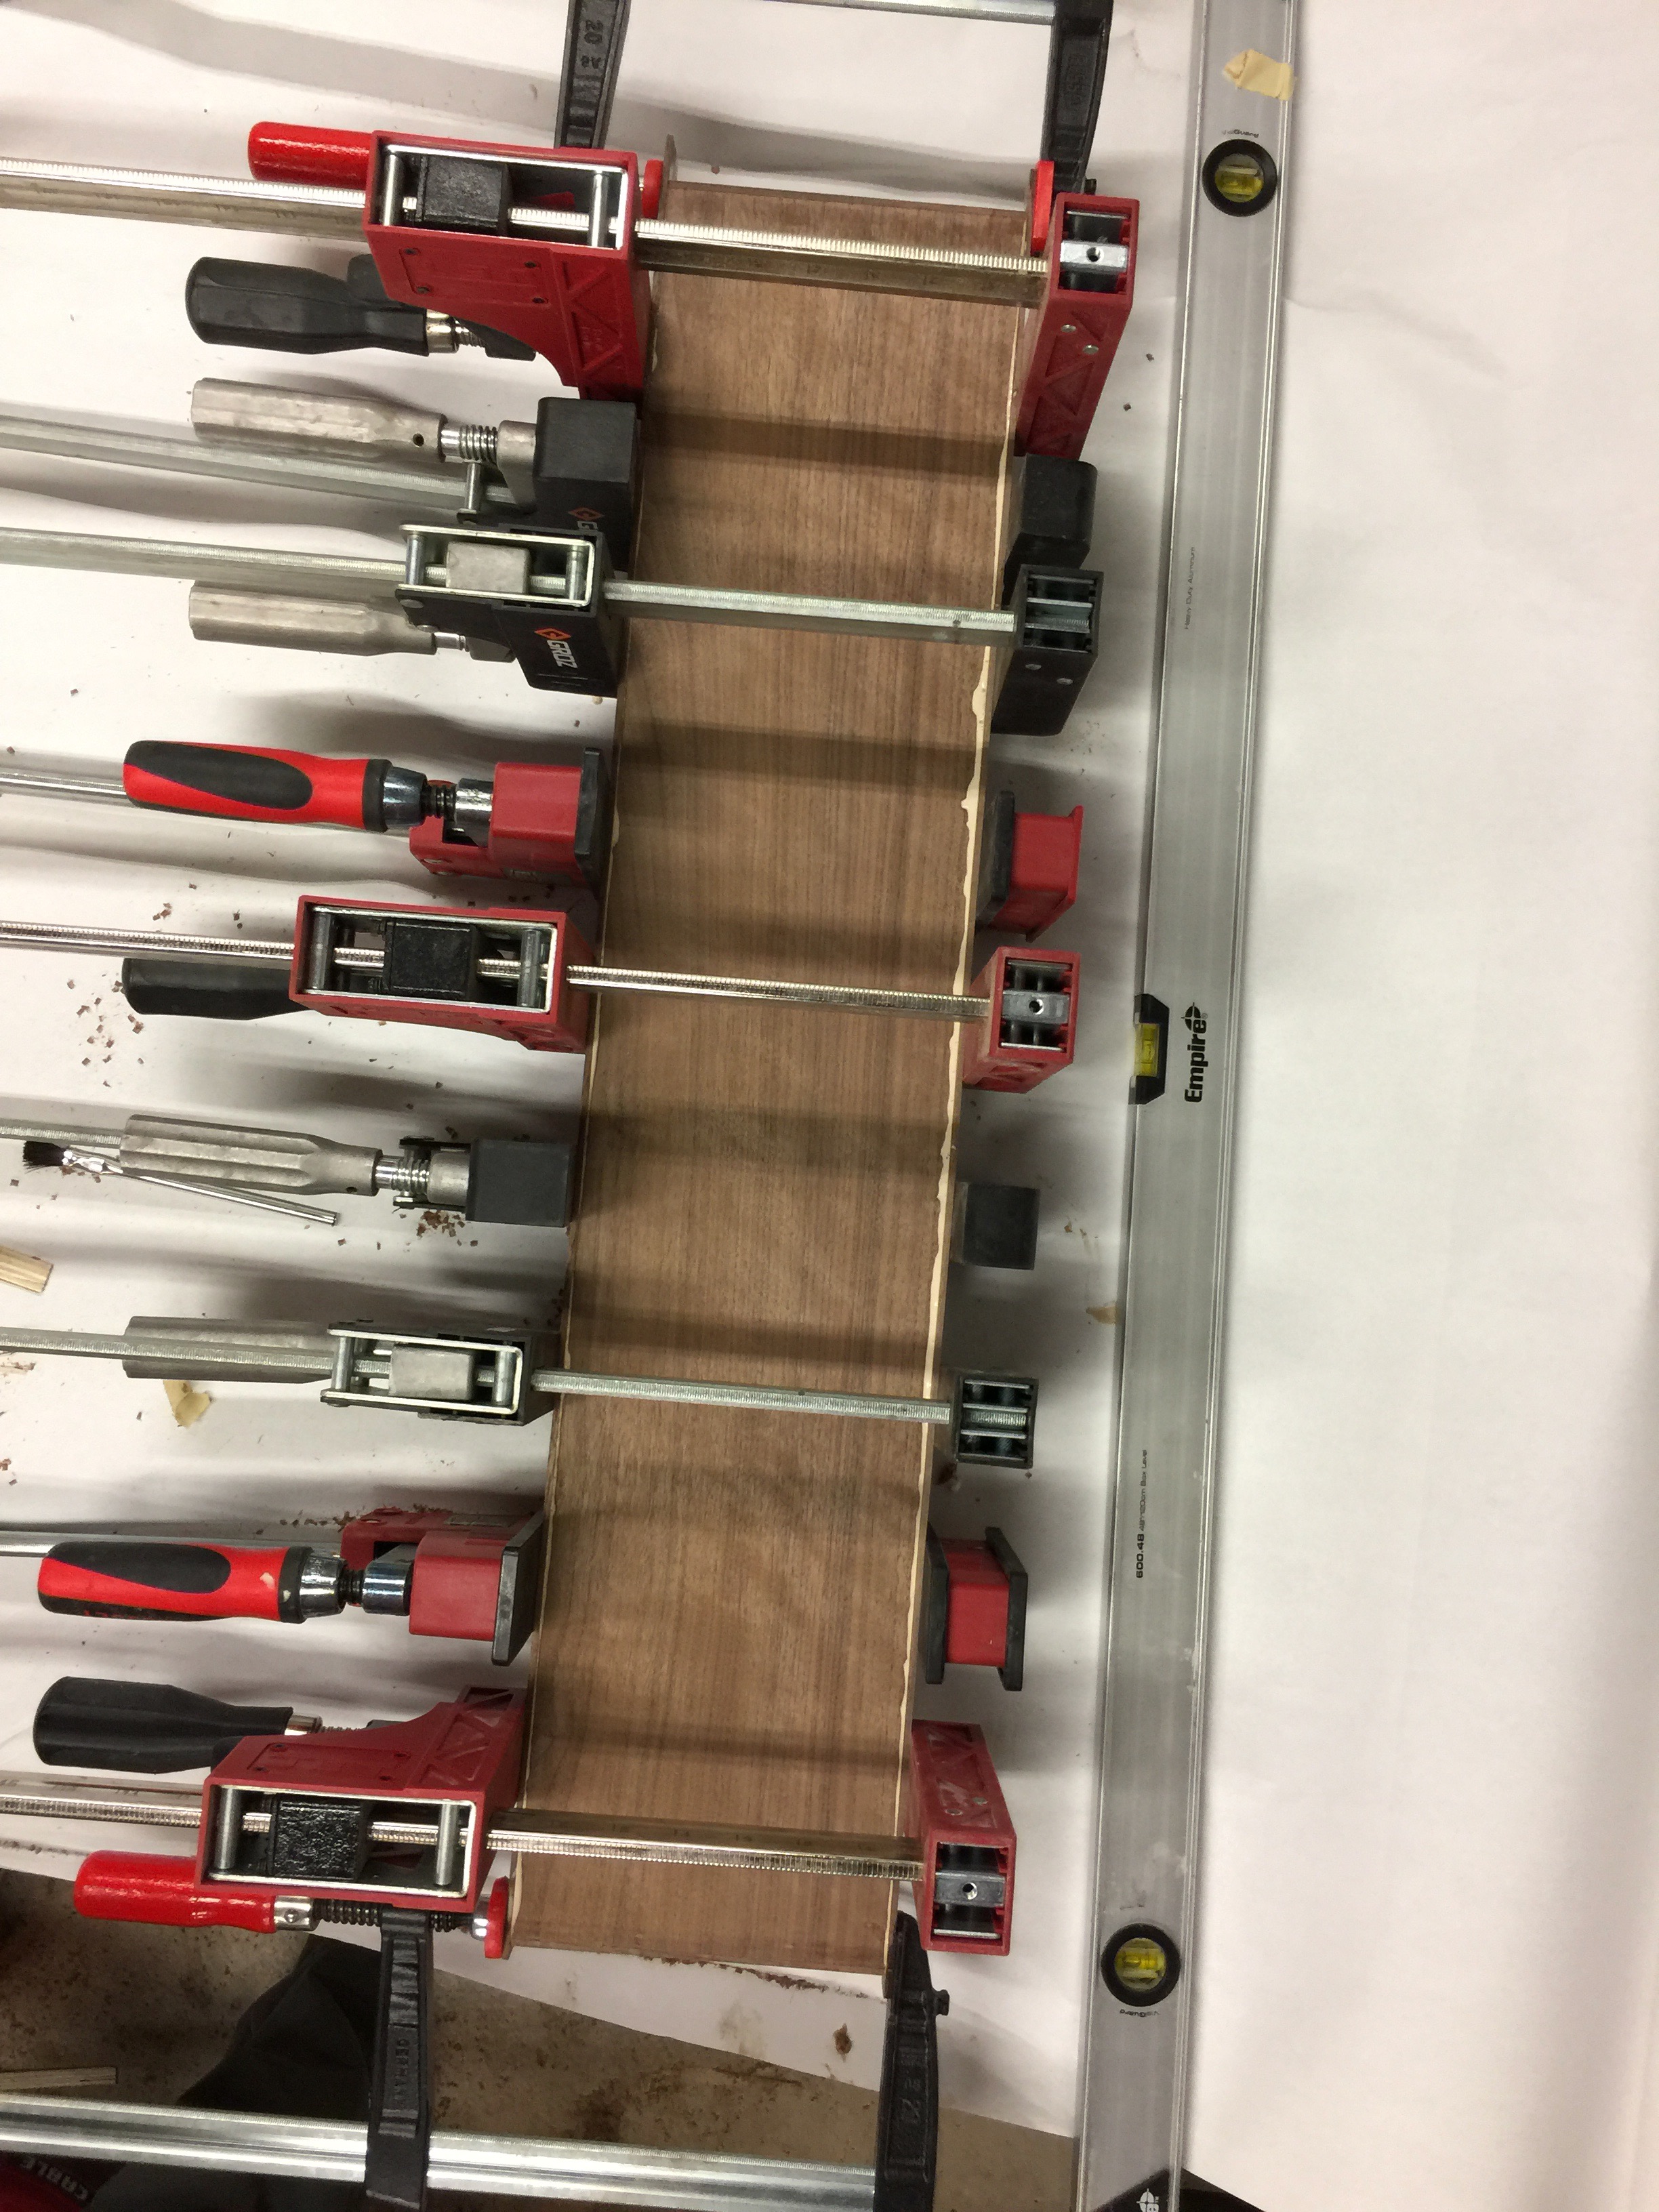
Next up were the drawers. I didn't want to sacrifice any storage space that is typically consumed by the drain pipe assembly, so I decided to build the drawers with a notch that goes around the pipe in the middle. I think I went about assembling these drawers the completely wrong way, because it was a nightmare getting them glued up tight and square. At this point I was already frustrated with the project but I still wanted it to come out as good as possible, so I again went through multiple iterations of drawers before I finally got one that I was happy with. I built two complete full drawers that ended up out-of-square once I took them out of the clamps and had to toss them. In hindsight, I was probably being overly critical at this point and the drawers would have worked just fine, but oh well. I mounted the drawers using Knape & Voght undermount slides.
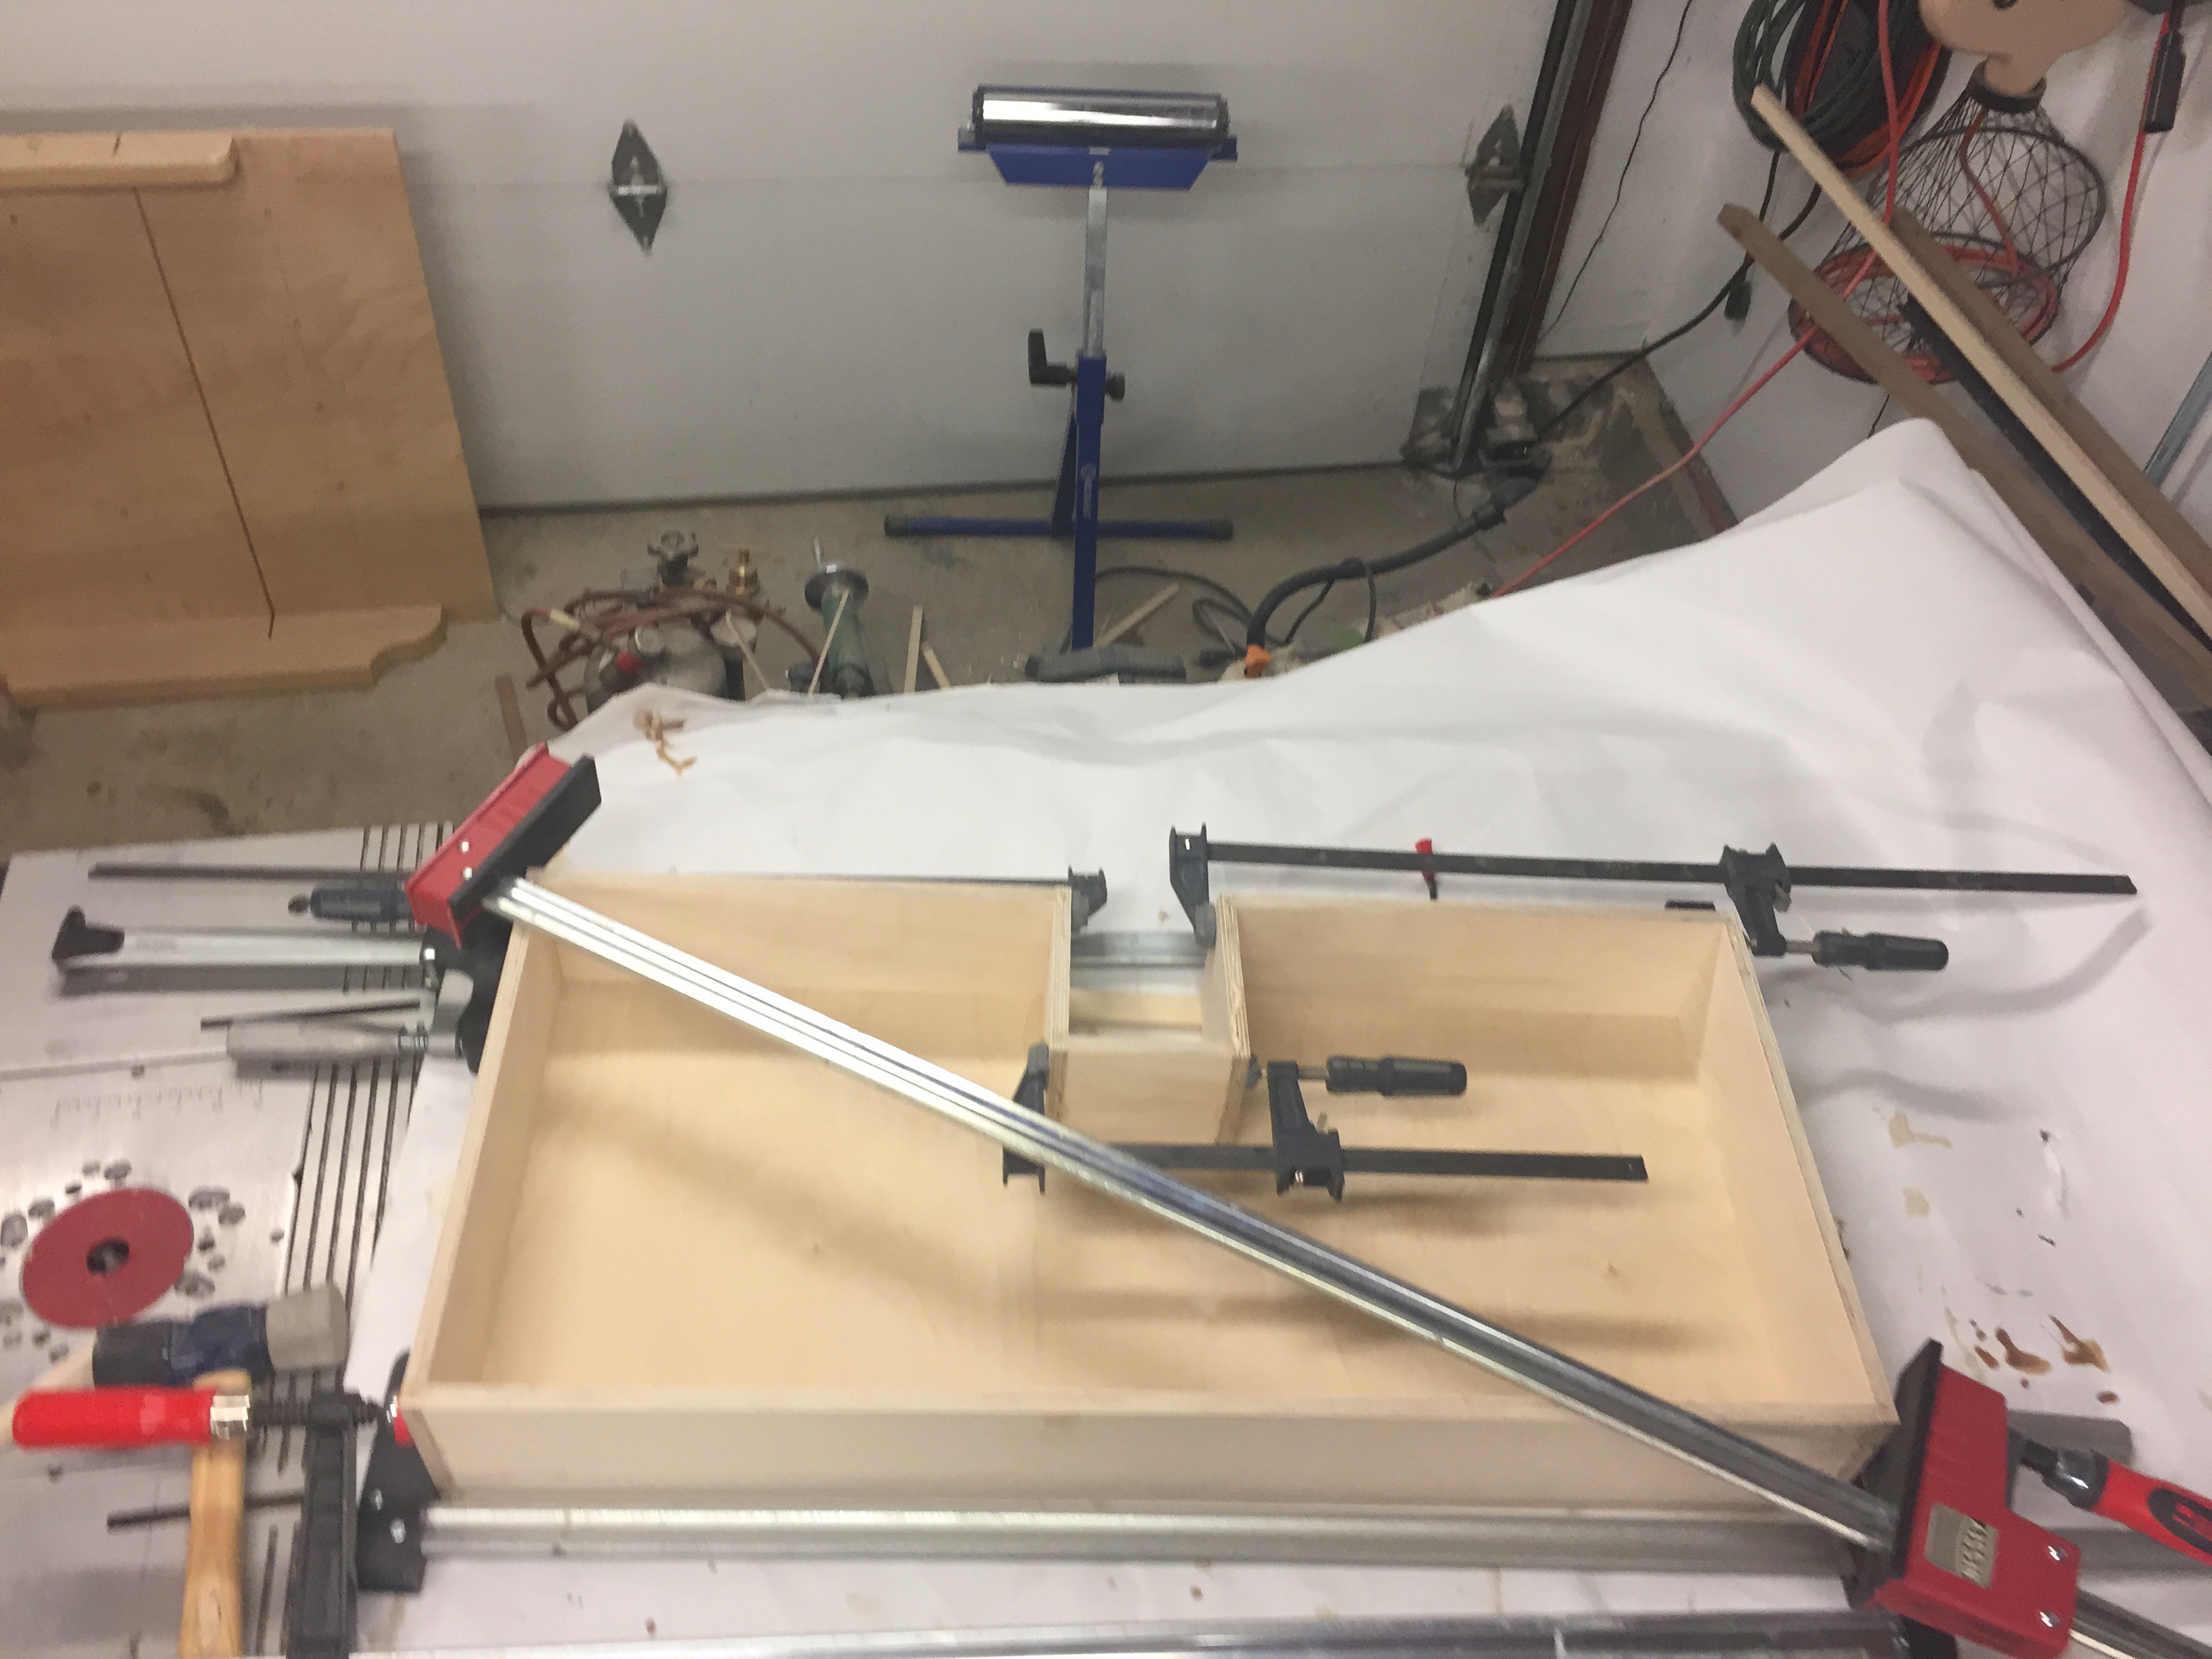 A notched drawer in the clamps
The final huge hurdle was getting a mirror installed above the vanity. Since it's a relatively small bathroom we wanted the mirror to be as big as possible. We specified a mirror that would span from wall to wall and from the countertop to the ceiling, covering the entire wall surface. We knew this would be a challenging installation process, so we decided to hire it out to a local glass company. We had them come out and take measurements of the wall, then a couple of weeks later they arrived with the mirror to install. That is when the trouble really began. The workers struggled for a good hour to get the mirror in place, chipping both the mirror and the corner of my new countertop in the process. The still got it in place and mounted, but there was a huge ugly gap at the top that they filled in with caulking. It looked terrible in addition to being chipped, so we asked them to re-do it.
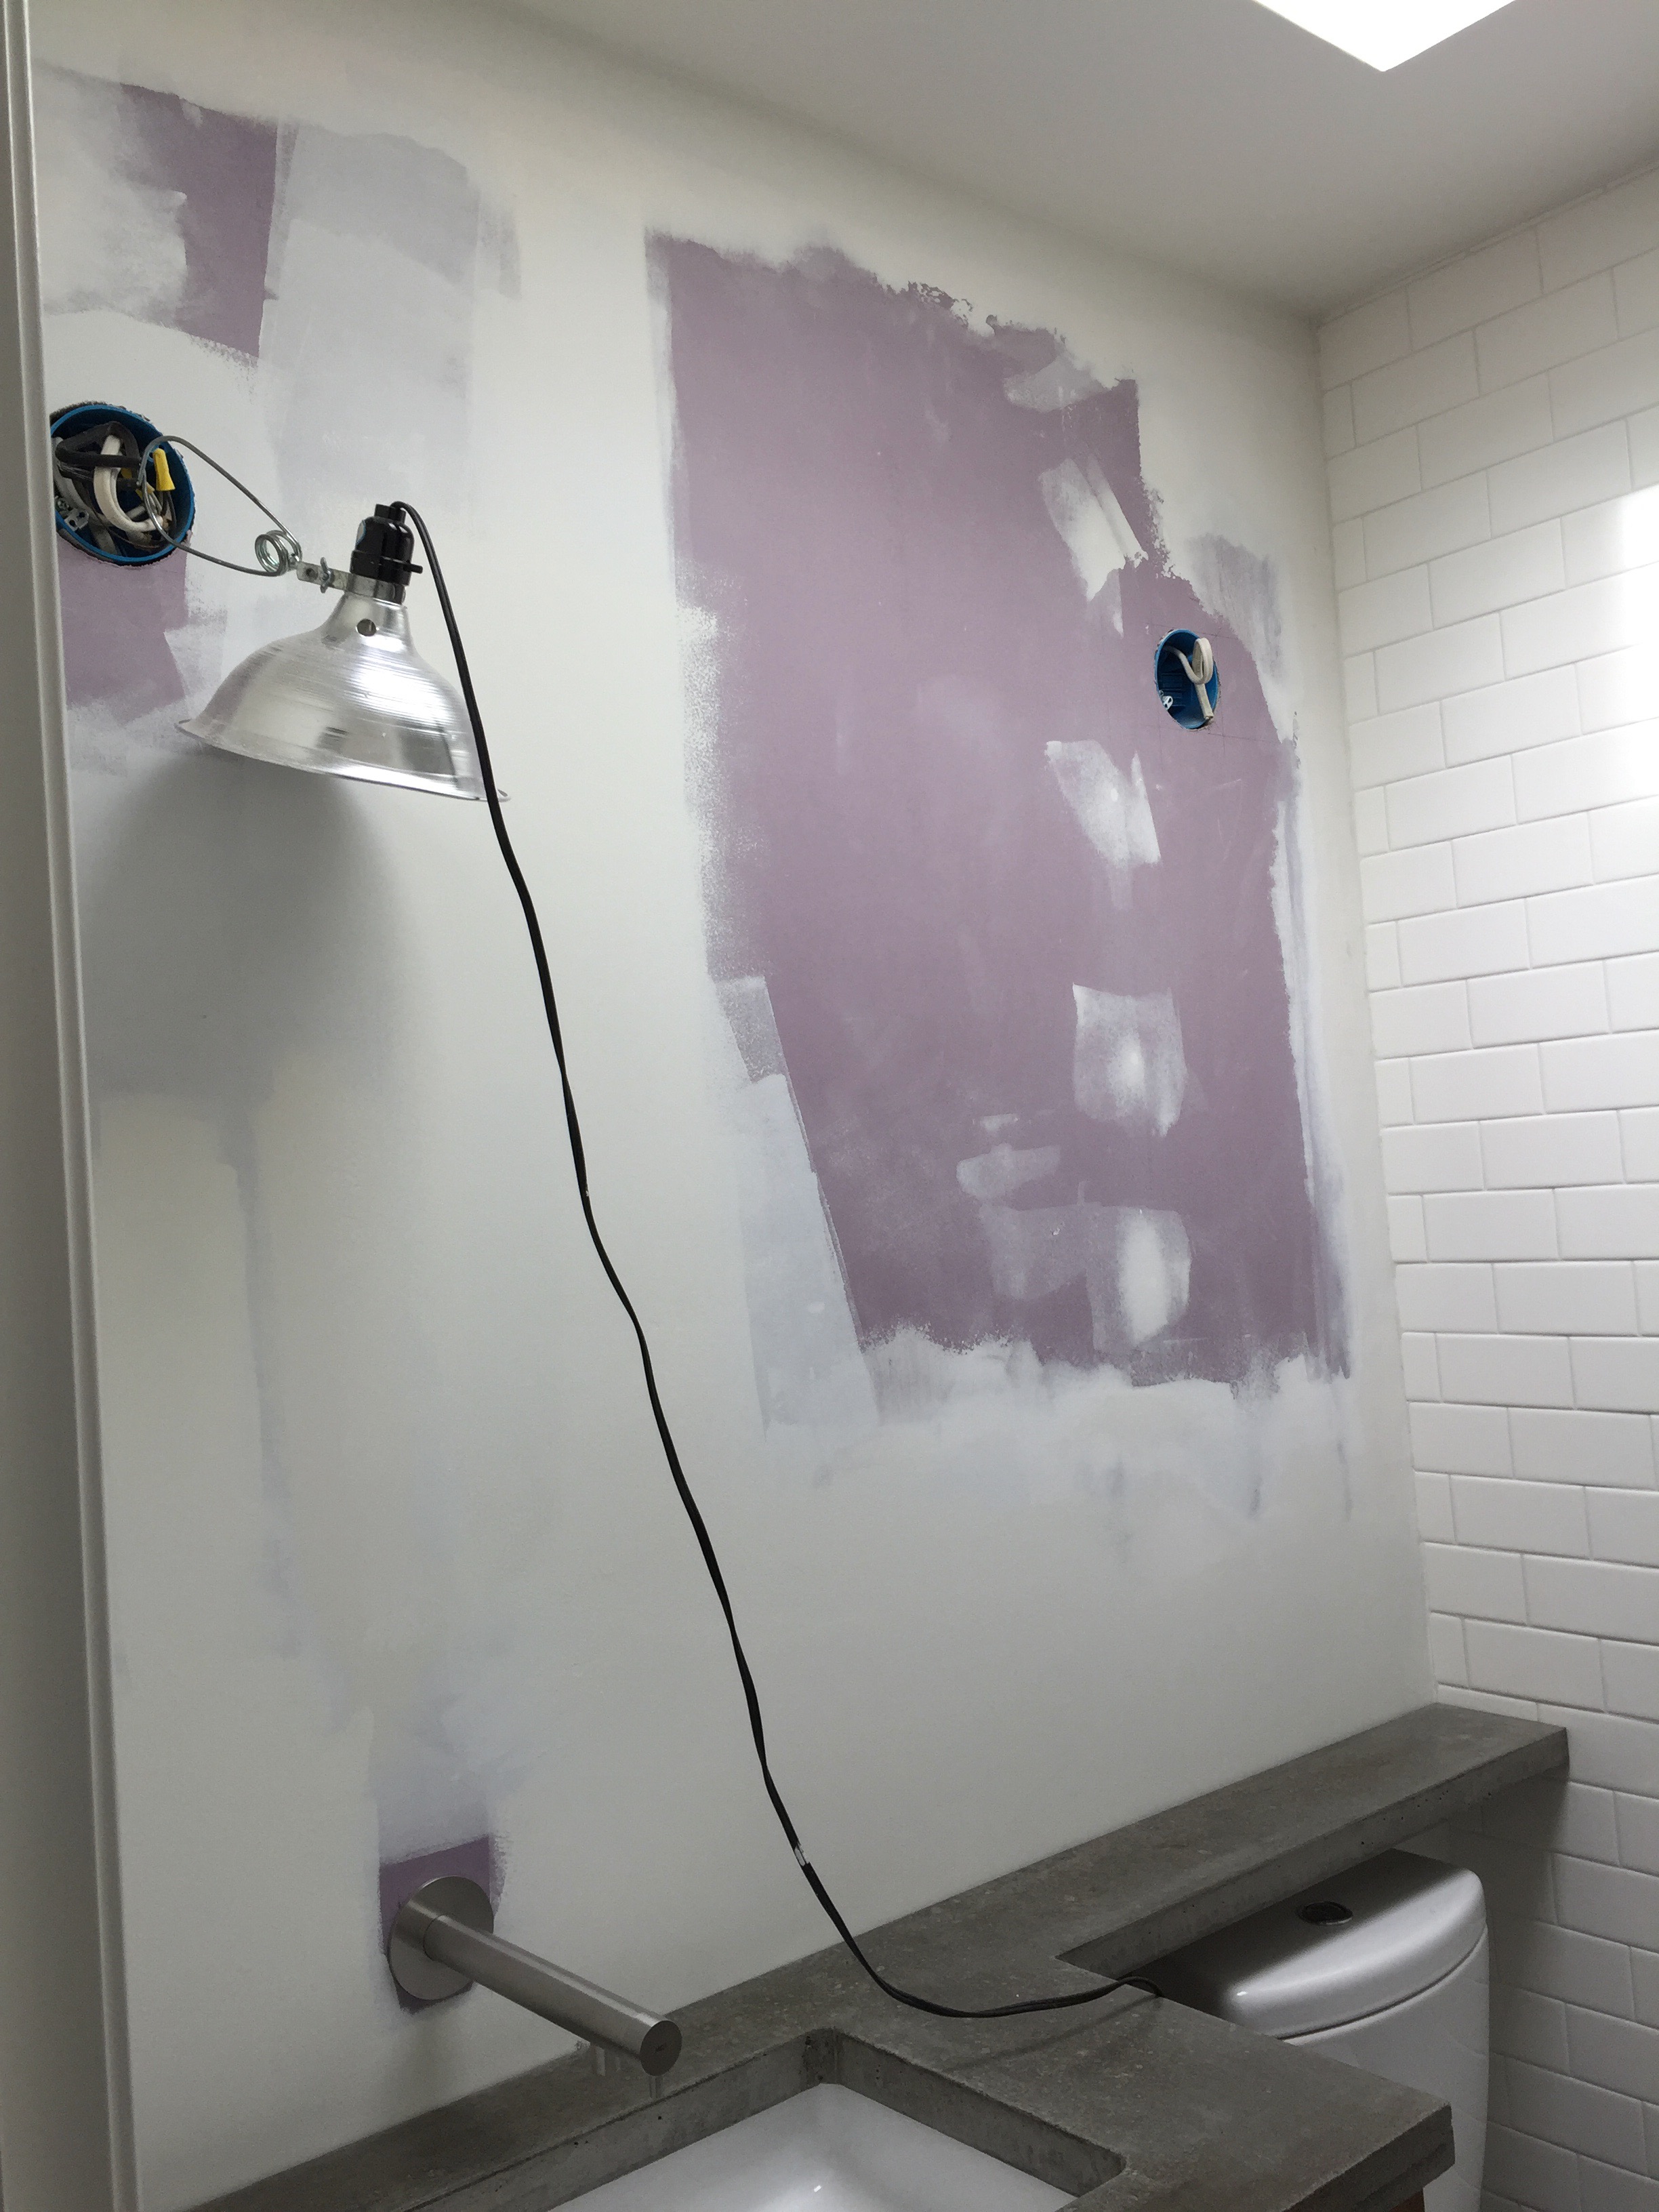 The mirror is supposed to fill this wall.
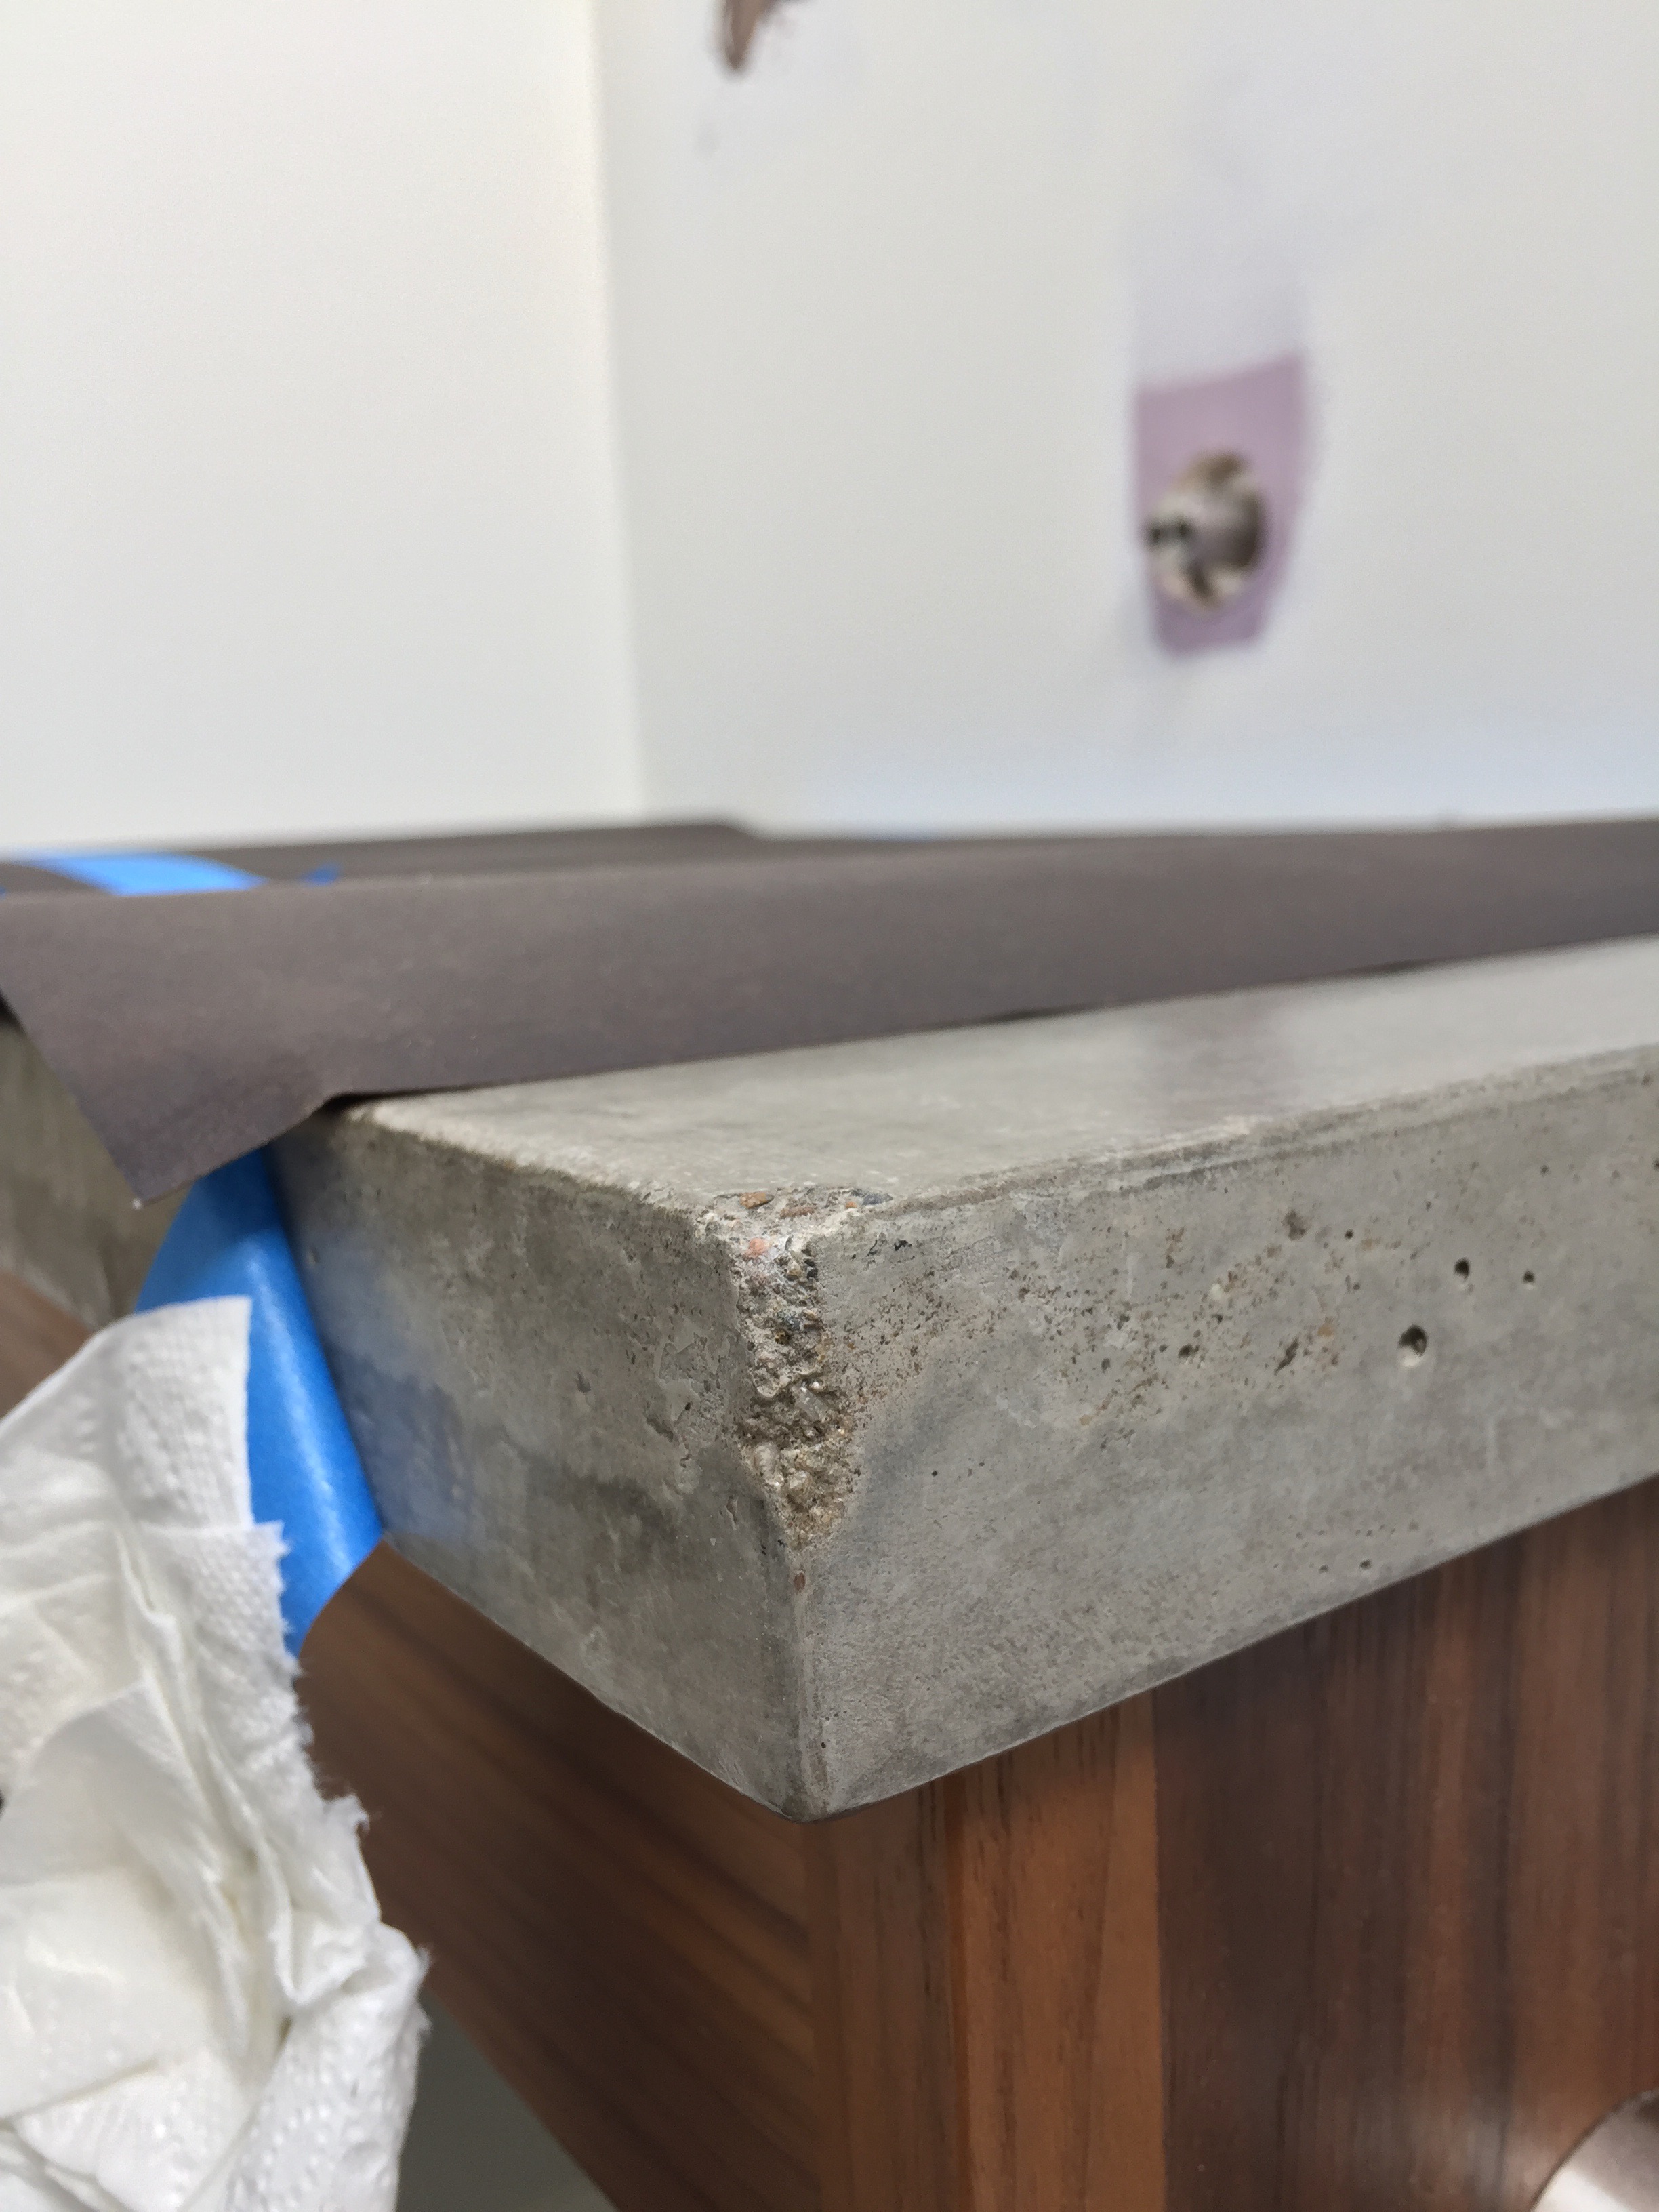 My new countertop is chipped!
With all the big hurdles finally out of the way, the only remaining task was to complete the drawer fronts. I purchased some beautiful figured walnut veneer and a whole new vacuum bag setup that I was excited to try out. Fotunately everything went smoothly with the veneering process, the drawer fronts came out exactly like I hoped and despite one minor debacle involving one drawer front and my garage floor, there were no issues to note. Vacuum veneering is really a lot easier than I was expecting and it's something that I will definitely incorporate more and more into my projects in the future.
 A drawer front receiving edge banding. Not sure why I used so many clamps instead of clamping cauls.
The final piece was deciding on a style for drawer pulls. I created a simple drawer pull in the shop, but it just didn't seem to fit with the overall look of the vanity, so we instead opted for some commercial pulls. We purchased a pair of walnut 'Arc' pulls from Rejuvenation manufactured by Manzoni. Unfortunately, it looks like they are no longer available for sale. Rockler also had them available at the time we purchased them, but they are no longer available for sale there as well. The manufacturer does still have a product page, but I'm not sure where you would be able to buy them at this point.
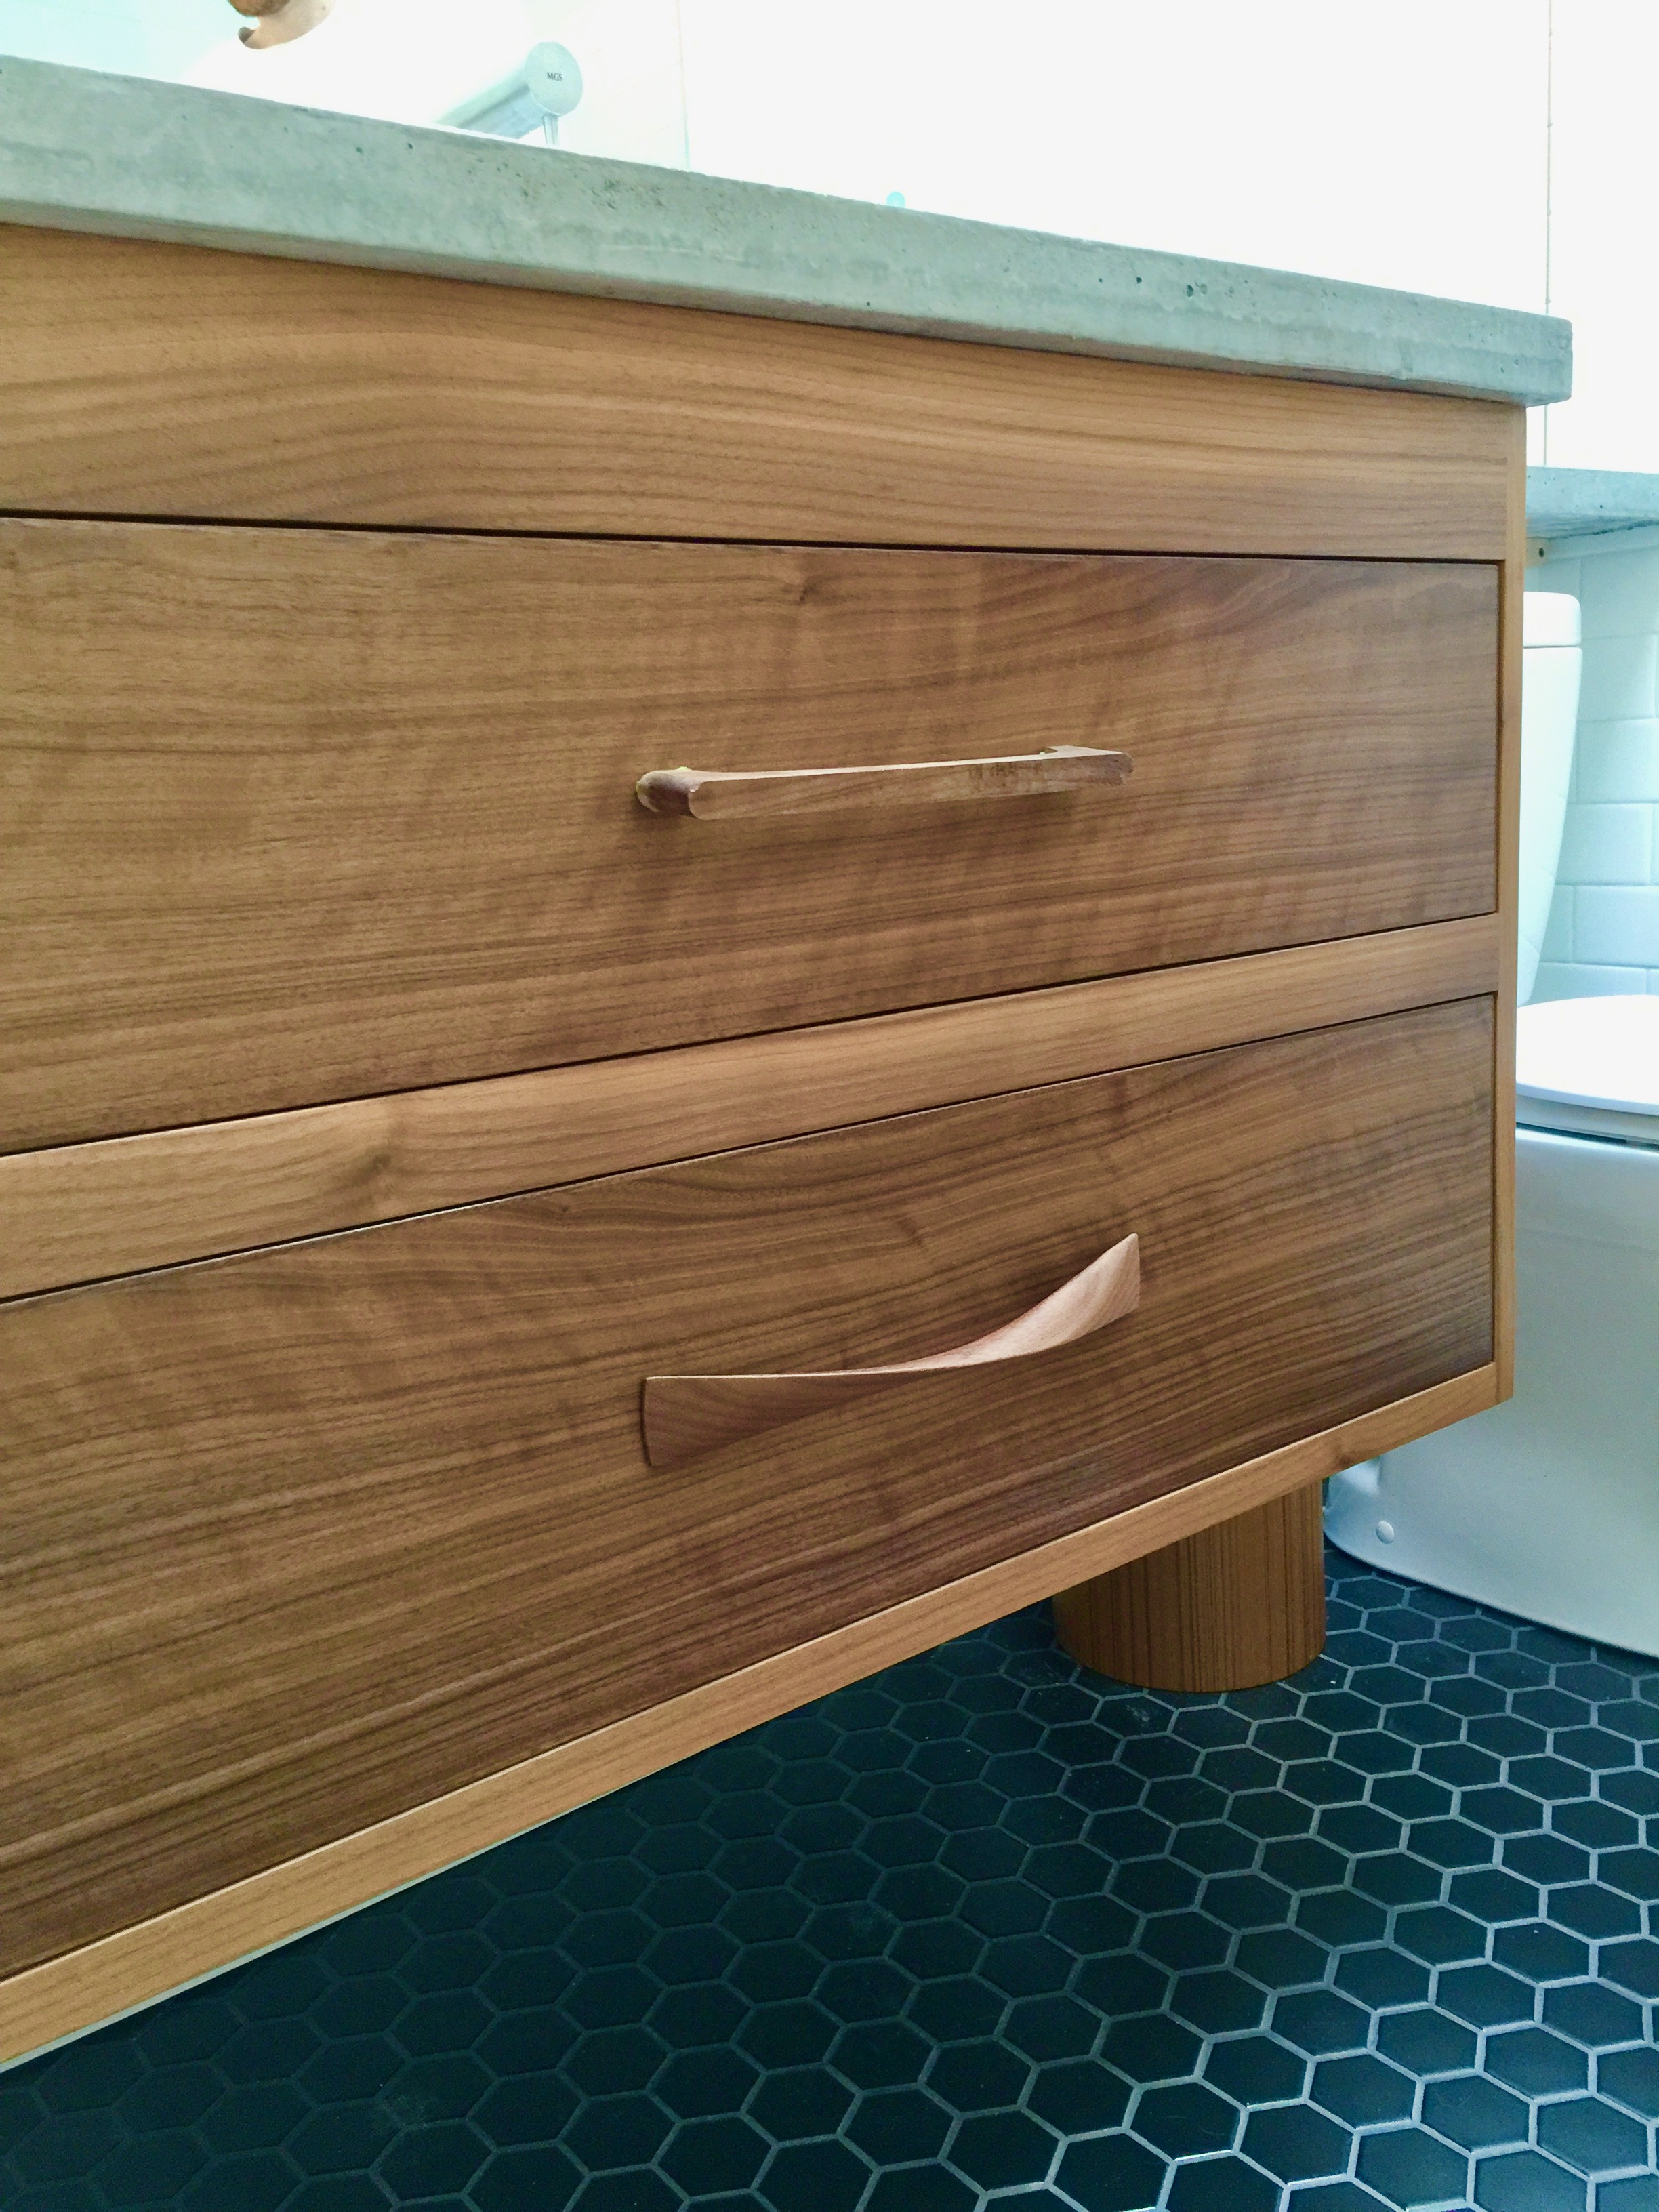 A comparison of my shop made pull and the commercial one from Manzoni.
 The finished vanity!
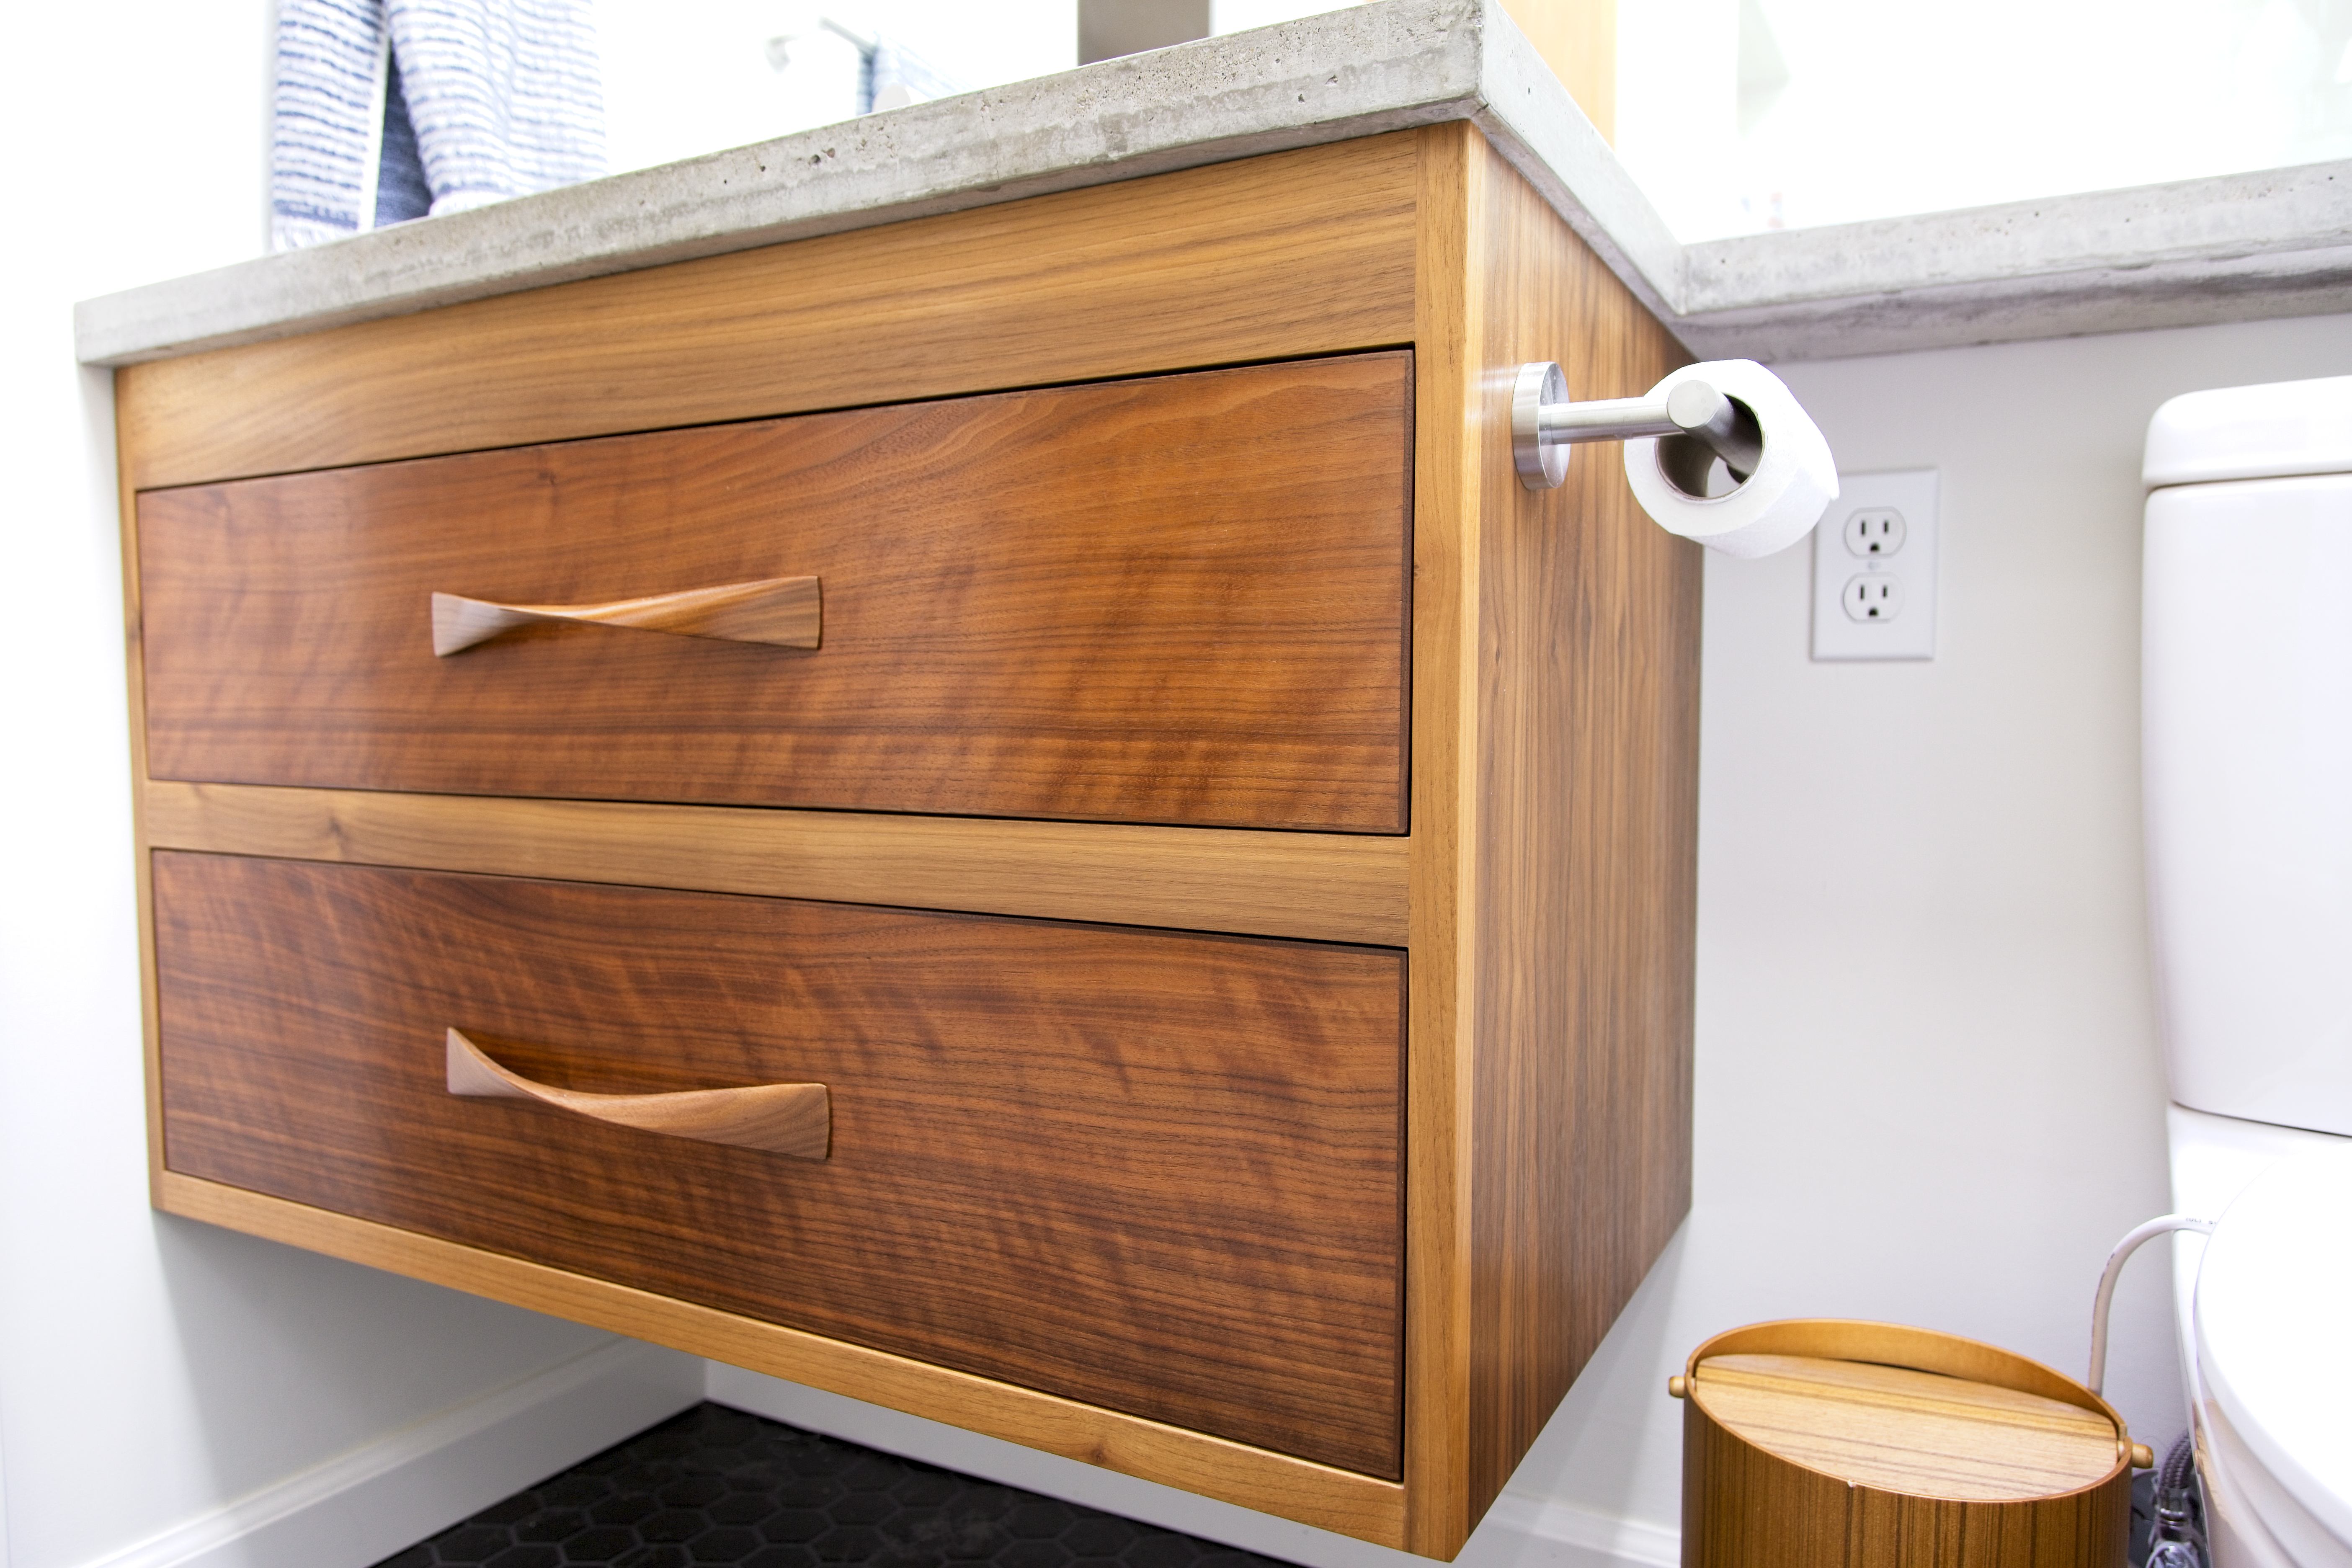 Complete with toilet paper